London:
Nationwide:
25,000+
Floors Restored
27 Years Experience
Wood Flooring Association Certified
Mastering the Drum Sander: Top Tips for Flawless Wood Floor Sanding
Posted on June 7, 2023
Floor Sanding Articles
Wood Floor Sanding Tips: Focus on Drum Sanders
Drum sanders are the go-to tool for many when it comes to sanding wood floors. These high-powered machines can remove old finishes and smooth out uneven surfaces in a fraction of the time it would take using hand sanding or orbital sanders. However, the drum sander’s power and aggressive sanding action can also be unforgiving to beginners. One wrong move can result in noticeable dents or gouges on your floor. Fear not; this guide is dedicated to helping you master the drum sander, providing you with top tips and techniques for achieving professional-looking results on your wood floor sanding projects.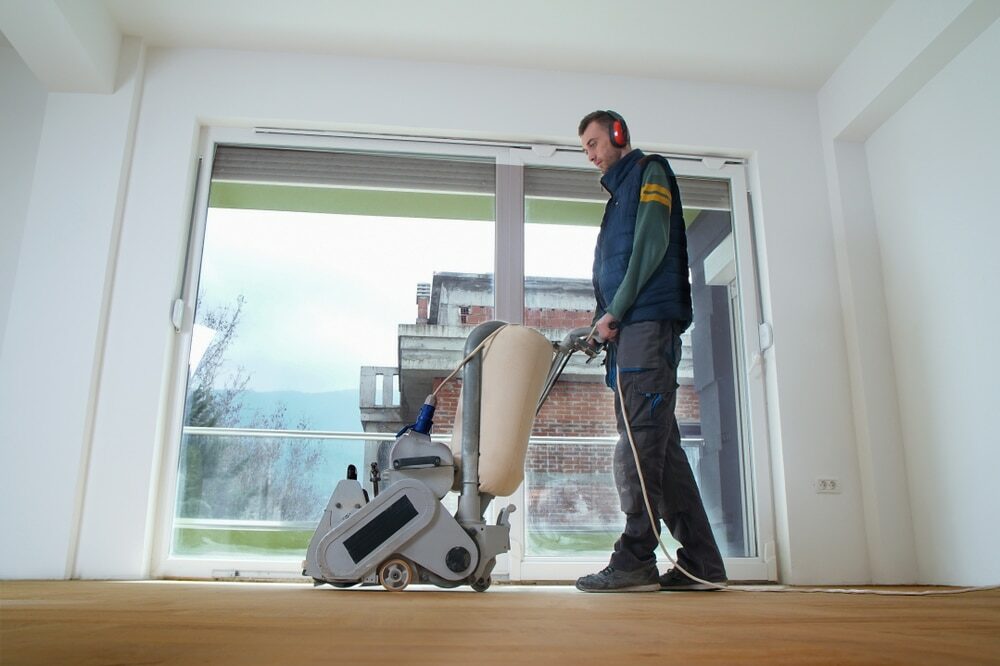
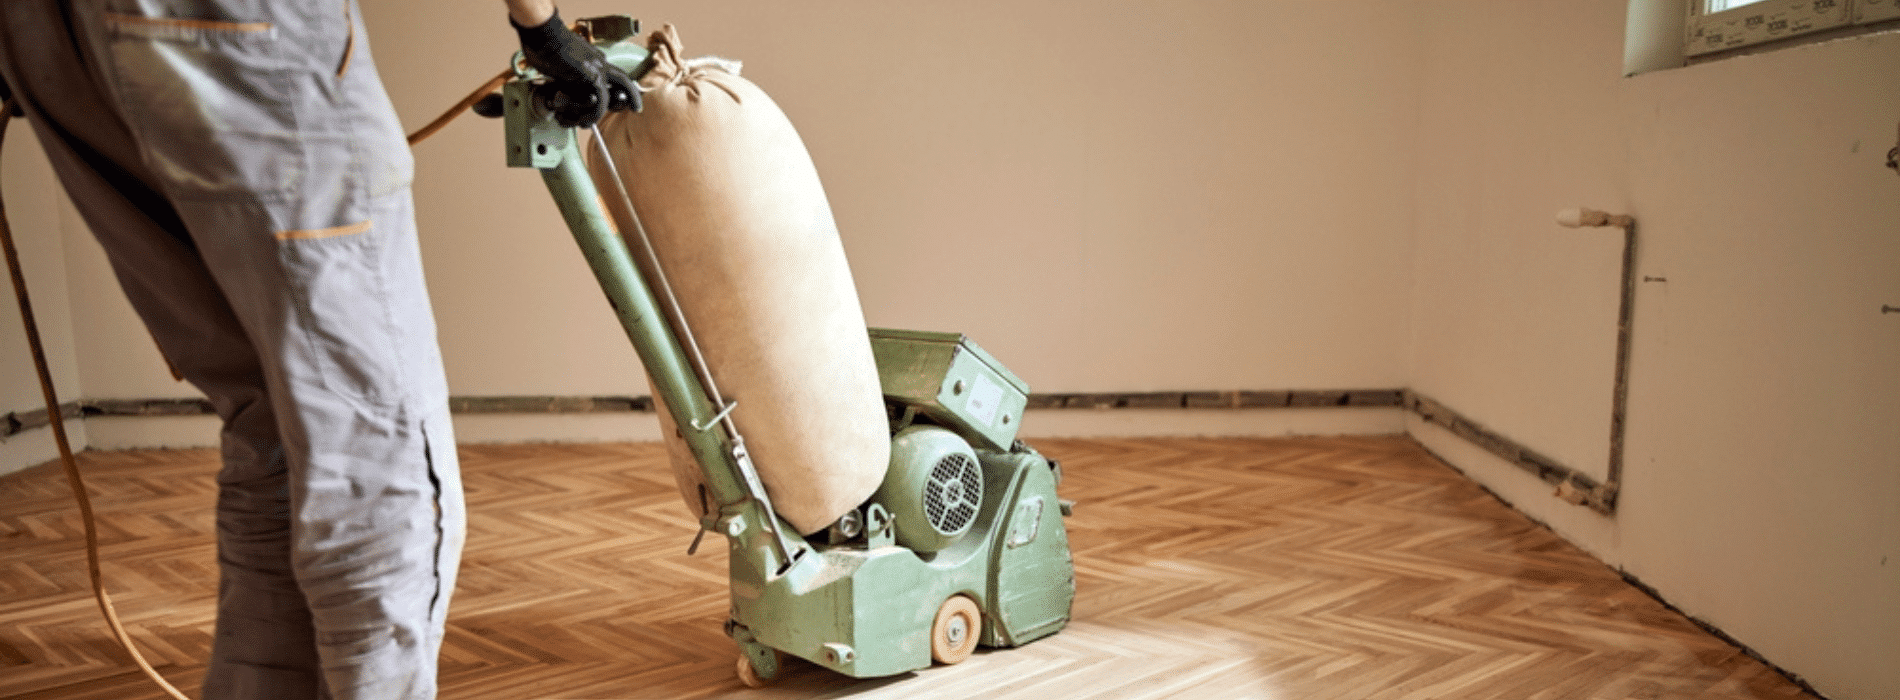
The Drum Sander: An Overview
Before we dive into the tips, let’s talk about what a drum sander is. A drum sander is a large, electric floor-sanding machine that you walk behind, similar to a lawnmower. It has an inbuilt rotating drum wrapped with abrasive paper, which sands off the surface layer of the wood as you maneuver it across the floor. Drum sanders are highly efficient and perfect for sanding large surface areas, but they can be a challenge to control if you’re not familiar with their operation.1. Understanding Grit Progression
The sandpaper used on drum sanders comes in different grits, and understanding the progression is vital for optimal sanding results. Start with a lower grit number (coarse) to remove old finishes and surface blemishes. Progressively move to higher grit numbers (finer) for smoothing. For most hardwood floor sanding projects, you’ll likely start with a 36 or 40 grit, then move to a 60 grit, followed by an 80 or 100 grit. This gradual progression helps prevent sanding marks and ensures a smooth finish.2. Running the drum sander
Starting and stopping the drum sander correctly is vital to preventing dips or gouges in your floor. Before turning on the machine, make sure the drum (sanding belt) is lifted off the floor. Start moving the sander before you slowly lower the drum onto the floor surface. Likewise, ensure to lift the drum before you stop moving the sander to prevent stationary sanding, which can create marks.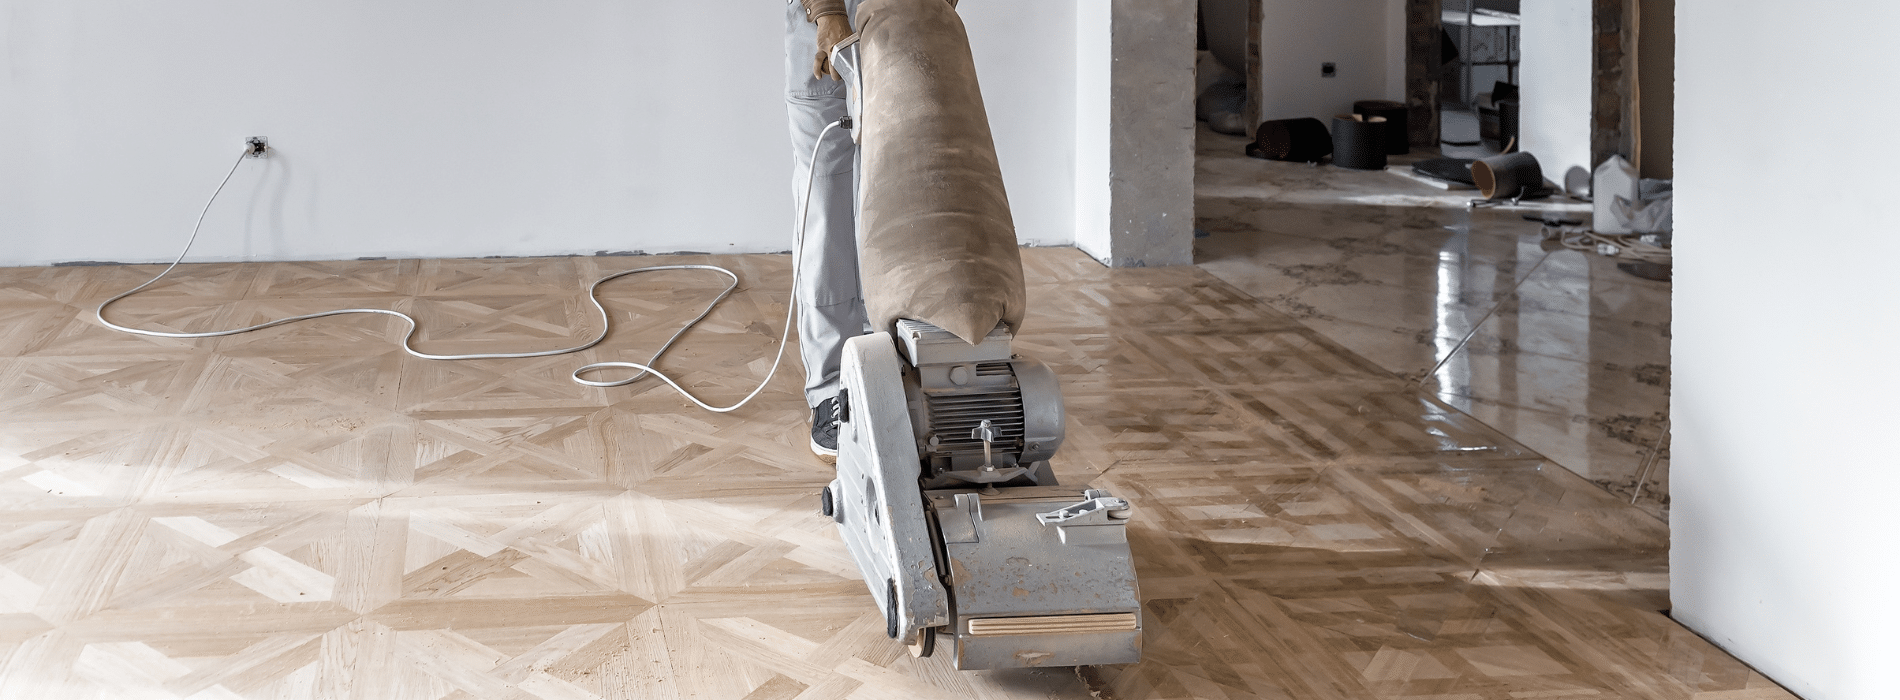
3. Moving at the Right Pace
The speed at which you move the drum sander across the floor matters. Move too quickly, and you’ll not sand the surface effectively. Move too slowly, and you risk sanding too much off, possibly causing dents. The right pace requires a bit of practice, but a good starting point is about one foot per second. Always ensure the drum sander is in motion while the sandpaper is in contact with the floor.4. Following the wood grain
Always sand along the grain of the wood, not against it. Sanding against the grain can cause scratches and damage that are difficult to remove. While you may need to make diagonal passes with coarser grits on old floors to remove stubborn finishes or stains, the final passes should always be in line with the wood grain.
5. Overlapping Passes
To ensure even sanding, each pass of the drum sander should slightly overlap the previous one. A good rule of thumb is to overlap by about a third of the machine’s width. This ensures you don’t miss spots and prevents unsanded strips on the floor.6. Handling the Edges
The drum sander is excellent for large open areas but not for edges or corners because of its size. You’ll need an edge sander or a hand sander to handle these parts. However, be careful, as the edge sander is often more aggressive and can sand more than intended, leading to unevenness between the field and the edges of the room. The key is to find a balance by ensuring the edge sander doesn’t dig deeper than the drum sander’s field.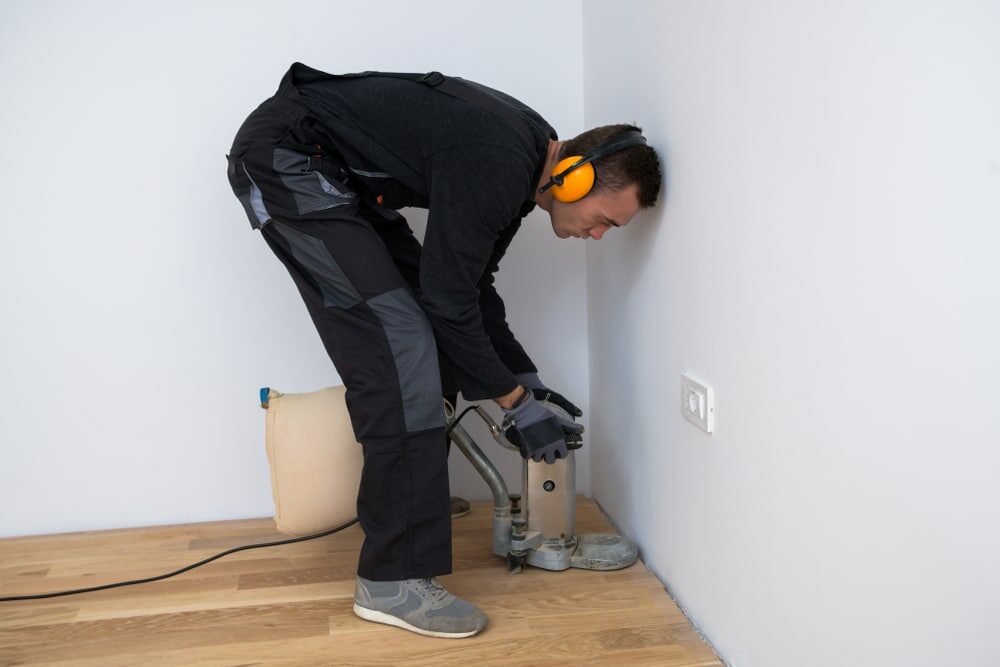
7. Frequent Dust Cleanup
While drum sanders often have built-in dust bags, they do not catch all the dust. To keep your working environment clean and ensure you can see the progress, vacuum the room frequently during the sanding process.8. Checking Your Progress
It’s important to stop and check your work periodically. Look for any missed spots, swirls, or scratches. A trick is to use a low-angle light, like a flashlight set on the floor, to check for sanding imperfections.9. Protecting Yourself and Your Home
Sanding can create lots of dust, even with machines equipped with dust bags. Ensure to seal off the area you’re working in as much as possible to prevent dust from spreading to other parts of your home. Always wear protective gear, including a dust mask, safety glasses, and ear protection.10. Maintaining Your Drum Sander
Lastly, taking care of your drum sander will ensure its optimal operation. Regularly check and replace the sandpaper when it’s worn or clogged. Ensure the dust bag is emptied when it’s about half full to keep the machine running smoothly.Conclusion
A drum sander can be a valuable tool in your DIY arsenal, particularly when it comes to sanding large hardwood floors. Like mastering any tool, getting the hang of a drum sander takes time and practice. But with these tips in hand, you’re well on your way to achieving a beautifully sanded floor that’s ready for staining or sealing. Remember, patience is key. Sanding is a process that can’t be rushed if you want quality results. Take your time, pay attention to the details, and don’t forget to step back now and then to admire your work. There’s a great deal of satisfaction in seeing a worn-out hardwood floor regain its original charm and beauty under your careful workmanship. Happy sanding!Some Useful Links:
- Floor Sanding Services
- School Floor Sanding
- Wood Floor Restorations
- Wood Floor Repairs
- Wood Floor Polishing
More from our Blog:
DIY Hardwood Floor Sanding: A Comprehensive How-to Guide Mastering Wood Stripping & Sanding: Your Comprehensive Guide The top 6 places to buy Wood flooring in the UK | Mr Sander® Step-by-Step Guide to Sanding Your Wood Floor | Restore Your Floor’s Beauty Unraveling the Art of Fine Wood Floor Sanding | Detailed Guide

Sanding
We provide virtually dust-free sanding with our continuous belt machinery with mobile extraction units, giving you a safer environment for your family.
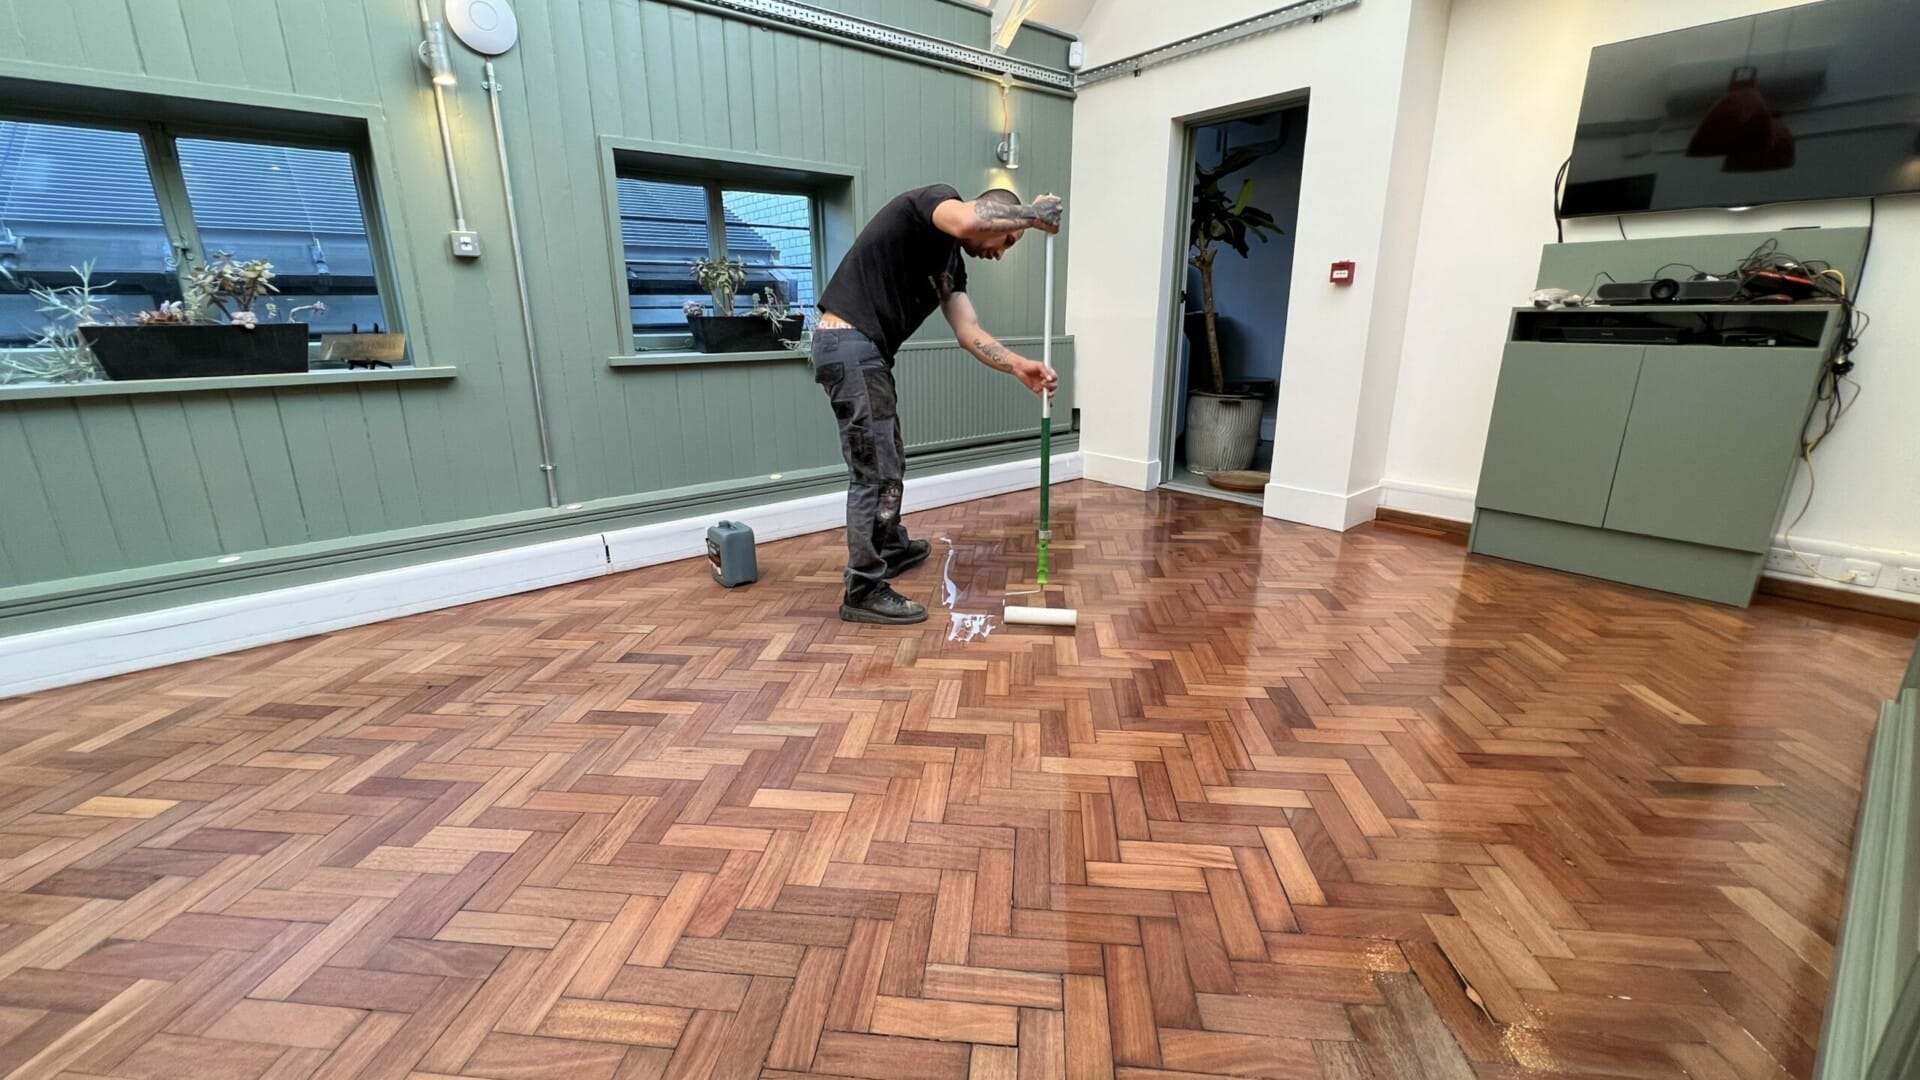
Oiling
This organic finish not only adds beauty to your home but also has exceptional water-repellent characteristics, making it easier to clean and maintain.
Waxing
This natural floor finish offers the softest and most mellow appearance – and leaves your floor able to breath.
Buffing
Using soft buffing machines (and hand-polishing where required) will bring a wonderful sheen to your newly-finished floor.
Repairs
We offer a full assessment of your wooden floors to determine what repairs are needed to provide the perfect working surface for the later stages of sanding, staining and sealing.
Restoration
We offer a comprehensive restoration process designed to address floors that are improperly fitted or damaged over time through wear and tear.
Request a fixed price quote for your wood floor restoration now
Simply enter your postcode below to get started.
Services
Wood Floor Sanding Wood Floor Restoration Wood Floor Scratch Repair Squeaky Wood Floor Repair Parquet Floor Sanding Parquet Floor Restoration Commercial Floor Sanding Church Floor Sanding Community Centre Floor Sanding School Floor Sanding Gap Filling Gap Filling with ResinCopyright © Mr Sander®
Privacy & Cookies Terms & Conditions Complaints Procedure Cancellation Rights Sitemap

Get An Instant Price Estimate Before You Go…
Simply enter the rooms you need sanded and we’ll provide you with a price estimate instantly! Try our price calculator now.
Get a Price Estimate NowLocal Floor Sanding Experts
Over 500 5-Star Reviews
Safe, Dust Free Sanding
Operating Since 1994