London:
Nationwide:
The Basics Of Hardwood Floor Sanding: A Beginner’s Guide to DIY
Posted on April 29, 2023
Articles
The Ultimate Guide to Hardwood Floor Sanding for Beginners
Hardwood floors are a beautiful and timeless addition to any home, but over time, they may lose their lustre due to wear and tear. Floor sanding is an excellent way to restore the beauty of your hardwood flooring, giving it a fresh and polished appearance. In this comprehensive guide, we will cover the basics of hardwood floor sanding, including the process, equipment, and tips for a successful DIY project.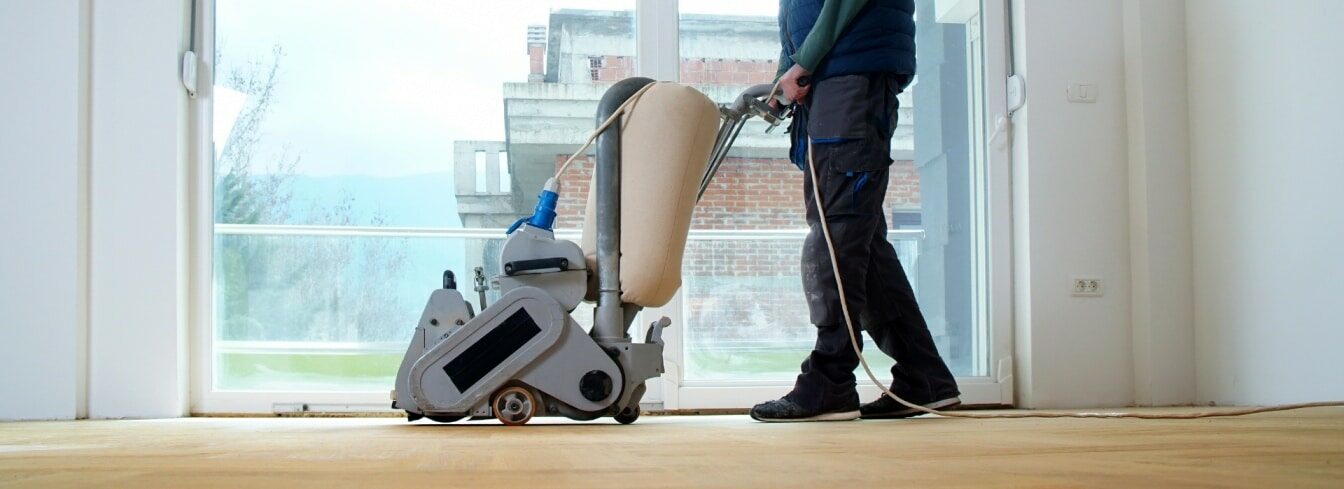
I. Understanding Hardwood Floor Sanding
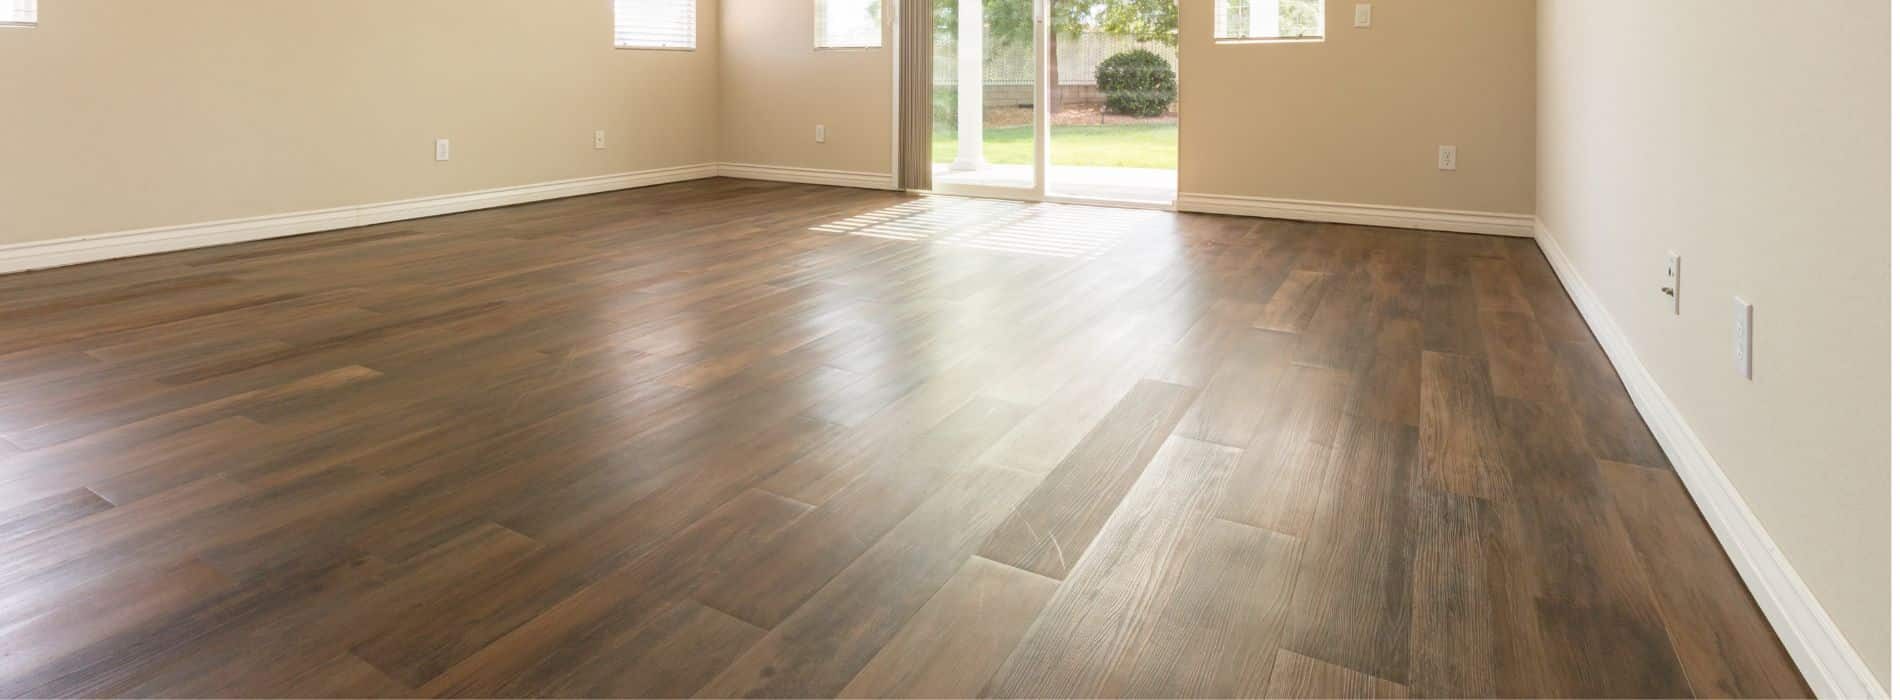
- What is floor sanding?Floor sanding is the process of removing the top layer of a hardwood floor to reveal a fresh, smooth surface beneath. This is typically done to repair scratches, dents, or other imperfections and to prepare the floor for refinishing or staining.
- Why is it necessary? Sanding is necessary to restore the appearance and prolong the life of your hardwood floors. It removes surface imperfections, levels uneven areas, and opens up the wood grain to accept a new stain or finish. A properly sanded and refinished floor will look like new and provide many more years of use.
- When should hardwood floors be sanded? Hardwood floors should be sanded when they show signs of wear or damage, such as deep scratches, gouges, or stains. Floors that have been waxed or treated with penetrating oil may also need sanding before they can be refinished. It’s important to note that solid hardwood floors can be sanded multiple times, while engineered hardwood floors can only be sanded once or twice, depending on the thickness of the top layer.

II. Tools and equipment needed
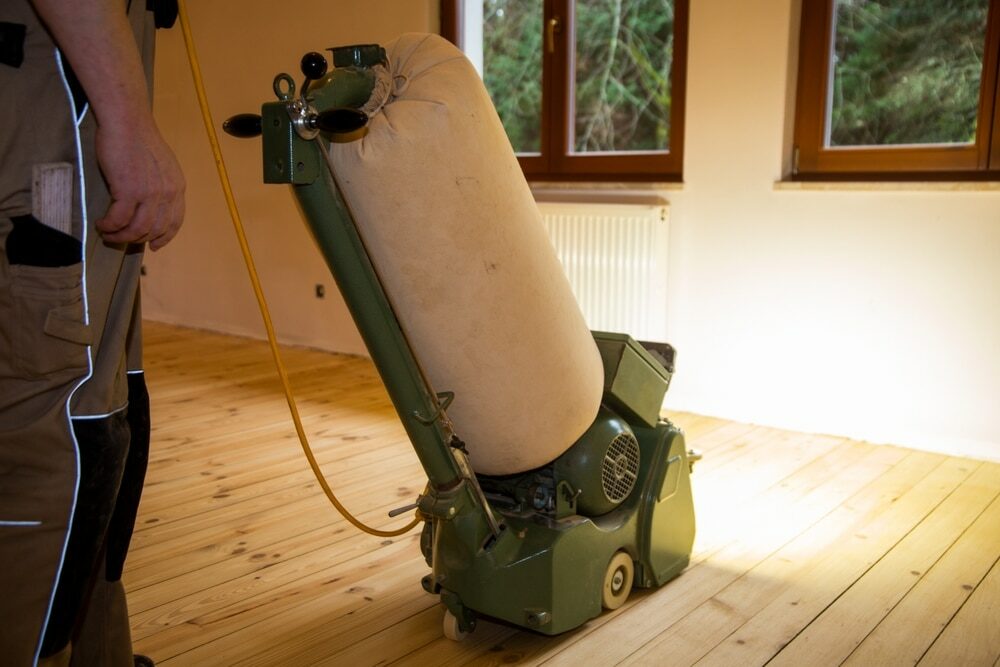
- Drum sander: A drum sander is a heavy-duty floor sanding machine that uses a rotating drum covered with sandpaper to remove the top layer of the floor. This is the primary tool used for sanding large areas.
- Edger: An edger is a smaller, handheld sanding machine designed for reaching tight spaces, corners, and edges where the drum sander cannot reach. It uses a spinning disc of sandpaper to remove material from the floor.
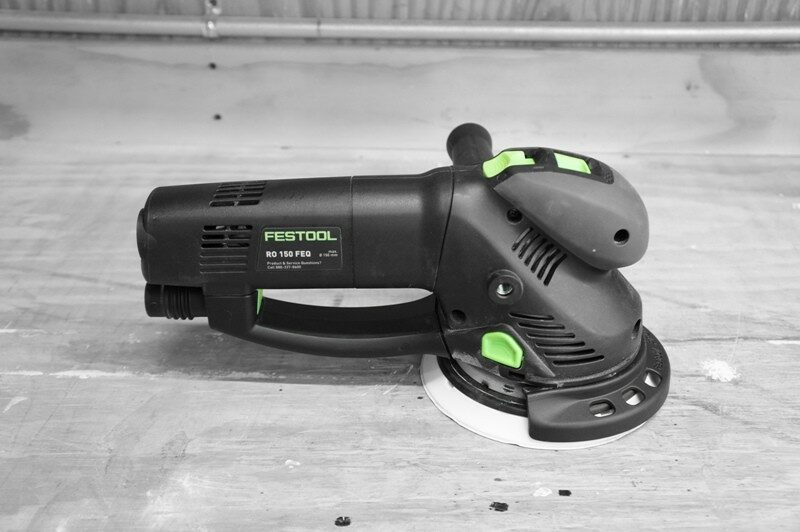
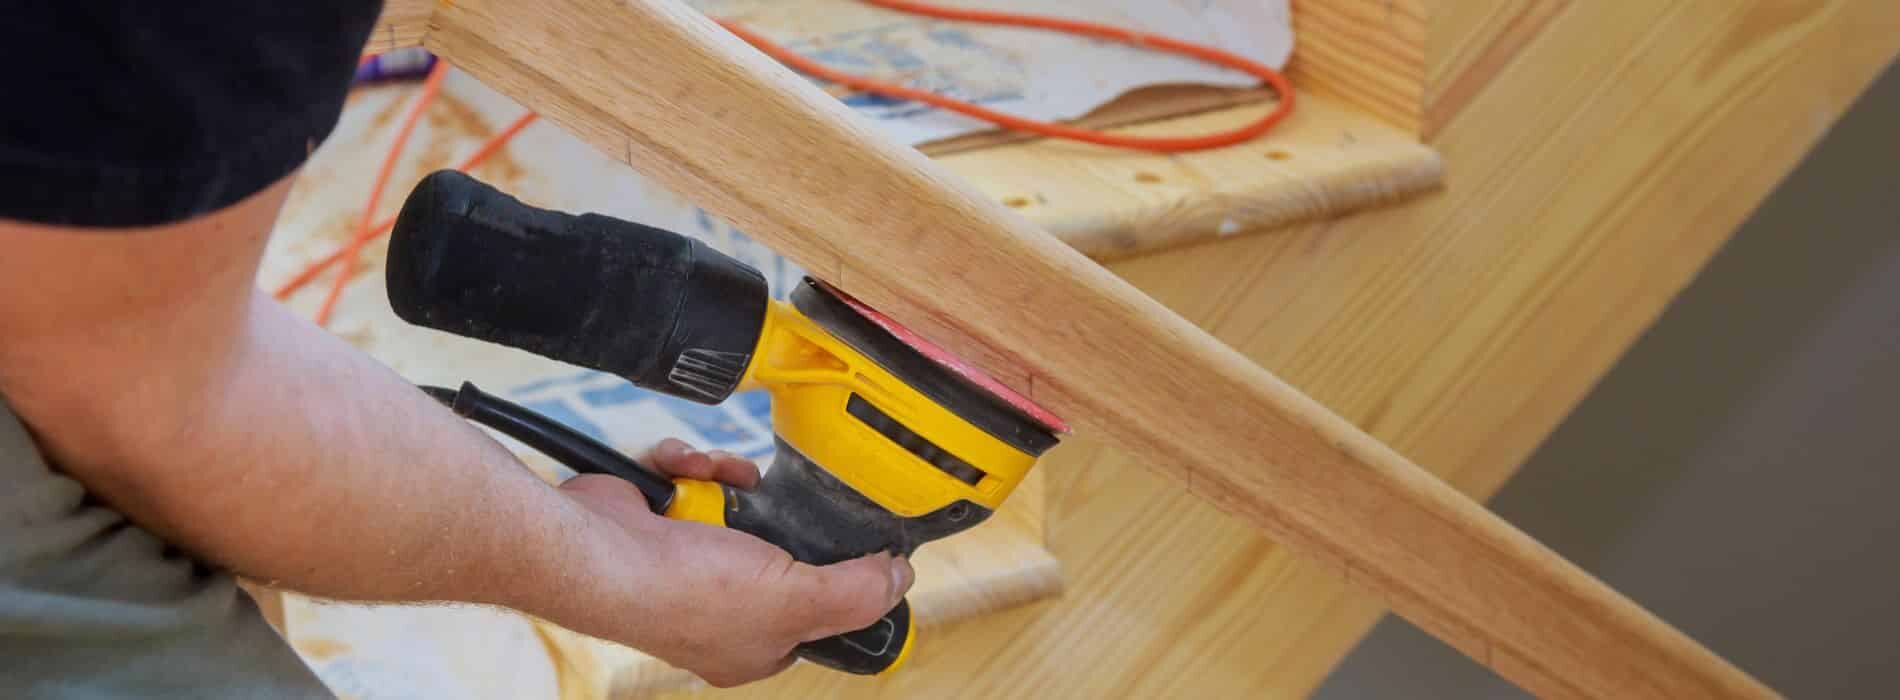
- Orbital sander: An orbital sander is a finishing tool that uses a vibrating sanding pad to smooth out the floor after the drum sander and edger have done their work. It’s excellent for blending the edges with the main floor area, creating a seamless finish.
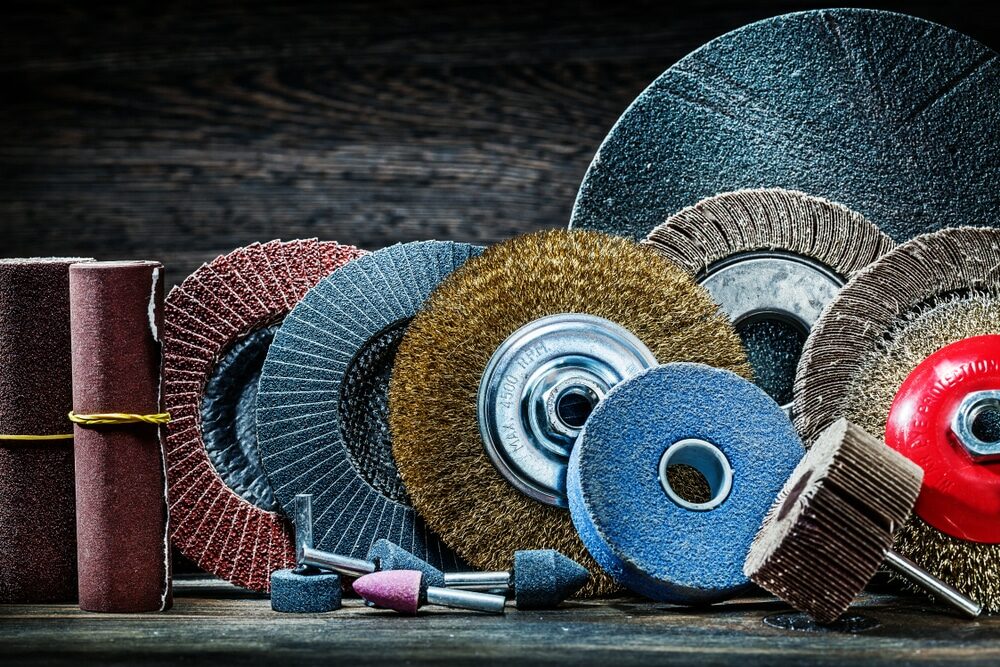
- Sandpaper: You will need various grits of sandpaper for your sanding machines, ranging from coarse (36 grit) to fine (100 or 120 grit). The specific grits needed will depend on the condition of your floor and the desired finish.
- Vacuum cleaner: A vacuum cleaner is essential for removing dust and debris from the floor between sanding stages. This ensures a smooth, clean surface for the next round of sanding or applying finish.
- Protective gear Safety goggles, ear protection, and a dust mask are crucial for protecting yourself from dust, debris, and noise during the sanding process.


 III. Preparing for Sanding
- Clear the room. Remove all furniture, rugs, and other items from the room to create a clean, unobstructed workspace.
- Inspect and repair the floor. Check the floor for loose boards, protruding nails, or other damage. Repair any issues before starting the sanding process.
- Clean the floor. Sweep or vacuum the floor thoroughly to remove dirt, dust, and debris. This will ensure that your sanding equipment doesn’t get clogged or damaged during the process.
IV. The Sanding Process
- Sanding with the drum sander: Start by sanding the main area of thefloor with the drum sander, moving in the direction of the wood grain. Begin with coarse-grit sandpaper (typically 36 grit) to remove the existing finish and surface imperfections. Make sure to keep the sander moving at all times to avoid creating divots or uneven spots. After the initial pass, vacuum the floor to remove dust and debris.
- Sanding with the edger: Next, use the edger to sand the perimeter of the room and any tight spaces where the drum sander could not reach. Be careful not to apply too much pressure, as this can create gouges in the floor. Again, start with coarse-grit sandpaper and vacuum the floor after sanding.
- Repeat the process with finer grits: After the initial pass with coarse-grit sandpaper, repeat the sanding process with progressively finer grits (e.g., 60 grit, 80 grit, and 100 or 120 grit). This will smooth the surface and prepare it for staining or finishing. Remember to vacuum the floor thoroughly between each grit change to ensure a clean, smooth surface.
- Final pass with the orbital sander For the final sanding pass, use an orbital sander with fine-grit sandpaper (100 or 120 grit) to blend the edges and the main floor area, creating a seamless finish. This step also helps remove any remaining swirl marks or imperfections. Vacuum the floor one last time to remove all dust and debris.
V. Post-Sanding Tips
- Assess the floor. After the final sanding pass, inspect the floor to ensure it’s smooth and free of imperfections. If necessary, address any remaining issues with a hand scraper or fine-grit sandpaper.
- Clean the room. Before applying any stain or finish, clean the room thoroughly to remove any lingering dust or debris. This includes vacuuming the floor, wiping down baseboards, and cleaning air vents or light fixtures. Cover any outlets, switches, or doorways with painter’s tape to protect them during the finishing process.
- Choose your finish. Select a stain colour and finish type that complement your home’s décor and personal style. Popular finish options include oil-based polyurethane, water-based polyurethane, and penetrating oil. Each has its own unique benefits and considerations, so research and choose the best option for your needs.
Some Useful Links:
Conclusion
Hardwood floor sanding is a necessary process to restore the beauty and longevity of your floors. By understanding the basics of floor sanding, you can embark on a successful DIY project that will leave your hardwood floors looking like new. Remember to take your time, follow safety precautions, and use the right tools and equipment for a professional-looking result. With proper care and maintenance, your refinished hardwood floors will provide years of beauty and enjoyment.More from our Blog:
10 Advantages of Hardwood Flooring over Tiles Hardwood Floor Sanding Guide: 10 Steps to Beautiful, Revitalized Floors Upgrade Your Home Elegantly with Dustless Wood Floor Sanding – A Comprehensive Guide Tips to Prevent Dust When Sanding Wooden Floors – A Comprehensive Guide Top 10 FAQ: About Floor Sanding & Varnishing for Stunning Floors
Sanding
We provide virtually dust-free sanding with our continuous belt machinery with mobile extraction units, giving you a safer environment for your family.
Oiling
This organic finish not only adds beauty to your home but also has exceptional water-repellent characteristics, making it easier to clean and maintain.
Waxing
This natural floor finish offers the softest and most mellow appearance – and leaves your floor able to breath.
Buffing
Using soft buffing machines (and hand-polishing where required) will bring a wonderful sheen to your newly-finished floor.
Repairs
We offer a full assessment of your wooden floors to determine what repairs are needed to provide the perfect working surface for the later stages of sanding, staining and sealing.
Restoration
We offer a comprehensive restoration process designed to address floors that are improperly fitted or damaged over time through wear and tear.
Request a fixed price quote for your wood floor restoration now
Simply enter your postcode below to get started.
Services
Wood Floor Sanding Wood Floor Restoration Wood Floor Scratch Repair Squeaky Wood Floor Repair Parquet Floor Sanding Parquet Floor Restoration Commercial Floor Sanding Church Floor Sanding Community Centre Floor Sanding School Floor Sanding Gap Filling Gap Filling with ResinCopyright © Mr Sander®
Privacy & Cookies Terms & Conditions Complaints Procedure Cancellation Rights Sitemap