London:
Nationwide:
25,000+
Floors Restored
27 Years Experience
Wood Flooring Association Certified
Refinishing an Engineered Wood Floor: A Comprehensive Guide
Posted on May 21, 2023
Articles
Comprehensive Guide to Refinishing an Engineered Wood Floor
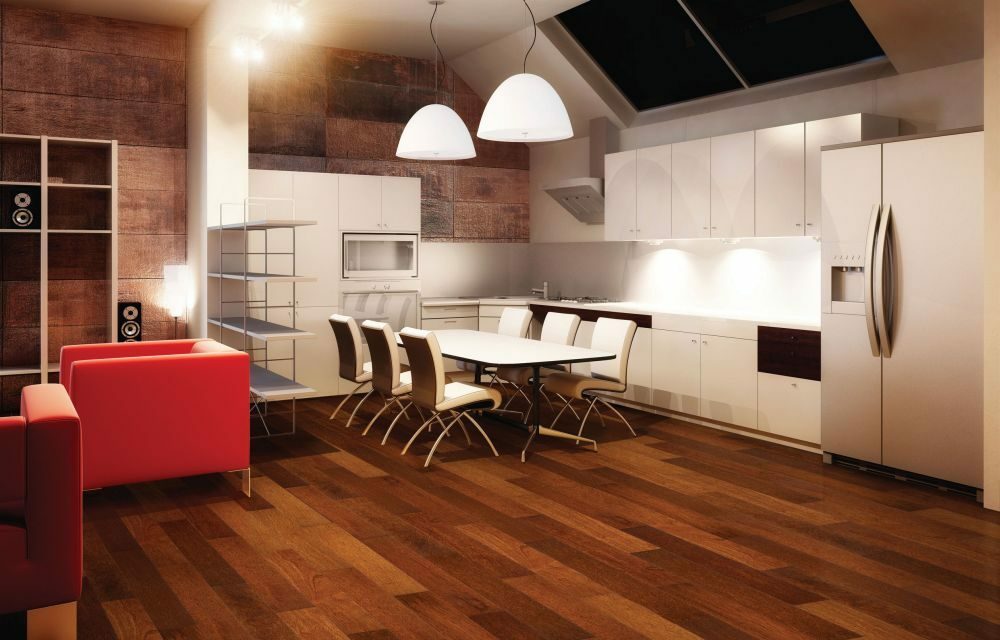
Engineered wood floors are a popular choice in many homes due to their durability and the versatility they offer in terms of styles and finishes. Over time, however, even these sturdy floors can show signs of wear and tear, including scratches, dents, or a dull finish. Fortunately, refinishing an engineered wood floor can give it a fresh new look. This guide offers in-depth information and step-by-step instructions on how to refinish your engineered wood floor.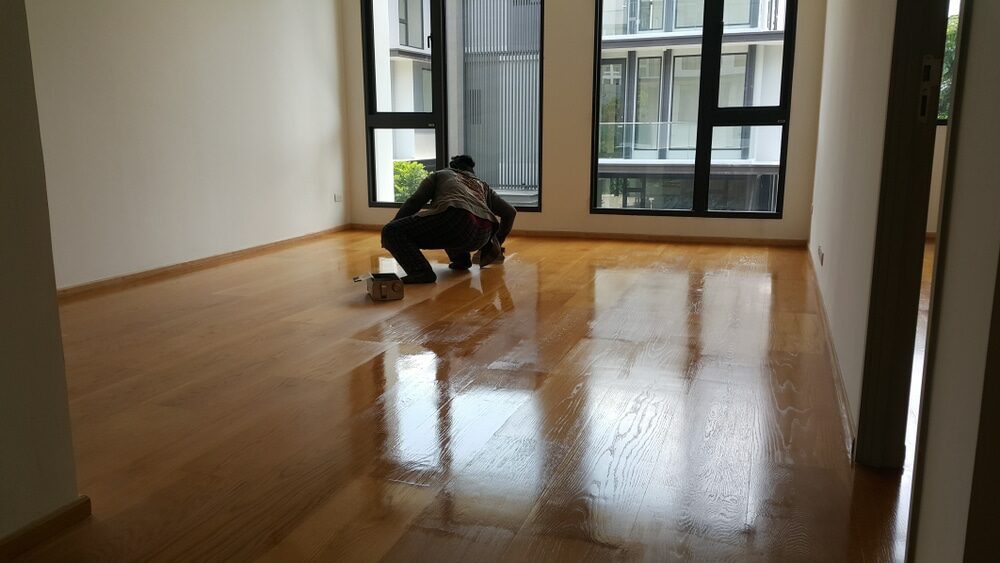
Understanding Engineered Wood Flooring
Engineered wood flooring consists of multiple layers of wood, including a top layer of hardwood veneer and layers of plywood, fiberboard, or other wood products beneath. It offers the beauty of hardwood with added stability. However, the thin top layer of hardwood means that engineered floors can only be refinished a limited number of times, depending on the thickness of the veneer.Materials and tools needed
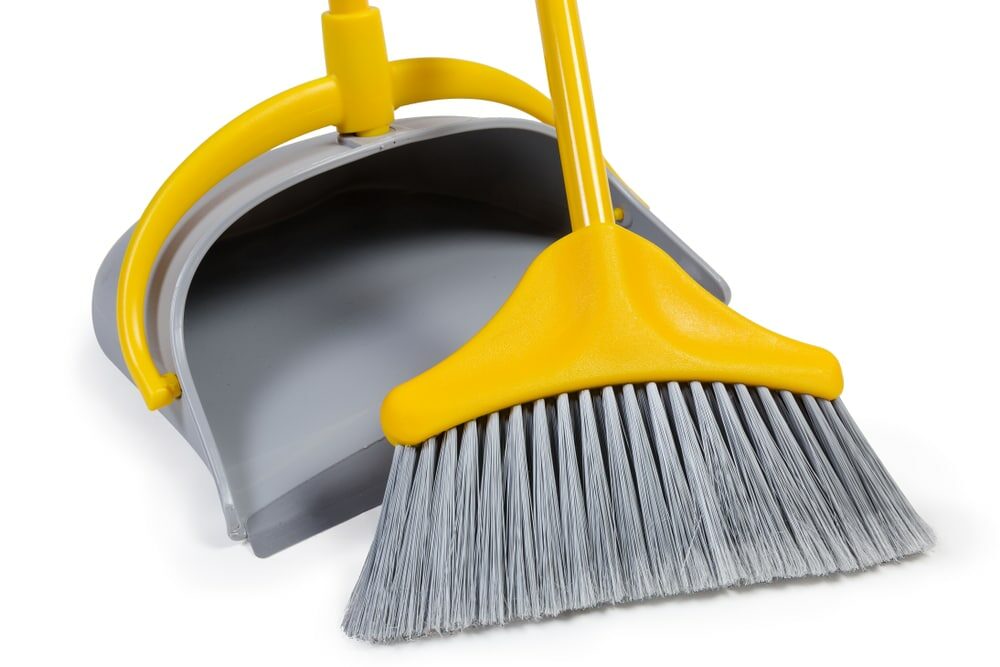
Refinishing an engineered wood floor requires several tools and materials:- Vacuum or broom
- Mop
- Mild wood cleaner
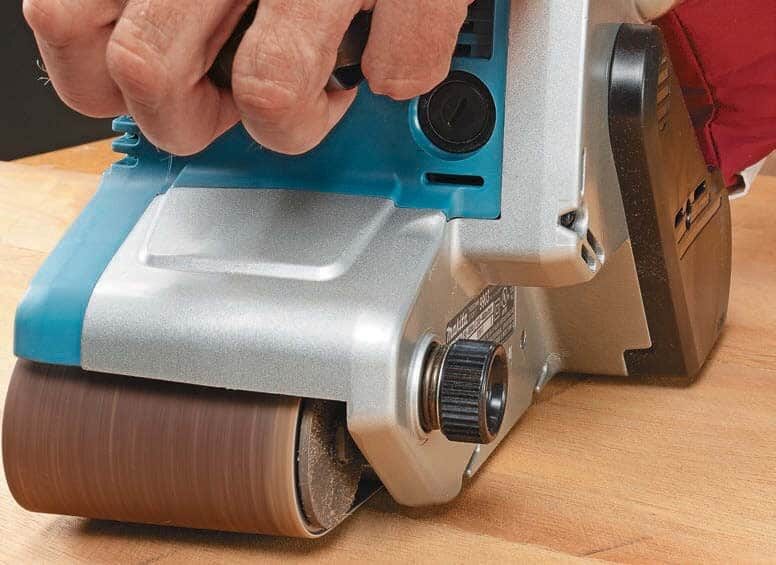
- Sandpaper or orbital sander
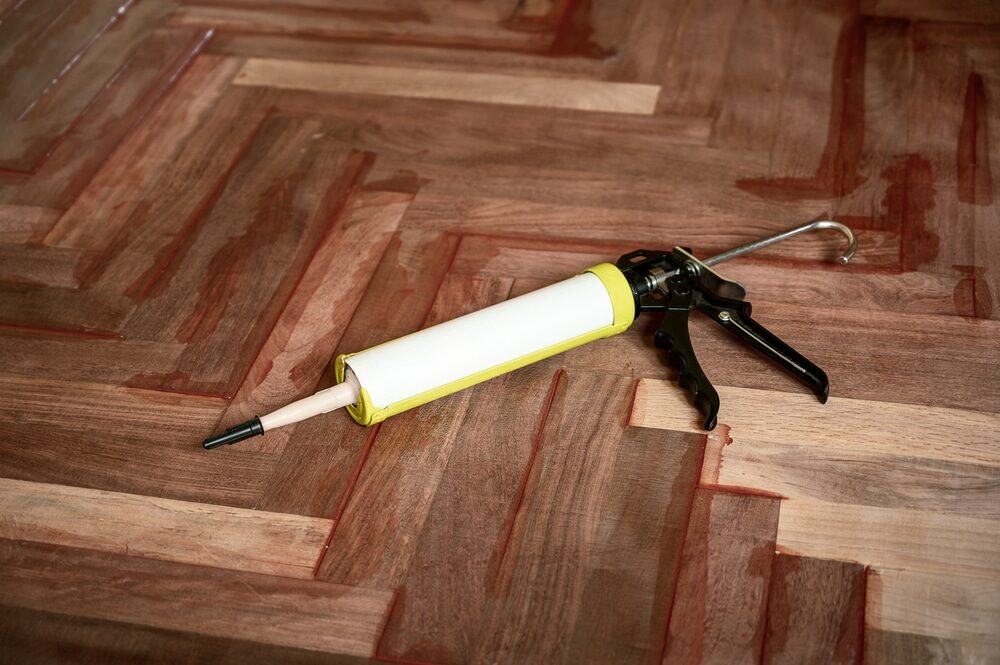
- Wood stain (optional)
- Polyurethane finish or other sealant
- Paintbrush or roller
- Safety gear (goggles, gloves, dust mask)

Refinishing Your Engineered Wood Floor: A Step-by-Step Guide
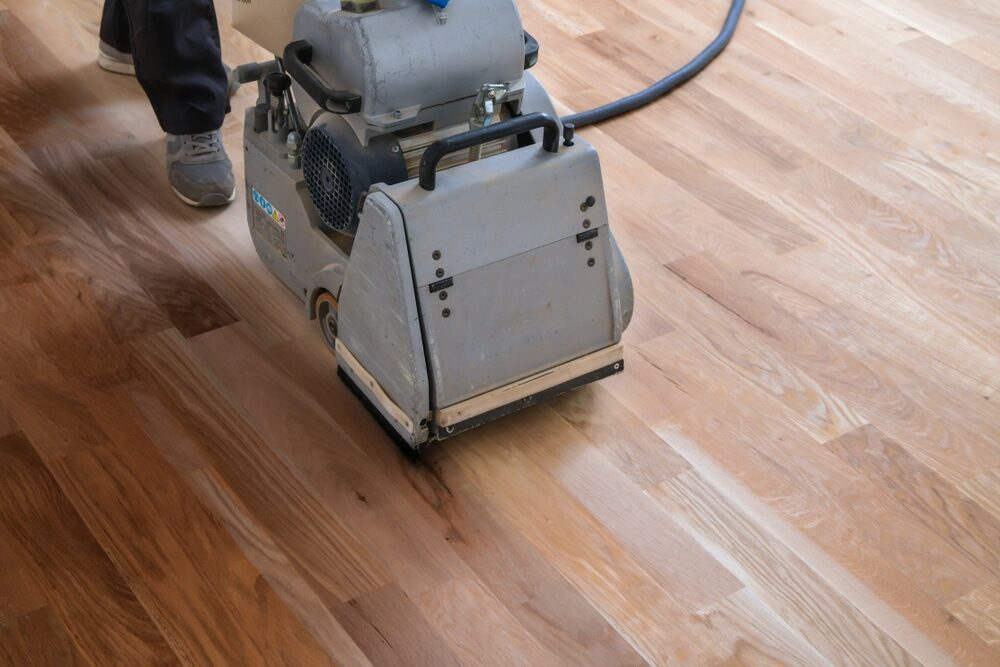
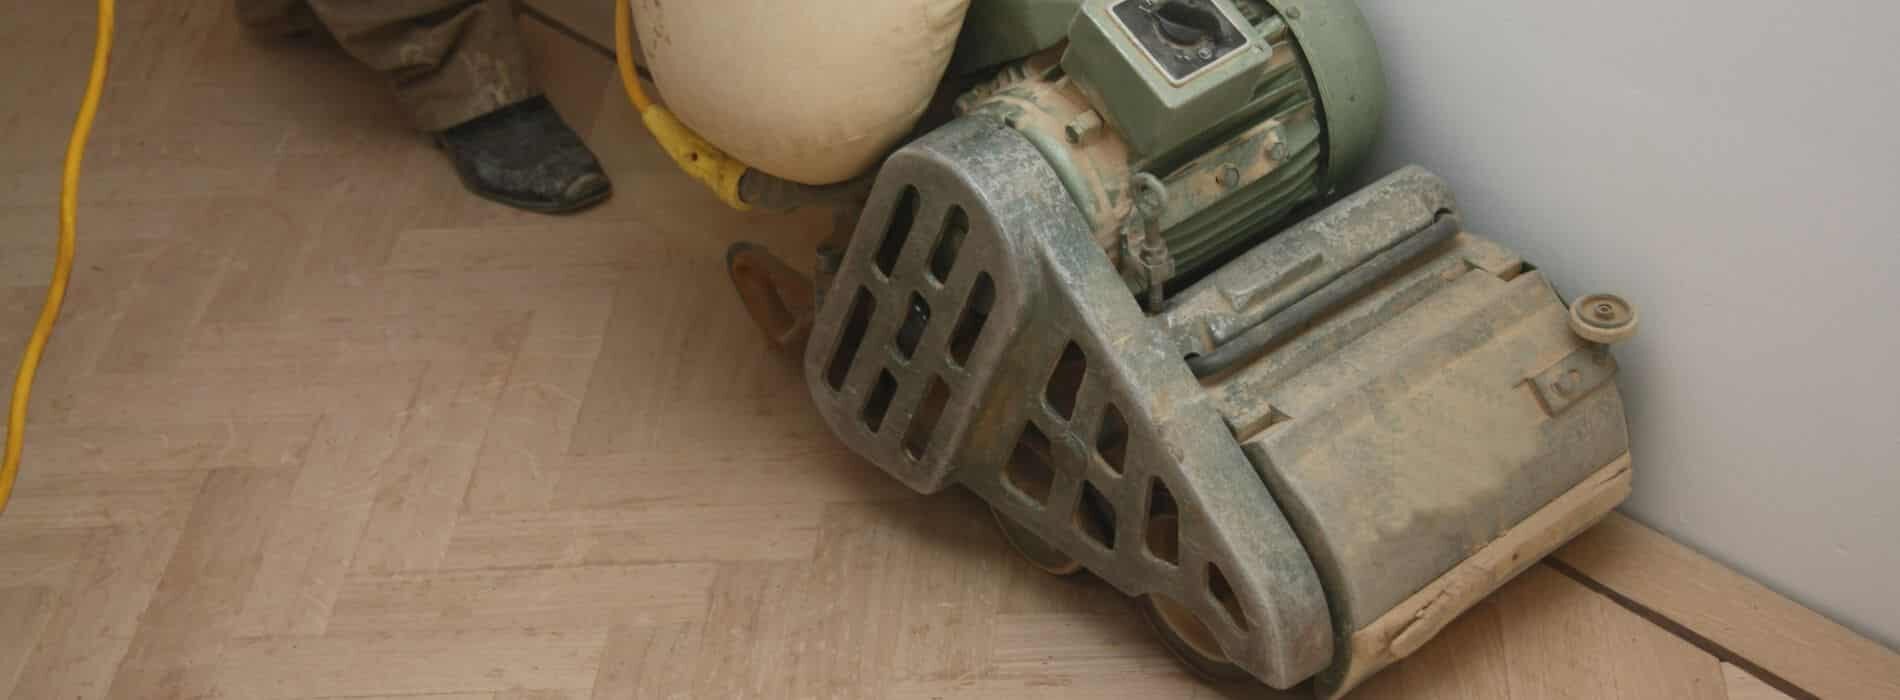
1. Clean your floor. Start by thoroughly cleaning your engineered wood floor. Remove all dust and debris using a vacuum or broom, and then mop the floor using a mild wood cleaner. Make sure the floor is completely dry before proceeding to the next step.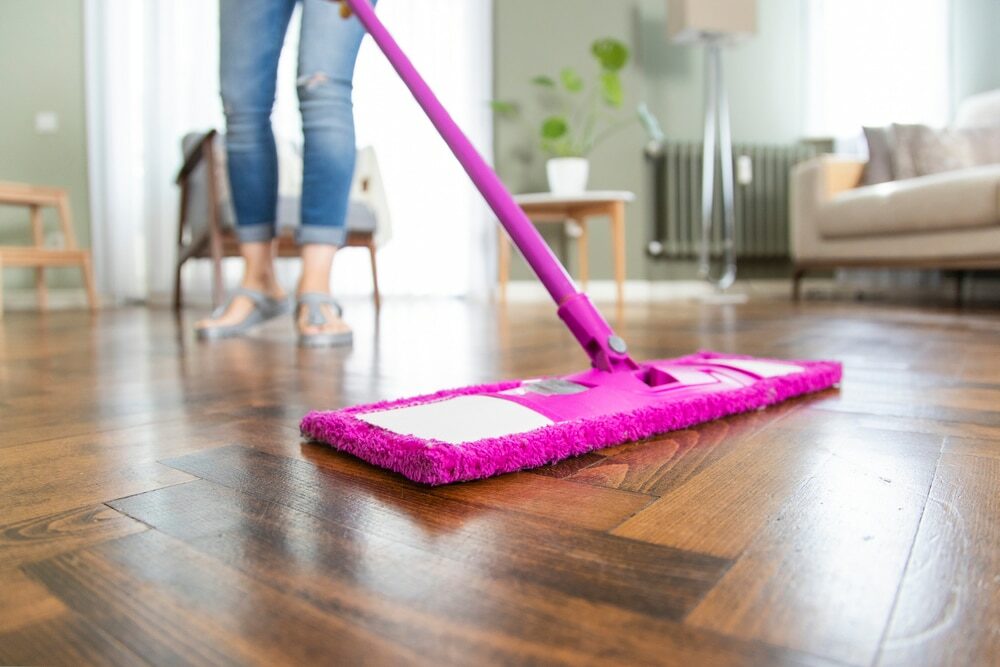 2. Light sanding
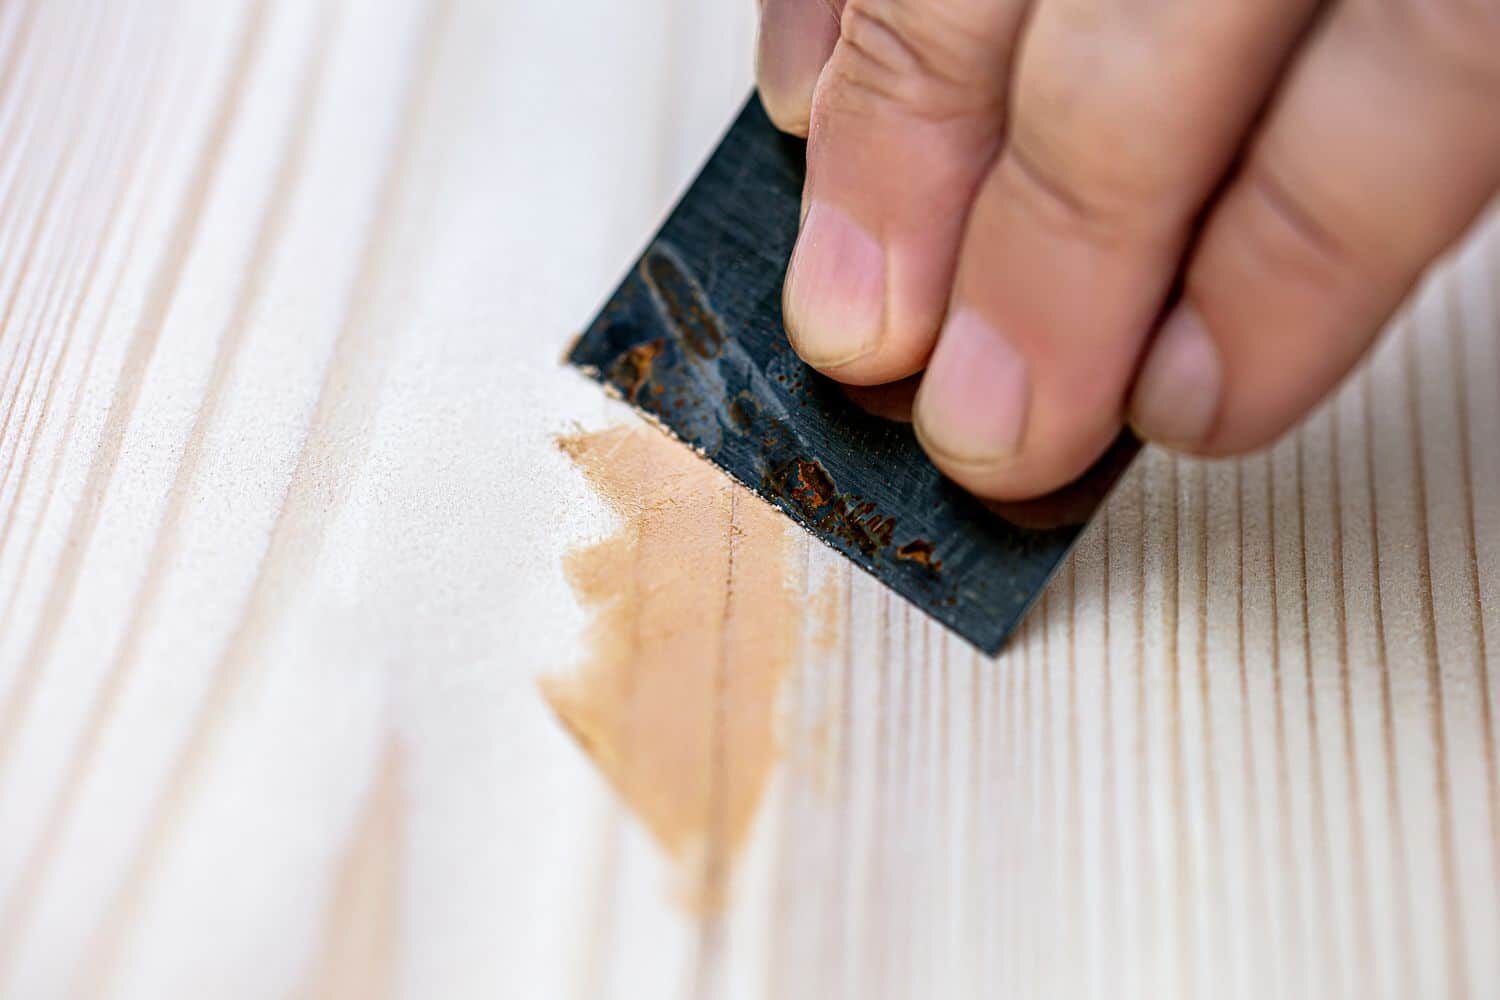
When sanding an engineered wood floor, it’s important to be gentle. Use an orbital sander with fine-grit sandpaper or manually sand the floor with the grain. The aim is to remove the old finish without sanding through the veneer layer. Remember to wear safety gear, including a dust mask, during this process.
2. Light sanding
When sanding an engineered wood floor, it’s important to be gentle. Use an orbital sander with fine-grit sandpaper or manually sand the floor with the grain. The aim is to remove the old finish without sanding through the veneer layer. Remember to wear safety gear, including a dust mask, during this process.
 3. Clean up the dust.
After sanding, thoroughly vacuum or sweep the floor to remove all dust. You can also wipe the floor with a damp cloth to ensure all sanding residue is removed.
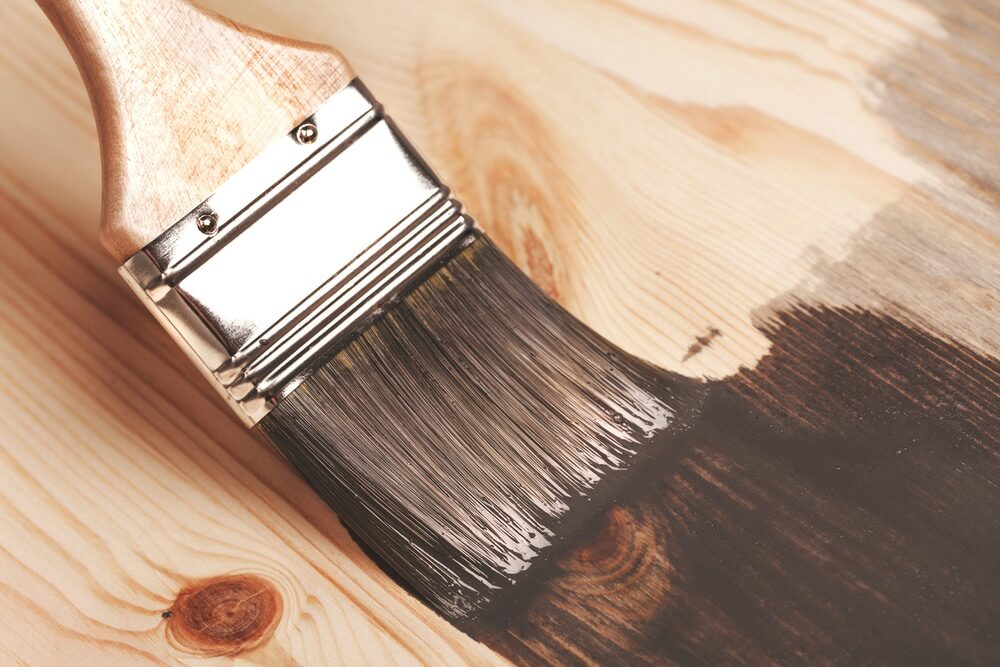
4. Apply the stain (if desired).
If you want to change the color of your engineered wood floor or enhance the wood grain, you can apply a wood stain. Make sure to test the stain on an inconspicuous area first to ensure you’re happy with the color. Apply the stain with a brush or cloth, following the grain of the wood, and then wipe off any excess. Allow the stain to dry fully before proceeding.
5. Apply the finish.
Once the stain is completely dry (if used), apply a polyurethane finish to seal the wood and provide a protective layer. Use a brush or roller to apply the finish, again following the grain of the wood. Allow the finish to dry as per the manufacturer’s instructions, and then apply a second coat for added durability.
3. Clean up the dust.
After sanding, thoroughly vacuum or sweep the floor to remove all dust. You can also wipe the floor with a damp cloth to ensure all sanding residue is removed.
4. Apply the stain (if desired).
If you want to change the color of your engineered wood floor or enhance the wood grain, you can apply a wood stain. Make sure to test the stain on an inconspicuous area first to ensure you’re happy with the color. Apply the stain with a brush or cloth, following the grain of the wood, and then wipe off any excess. Allow the stain to dry fully before proceeding.
5. Apply the finish.
Once the stain is completely dry (if used), apply a polyurethane finish to seal the wood and provide a protective layer. Use a brush or roller to apply the finish, again following the grain of the wood. Allow the finish to dry as per the manufacturer’s instructions, and then apply a second coat for added durability.
 6. Allow the floor to cure.
The drying time for the finish can vary, but typically it should be left to cure for at least 48 hours before the floor can be used. Be sure to ventilate the room well during this time to aid in the drying process and disperse any fumes.
6. Allow the floor to cure.
The drying time for the finish can vary, but typically it should be left to cure for at least 48 hours before the floor can be used. Be sure to ventilate the room well during this time to aid in the drying process and disperse any fumes.
Tips for Successful Refinishing
- Always test products and processes in a hidden area or on spare pieces of flooring before applying them to the entire floor.
- When sanding, work methodically and evenly across the floor to avoid creating uneven patches.
- Consider the type and color of finish or stain you use. Lighter colors can help hide future scratches or dents more effectively than darker ones.
- Always follow the manufacturer’s instructions for all products used, from cleaning agents to the finish. This ensures that you get the best possible results and prevents any unintended damage to your floors.
When to seek professional help
Refinishing an engineered wood floor can be a DIY project for those who are handy and have the necessary tools. However, because engineered wood has a thinner layer of actual hardwood, there’s less room for error when sanding and refinishing compared to solid hardwood floors. If you are unsure about your ability to do this yourself or if your engineered wood floor is heavily damaged, it may be wise to hire a professional. Professionals have the necessary experience and tools to refinish your floor without damaging the veneer layer.Maintaining your refinished engineered wood floor
After refinishing your engineered wood floor, proper maintenance can keep it looking beautiful for many years. Sweep or vacuum regularly to remove dirt and debris that could scratch the floor. Clean up any spills immediately to prevent water damage. Additionally, using rugs in high-traffic areas can help protect your floors and prolong their newly refinished appearance.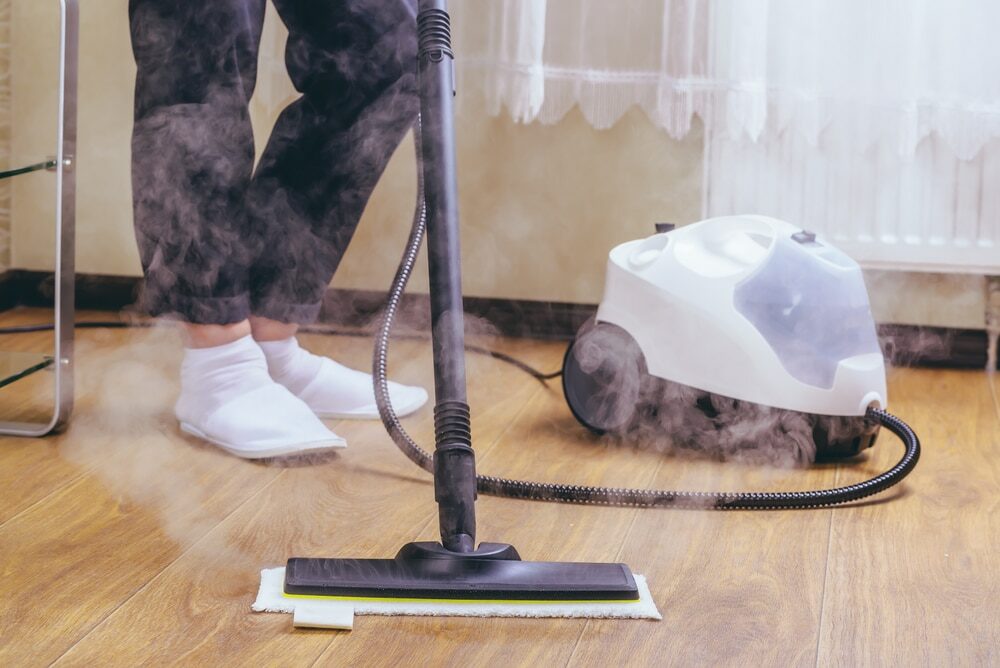
Conclusion
Refinishing an engineered wood floor can breathe new life into your home, adding beauty and value. Though the process requires some time, effort, and patience, the end result can be a stunning, revitalized floor that enhances your living spaces. However, it’s crucial to approach this task with care due to the unique structure of engineered wood. Whether you choose the DIY route or hire a professional, this comprehensive guide can help you understand what the process entails. With proper refinishing and subsequent maintenance, your engineered wood floor can continue to be a cherished feature in your home for many years to come.Some Useful Links:
- Stairs Sanding & Refinishing
- Floor Sanding Services
- School Floor Sanding
- Wood Floor Restorations
- Wood Floor Repairs
- Wood Floor Polishing
More from our Blog:
Revive Your Interiors: Refreshing Wood Flooring in Your London Home DIY Guide: Filling Gaps in Wood Floors to Restore Their Beauty Engineered Wood Floor Installation in London Homes at Mr Sander® How to Install a Solid Bamboo Floor: A Step-by-Step Guide Wood Floor Sanding Machines: Your Comprehensive Guide for Restoration Success Revamp Your Home with Professional Floor Sanding Services in London DIY Wood Floor Installation: Step-by-Step Guide for Homeowners
Sanding
We provide virtually dust-free sanding with our continuous belt machinery with mobile extraction units, giving you a safer environment for your family.
Oiling
This organic finish not only adds beauty to your home but also has exceptional water-repellent characteristics, making it easier to clean and maintain.
Waxing
This natural floor finish offers the softest and most mellow appearance – and leaves your floor able to breath.
Buffing
Using soft buffing machines (and hand-polishing where required) will bring a wonderful sheen to your newly-finished floor.
Repairs
We offer a full assessment of your wooden floors to determine what repairs are needed to provide the perfect working surface for the later stages of sanding, staining and sealing.
Restoration
We offer a comprehensive restoration process designed to address floors that are improperly fitted or damaged over time through wear and tear.
Request a fixed price quote for your wood floor restoration now
Simply enter your postcode below to get started.
Services
Wood Floor Sanding Wood Floor Restoration Wood Floor Scratch Repair Squeaky Wood Floor Repair Parquet Floor Sanding Parquet Floor Restoration Commercial Floor Sanding Church Floor Sanding Community Centre Floor Sanding School Floor Sanding Gap Filling Gap Filling with ResinCopyright © Mr Sander®
Privacy & Cookies Terms & Conditions Complaints Procedure Cancellation Rights Sitemap

Get An Instant Price Estimate Before You Go…
Simply enter the rooms you need sanded and we’ll provide you with a price estimate instantly! Try our price calculator now.
Get a Price Estimate NowLocal Floor Sanding Experts
Over 500 5-Star Reviews
Safe, Dust Free Sanding
Operating Since 1994