London:
Nationwide:
25,000+
Floors Restored
27 Years Experience
Wood Flooring Association Certified
A DIY Guide to Sanding Your Hardwood Floor Successfully
Posted on May 16, 2023
Articles
A Comprehensive Guide: How to Sand Your Hardwood Floor Successfully
Hardwood floors add beauty and value to any home, but they require regular maintenance to keep them looking their best. One of the most important and involved parts of this maintenance is sanding. In this guide, we’ll delve into the process of hardwood floor sanding, providing a detailed look at each step and offering tips to help you achieve the best possible results.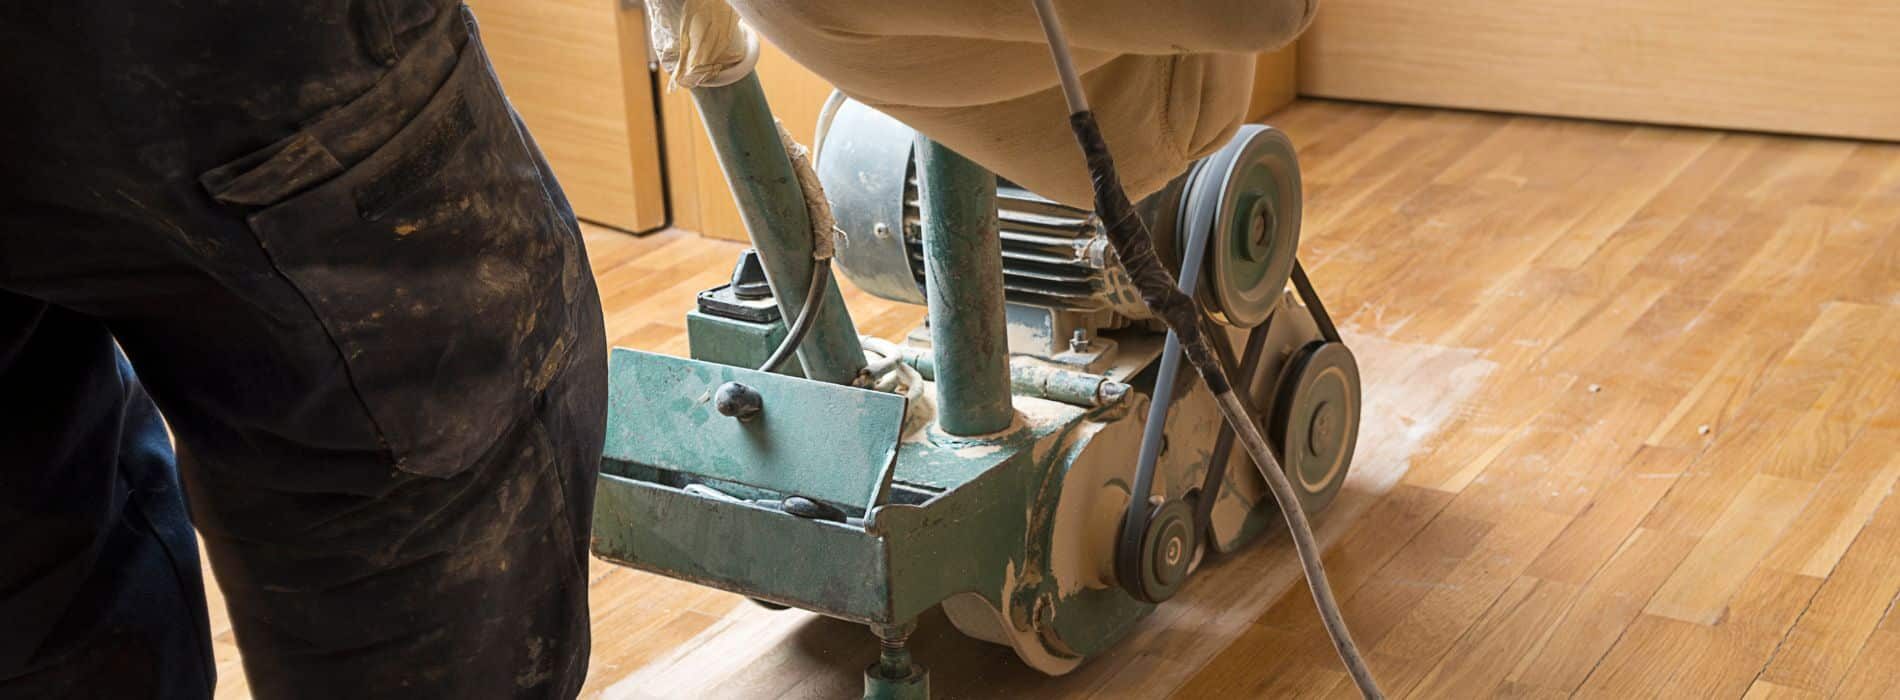
1: The Importance of Floor Sanding
Sanding is a crucial step in restoring hardwood floors. It removes the old finish, smooths out imperfections, and prepares the floor for a new finish. This process can breathe new life into your floors, enhancing their natural beauty and prolonging their lifespan.2: Assessing the Condition of Your Hardwood Floor
Before you begin sanding, it’s essential to assess the condition of your floor. Check for deep scratches, dents, or stains that may require more intensive sanding. Also, note the thickness of your floorboards. Remember, not all floors can be sanded multiple times, especially if they’re engineered hardwood with a thin veneer.3: Gathering the Necessary Tools
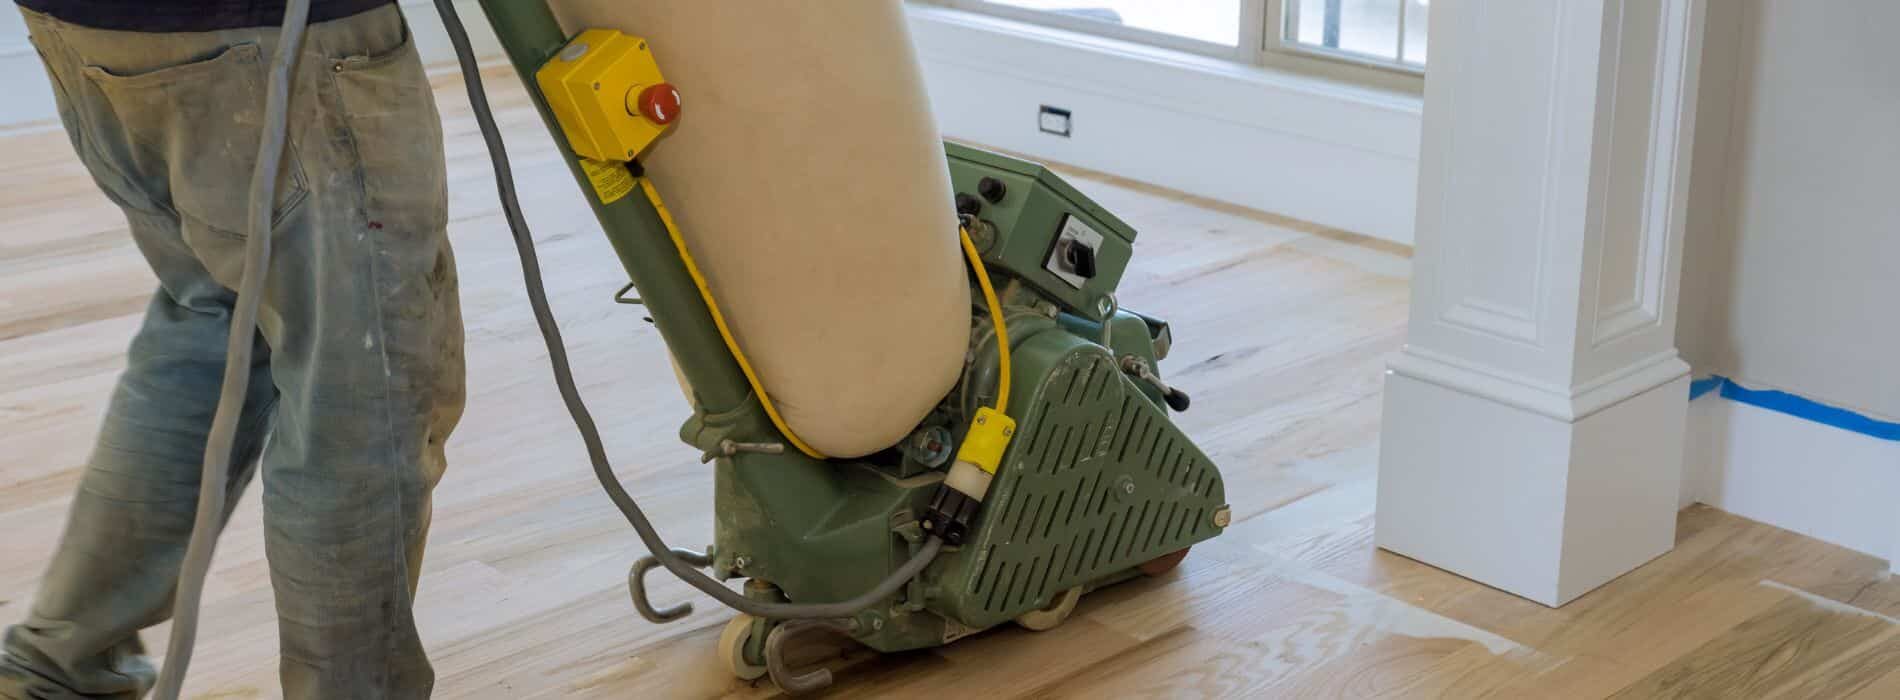
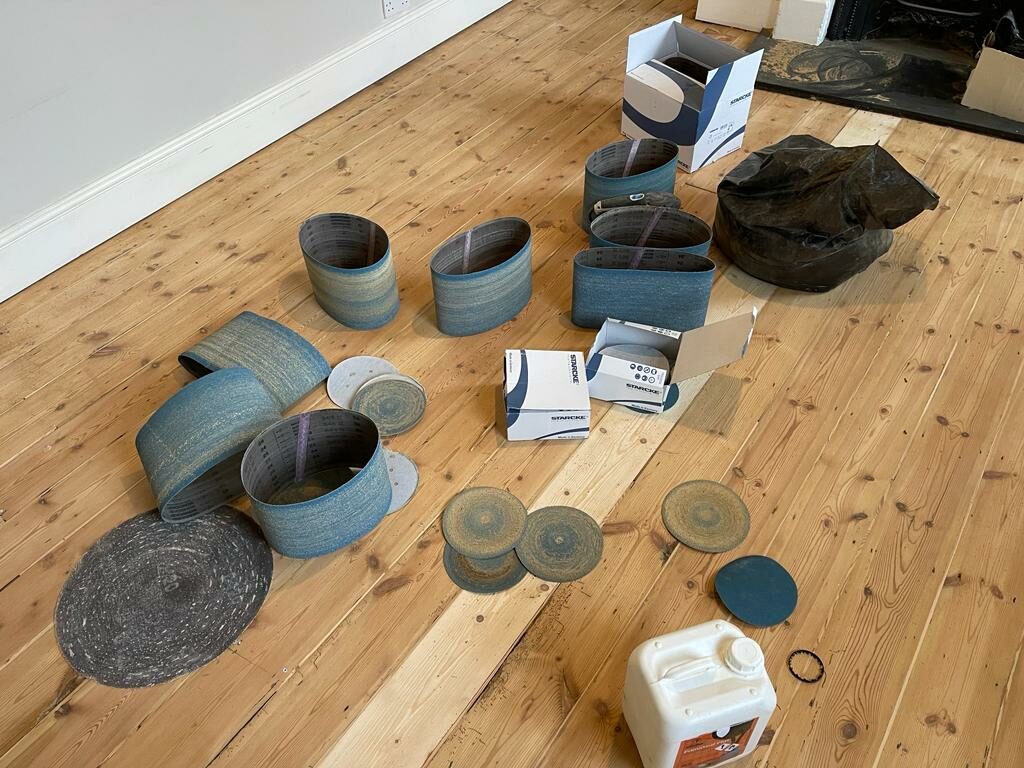
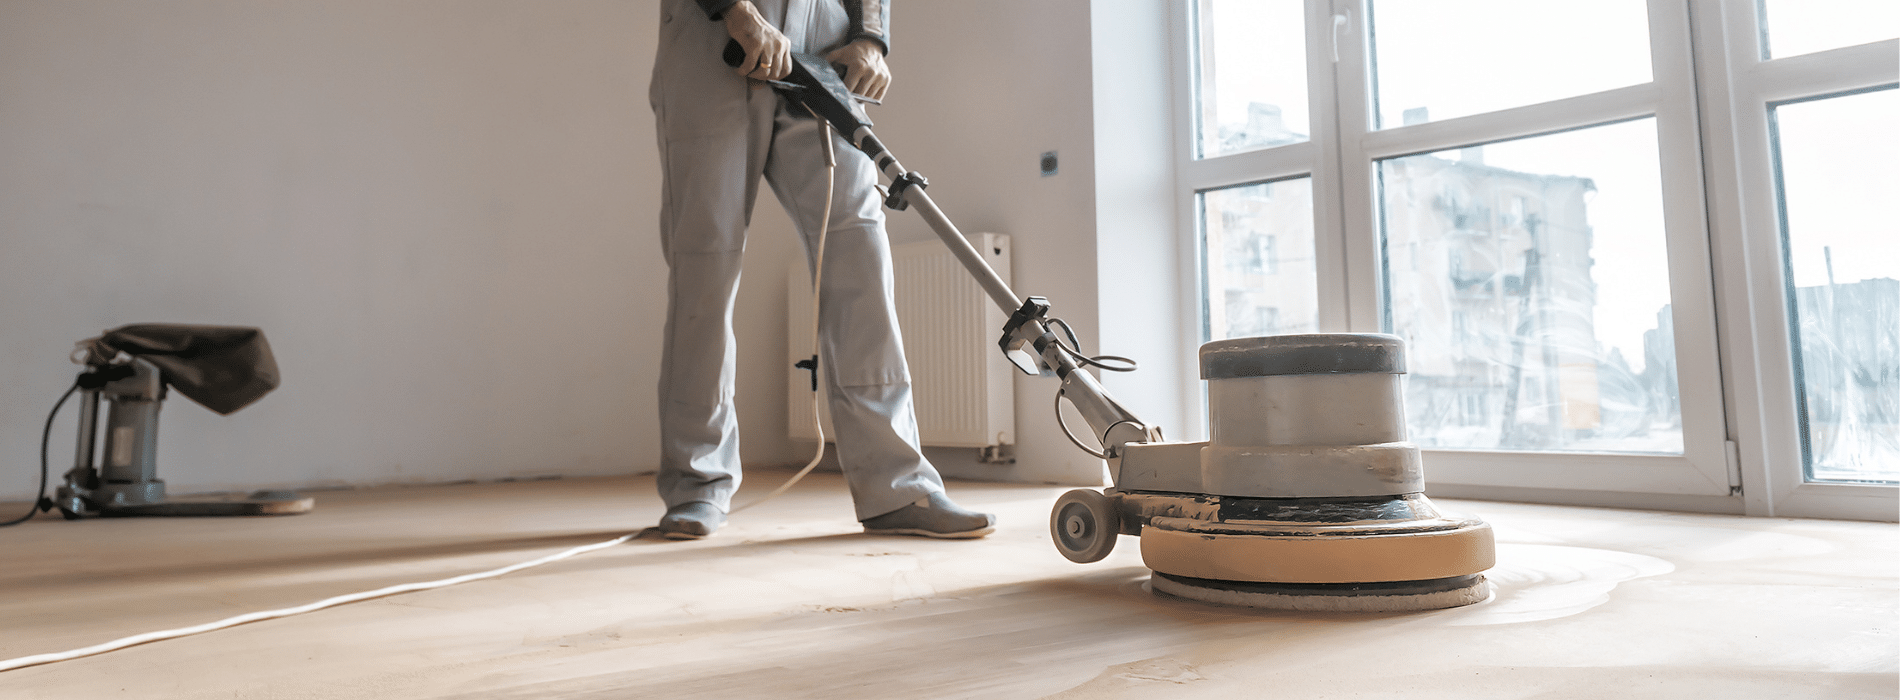
To sand your hardwood floor successfully, you’ll need a few key tools:- Drum or orbital sander: These powerful tools are ideal for sanding large areas.
- Edger: This tool is used for sanding corners and edges that the larger sanders can’t reach.
- Sandpaper: You’ll need a variety of grits, from coarse to fine.
- Vacuum cleaner: This helps to clean up dust and debris between sanding stages.
- Safety Gear: Protective eyewear, a dust mask, and ear protection are a must.
4: Preparing for Sanding
Preparation is key to a successful sanding project. Remove all furniture from the room and cover any fixed objects or doorways with plastic sheeting to protect them from dust. Make sure your floor is clean and free of any nails or staples that could damage your sanding equipment.5: The Sanding Process
Start with coarse-grit sandpaper to remove the old finish and any significant imperfections. Always sand along the grain of the wood, never against it. Begin with the main part of the floor using the drum or orbital sander, then use the edger for corners and edges.
6: Progressing Through Grits
After the initial pass, clean up the dust before moving on to a finer grit sandpaper. Each pass should remove the scratches from the previous grit and smooth the floor further. Repeat this process, progressing through finer and finer grits until the floor is smooth and all scratches are removed.7: Cleaning Up
After the final sanding pass, vacuum thoroughly and wipe down the floor with a damp cloth to remove any remaining dust. Any leftover dust can interfere with your new finish, so this step is crucial.
8: Applying a New Finish
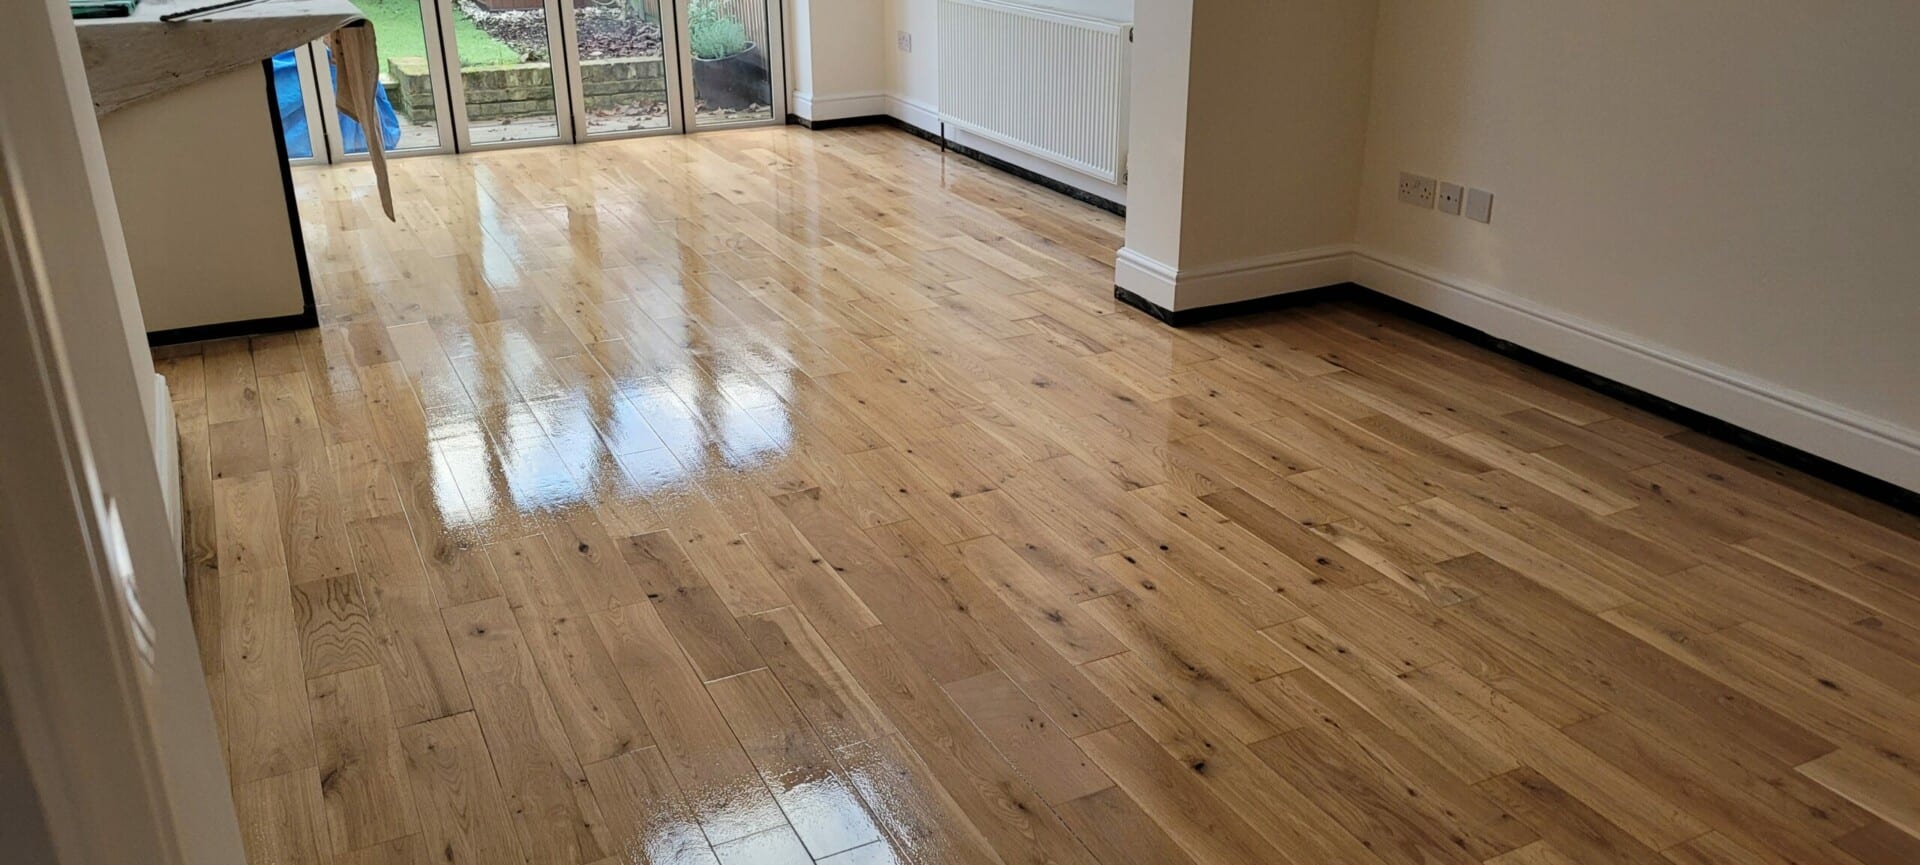
With your floor sanded and cleaned, you’re ready to apply a new finish. There are various options available, including stains, oils, and polyurethane coatings. Whichever you choose, be sure to apply it evenly, following the manufacturer’s instructions.
9: Aftercare and Maintenance
After the finish is applied and has had time to dry, your floor is ready to be used again. To keep it looking its best, clean it regularly and avoid dragging heavy furniture across it. If you notice any scratches or dents, address them promptly to prevent further damage.Conclusion
With careful preparation, the right tools, and a methodical approach, you can successfully sand your hardwood floors, resulting in a smooth, beautiful surface ready for a new finish.Remember, sanding is a physically demanding and time-consuming task. It also requires a degree of skill and expertise to avoid damaging your floor. If you’re not comfortable doing this work yourself or if your floor is in poor condition, it may be worth hiring a professional. A professional floor sander has the experience and equipment necessary to do the job efficiently and to a high standard. Sanding your hardwood floors can bring back their original charm and prolong their lifespan. This task requires time, patience, and a willingness to get a little dusty, but the results can be stunning. Your newly sanded floor will not only look better but also be more resilient and easier to maintain in the future. So, roll up your sleeves, power up that sander, and give your hardwood floors the love they deserve.
Some Useful Links:
- Floor Sanding Services
- School Floor Sanding
- Wood Floor Restorations
- Wood Floor Repairs
- Wood Floor Polishing
More from our Blog:
Mastering Wood Floor Sanding: A Comprehensive Guide to Doing It RightAchieve a Perfect Refinish for Your Hardwood Floor: Comprehensive DIY Guide
The Definitive Guide to Professional Wood Floor Restoration Services
Wood Floor Sanding in Your London Home
Hardwood Floor Restoration – Wood Floor Restoration Services in London


Sanding
We provide virtually dust-free sanding with our continuous belt machinery with mobile extraction units, giving you a safer environment for your family.
Oiling
This organic finish not only adds beauty to your home but also has exceptional water-repellent characteristics, making it easier to clean and maintain.
Waxing
This natural floor finish offers the softest and most mellow appearance – and leaves your floor able to breath.
Buffing
Using soft buffing machines (and hand-polishing where required) will bring a wonderful sheen to your newly-finished floor.
Repairs
We offer a full assessment of your wooden floors to determine what repairs are needed to provide the perfect working surface for the later stages of sanding, staining and sealing.
Restoration
We offer a comprehensive restoration process designed to address floors that are improperly fitted or damaged over time through wear and tear.
Request a fixed price quote for your wood floor restoration now
Simply enter your postcode below to get started.
Services
Wood Floor Sanding Wood Floor Restoration Wood Floor Scratch Repair Squeaky Wood Floor Repair Parquet Floor Sanding Parquet Floor Restoration Commercial Floor Sanding Church Floor Sanding Community Centre Floor Sanding School Floor Sanding Gap Filling Gap Filling with ResinCopyright © Mr Sander®
Privacy & Cookies Terms & Conditions Complaints Procedure Cancellation Rights Sitemap

Get An Instant Price Estimate Before You Go…
Simply enter the rooms you need sanded and we’ll provide you with a price estimate instantly! Try our price calculator now.
Get a Price Estimate NowLocal Floor Sanding Experts
Over 500 5-Star Reviews
Safe, Dust Free Sanding
Operating Since 1994