London:
Nationwide:
25,000+
Floors Restored
27 Years Experience
Wood Flooring Association Certified
Sanding and Sealing Hardwood Floors and Parquet
Posted on April 9, 2023
Articles
Hardwood floors and parquet are the epitome of elegance and warmth, adding a touch of class to any home. However, with time and use, these beautiful floors can lose their lustre, becoming dull and scratched. To restore them to their former glory, a sanding and sealing process is often necessary. In this comprehensive guide, we will explore the ins and outs of sanding and sealing hardwood floors and parquet, giving you a complete understanding of the process, necessary tools, and best practises.
- The Importance of Sanding and Sealing Hardwood Floors and Parquet
- Understanding the Types of Hardwood Floors and Parquet
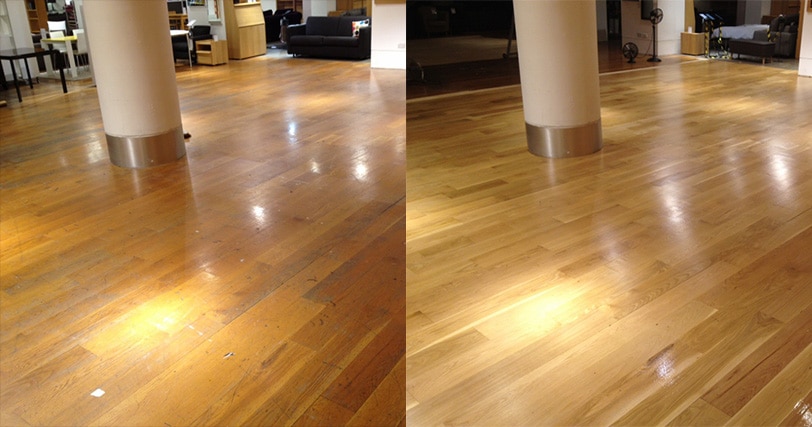
Sanding and sealing hardwood floors and parquet are essential to maintaining their beauty and durability. Sanding removes the worn, scratched surface layer, revealing the fresh wood beneath. It also levels out the floor, eliminating any unevenness or imperfections that may have developed over time. Sealing the floor protects the wood from moisture, stains, and everyday wear and tear, preserving its appearance and extending its life. Regular sanding and sealing can dramatically improve the look and feel of your hardwood floors and parquet, ensuring that they remain a stunning centrepiece in your home for years to come. Before diving into the sanding and sealing process, it is crucial to understand the different types of hardwood floors and parquet. This knowledge will help you choose the right approach, tools, and materials for your specific flooring.
a. Solid Hardwood Floors Solid hardwood floors are made from a single piece of wood and are typically 3/4 inch thick. They can be sanded and refinished multiple times, making them a long-lasting and versatile option for homeowners. Common wood species for solid hardwood floors include oak, maple, cherry, and walnut.
b. Engineered Hardwood Floors Engineered hardwood floors consist of a top layer of hardwood veneer attached to layers of plywood or another wood-based material. While they can be sanded and refinished, they typically have a thinner top layer, which limits the number of times this can be done. Engineered hardwood floors are more resistant to moisture and humidity, making them a suitable choice for areas prone to these conditions.
c. Parquet Floors Parquet floors are made from small, geometrically arranged pieces of wood, creating intricate patterns and designs. Parquet can be made from solid or engineered wood, and the sanding and sealing process may vary depending on the type and thickness of the wood used. Due to the complex patterns, parquet floors require special care and attention during the sanding process to avoid damaging the design.
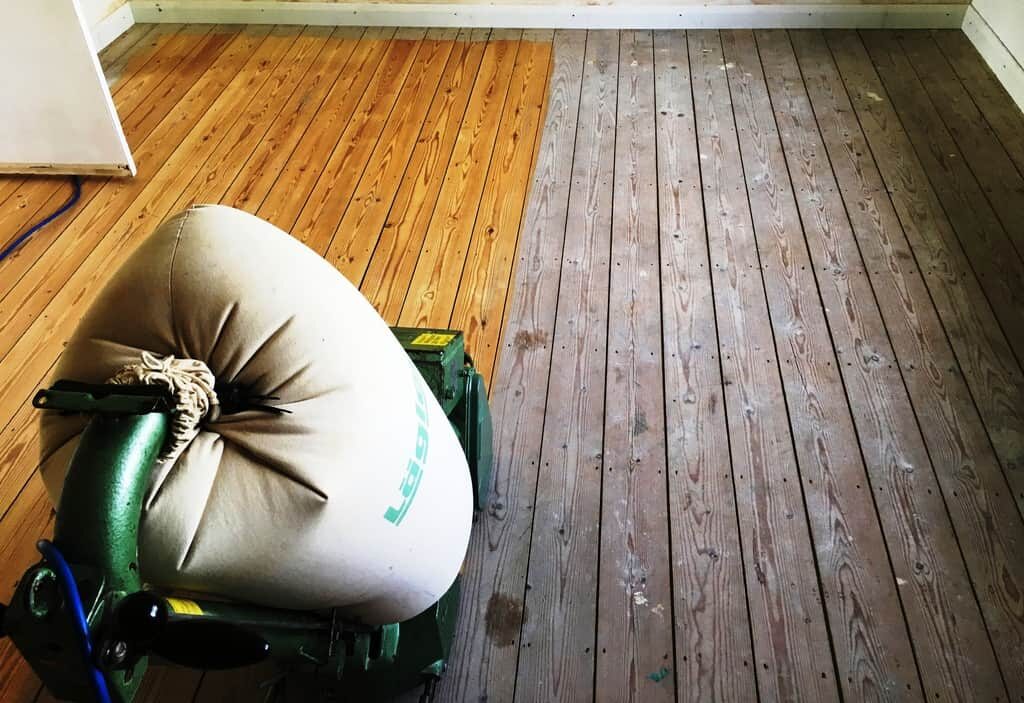
- The Sanding Process: A Step-by-Step Guide
Sanding hardwood floors and parquet is a multi-step process that requires patience and attention to detail. Below is a step-by-step guide to help you achieve professional results:
a. Prepare the room
- Remove all furniture, rugs, and other items from the room.
- Inspect the floor for any protruding nails, staples, or other debris and remove or hammer them down.
- Clean the floor thoroughly, making sure to remove any dust, dirt, and debris.
b. Choose the right sandpaper grit and sanding machine
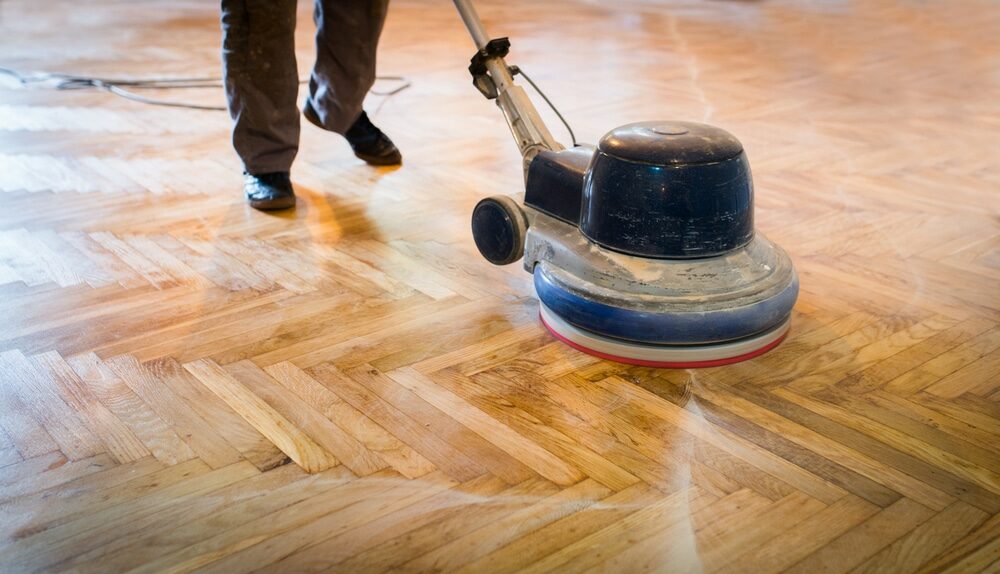
- Select the appropriate sanding machine for your flooring type. For hardwood floors, a drum sander or orbital sander is typically used, while a specialised parquet sander is required for parquet floors.
- Determine the right sandpaper grit for your floor. For heavily scratched or damaged floors, start with a coarser grit (e.g., 24 or 36) and work your way up to finer grits (e.g., 80 or 100) as you progress through the sanding process.
c. Begin sanding
- Put on protective gear, including safety goggles, ear protection, and a dust mask, to protect yourself from dust and debris.
- Start sanding in the direction of the wood grain using the coarsest grit sandpaper. Make sure to keep the sanding machine moving at all times to avoid creating divots or uneven areas in the floor.
- For parquet floors, sand in the direction of the wood grain for each individual piece, being careful not to damage the intricate patterns.
d. progress to finer grits
- After completing the first pass with the coarsest grit, vacuum the floor to remove dust and debris.
- Move on to the next finest grit sandpaper and repeat the sanding process. Continue this pattern, working your way up to the finest grit (e.g., 120 or 150) to achieve a smooth, even surface.
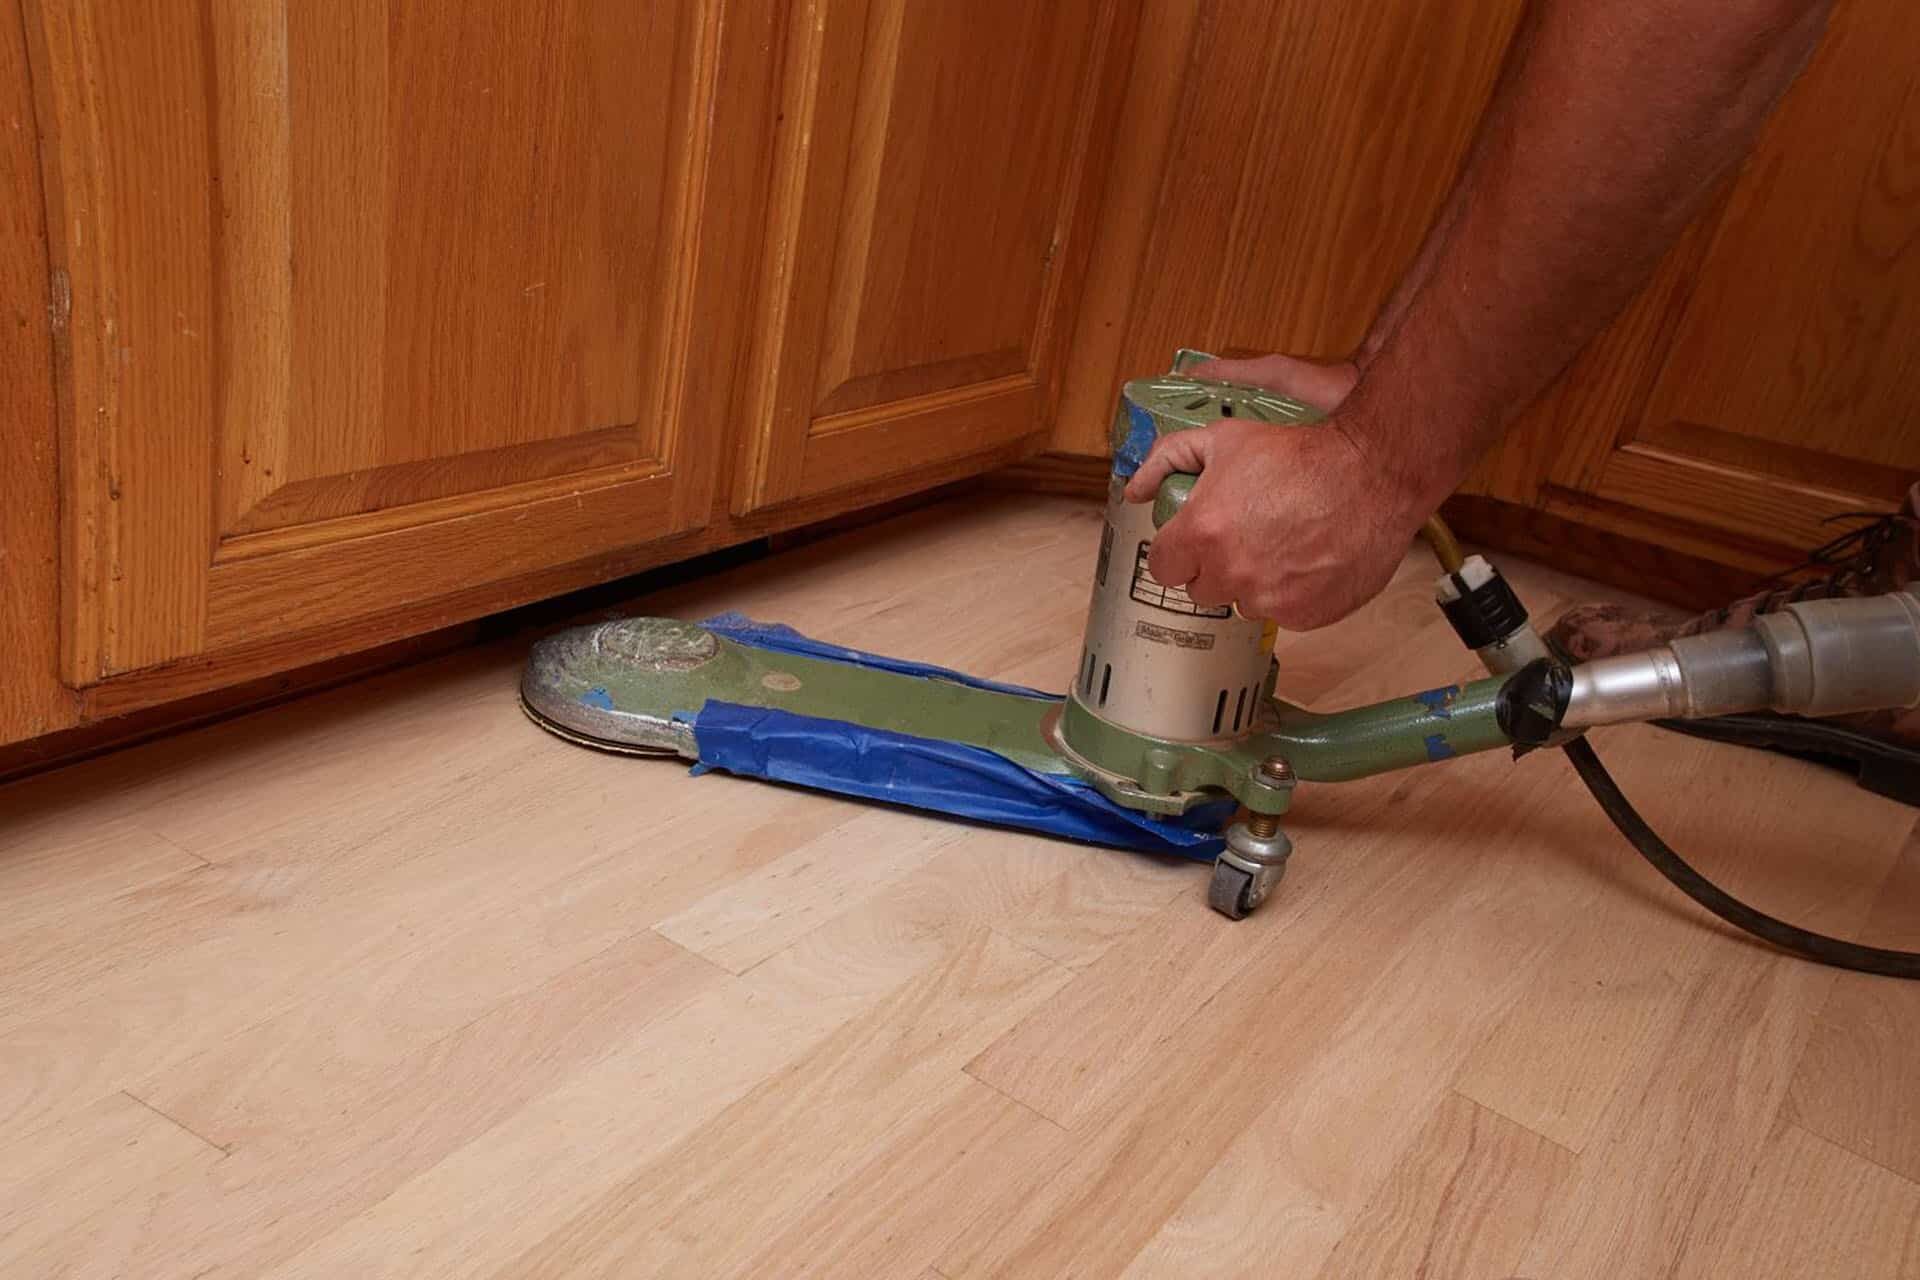
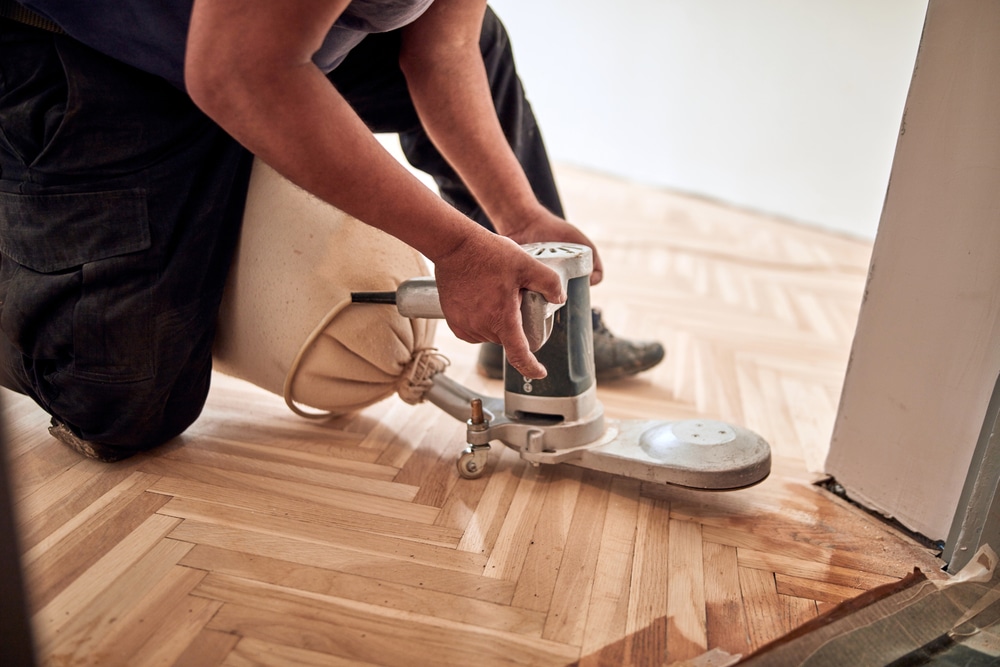
e. edge sanding
- Use an edge sander or hand-held orbital sander to sand the areas near the walls and other hard-to-reach places. Be cautious not to damage the baseboards or trim.
f. Final cleanup
- Vacuum the floor thoroughly to remove all dust and debris from the sanding process.
- Wipe down the floor with a microfiber cloth or tack cloth to ensure a completely dust-free surface before moving on to the sealing process.
- The Sealing Process: Choosing the Right Sealant and Application Techniques
Sealing your hardwood floors and parquet floors protects the wood and enhances its natural beauty. Here’s how to choose the right sealant and apply it correctly:
a. Select the appropriate sealant.
- There are several types of sealants to choose from, including polyurethane (oil-based or water-based), varnish, and penetrating oil. Consider factors such as durability, drying time, and desired finish when making your selection.
b. Prepare the floor
- Ensure the floor is completely clean and free of dust before applying the sealant. Any dust or debris left on the surface can cause imperfections in the final finish.
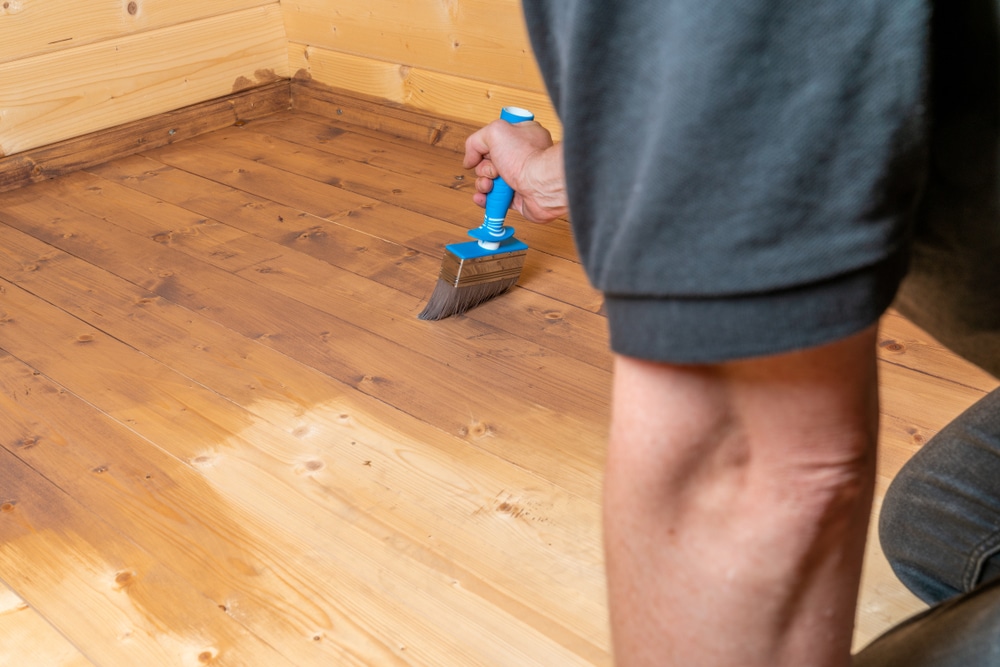
c. Apply the sealant
- Put on protective gear, including gloves and a respirator, to protect yourself from fumes.
- Use a high-quality brush or applicator pad to apply the sealant in the direction of the wood grain. Apply thin, even coats, being careful not to leave streaks or pooling.
- For parquet floors, apply the sealant carefully along the wood grain of each piece, avoiding overlapping or smudging the patterns.
d. Allow the sealant to dry
- Follow the manufacturer’s instructions for drying time between coats. Most sealants require at least 24 hours to dry before applying additional coats or walking on the floor.
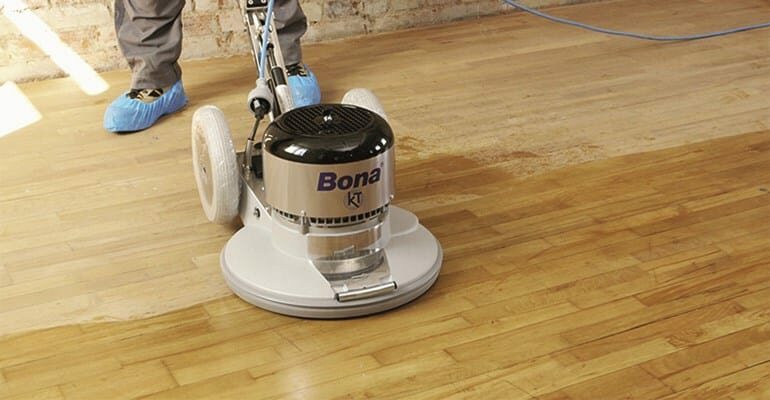
e. Apply additional coats
- Lightly sand the floor between coats using a fine-grit sandpaper (e.g., 220) to ensure proper adhesion and a smooth finish.
- Apply the recommended number of coats for your chosen sealant, allowing ample drying time between each coat.
- DIY vs. Professional Services: Which One is Right for You?
While sanding and sealing hardwood floors and parquet can be a DIY project, it can also be time-consuming and labor-intensive, with
a steep learning curve for those unfamiliar with the process. Here are some factors to consider when deciding whether to tackle the project yourself or hire a professional:
a. Skill level
- If you’re experienced with home improvement projects and feel confident in your ability to handle the process, a DIY approach may be a suitable option. However, if you’re new to this type of work or unsure about your skills, hiring a professional may be the best choice.
b. Time commitment
- Sanding and sealing hardwood floors and parquet can be a time-consuming process, taking several days to complete, depending on the size of the room and the number of coats required. If you have the time and patience to dedicate to the project, a DIY approach may be feasible. If not, hiring a professional can save you time and ensure the job is done efficiently.
c. Cost
- DIY sanding and sealing can be more cost-effective, especially if you already have the necessary tools and equipment. However, if you need to rent or purchase equipment, the cost may be similar to hiring a professional. Additionally, hiring a professional can help avoid costly mistakes and ensure a high-quality result.
d. quality of work
- Professionals have the experience, knowledge, and tools to achieve a flawless finish on your hardwood floors and parquet. If you’re concerned about achieving professional-quality results, hiring an expert may be the best option.
- Common mistakes and how to avoid them
Here are some common mistakes to avoid when sanding and sealing hardwood floors and parquet:
a. Not preparing the floor properly
- Failing to remove all furniture, rugs, and debris from the room can lead to damage or an uneven finish. Ensure the room is completely empty and the floor is thoroughly cleaned before beginning the sanding and sealing process.
b. skipping grits during the sanding process
- Using the wrong sandpaper grit or skipping grits can result in an uneven or rough surface. Start with the coarsest grit necessary for your floor and progress through finer grits to achieve a smooth, even surface.
c. Applying too much sealant
- Applying too much sealant can cause pooling or streaks, leading to an uneven finish. Use a high-quality brush or applicator pad to apply thin, even coats of sealant, following the manufacturer’s instructions for coverage and drying time.
d. Not allowing enough drying time between coats
- Failing to allow ample drying time between coats of sealant can result in a poor-quality finish. Follow the manufacturer’s instructions for drying time and resist the urge to rush the process.
To keep your hardwood floors and parquet looking their best after sanding and sealing, follow these maintenance tips:
- Sweep or vacuum regularly to remove dust and dirt.
- Clean spills immediately to prevent stains and water damage.
- Use a damp mop and a hardwood floor cleaner for routine cleaning, avoiding excessive water or harsh chemicals. Place felt pads under furniture legs to prevent scratches and dents.
- Use area rugs or mats in high-traffic areas to protect the floor from wear and tear.
- Consider refinishing your floors every few years, depending on the level of wear and the type of hardwood or parquet.
Some Useful Links:
Conclusion
Sanding and sealing hardwood floors and parquet is an essential process for maintaining their beauty and durability. By understanding the types of hardwood floors and parquet, following a step-by-step guide for sanding and sealing, and considering whether to DIY or hire a professional, you can restore your floors to their original splendour and ensure they remain a stunning centrepiece in your home for years to come.
More from our Blog:
Step by Step Guide to Sanding, Staining & Finishing Wood Floors
Why floor sanding can make any wooden floor look fantastic?
The Easy Process of Sanding a Floor: A Comprehensive Guide