London:
Nationwide:
25,000+
Floors Restored
27 Years Experience
Wood Flooring Association Certified
Sanding Wood Floors Successfully: Your Step-by-Step Guide
Posted on May 12, 2023
Articles
The Comprehensive Guide to Sanding Wood Floors Successfully | DIY Wood Floor Restoration
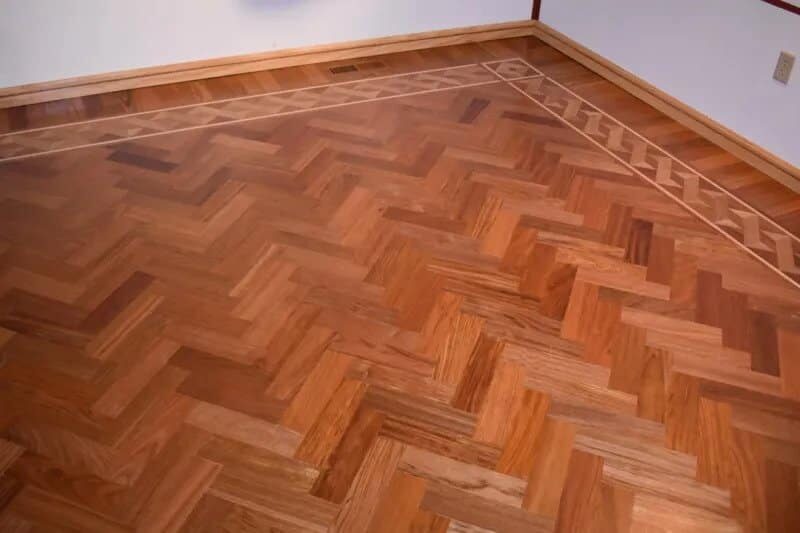
The charm of wooden flooring is undeniable. With its warmth, character, and timeless appeal, it enhances the aesthetics of any space. However, with time, even the most exquisite wood floors can lose their lustre due to wear and tear. The solution? Sanding. Sanding wood floors can rejuvenate the beauty of your old flooring, making it as good as new. This comprehensive guide will walk you through the process of sanding wood floors successfully, ensuring that you achieve flawless results.
Understanding the Basics of Floor Sanding
Before we delve into the how-to, let’s understand what sanding involves. Sanding is a process that removes the top layer of your wooden floor, eradicating any scratches, dents, or stains that have accumulated over time. This process not only revives the look of your floor but also prepares it for refinishing or staining.Preparation for Sanding
Before you start sanding, there are a few preparatory steps to take:- Clear the Area: Move all furniture, rugs, and decor out of the room. You need an entirely empty space to work in. Don’t forget to take down curtains or drapes to prevent them from collecting dust.
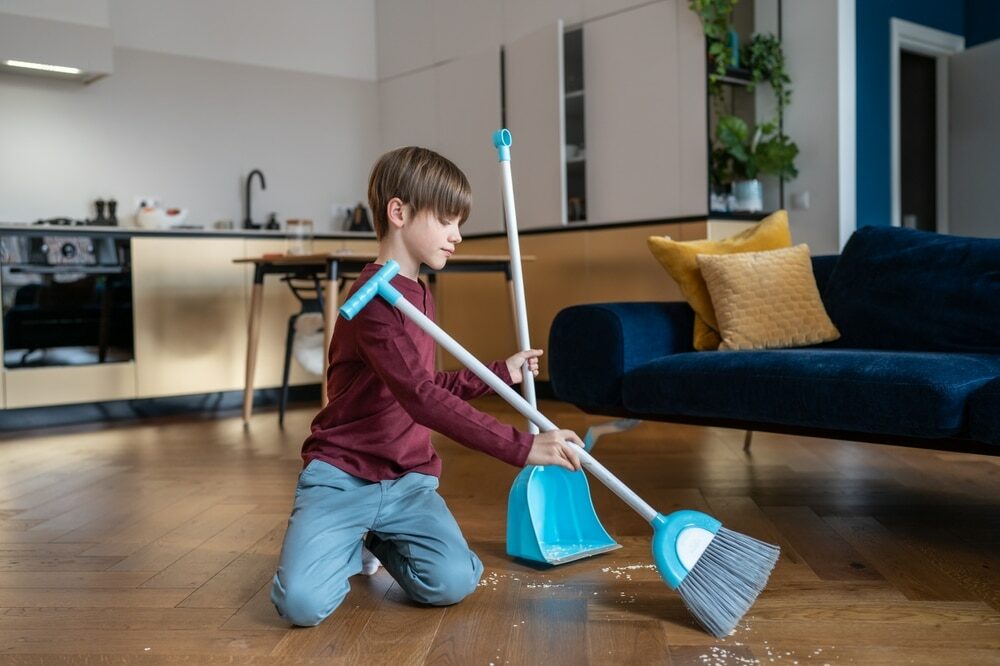
- Clean the Floor: Sweep or vacuum the floor thoroughly. Any dirt or grit left on the floor can damage the sanding machine or scratch the floor.
- Check for Protruding Nails: Walk around the room and inspect the floor for any protruding nails or staples. Use a nail set to drive these below the surface of the floor.
- Cover Openings: Seal off doors, windows, and any air vents with plastic sheets to prevent dust from spreading to other areas of the house.
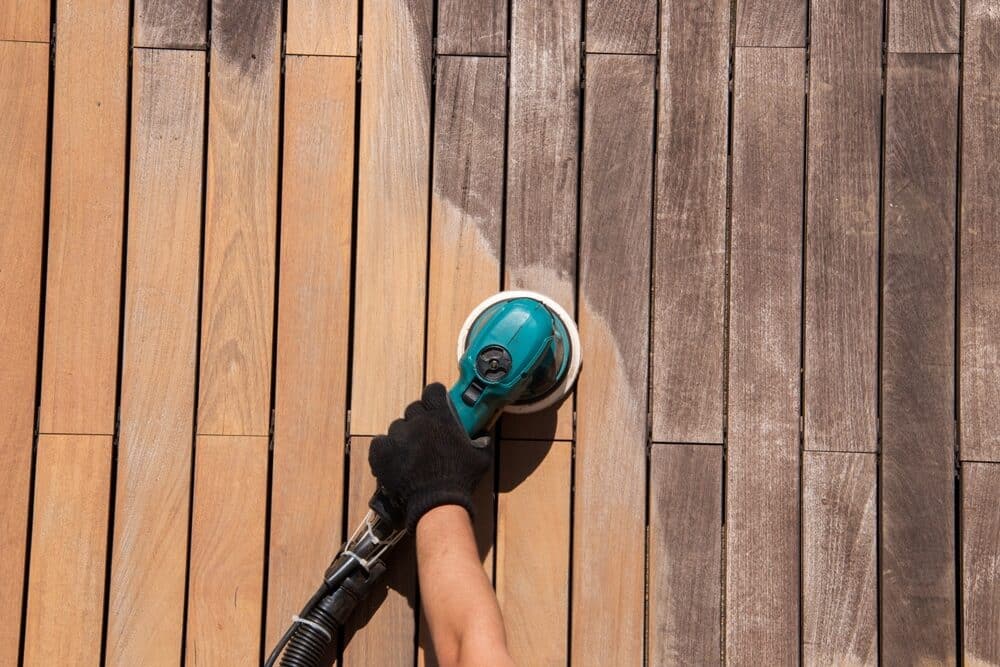
Choosing the Right Equipment
Your choice of equipment is crucial to the success of your sanding project. For most jobs, a drum sander and an edging sander will be necessary. The drum sander is used for the main part of the floor, while the edging sander is used to reach the corners and edges that the drum sander cannot. Sandpaper of different grits will also be needed, typically starting with coarser (like 36-grit) and moving towards finer (like 80 or 100-grit) as you progress.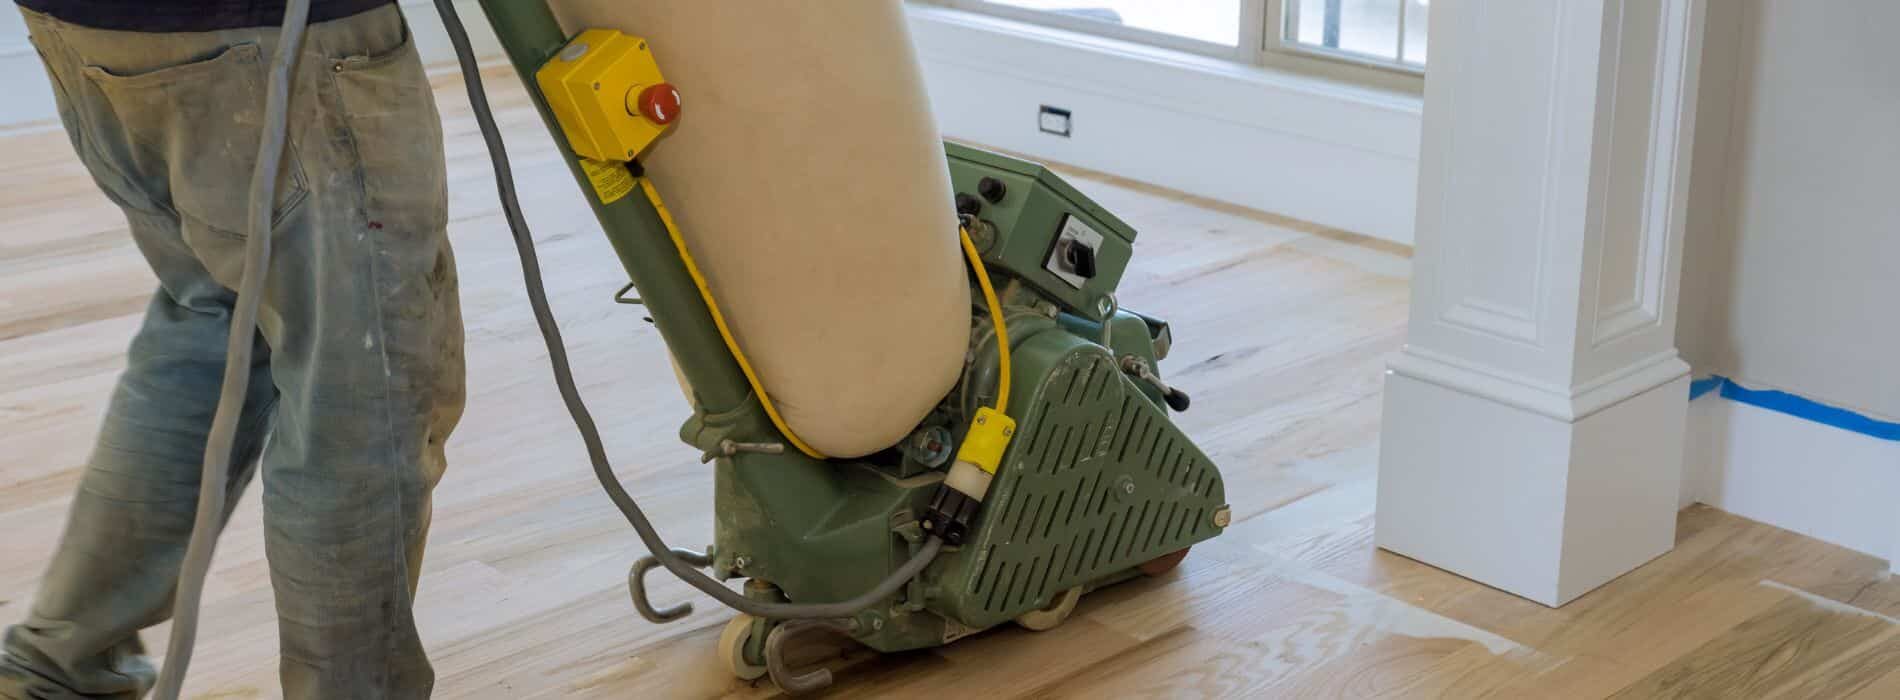
Sanding Process
- First Pass – Rough Sanding: Start with the drum sander and the coarsest sandpaper. Begin at one end of the room and move steadily towards the other end, going with the grain of the wood, not against it. Overlap each pass by about one-third of the sander’s width. This ensures you won’t leave unsanded patches. Keep the sander moving at all times when it is switched on, as letting it sit in one spot can gouge the floor.
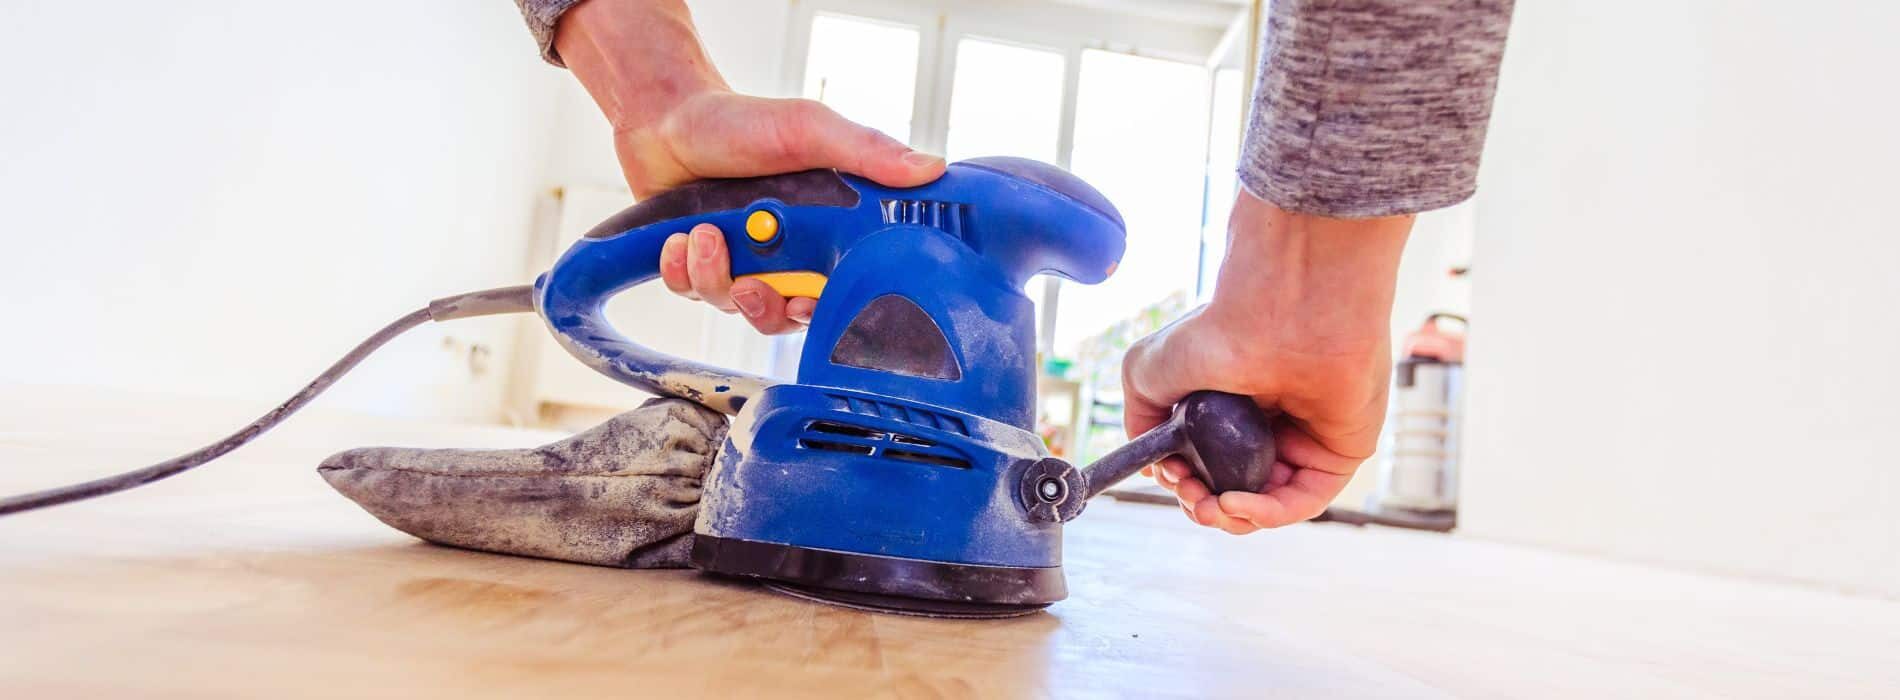
- Edge Sanding: After completing the rough sanding with the drum sander, use the edging sander to sand the areas close to the walls and corners that the drum sander couldn’t reach.
- Second Pass – Medium Sanding: Replace the coarse sandpaper with a medium-grit sandpaper (like 60-grit) on both sanders. Repeat the process above. This pass smoothens the floor and removes the scratches left by the first pass.
- Third Pass: Fine Sanding: Finally, switch to the finest grit sandpaper (like 80 or 100 grit). This pass polishes the floor, giving it a smooth, professional finish.
- Hand Sanding: Some corners and crevices may still be untouched by the edging sander. For these areas, hand sanding might be necessary. Use a scraping tool and sandpaper to reach these spots.
- Vacuum and Inspection: After all the sanding is complete, vacuum the floor thoroughly. Once clean, inspect the floor closely for any missed spots or imperfections. If you find any, spot-sand them carefully.
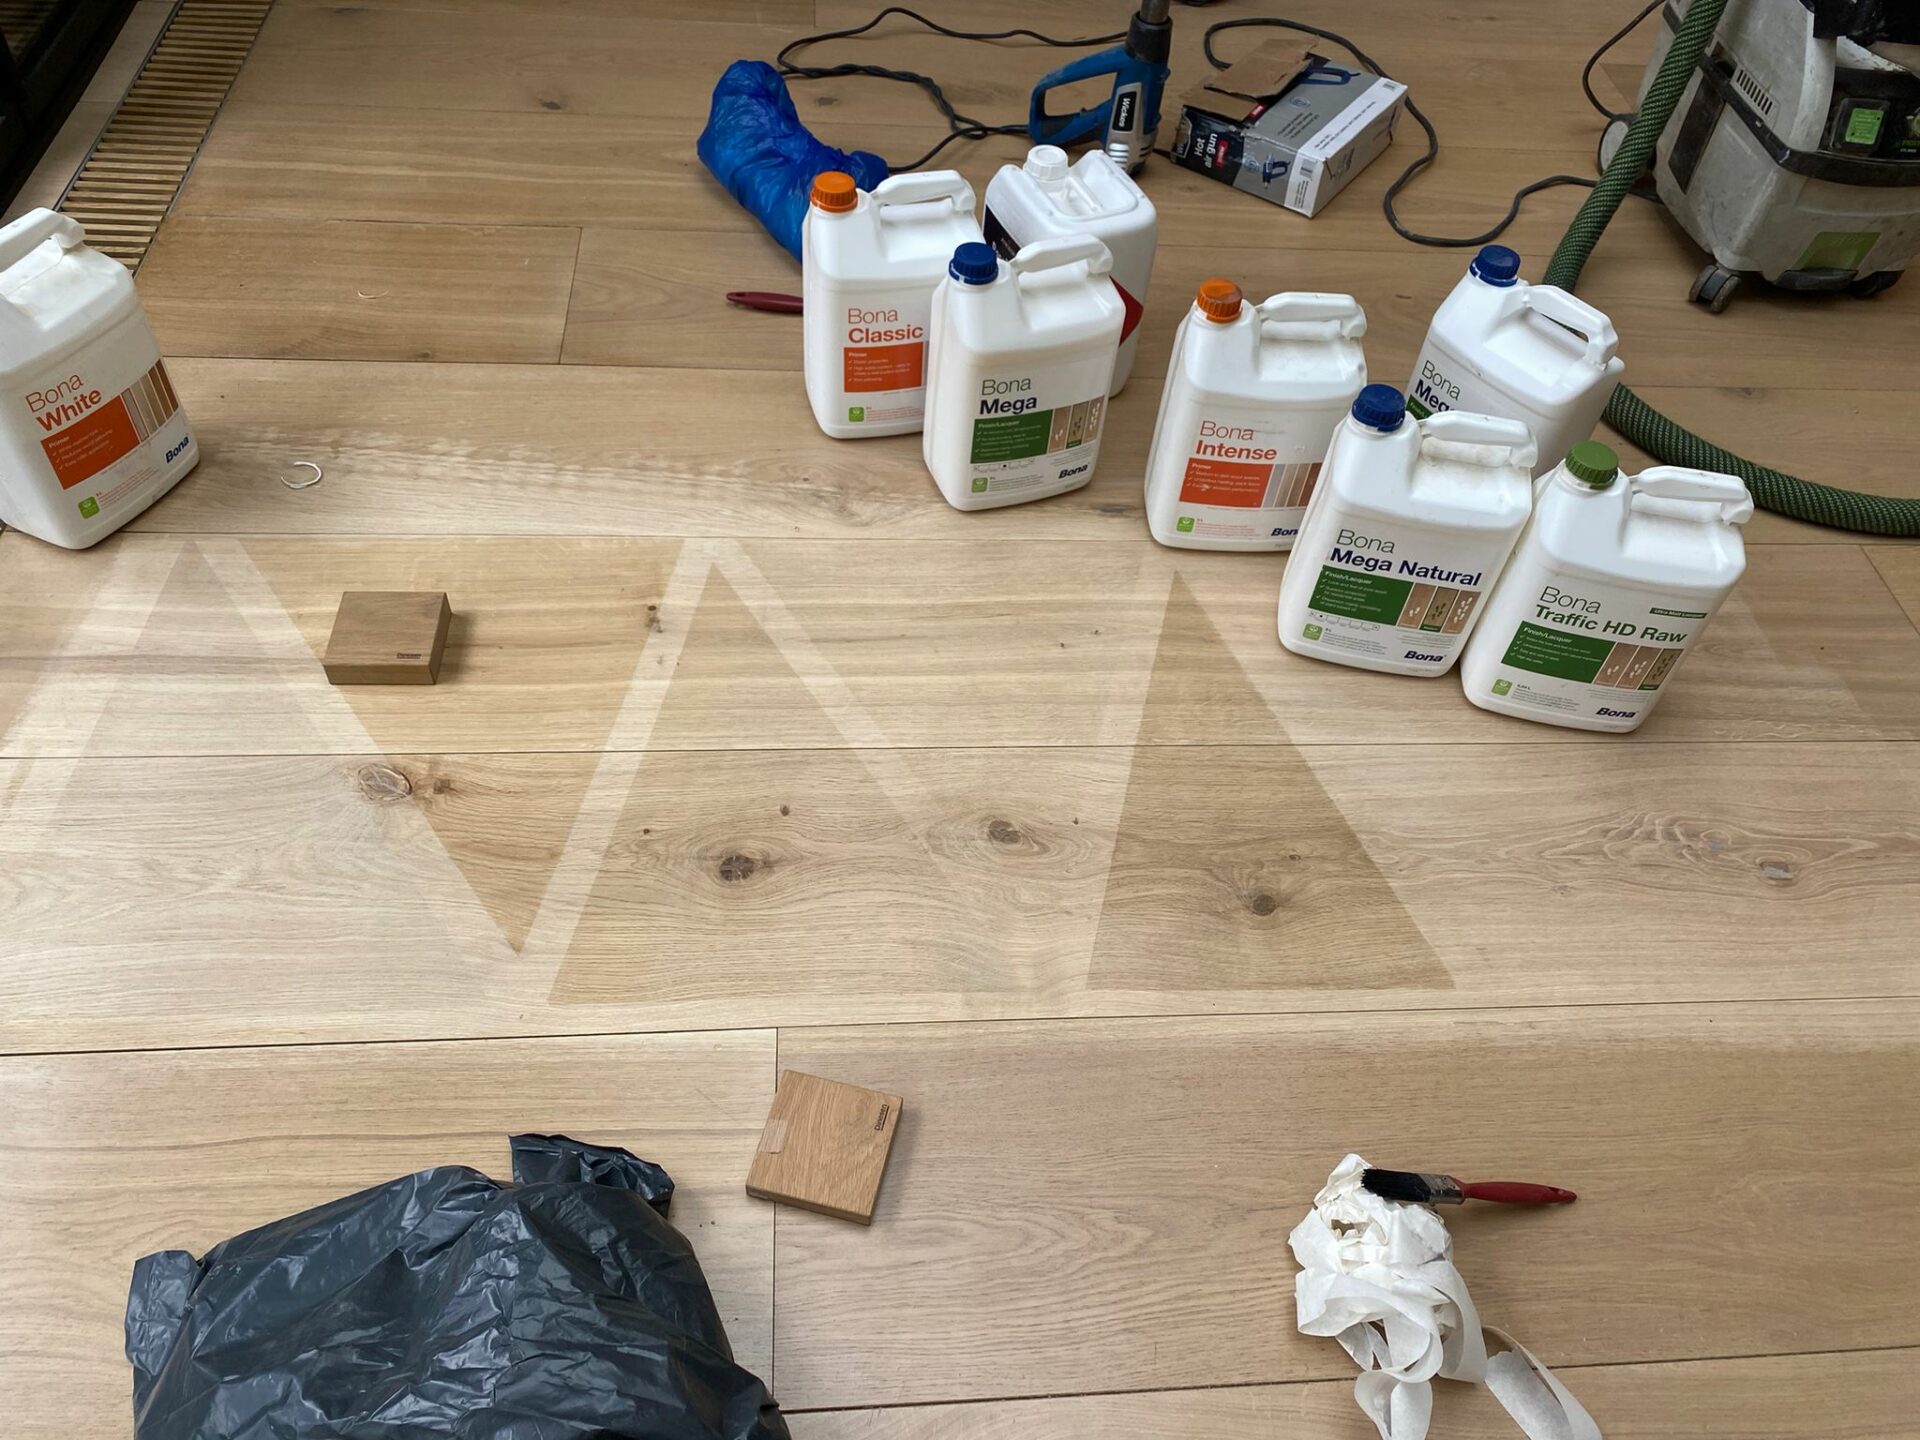
Post-Sanding: Staining and Finishing
Now that your floor is sanded and smooth, it’s ready for staining (if you desire a new colour) and finishing. Apply a wood stain of your choice, following the manufacturer’s instructions. Once the stain is dry, apply a protective finish. This could be a polyurethane, wax, or oil finish, depending on your preference. Allow the finish to dry completely before moving furniture back into the room.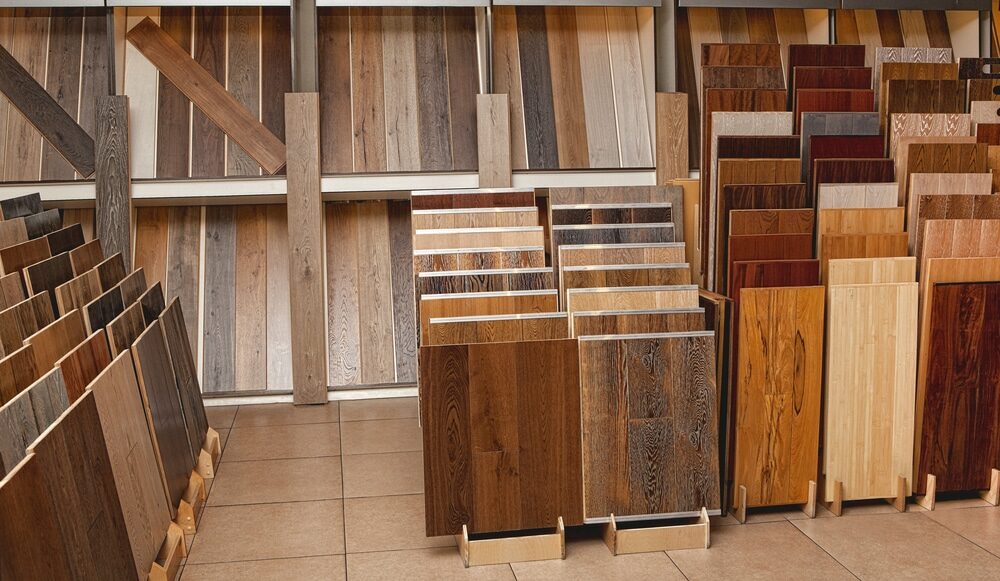
Some Useful Links:
Key Takeaways
Sanding wood floors is a labour-intensive yet rewarding process. It requires patience, attention to detail, and the right tools. The result is a beautifully restored wood floor that will enhance the charm and value of your home for years to come.More from our Blog:
Hardwood Floors and Sociability: Debunking the Anti-Social Myth Expert Tips on Hardwood Floor Maintenance: Keep Your Floor Looking Great Update Your Home’s Look With Floor Sanding: Revitalize Your Interiors Unveiling the Best Wooden Flooring for Basements Ensuring Wooden Floor Safety: Comprehensive Guide & Maintenance Tips Wooden Floors and Home Gym Workouts: A Comprehensive Guide

Sanding
We provide virtually dust-free sanding with our continuous belt machinery with mobile extraction units, giving you a safer environment for your family.
Oiling
This organic finish not only adds beauty to your home but also has exceptional water-repellent characteristics, making it easier to clean and maintain.
Waxing
This natural floor finish offers the softest and most mellow appearance – and leaves your floor able to breath.
Buffing
Using soft buffing machines (and hand-polishing where required) will bring a wonderful sheen to your newly-finished floor.
Repairs
We offer a full assessment of your wooden floors to determine what repairs are needed to provide the perfect working surface for the later stages of sanding, staining and sealing.
Restoration
We offer a comprehensive restoration process designed to address floors that are improperly fitted or damaged over time through wear and tear.
Request a fixed price quote for your wood floor restoration now
Simply enter your postcode below to get started.
Services
Wood Floor Sanding Wood Floor Restoration Wood Floor Scratch Repair Squeaky Wood Floor Repair Parquet Floor Sanding Parquet Floor Restoration Commercial Floor Sanding Church Floor Sanding Community Centre Floor Sanding School Floor Sanding Gap Filling Gap Filling with ResinCopyright © Mr Sander®
Privacy & Cookies Terms & Conditions Complaints Procedure Cancellation Rights Sitemap

Get An Instant Price Estimate Before You Go…
Simply enter the rooms you need sanded and we’ll provide you with a price estimate instantly! Try our price calculator now.
Get a Price Estimate NowLocal Floor Sanding Experts
Over 500 5-Star Reviews
Safe, Dust Free Sanding
Operating Since 1994