London:
Nationwide:
25,000+
Floors Restored
27 Years Experience
Wood Flooring Association Certified
DIY Floor Sanding Pitfalls: Common Mistakes and How to Avoid Them for a Perfect Finish
Posted on May 5, 2023
Articles
Avoiding Common DIY Floor Sanding Mistakes: Tips for a Professional-Looking Finish
In an era of cost-saving and a growing culture of do-it-yourself enthusiasts, professional floor sanding companies face a tough time attracting new customers. The availability of sanding equipment for hire and the booming popularity of DIY make it alluring to tackle a major job like sanding your floorboards yourself. Although it may be cheaper initially, are you sure you’ll achieve the desired result? What if something goes wrong? Do you know how to fix it? In this comprehensive guide, we’ll explore three common DIY mistakes and discuss how to correct and avoid them for a perfect finish.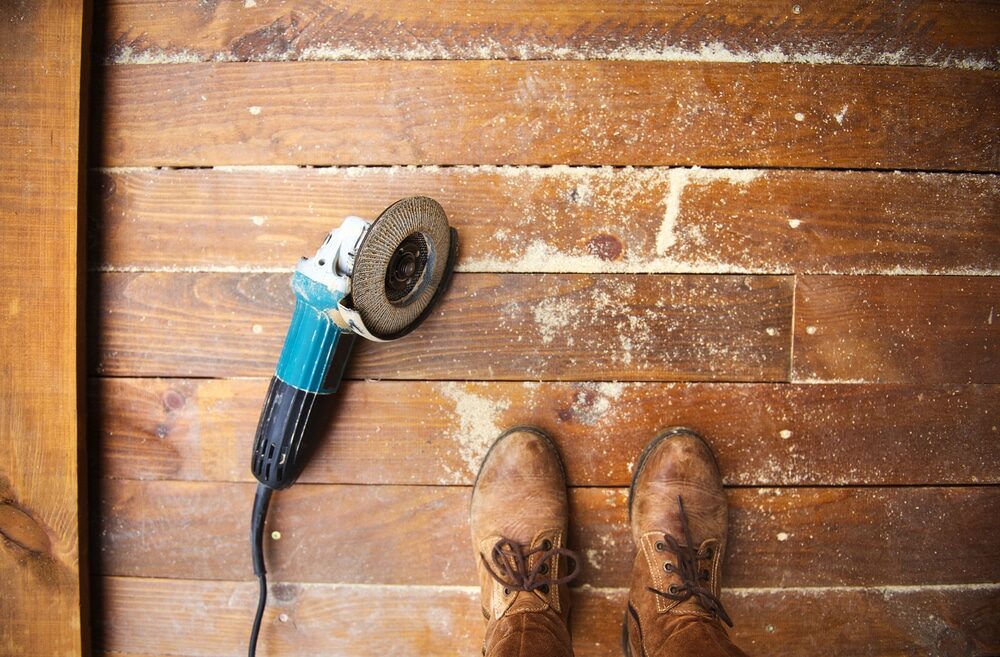
Section 1: The Dreadful Finish: What Went Wrong?
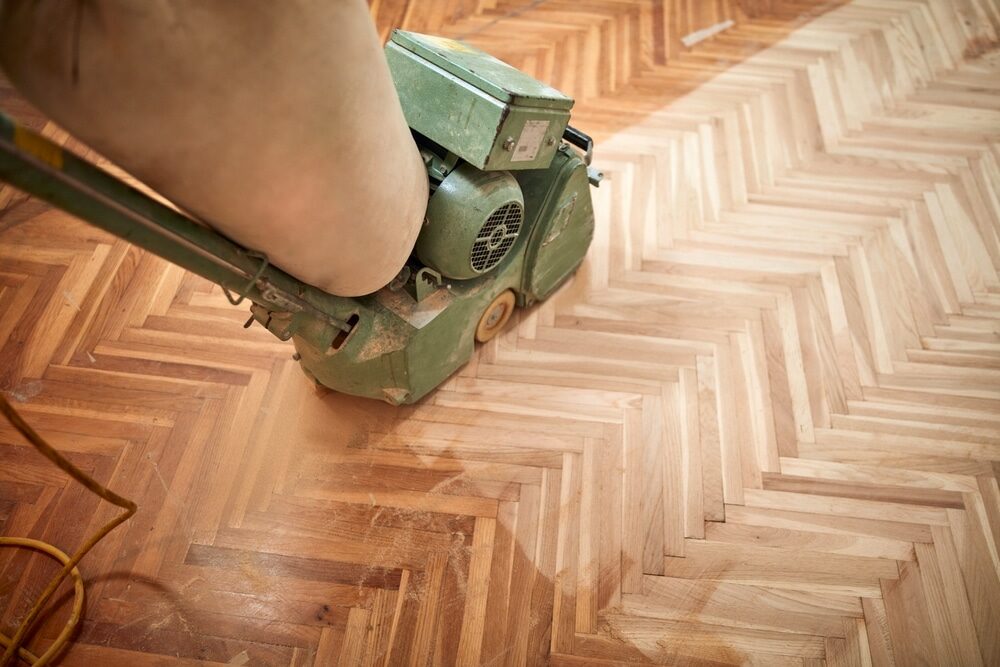
1.1 Lack of Proper Preparation Sanding wooden floors might seem like a straightforward task: rent a sander and unleash your enthusiasm on your innocent and defenceless wooden floors. However, without the right preparation, you’ll inevitably end up with a substandard finish. Ironically, one of the most common reasons for a bad finish is a lack of natural light when sanding. Unless the room you’re working in is well lit, you may miss sanding flaws like drum marks or buffer swirls before applying the finishing coat of varnish, wax, or stain. If you’ve been heavy-handed with the sander, you may also have small tears and rips in the wood’s surface that, once you apply the finish, will stand out like a sore thumb. 1.2 The Importance of Professional Sanding Professionals ensure that the sanding process is carried out correctly from start to finish. Before they begin sanding, they check for cracks or gaps in the floor’s surface and fill them to produce a smooth and even surface. To achieve the best results, you must start with a clean canvas, and professional sanding provides just that.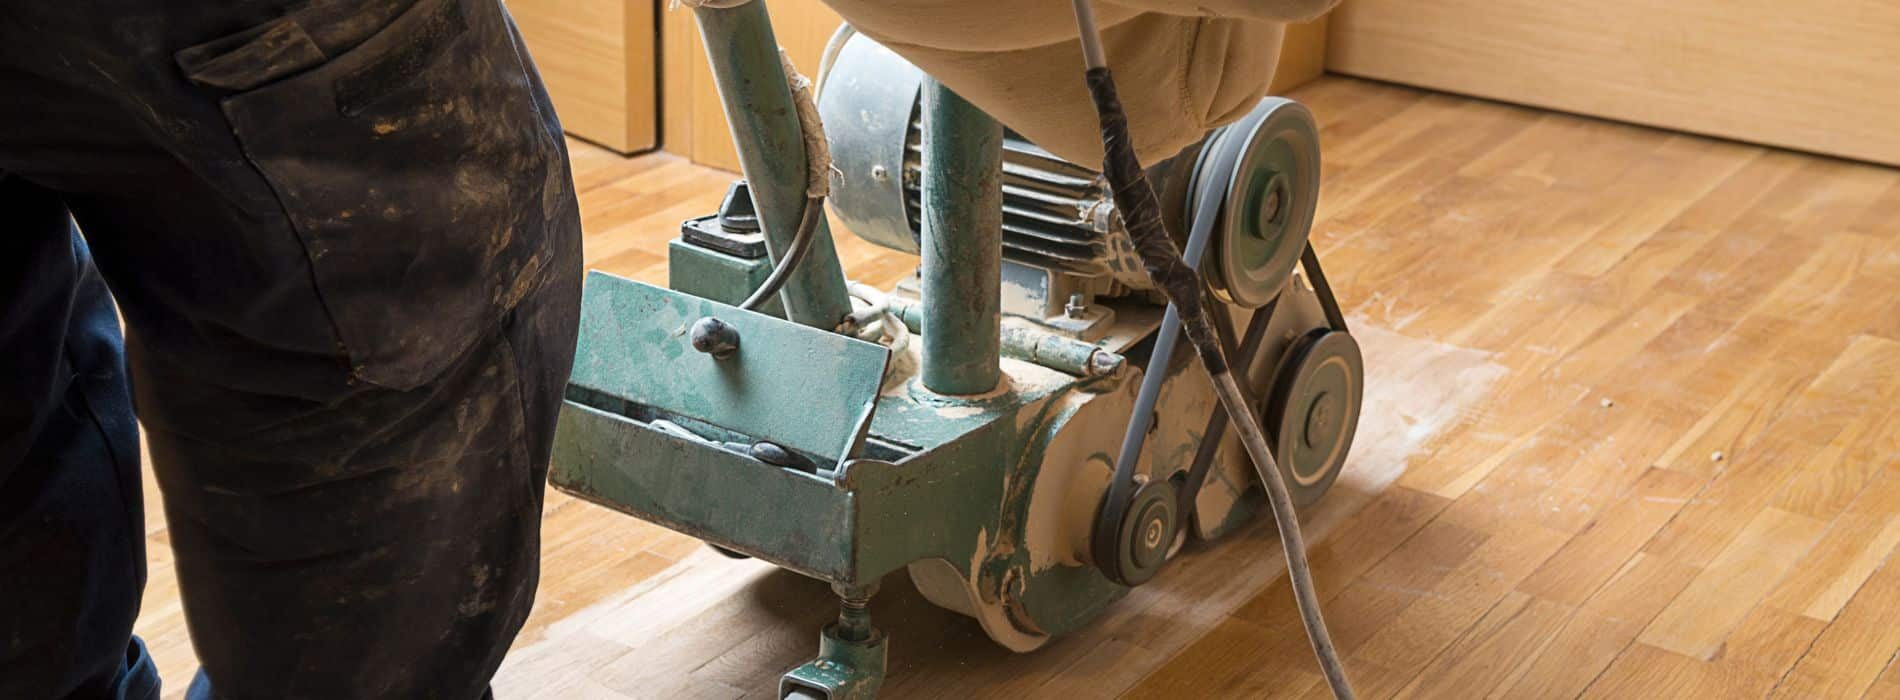 1.3 Proper Equipment Maintenance
Professional floor sanding companies maintain their equipment correctly, while rented sanders may not be operating at their best. This, in turn, can result in a substandard finish.
1.3 Proper Equipment Maintenance
Professional floor sanding companies maintain their equipment correctly, while rented sanders may not be operating at their best. This, in turn, can result in a substandard finish.
Section 2: The Patchy Effect: What Happened?
2.1 Uneven Application of the Finishing Coat Patchy finishes on wooden floors can be caused by several reasons. The most common reason for a patchy finish is an uneven application of the final wax, stain, or varnish coat. This often results from a lack of expertise in using finishing products, an uneven initial sanding job, or rushing to complete the task. Furthermore, intense direct sunlight in the room may affect the finish, especially if you apply the finish during the hottest part of the day. 2.2 The Solution: Stripping and Restarting Unfortunately, a patchy finish cannot be rectified by merely filling in lighter areas until they match the rest of the floor. A professional job would avoid this problem in the first place, but if you end up with a DIY patchwork quilt of a floor, you’ll have to go back to basics. The floor will need to be stripped back to bare wood, and the entire process will have to be restarted.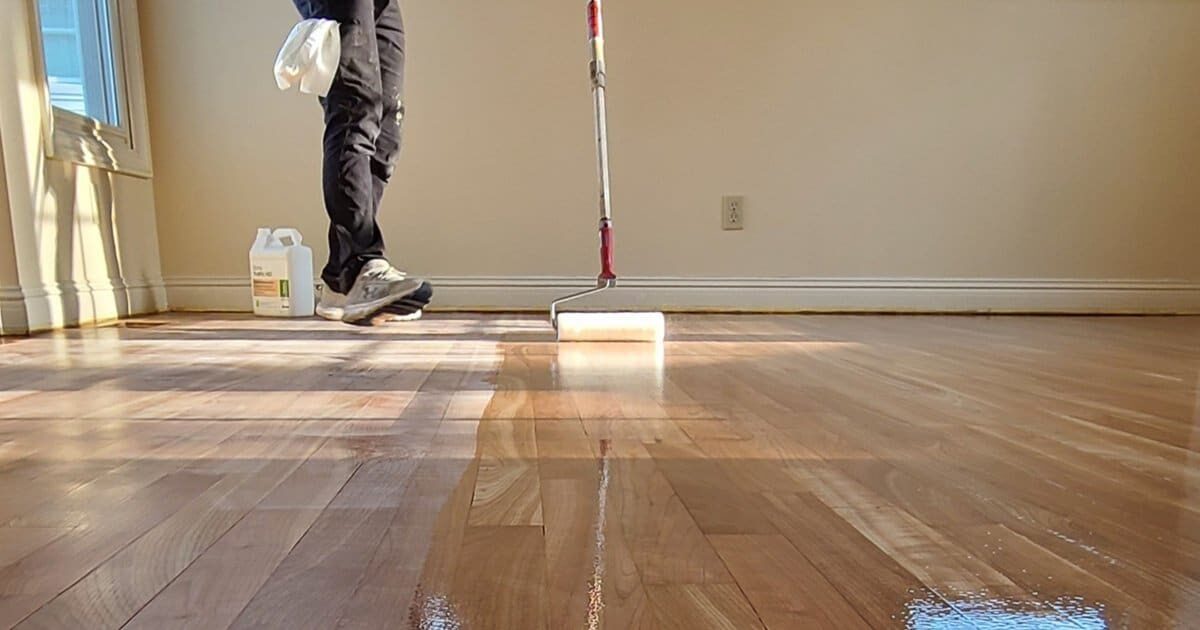
Section 3: The Sandpaper Effect: What Happened?
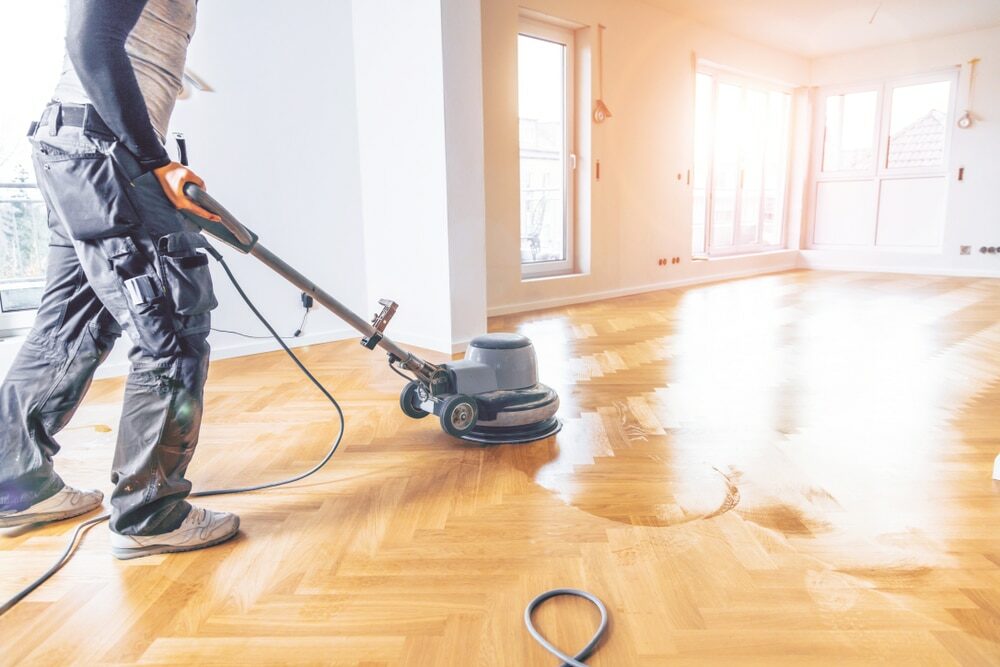
3.1 The Problem of Dust Sanding wooden floors inherently produces a massive amount of dust and debris. Because the particles are exceptionally fine, they get everywhere and often carry a static charge, causing them to cling stubbornly to any surface they land on. If you don’t clean your sanded floors thoroughly and ensure there’s no dust on the surface before applying a layer of varnish, you’ll end up with a less-than-perfect finish. 3.2 The Need for Professional Equipment Rented sanders often lack the integrated dust removal systems that professional sanders have, making it challenging to ensure you’ve removed all the dust from your sanded wooden floors. A professional sanding company will have the right equipment for the job from the outset, allowing them to minimise the amount of dust produced and ensure a perfect finish on your wooden floors.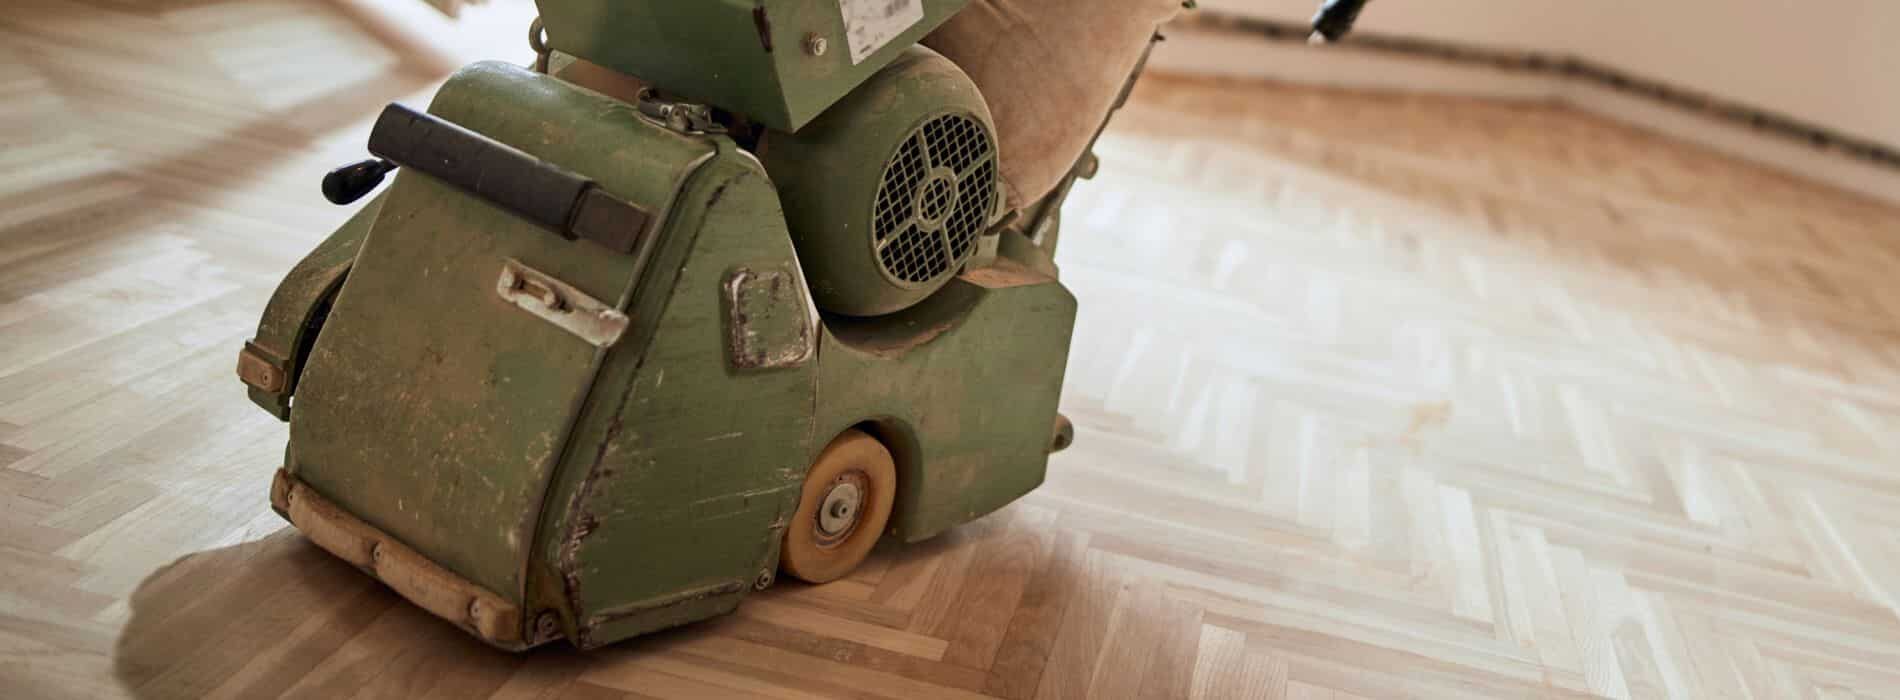
Section 4: Tips for Successful DIY Floor Sanding
4.1 Proper Lighting Ensure the room you’re working in has adequate lighting. This will help you identify any sanding flaws, such as drum marks or buffer swirls, and address them before applying the finishing coat. 4.2 Start with the Right Equipment Invest in or rent high-quality sanding equipment with built-in dust removal systems. This will help you achieve a smoother finish and minimise dust-related issues. 4.3: Learn the Correct Techniques Before you begin sanding, take the time to research and learn the proper techniques for using the equipment and applying the finishing products. This will help you avoid common mistakes and achieve a more professional-looking result. 4.4 Prepare the Surface Before sanding, inspect the floor for cracks, gaps, or other imperfections. Fill and repair any issues to create a smooth, even surface for sanding and finishing.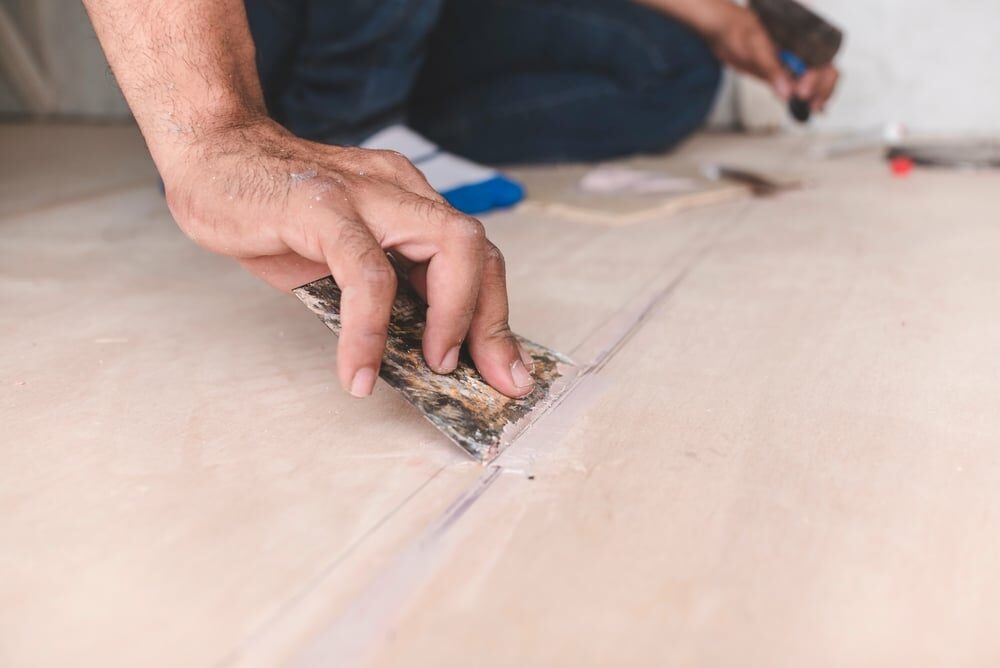 4.5: Work in a Systematic Manner
Divide your floor into smaller sections and work on one area at a time. This will help you maintain focus and ensure an even finish across the entire floor.
4.5: Work in a Systematic Manner
Divide your floor into smaller sections and work on one area at a time. This will help you maintain focus and ensure an even finish across the entire floor.
 4.6 Apply Finishing Coats Evenly
When applying the final wax, stain, or varnish coat, use a consistent technique to ensure an even finish. Be patient, and don’t rush the process.
4.6 Apply Finishing Coats Evenly
When applying the final wax, stain, or varnish coat, use a consistent technique to ensure an even finish. Be patient, and don’t rush the process.
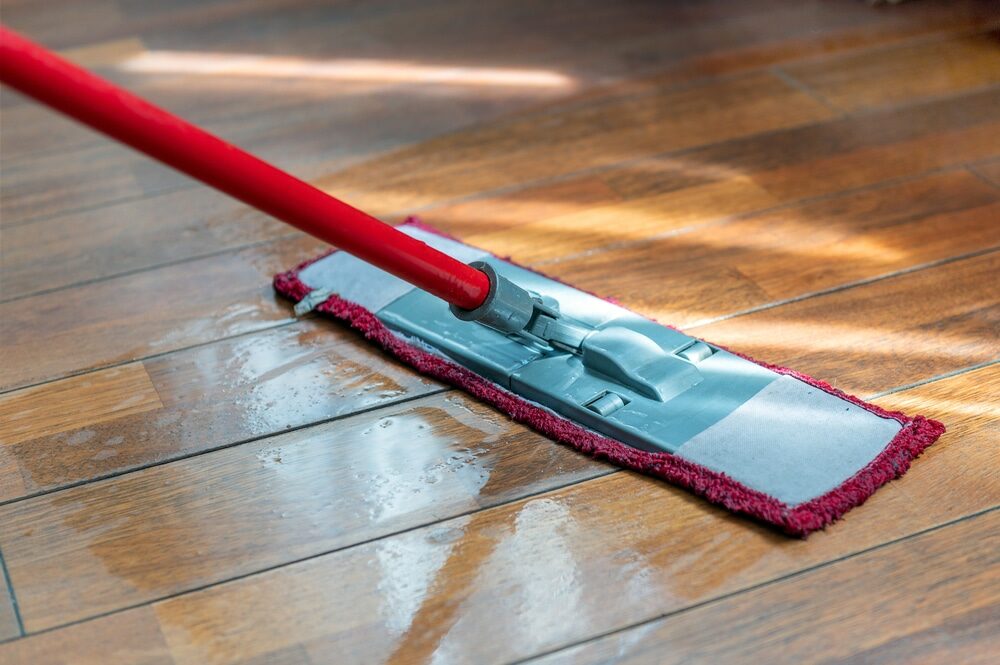
 4.7 Clean Up Thoroughly
Before applying the finish, ensure that the sanded floors are meticulously cleaned and free from dust or debris. This will help you achieve a smooth, flawless finish.
4.7 Clean Up Thoroughly
Before applying the finish, ensure that the sanded floors are meticulously cleaned and free from dust or debris. This will help you achieve a smooth, flawless finish.
Some Useful Links:
Conclusion
While the DIY approach to floor sanding might be appealing, it’s essential to be aware of the potential pitfalls and challenges you may encounter. By understanding the common mistakes made during DIY floor sanding projects and learning how to avoid them, you can increase your chances of achieving a professional-looking finish on your wooden floors. However, if you’re unsure about your ability to complete the job successfully or don’t have the necessary equipment and experience, it’s always wise to consult with a professional floor sanding company. In the end, an investment in professional services may save you time, money, and frustration.More from our Blog:
Comprehensive Guide to Hardwood Floor Finishes: Customization, Top Coats & Sanding Enhance Indoor Living Conditions with Hardwood Flooring: Benefits and Tips Hardwood floor maintenance issues – Tips to Address Common Issues The Beauty of Wood Flooring: A Timeless Charm for Modern Spaces Top 8 Benefits of Hardwood Floors: Elevate Your Home with beauty

Sanding
We provide virtually dust-free sanding with our continuous belt machinery with mobile extraction units, giving you a safer environment for your family.
Oiling
This organic finish not only adds beauty to your home but also has exceptional water-repellent characteristics, making it easier to clean and maintain.
Waxing
This natural floor finish offers the softest and most mellow appearance – and leaves your floor able to breath.
Buffing
Using soft buffing machines (and hand-polishing where required) will bring a wonderful sheen to your newly-finished floor.
Repairs
We offer a full assessment of your wooden floors to determine what repairs are needed to provide the perfect working surface for the later stages of sanding, staining and sealing.
Restoration
We offer a comprehensive restoration process designed to address floors that are improperly fitted or damaged over time through wear and tear.
Request a fixed price quote for your wood floor restoration now
Simply enter your postcode below to get started.
Services
Wood Floor Sanding Wood Floor Restoration Wood Floor Scratch Repair Squeaky Wood Floor Repair Parquet Floor Sanding Parquet Floor Restoration Commercial Floor Sanding Church Floor Sanding Community Centre Floor Sanding School Floor Sanding Gap Filling Gap Filling with ResinCopyright © Mr Sander®
Privacy & Cookies Terms & Conditions Complaints Procedure Cancellation Rights Sitemap

Get An Instant Price Estimate Before You Go…
Simply enter the rooms you need sanded and we’ll provide you with a price estimate instantly! Try our price calculator now.
Get a Price Estimate NowLocal Floor Sanding Experts
Over 500 5-Star Reviews
Safe, Dust Free Sanding
Operating Since 1994