London:
Nationwide:
25,000+
Floors Restored
27 Years Experience
Wood Flooring Association Certified
Successful Wood Floor Sanding – Mr Sander® Guide
Posted on May 15, 2023
Articles
Expert Guide to Successful Wood Floor Sanding | Restore Your Floors Today
Wood flooring is a beautiful, timeless choice for any home. However, over time, wear and tear can take a toll, leading to scratches, dents, and a dull finish. The solution? Wood floor sanding In this comprehensive guide, we’ll take you through the steps of successful wood floor sanding, offering expert advice and tips to rejuvenate your wood floors and restore their original splendour.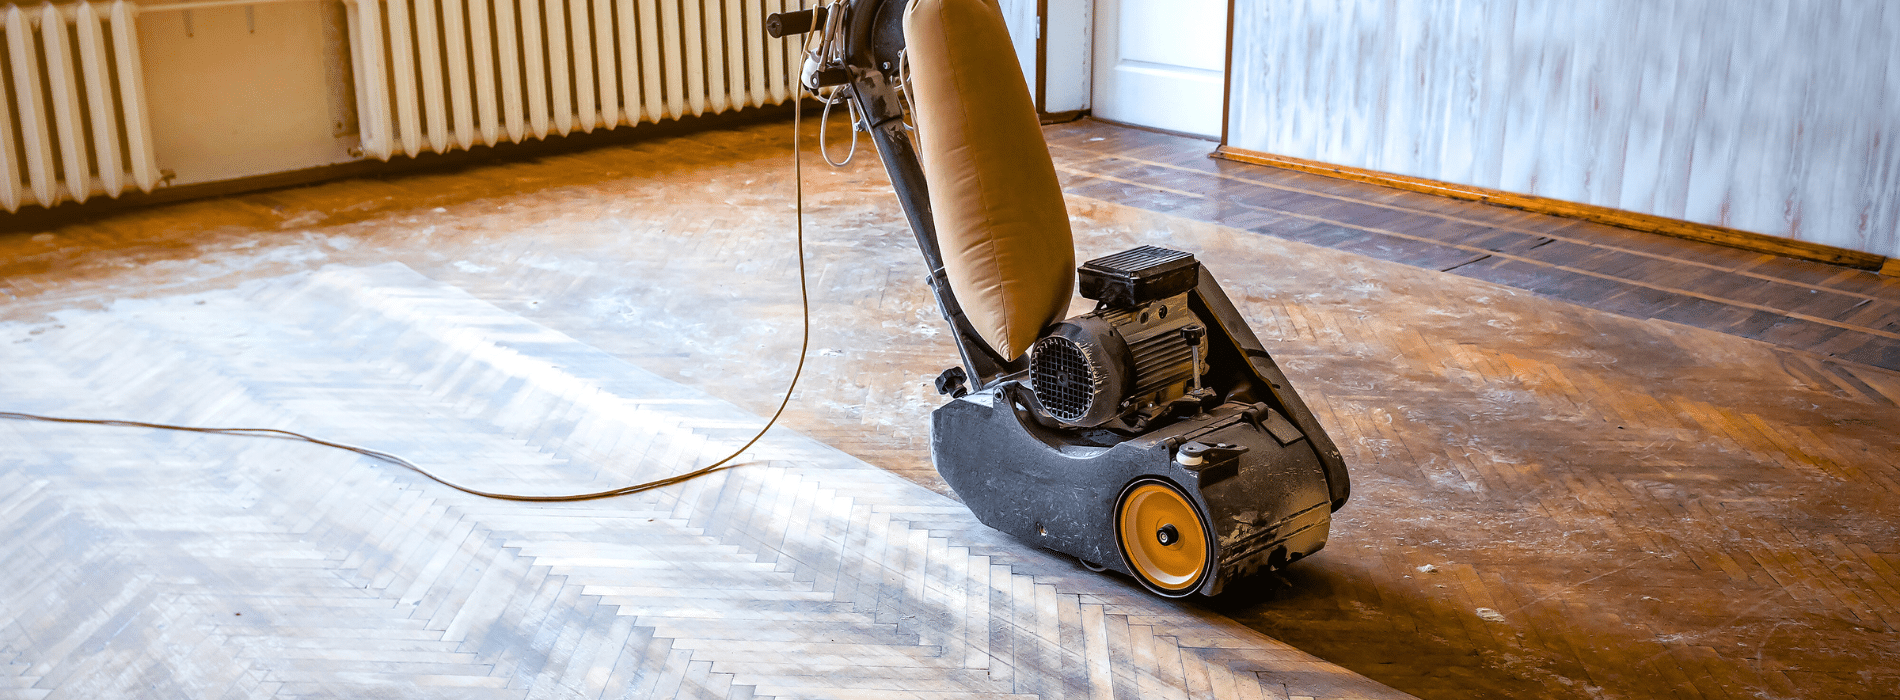
Understanding Wood Floor Sanding
Wood floor sanding is the process of removing the top surfaces of a wooden floor by abrasively sanding it with various grades of sandpaper. This process removes old finishes, levels out minor imperfections, and prepares the floor for refinishing. When done correctly, sanding can restore the beauty of your wood floors and extend their lifespan.Pre-Sanding Preparations
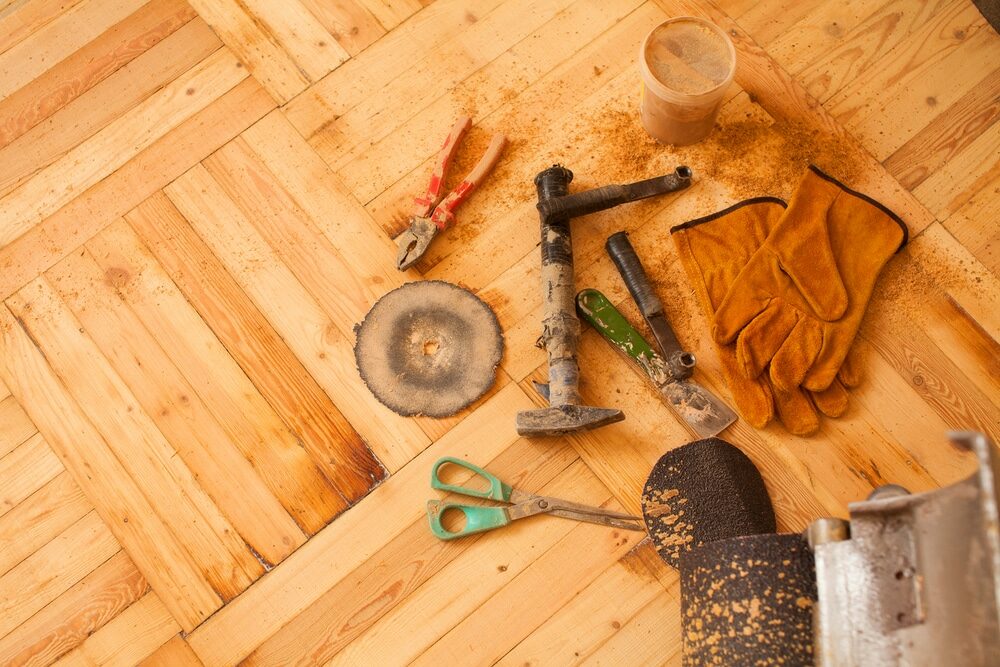
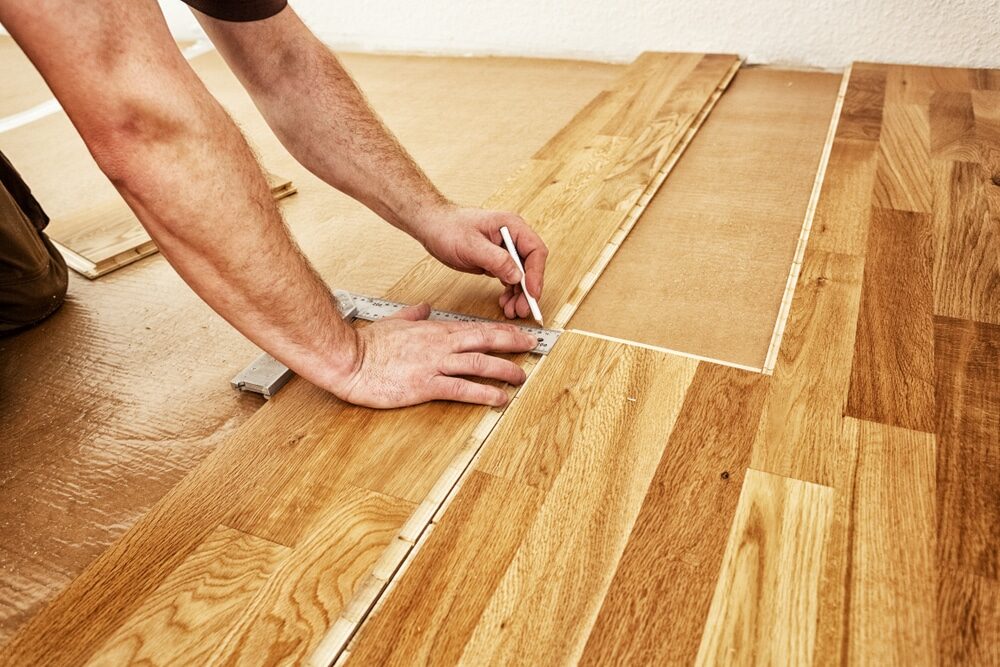
Before you start sanding, proper preparation is crucial to ensuring a successful project.- Inspect the Floor: Begin by inspecting your wood floor to identify areas of damage, such as deep scratches, dents, or warped boards. Some issues may require repair or replacement before sanding.
- Clean the Floor: Thoroughly clean the floor to remove any dust, dirt, or debris. Any loose particles can become embedded in the sandpaper and scratch the floor.
- Remove Baseboards and Trim: If possible, remove baseboards and trim to prevent them from getting damaged during the sanding process.
- Cover and protect: Cover doors and windows with plastic sheeting to keep dust contained. Protect any built-in cabinetry or fixtures with plastic or cloth coverings.
- Equip Yourself: Invest in a good-quality respirator or dust mask, safety goggles, and ear protection. Sanding can be a noisy process, and it creates a lot of dust.
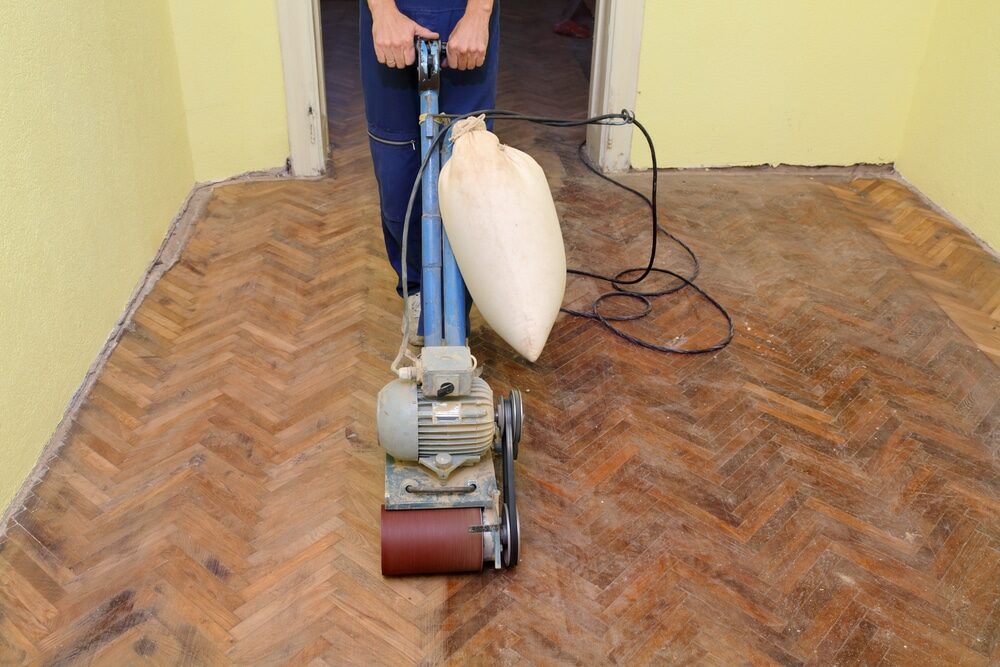
Choosing the Right Equipment and Sandpaper
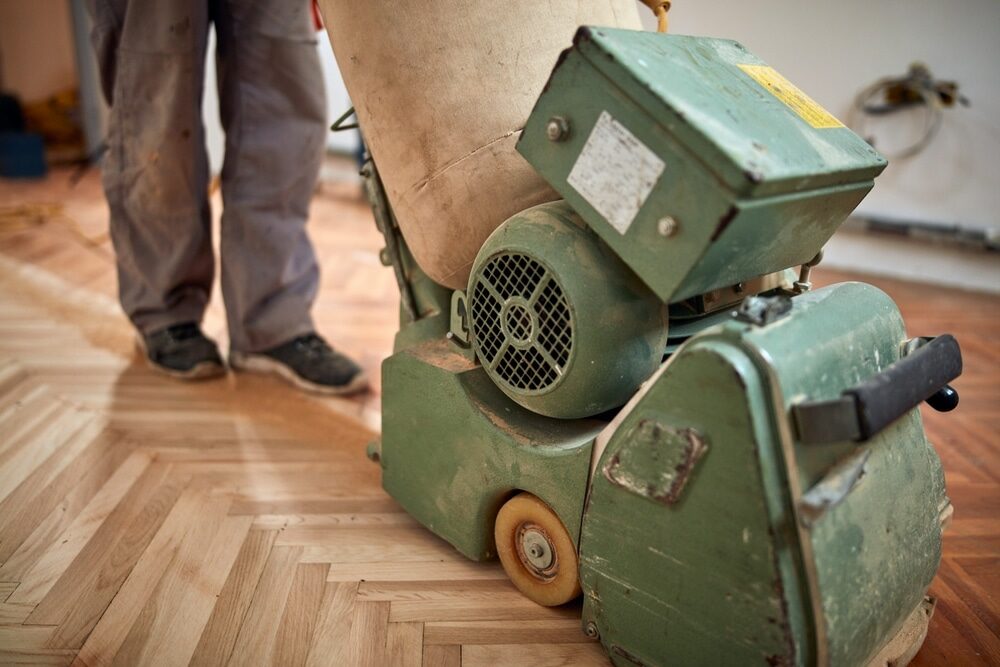
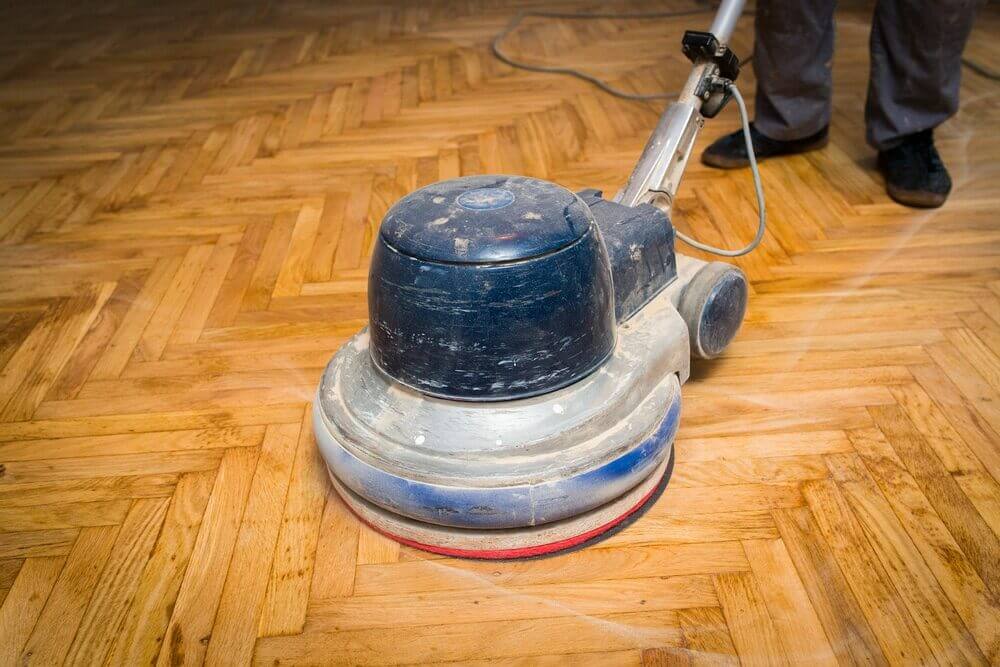
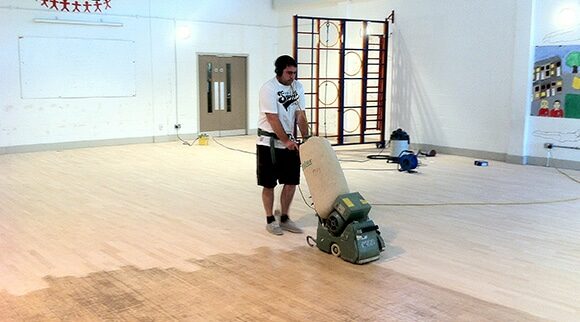
The key to successful wood floor sanding lies in having the right equipment and choosing the correct grade of sandpaper.- Sanding Equipment: The most common types of sanders used for wood floor sanding are drum sanders and orbital sanders. Drum sanders are powerful and efficient for sanding large, open areas, but they can be difficult to control. Orbital sanders are easier to use and better for corners and edges, but they’re slower.
- Choosing Sandpaper: Sandpaper comes in various grades, from coarse to fine. Start with a coarse-grit sandpaper to remove old finishes and major imperfections, then gradually move to a finer grit to smooth the floor and prepare it for finishing.
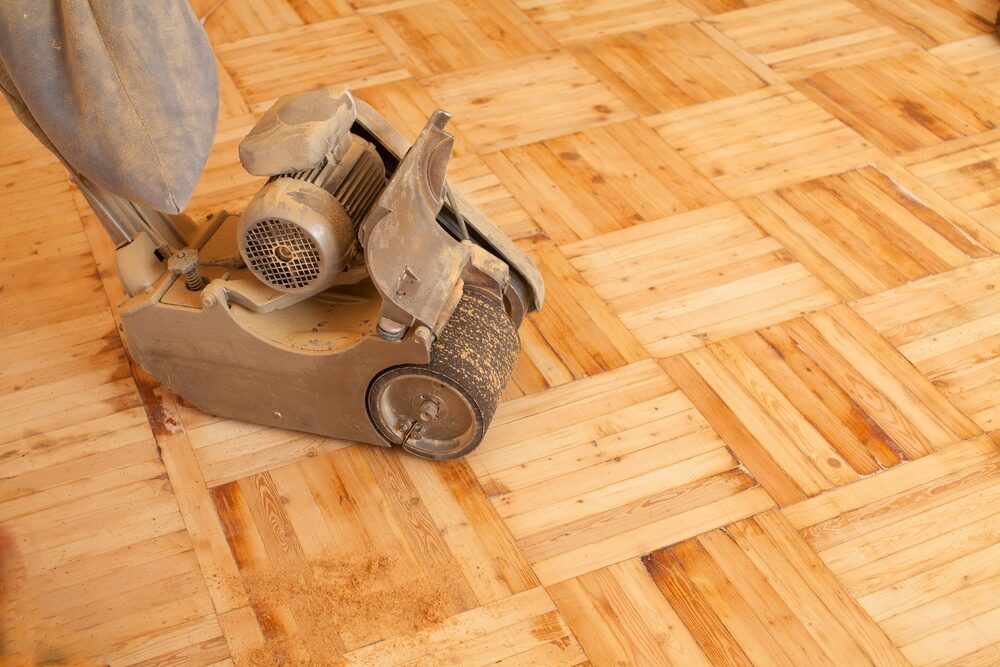
The Sanding Process
With preparations complete and the right tools at hand, you’re ready to begin sanding. Remember, the goal is to remove the old finish and level the floor, not to remove a lot of material.- First Pass – Coarse Grit: Begin with the coarse-grit sandpaper. Start the sander while it’s off the floor, then gently lower it onto the surface. Move the sander smoothly across the floor, going with the grain of the wood. Don’t leave the sander in one place for too long, as it can quickly create divots.
- Edge Sanding: Use the orbital sander with the same coarse grit to sand corners and edges where the drum sander can’t reach.
- Subsequent Passes – Finer Grits: After the entire floor has been sanded with the coarse grit, repeat the process with finer grades of sandpaper. Each pass should remove the scratches left by the previous grit.
- Final Pass – Finest Grit: The final pass should be with the finest grit sandpaper. This pass will give the floor a smooth finish, preparing it for the application of stain or sealant.
Post-Sanding Activities
After the sanding process, there are a few more steps to ensure your wood floor looks its best.- Cleaning: Vacuum or sweep the floor thoroughly to remove any dust or debris. Follow up with a damp mop or cloth to pick up any remaining dust. Remember, any dust left on the floor will become trapped in the finish, so it’s essential to clean carefully.
- Tack Cloth: After cleaning, wipe the floor with a tack cloth, a sticky fabric that picks up any remaining dust particles.
- Inspection: Inspect the floor for any missed spots or imperfections. Small areas can be re-sanded by hand if necessary.
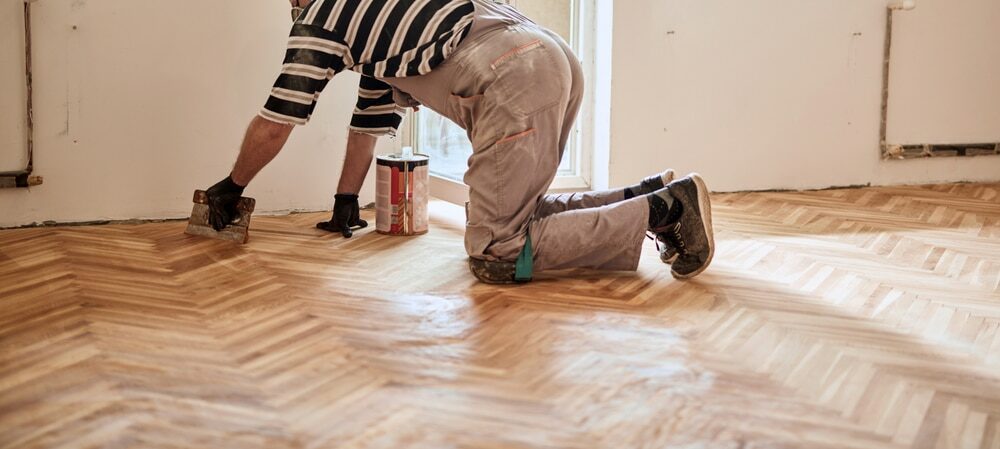
Applying the Finish
With the floor sanded and cleaned, it’s time to apply the finish. This could be a stain if you want to change the colour of your wood floor or a clear sealant to protect the wood and enhance its natural beauty.- Choosing a Finish: There are a variety of finishes available, each with its advantages and drawbacks. Polyurethane finishes are popular due to their durability and resistance to wear and tear. Oil-based finishes penetrate the wood deeply and provide a warm, natural look.
- Application: Apply the finish according to the manufacturer’s instructions. Most finishes can be applied with a brush or roller. Remember to work with the grain of the wood and avoid applying too much finish at once, which can result in drips or uneven coverage.
- Drying Time: Allow the finish to dry completely before walking on the floor. This could take anywhere from a few hours to a few days, depending on the type of finish.
Conclusion
Wood floor sanding is a time-consuming and labour-intensive process, but the result is well worth the effort. A beautifully sanded and refinished wood floor can transform the look of a room and add significant value to your home. Remember, patience and attention to detail are crucial in each step of the process, from pre-sanding preparations to the final application of finish. With the right approach, you can breathe new life into your old wood floors and enjoy their beauty for many years to come. Whether you’re a DIY enthusiast or a professional, this comprehensive guide should help you understand the process of wood floor sanding better and ensure successful results. Remember, your home deserves the best, and with proper care and maintenance, your wood floors can remain a beautiful, durable, and valuable part of your home. Happy sanding!Some Useful Links:
- Wood Floor Restorations
- Wood Floor Repairs
- Wood Floor Polishing
- Floor Sanding Services
- School Floor Sanding
More from our Blog:
Unveiling the Many Advantages of Laminate Wood Flooring Wood Floors: A Natural Solution for Allergy Sufferers The Rise of Wood Flooring: A Challenge or Opportunity for the Carpet Industry? Maximizing Home Sale in the UK: The Impact of Wood Flooring Revive Your Floors: A DIY Guide to Sanding, Repairing & Finishing Parquet Flooring Essential Winter Care for Hardwood Flooring | Preserve Your Floors Through Winter
Sanding
We provide virtually dust-free sanding with our continuous belt machinery with mobile extraction units, giving you a safer environment for your family.
Oiling
This organic finish not only adds beauty to your home but also has exceptional water-repellent characteristics, making it easier to clean and maintain.
Waxing
This natural floor finish offers the softest and most mellow appearance – and leaves your floor able to breath.
Buffing
Using soft buffing machines (and hand-polishing where required) will bring a wonderful sheen to your newly-finished floor.
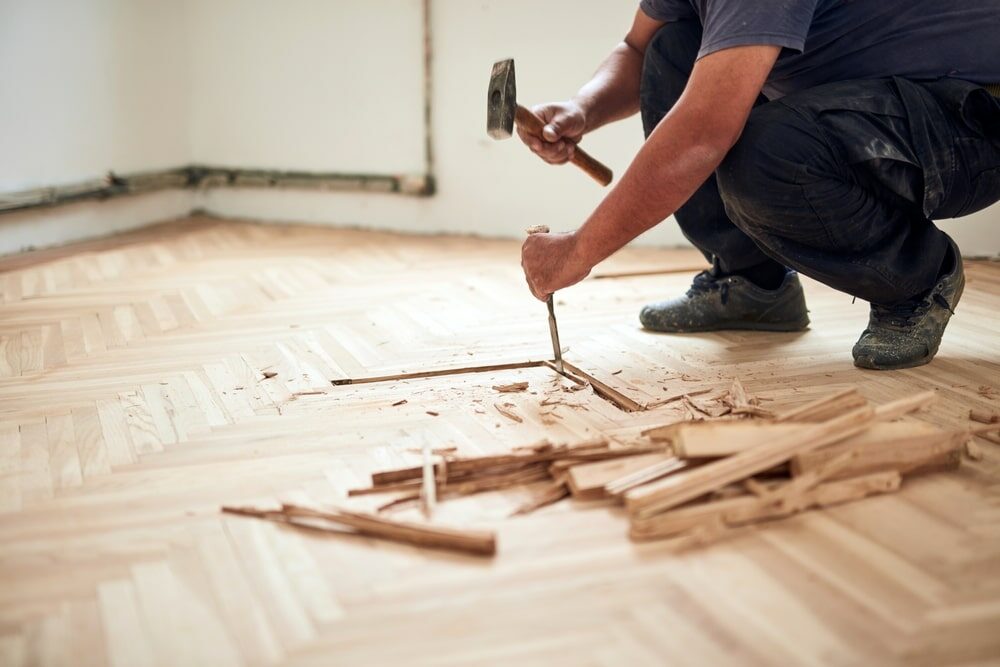
Repairs
We offer a full assessment of your wooden floors to determine what repairs are needed to provide the perfect working surface for the later stages of sanding, staining and sealing.
Restoration
We offer a comprehensive restoration process designed to address floors that are improperly fitted or damaged over time through wear and tear.
Request a fixed price quote for your wood floor restoration now
Simply enter your postcode below to get started.
Services
Wood Floor Sanding Wood Floor Restoration Wood Floor Scratch Repair Squeaky Wood Floor Repair Parquet Floor Sanding Parquet Floor Restoration Commercial Floor Sanding Church Floor Sanding Community Centre Floor Sanding School Floor Sanding Gap Filling Gap Filling with ResinCopyright © Mr Sander®
Privacy & Cookies Terms & Conditions Complaints Procedure Cancellation Rights Sitemap

Get An Instant Price Estimate Before You Go…
Simply enter the rooms you need sanded and we’ll provide you with a price estimate instantly! Try our price calculator now.
Get a Price Estimate NowLocal Floor Sanding Experts
Over 500 5-Star Reviews
Safe, Dust Free Sanding
Operating Since 1994