London:
Nationwide:
25,000+
Floors Restored
27 Years Experience
Wood Flooring Association Certified
Sanding Floorboards for a Stunning Home Transformation | A Comprehensive Guide
Posted on April 24, 2023
Blog
Master the Art of Sanding Floorboards for a Stunning Home Transformation
Welcome to our extensive guide on how to elevate your home’s décor with beautifully sanded floorboards! Throughout this article, we will walk you through the entire process, from understanding the advantages of sanding to the step-by-step method, as well as sharing valuable tips and tricks to help you achieve the perfect result.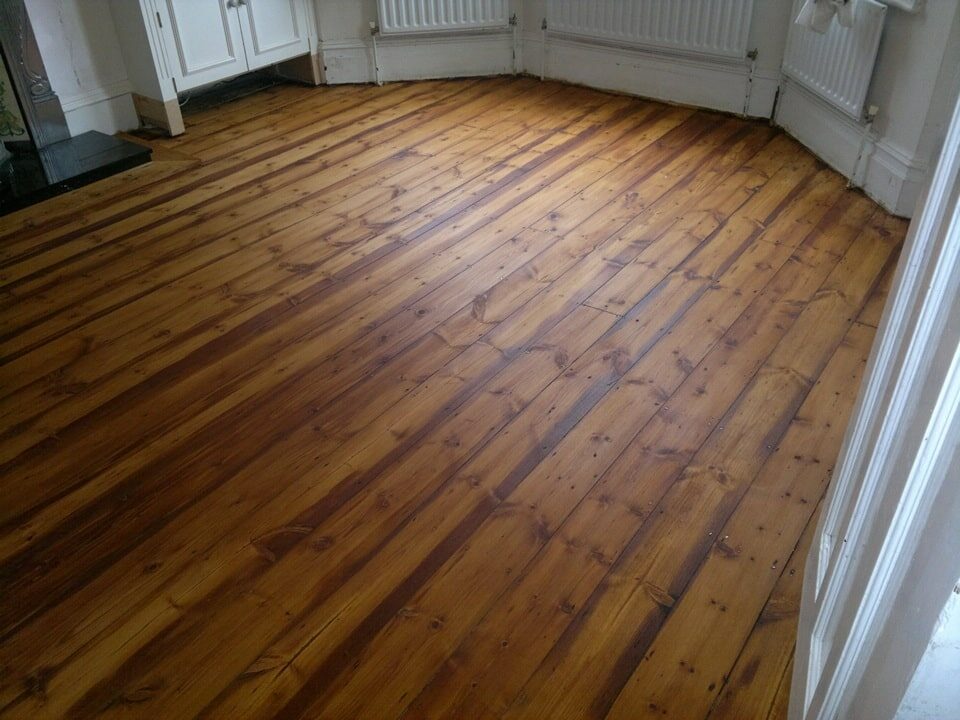
1. The Benefits of Sanding Your Floorboards
Sanding your floorboards has numerous advantages, including: A. Enhancing the appearance of your home: Sanded floorboards can significantly improve the overall look of your space, creating a polished and sophisticated appearance. B. Increasing the value of your property: Beautifully sanded and refinished floors are highly sought after by potential home buyers, thus increasing your property’s market value. C. Environmentally friendly: Refurbishing existing floorboards is an eco-friendly option compared to installing new flooring, as it requires fewer resources and produces less waste. D. Better air quality: Sanded and sealed floorboards can reduce the accumulation of dust and allergens, leading to better indoor air quality. E. Durability: Properly sanded and finished floorboards are highly resistant to wear and tear, ensuring your floors look great for years to come.
2. Choosing the Right Floorboards
Before you begin, it’s essential to assess the condition of your existing floorboards. Look for signs of damage, such as rot, cracks, or extreme wear. If your floorboards are in poor condition, you may need to replace them before proceeding with sanding. In such cases, it’s crucial to choose high-quality, durable materials that match the look and feel of your existing floor.3. Preparing Your Home for Sanding
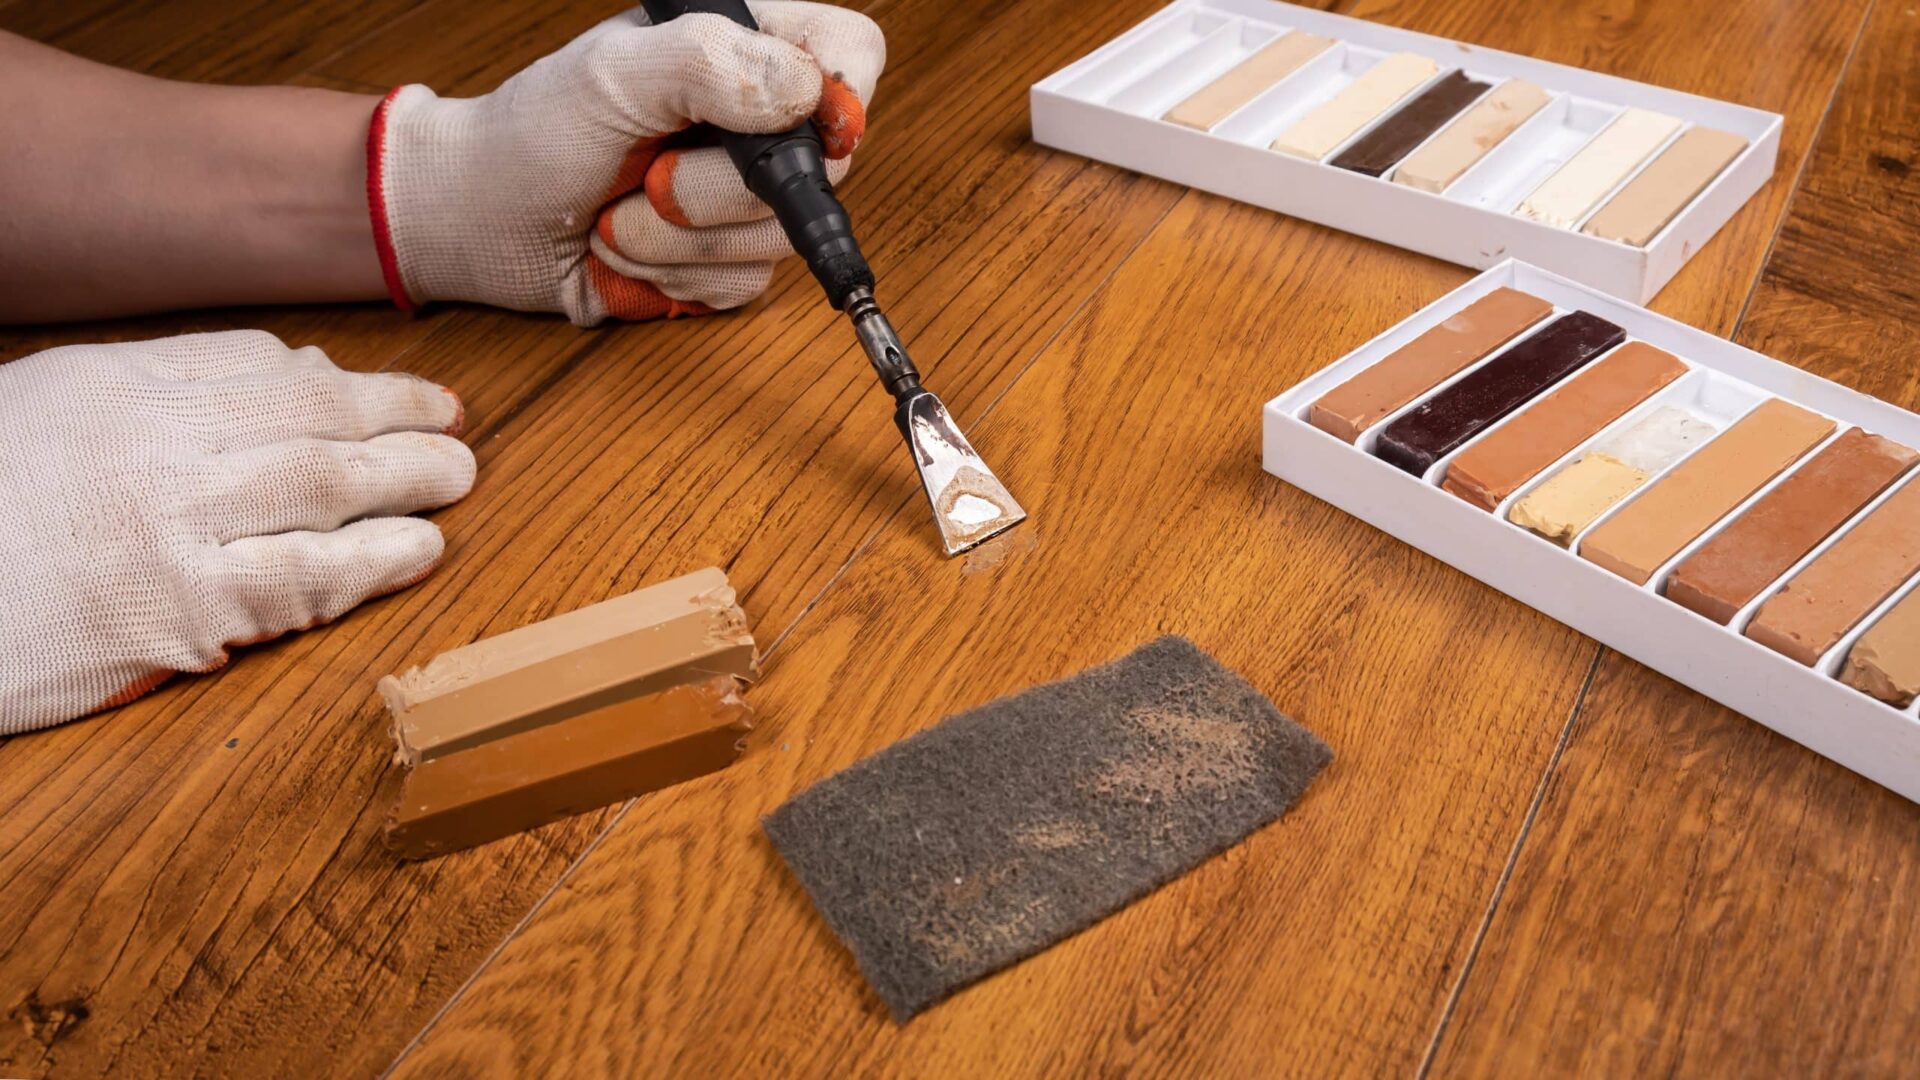
Proper preparation is vital for a successful floor sanding project. Follow these steps to prepare your space: A. Clear the room: Remove all furniture, rugs, and other items from the area to be sanded. B. Remove nails and staples: Inspect the floorboards for any nails, staples, or other fasteners that may be protruding above the surface. These can damage your sanding equipment and result in an uneven finish. C. Clean the floor: sweep and vacuum the floor thoroughly to remove dust and debris. D. Fill any gaps: Fill any large gaps between the floorboards with a suitable wood filler. This will provide a seamless finish and prevent draughts.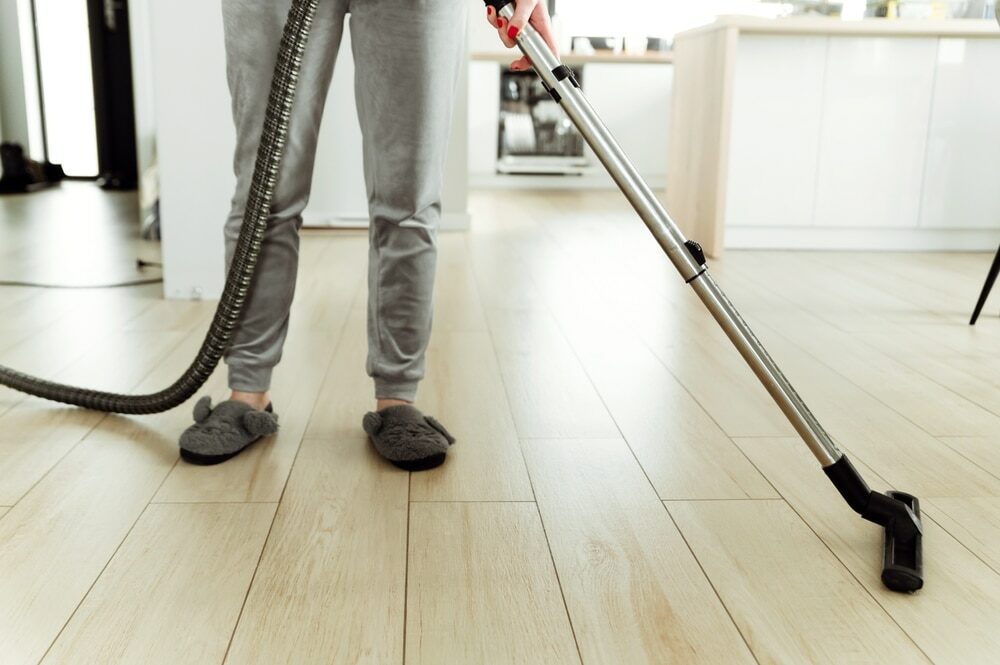
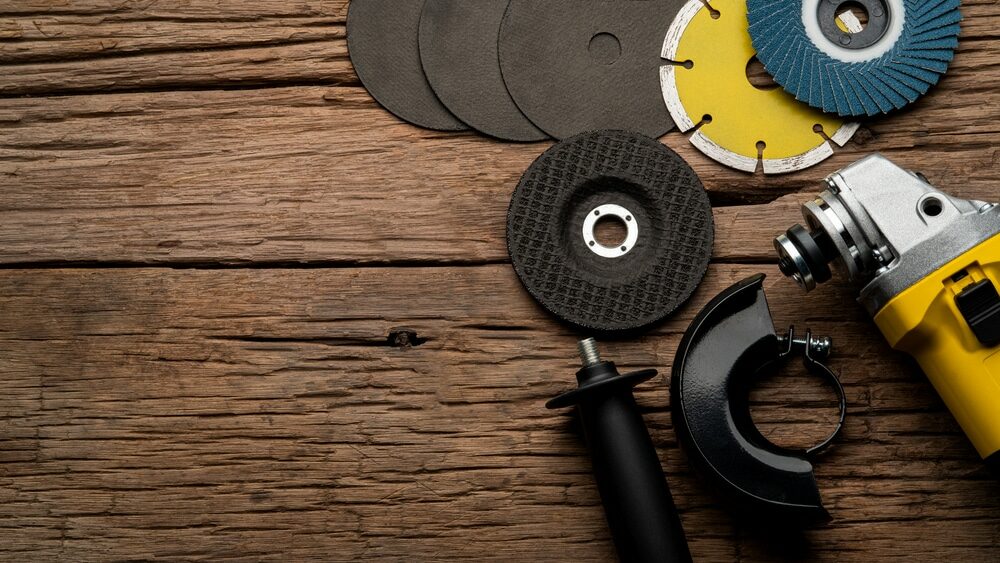
4. Essential tools and materials
Before starting the sanding process, gather the following tools and materials: A.Drum sander or orbital sander B. Edge sander; C. Sanding discs or belts (coarse, medium, and fine grit); D. Dust mask and safety goggles E. Ear protection F. Vacuum cleaner G. Wood filler H. Paintbrush or roller I. Wood stain or finish J. Clean cloths or tack cloths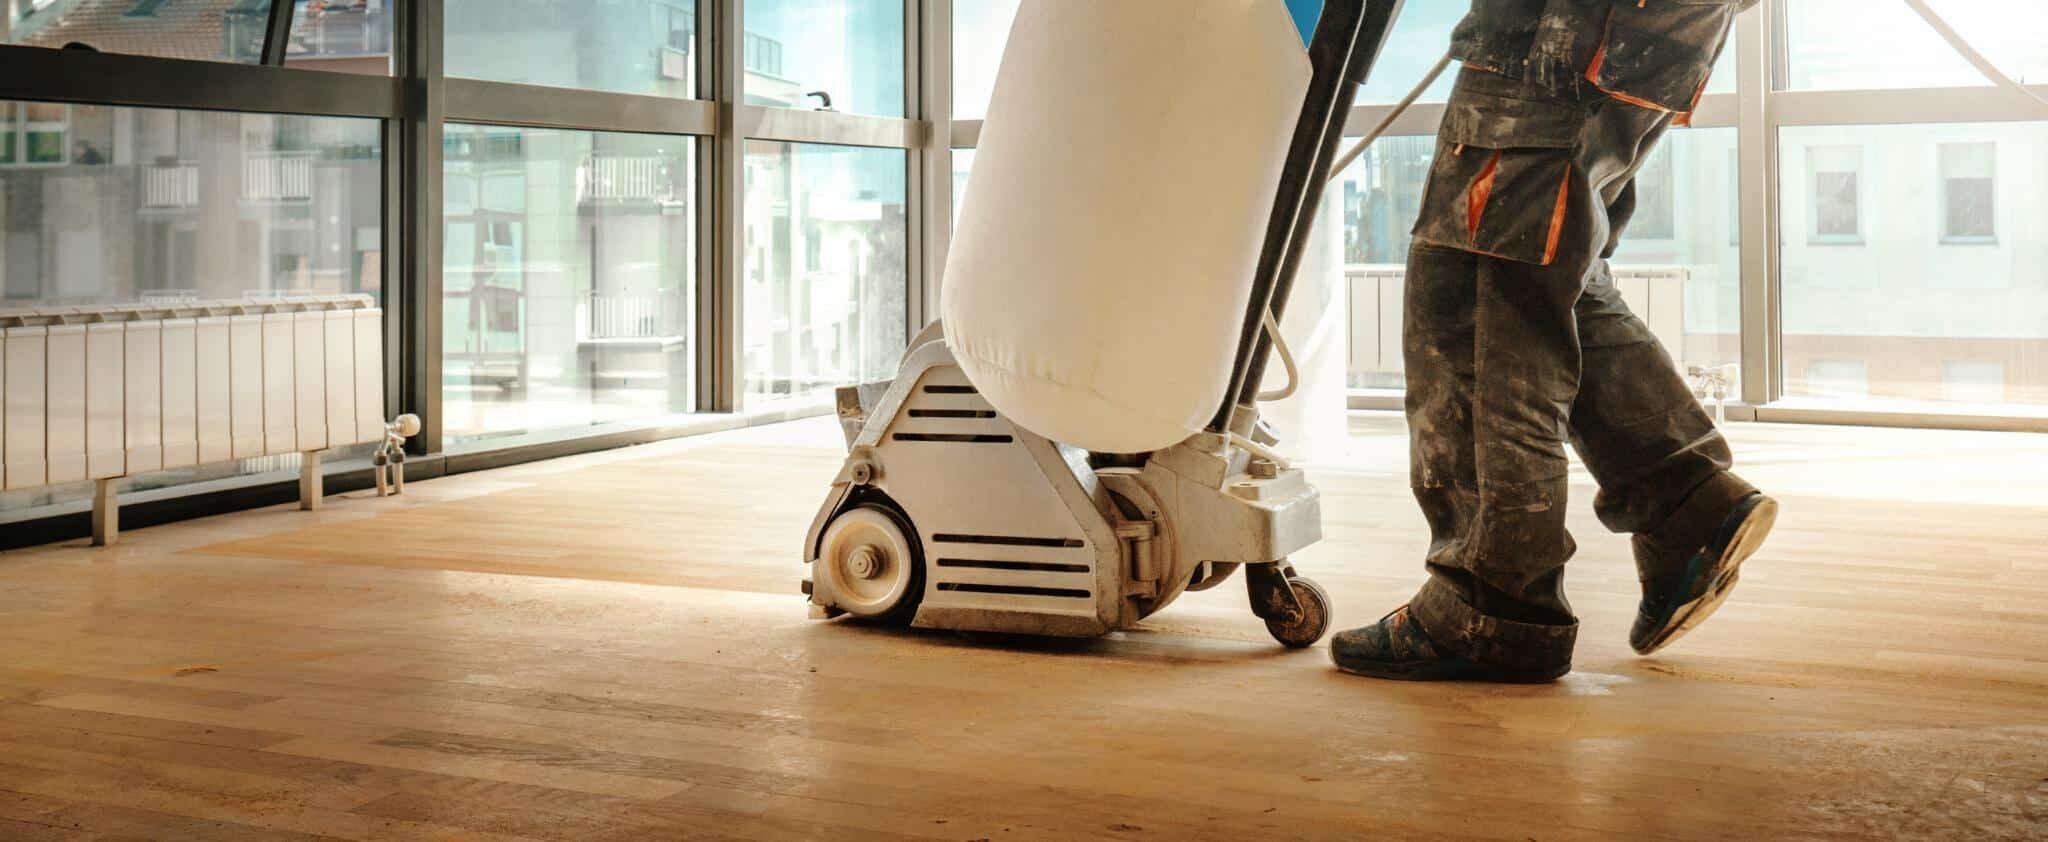


5. The Step-by-Step Guide to Sanding Floorboards
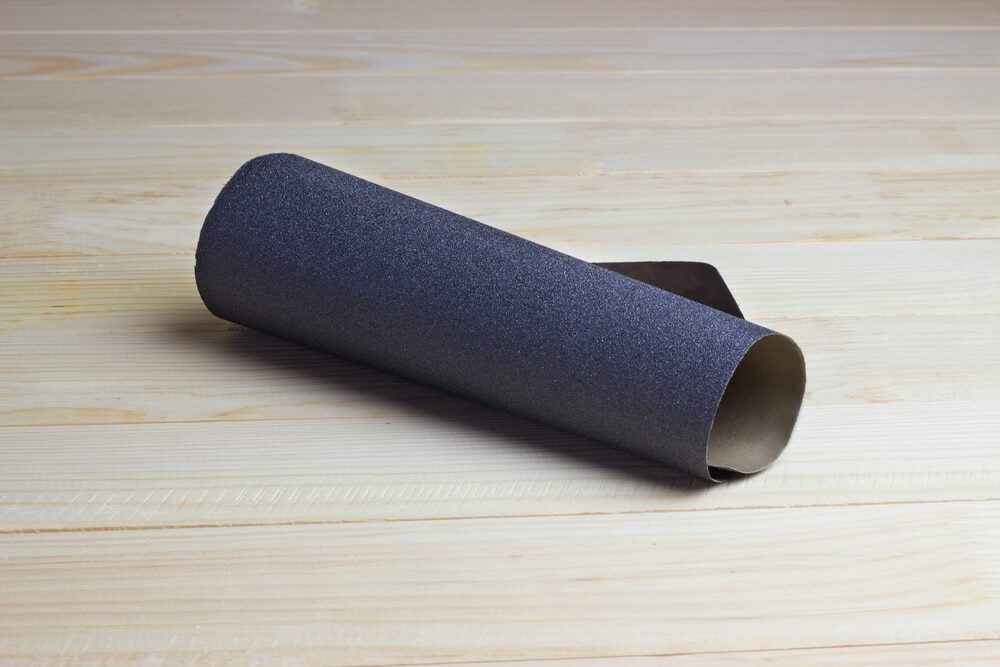
Follow this detailed guide to sanding your floorboards: A. Protect yourself: Put on your dust mask, safety goggles, and ear protection. B. Start with the coarsest grit: Load the drum or orbital sander with a coarse-grit sanding disc or belt (e.g., 40 or 60 grit). Begin sanding the main area of the floor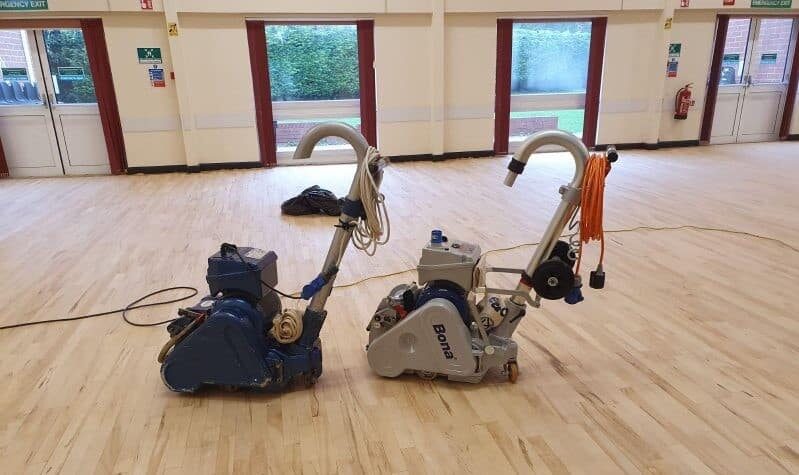
6. Selecting the Ideal Finish
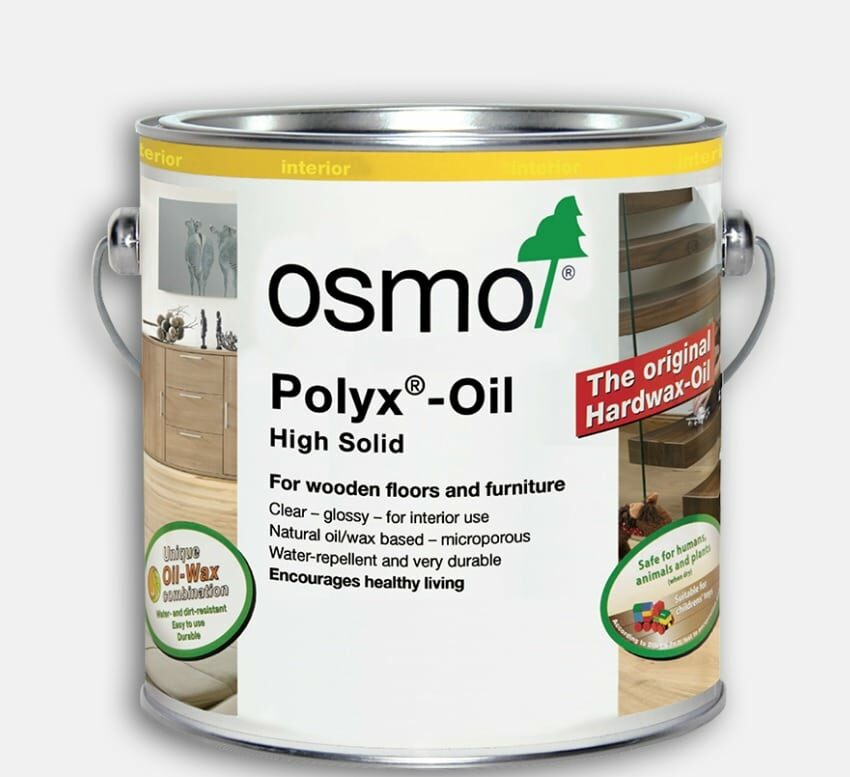
Now that your floor is sanded, it’s time to choose the perfect finish to enhance its natural beauty and protect it from wear and tear. Consider these popular options: A. Wood stain: Wood stains are available in various colours and can help you achieve a specific shade or tone to match your home’s décor. B. Polyurethane: This clear, durable finish is available in various sheens, including matte, satin, semi-gloss, and high-gloss. It offers excellent protection against wear, moisture, and UV damage. C. Oil-based finishes: Oil-based finishes, such as tung oil or Danish oil, penetrate the wood and provide a natural, low-lustre finish. These finishes enhance the wood’s grain and offer moderate protection. D. Wax: Wax finishes create a soft, subtle sheen and provide some protection against moisture and wear. However, they require more frequent maintenance than other finishes.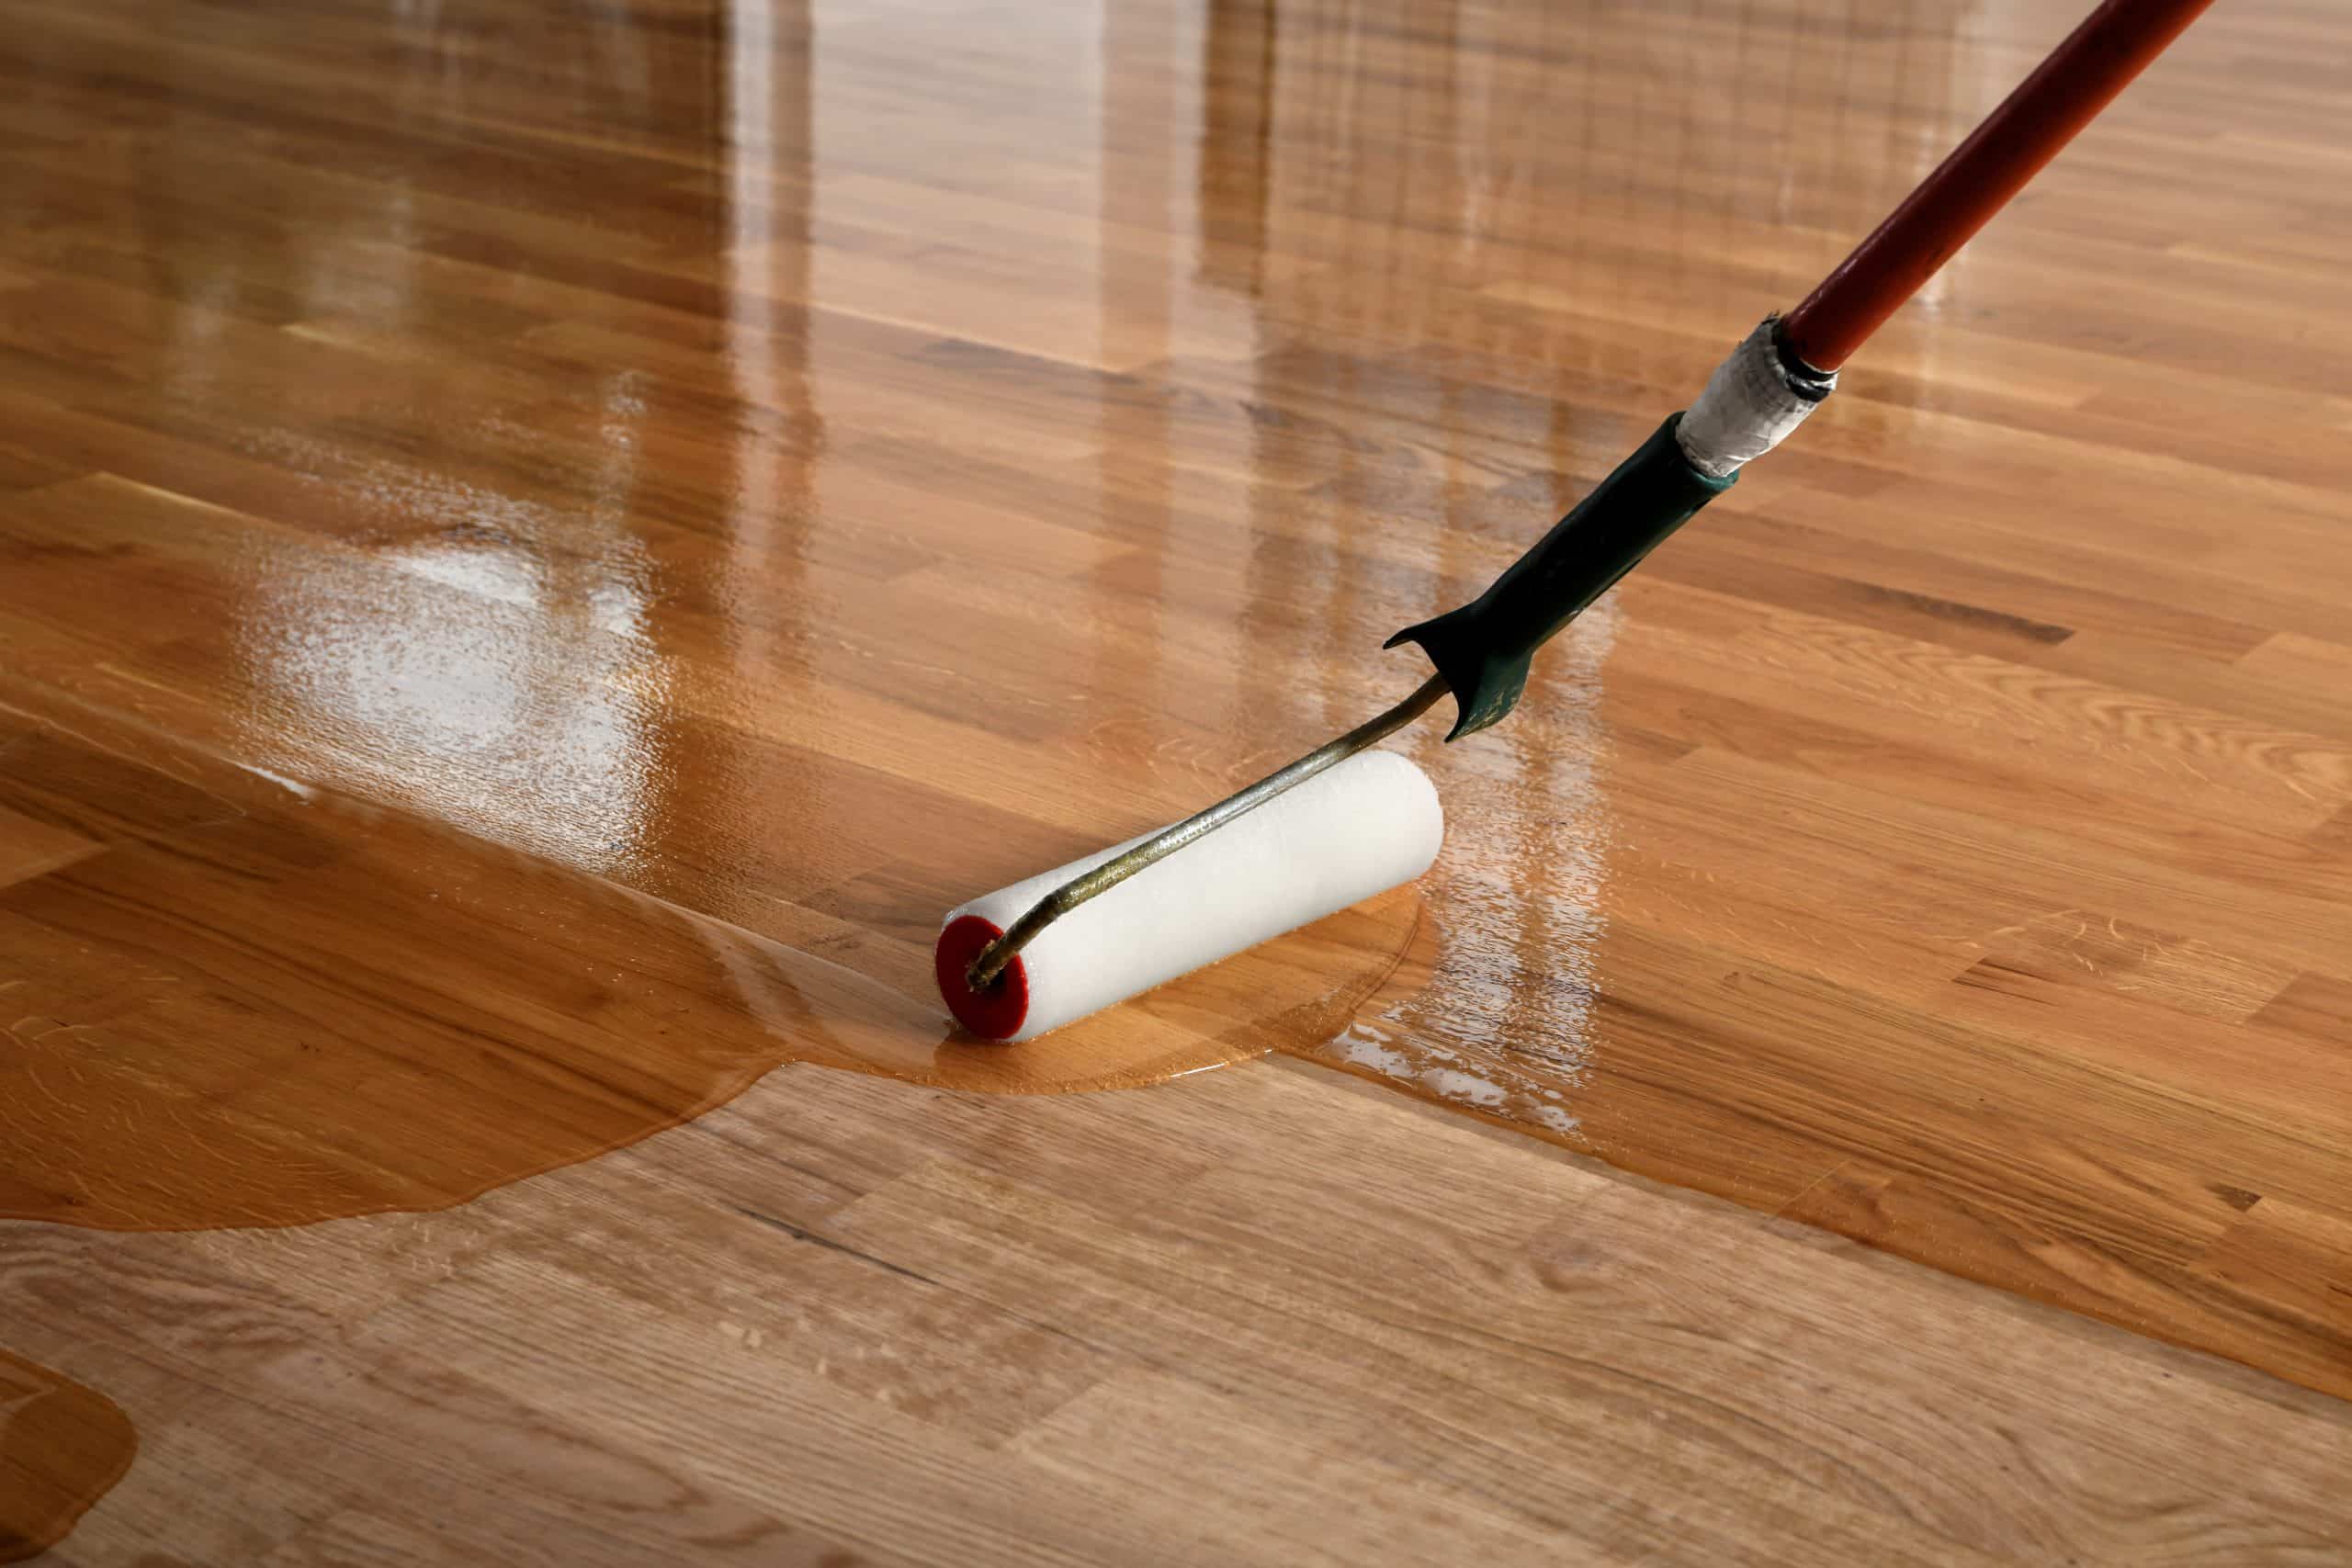
7. Maintaining your sanded floorboards
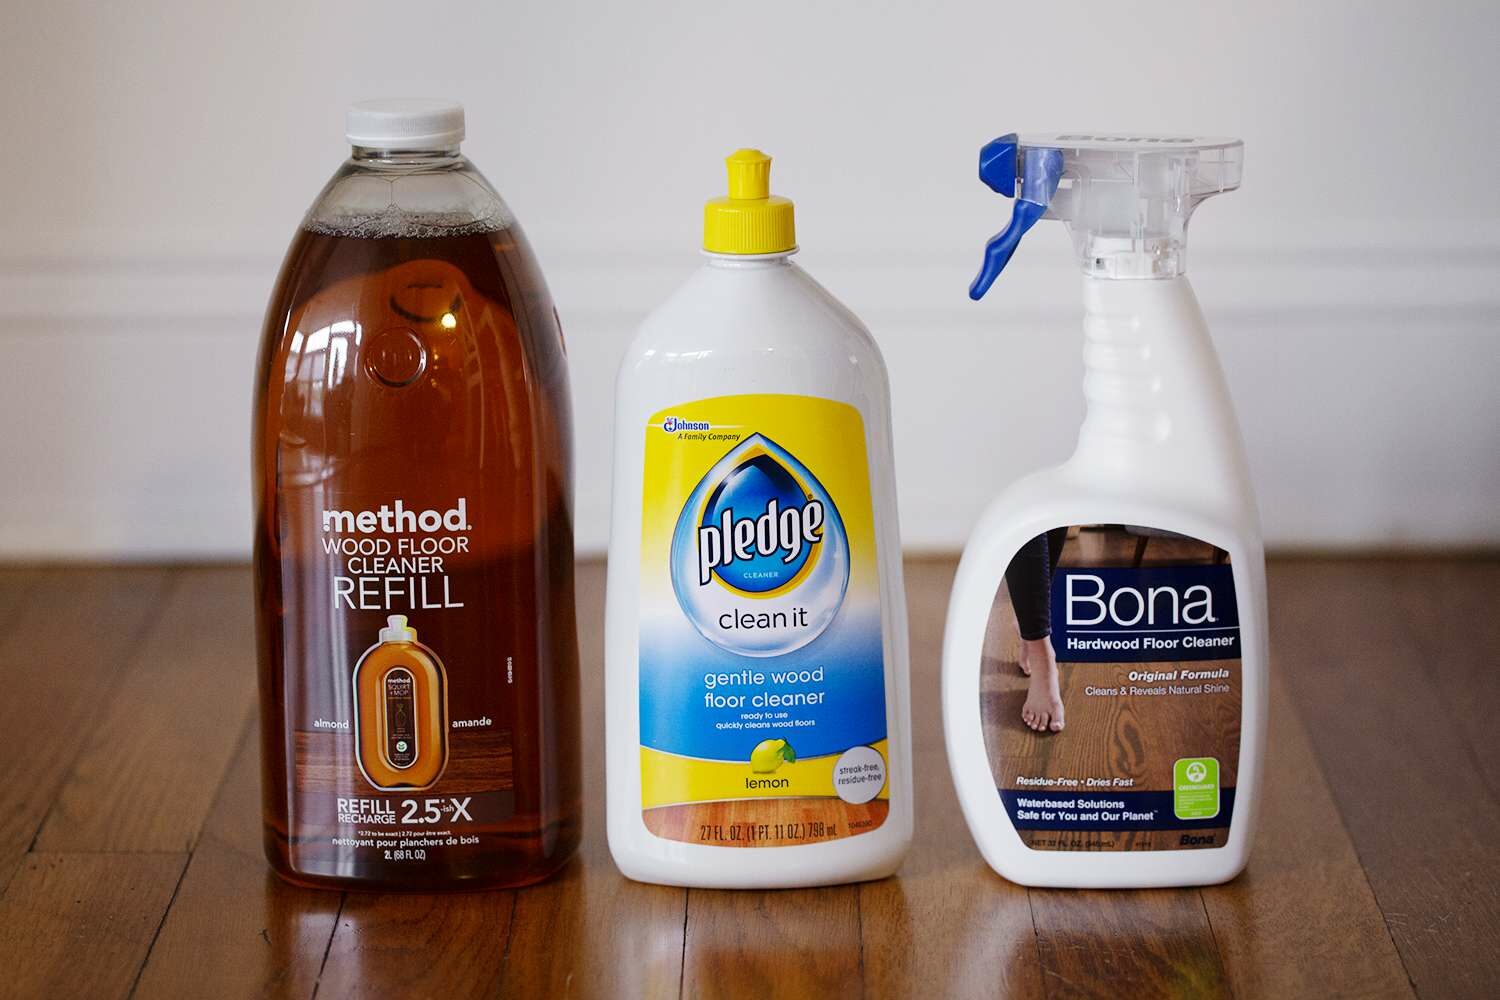
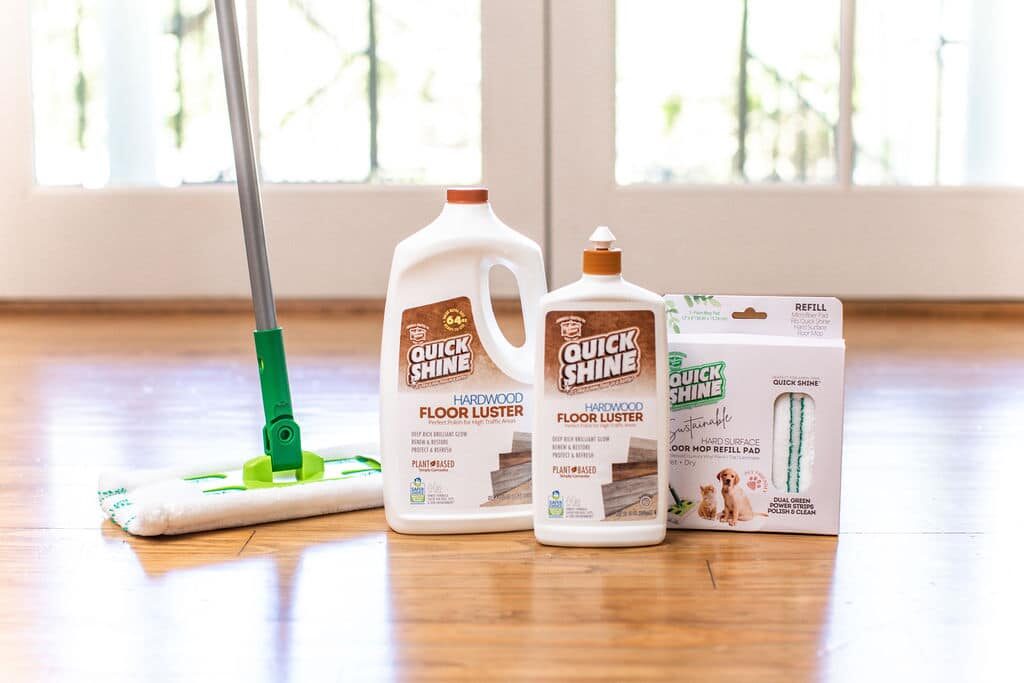
Proper maintenance is essential to keeping your sanded floorboards looking their best. Follow these tips to care for your floors: A. Regular cleaning: Sweep or vacuum your floors regularly to remove dust, dirt, and debris. When necessary, use a damp mop with a gentle, pH-neutral cleaner. B. Protect high-traffic areas: Place rugs or mats in high-traffic areas to minimise wear on your floorboards. C. Prevent scratches: Use felt pads under furniture legs to protect your floor from scratches and dents. D. Refinish as needed: Depending on the type of finish you’ve chosen, your floor may require periodic refinishing to maintain its appearance and protection.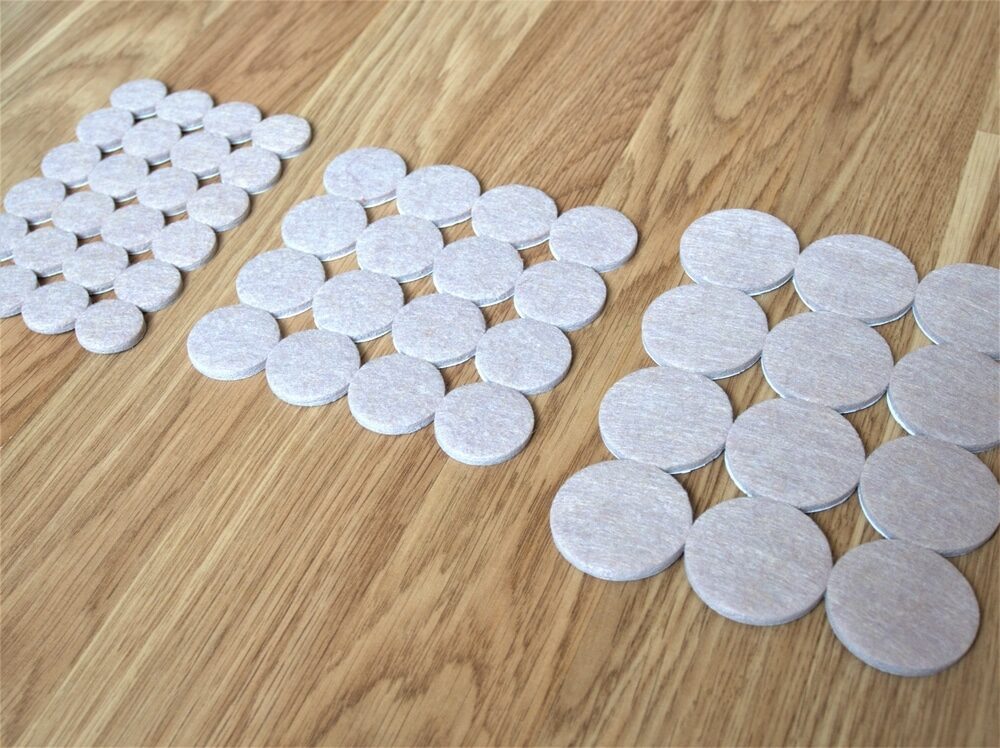
Frequently Asked Questions
Q: How long does the sanding process take? A. The duration of the sanding process depends on the size of the room and the condition of the floorboards. Generally, it may take anywhere from a few hours to a couple of days. Q: How long should I wait before applying a finish? A: Allow the floor to settle for at least 24 hours after sanding before applying your chosen finish. Q: Can I sand my floors if they are engineered wood or laminate? A: Generally, engineered wood floors can be sanded, but the number of times they can be refinished is limited by the thickness of the top layer. Laminate floors cannot be sanded, as they consist of a thin layer of printed material.Some Useful Links:
Conclusion
Sanding your floorboards is an excellent way to rejuvenate your home’s appearance and increase its value. With careful preparation, the right tools, and a bit of patience, you can achieve stunning results that will transform your living space. By following the comprehensive guide provided in this article, you’ll be well-equipped to tackle this project with confidence. Once your floors are beautifully sanded and finished, remember to maintain them regularly to preserve their beauty and durability for years to come. Happy sanding, and enjoy your refreshed, elegant, and timeless floorboards!More from our Blog:
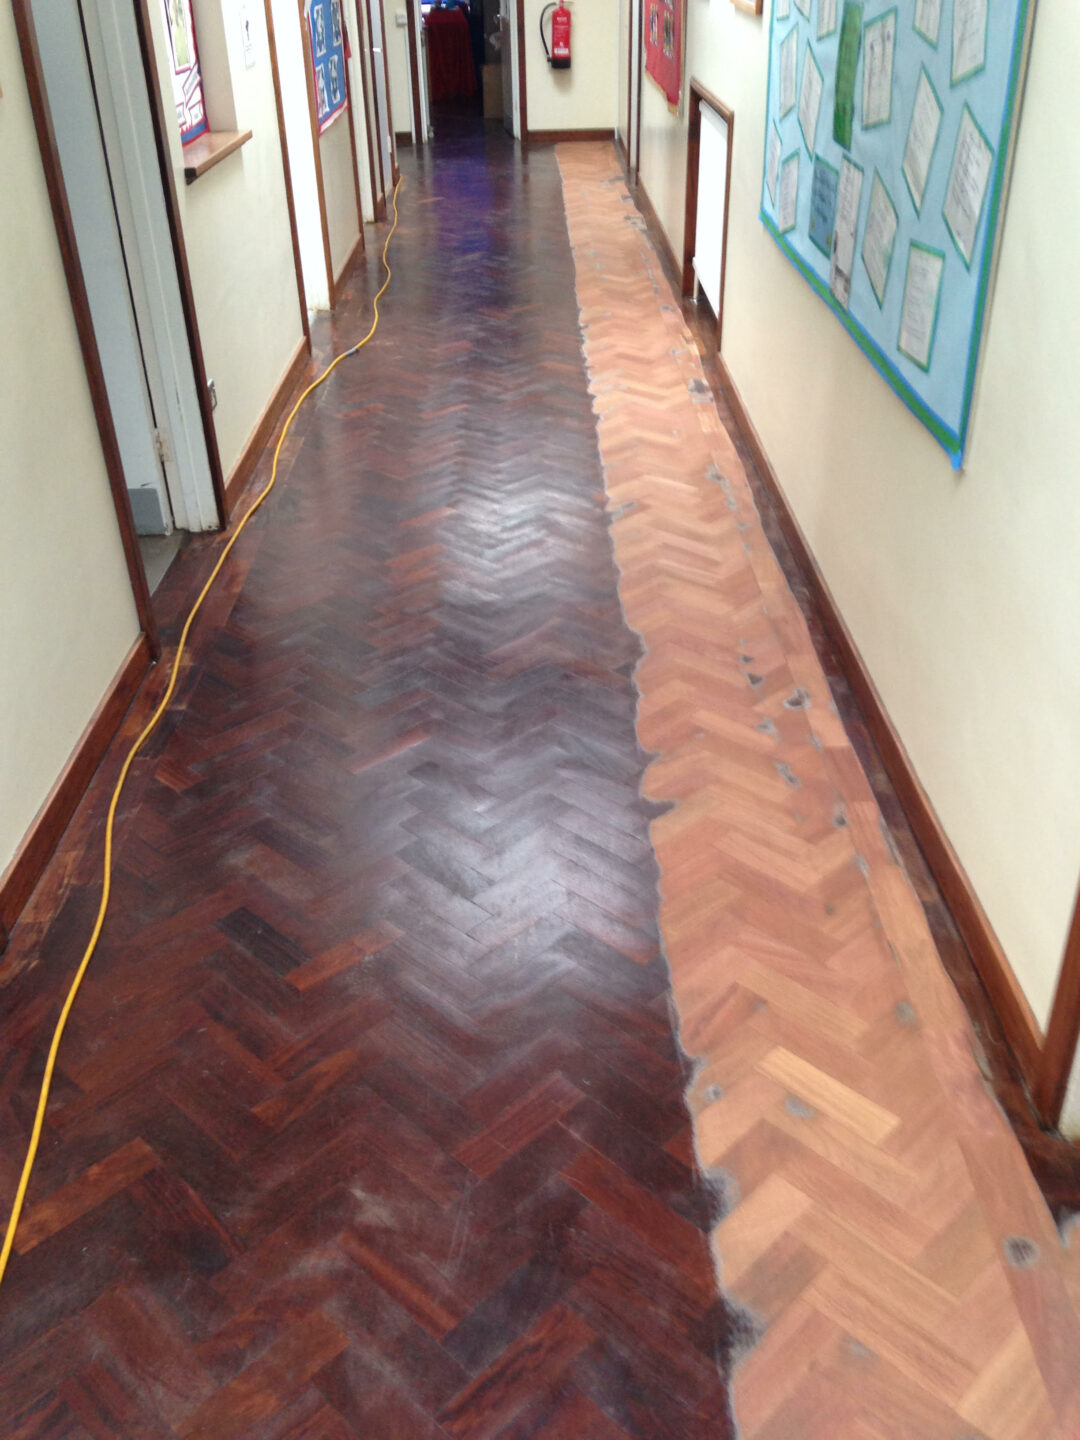
Floor Sanding Services, why always ask for before and after pics? Learn the Different Steps for Sanding Floorboards | The Best Guide How to Find Top London Wood Floor Sanding Service Providers?
Sanding
We provide virtually dust-free sanding with our continuous belt machinery with mobile extraction units, giving you a safer environment for your family.
Oiling
This organic finish not only adds beauty to your home but also has exceptional water-repellent characteristics, making it easier to clean and maintain.
Waxing
This natural floor finish offers the softest and most mellow appearance – and leaves your floor able to breath.
Buffing
Using soft buffing machines (and hand-polishing where required) will bring a wonderful sheen to your newly-finished floor.
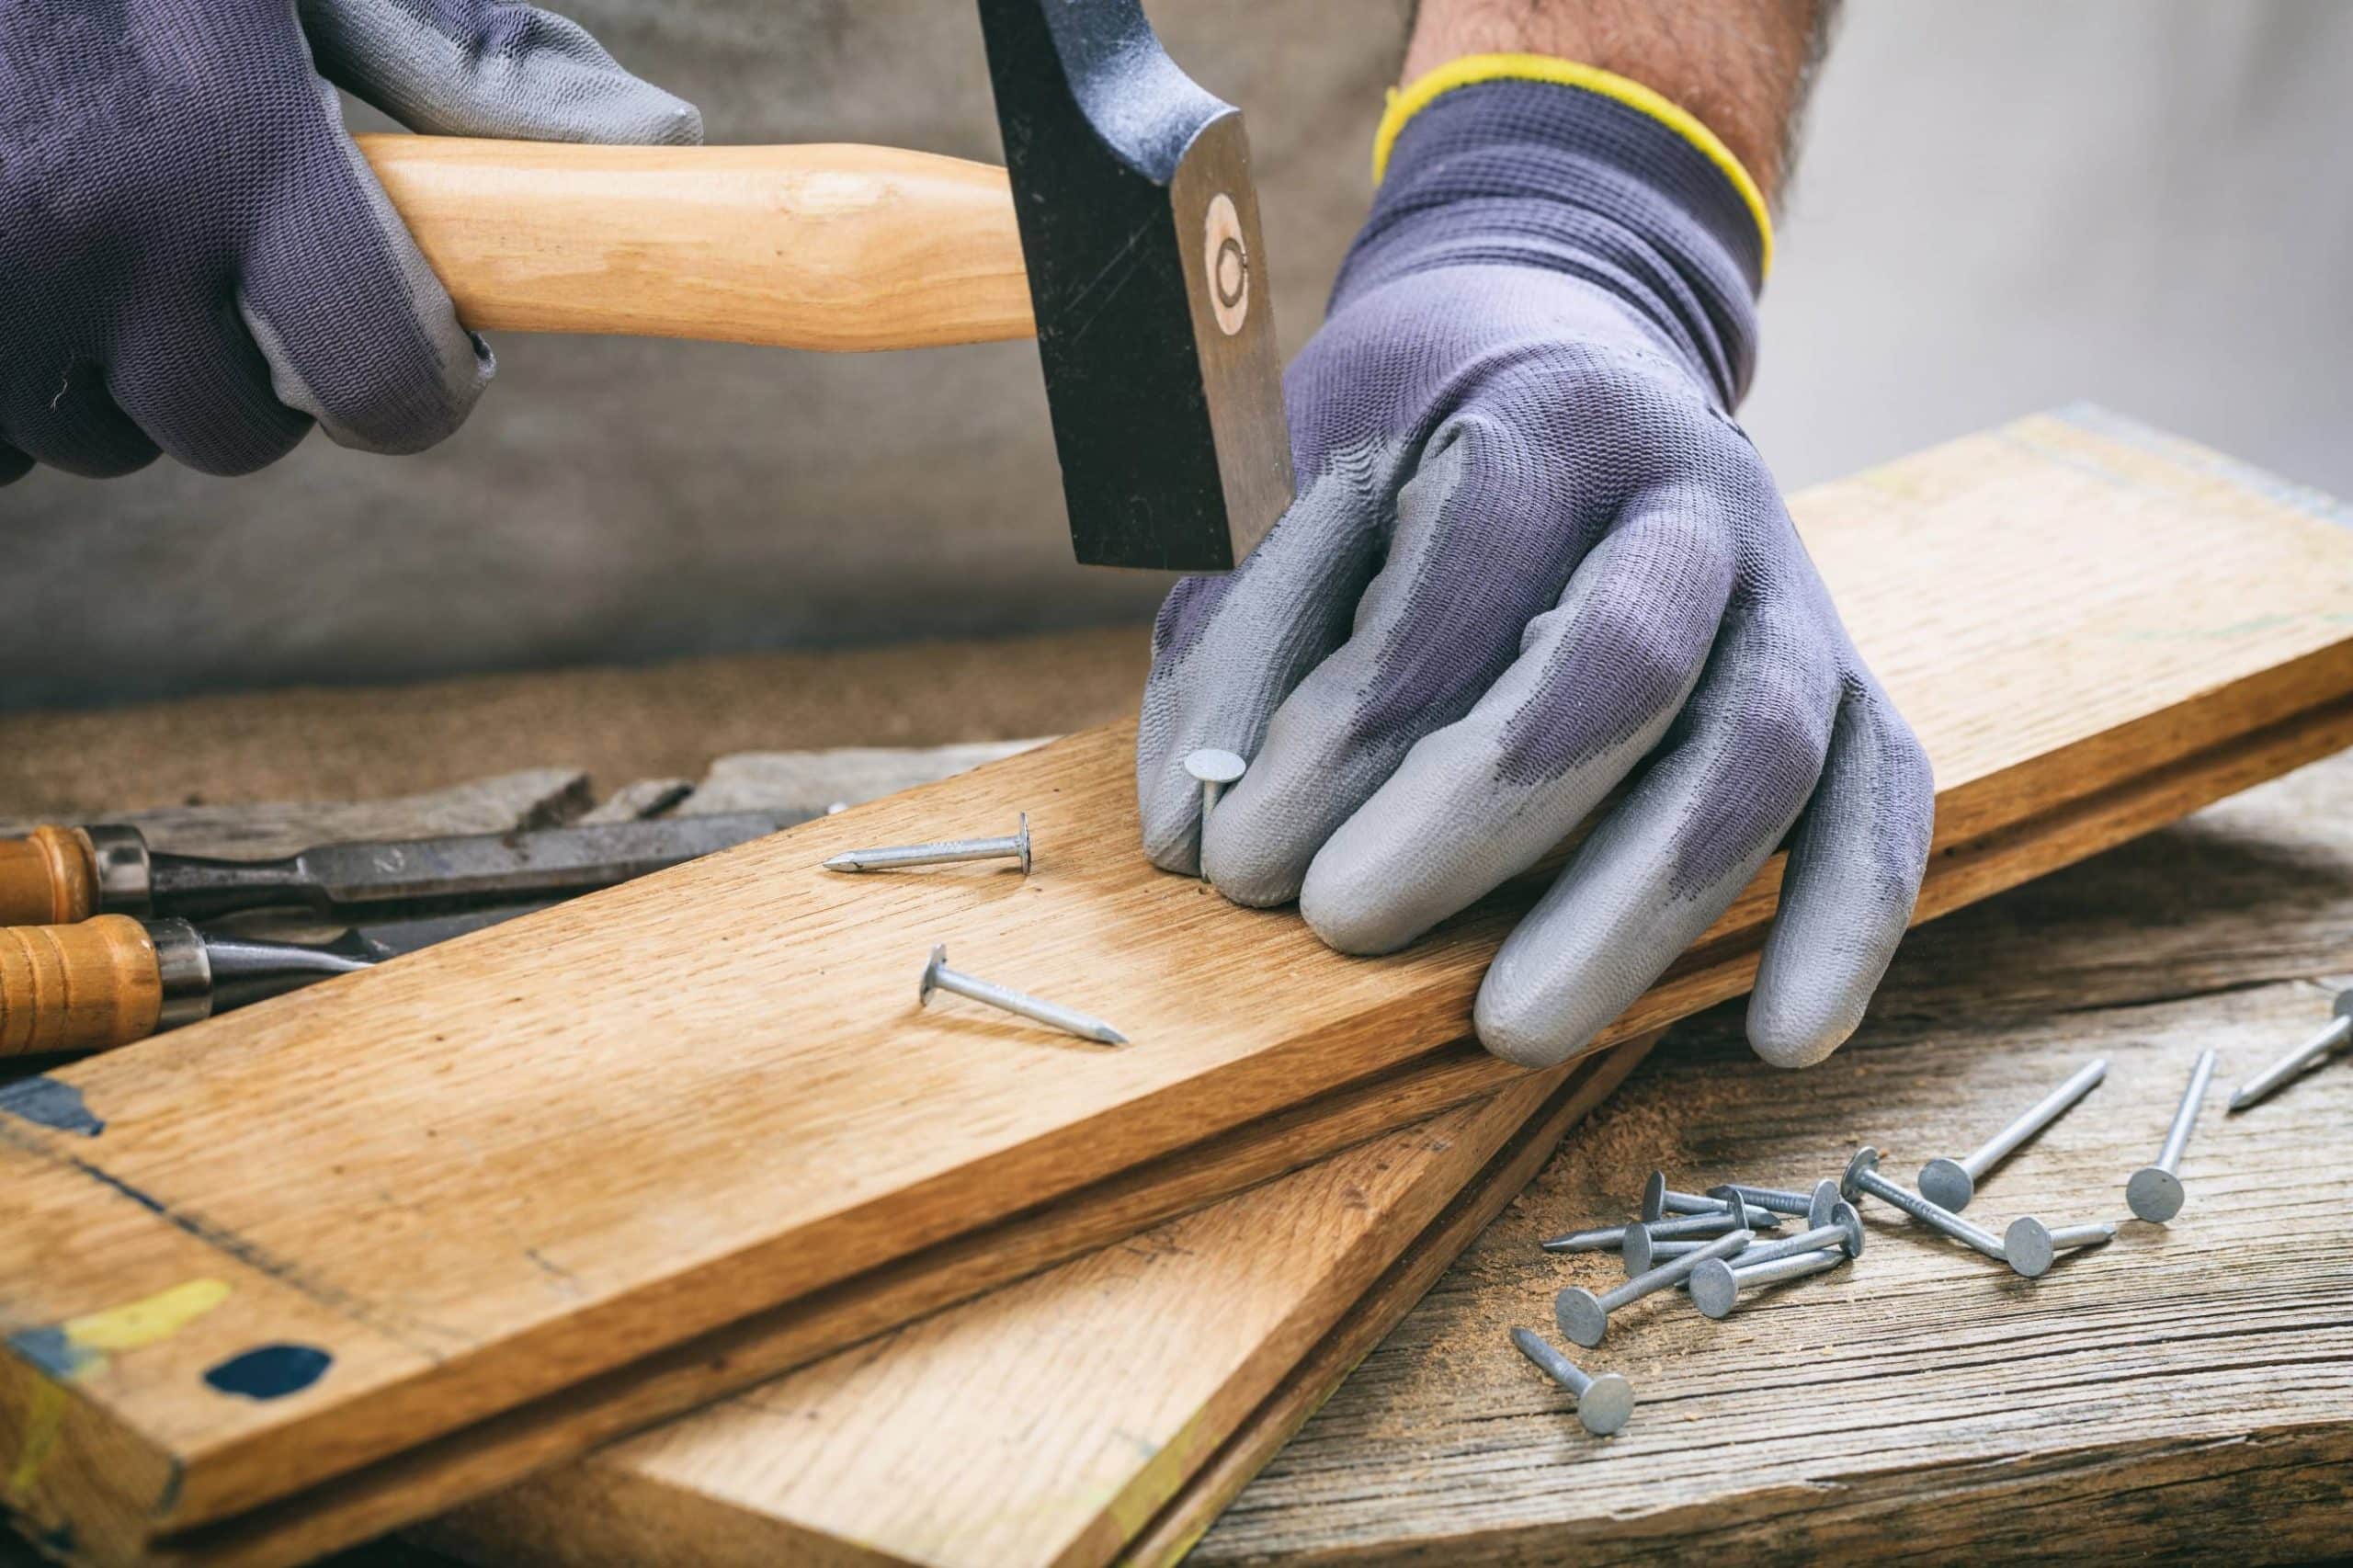
Repairs
We offer a full assessment of your wooden floors to determine what repairs are needed to provide the perfect working surface for the later stages of sanding, staining and sealing.
Restoration
We offer a comprehensive restoration process designed to address floors that are improperly fitted or damaged over time through wear and tear.
Request a fixed price quote for your wood floor restoration now
Simply enter your postcode below to get started.
Services
Wood Floor Sanding Wood Floor Restoration Wood Floor Scratch Repair Squeaky Wood Floor Repair Parquet Floor Sanding Parquet Floor Restoration Commercial Floor Sanding Church Floor Sanding Community Centre Floor Sanding School Floor Sanding Gap Filling Gap Filling with ResinCopyright © Mr Sander®
Privacy & Cookies Terms & Conditions Complaints Procedure Cancellation Rights Sitemap

Get An Instant Price Estimate Before You Go…
Simply enter the rooms you need sanded and we’ll provide you with a price estimate instantly! Try our price calculator now.
Get a Price Estimate NowLocal Floor Sanding Experts
Over 500 5-Star Reviews
Safe, Dust Free Sanding
Operating Since 1994