London:
Nationwide:
25,000+
Floors Restored
27 Years Experience
Wood Flooring Association Certified
Efficiently Remove Carpet Grippers from Wooden Floors: A Step-by-Step Guide
Posted on April 10, 2023
Blog
 In this comprehensive guide, we will walk you through a step-by-step process on how to efficiently remove carpet grippers from wooden floors without causing any damage. With 6000 words at your disposal, we’ll cover everything from the tools you’ll need to the techniques to employ for a smooth removal process.
Before you begin the process of removing carpet grippers from your wooden floors, you’ll need to gather the necessary tools. Here’s a list of tools and materials you should have on hand:
In this comprehensive guide, we will walk you through a step-by-step process on how to efficiently remove carpet grippers from wooden floors without causing any damage. With 6000 words at your disposal, we’ll cover everything from the tools you’ll need to the techniques to employ for a smooth removal process.
Before you begin the process of removing carpet grippers from your wooden floors, you’ll need to gather the necessary tools. Here’s a list of tools and materials you should have on hand:
- Gloves
- Knee pads
- Safety goggles
- Pry bar
- Flat-head screwdriver
- Hammer
- Needle-nose pliers
- Utility knife
- Floor scraper
- Trash bags or tarp
- Wood filler
- Fine-grit sandpaper
- Vacuum cleaner
1. Preparing the Area for Gripper Removal
Before diving into the removal process, it’s essential to prepare the area to ensure a smooth and efficient process. Follow these steps to get your workspace ready:- Clear the room of all furniture and any other obstacles.
- Cover any vents or openings with plastic sheeting or painter’s tape to prevent dust and debris from spreading.
- Put on your gloves, knee pads, and safety goggles to protect yourself from injuries.
2.Removing the Carpet
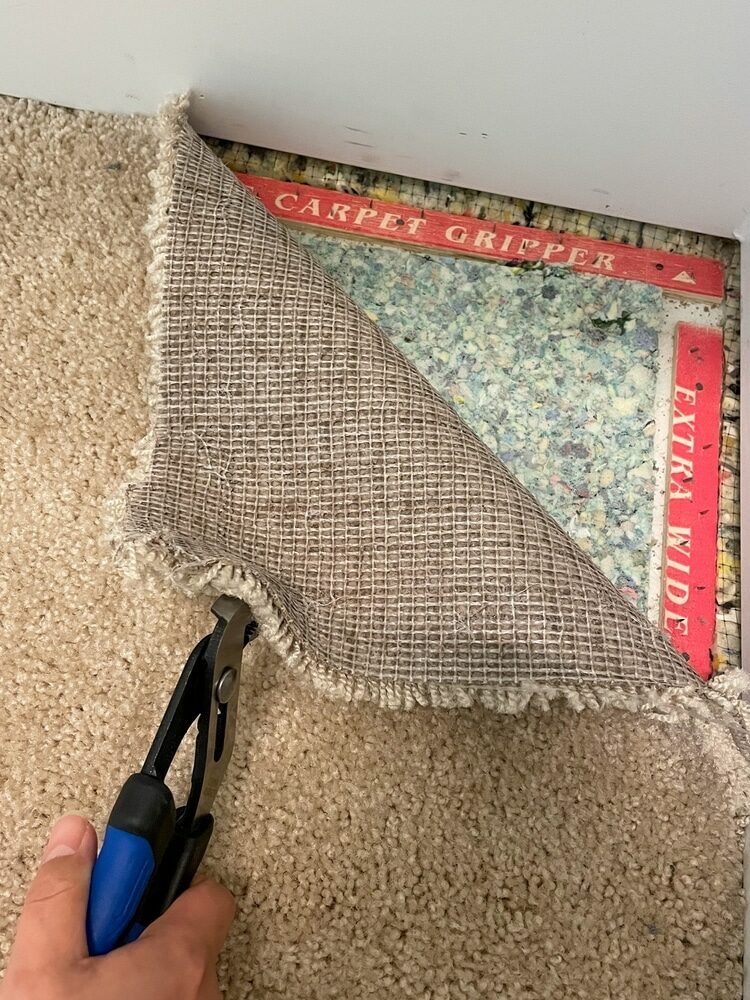
Before you can remove the carpet grippers, you’ll need to remove the carpet itself. Here’s how to do it:- Use the utility knife to cut a small corner of the carpet and gently pull it back to expose the grippers.
- Continue to cut the carpet into manageable strips, approximately 3–4 feet wide, for easier removal and disposal.
- Roll up each strip and secure it with tape or string. This will make it easier to carry the carpet out of the room and dispose of it later.
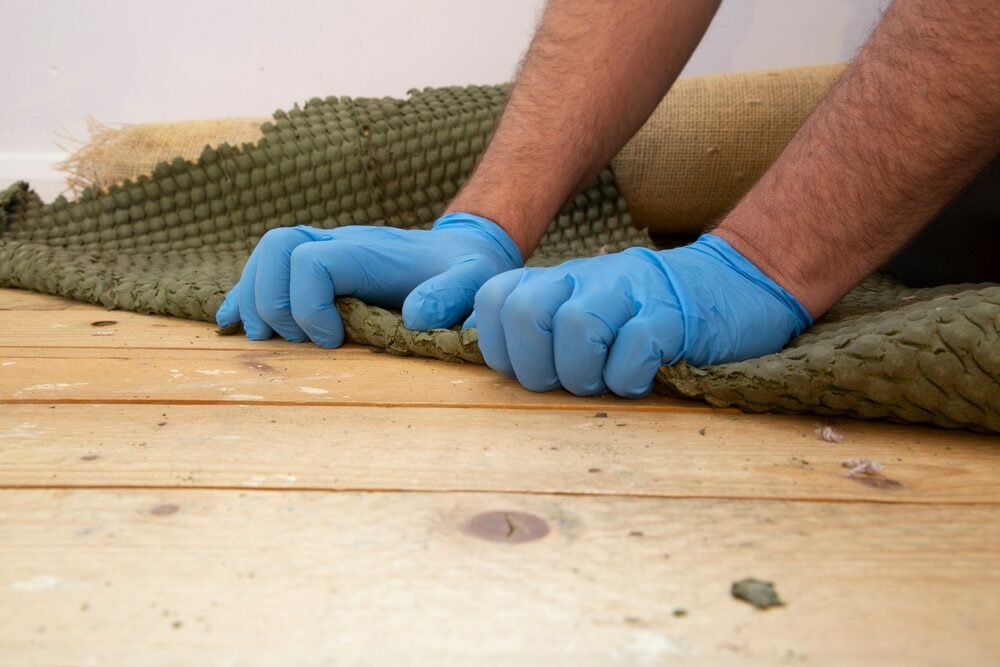
3. Detaching the Carpet Grippers
Now that the carpet is out of the way, you can focus on removing the carpet grippers. Follow these steps:- Identify the nails holding the carpet gripper to the floor. They are usually spaced every few inches along the strip.
- Place the flat end of the pry bar or flat-head screwdriver under the edge of the gripper, close to one of the nails.
- Gently tap the end of the pry bar or screwdriver with the hammer to wedge it further under the gripper. Be careful not to hit the wooden floor directly, as this can cause damage.
- Once the pry bar or screwdriver is securely under the gripper, gently apply pressure to lift the gripper off the floor. The nail should come out with the gripper, but if it doesn’t, use needle-nose pliers to remove the nail.
- Repeat this process for all the nails along the gripper strip until it is entirely detached from the floor.
- If any small pieces of gripper remain, use the needle-nose pliers to remove them carefully.
4. Cleaning and Repairing the Wooden Floor
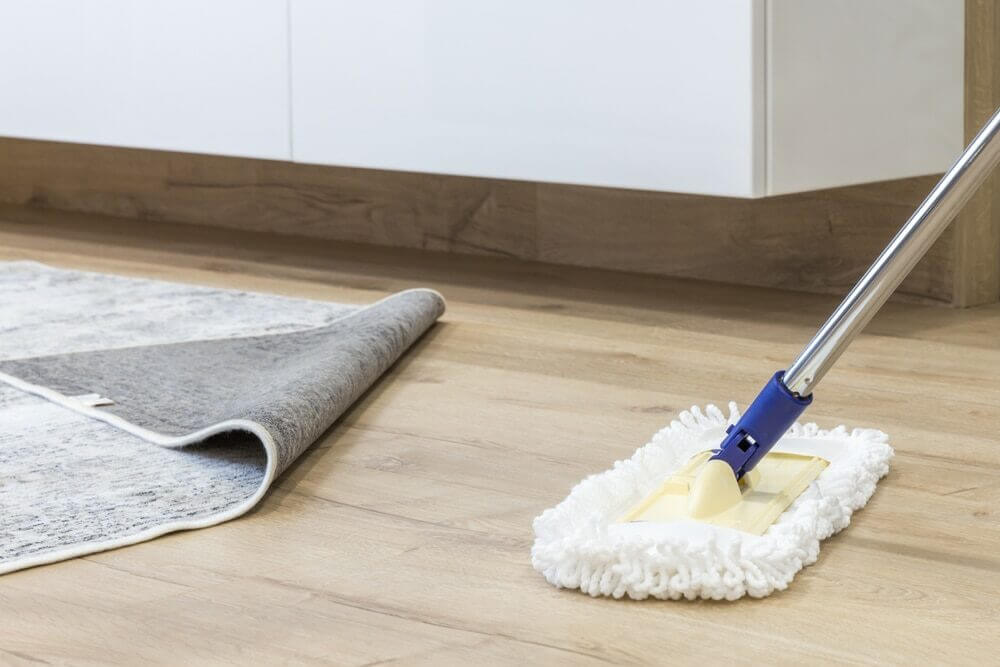
- Use the floor scraper to gently scrape away any remaining adhesive or padding from the wooden floor. Be careful not to dig into the wood, as this can cause scratches and gouges.
- Vacuum the entire area to remove dust, debris, and any remaining carpet fibres.
- Check the wooden floor for any damage the carpet grippers or removal process may have caused.Look for nail holes, scratches, or gouges.
- Fill any nail holes or small gouges with wood filler, following the manufacturer’s instructions. Be sure to choose a filler that matches the colour of your wooden floor.
- Allow the wood filler to dry completely. This may take a few hours or overnight, depending on the filler and the extent of the damage.
- Once the filler is dry, use fine-grit sandpaper to gently sand the repaired areas until they are smooth and level with the surrounding wood.
- Vacuum the area again to remove any sanding dust.
- If necessary, apply a wood stain or finish to the repaired areas to match the rest of the floor. Follow the manufacturer’s instructions for application and drying times.
5. Disposing of the Carpet Grippers and Carpet
Proper disposal of the carpet grippers and carpet is essential to prevent environmental harm and to comply with local waste disposal regulations. Here’s how to dispose of them responsibly:- Check with your local waste management facility to determine if they accept carpet grippers and carpet for recycling. Some facilities may require you to separate the materials, such as metal nails from wooden grippers.
- If recycling is not an option, place the carpet grippers, nails, and carpet strips into heavy-duty trash bags or wrap them in a tarp for safe disposal. Be sure to comply with your local waste disposal guidelines.
- If you’re unsure about the disposal process, consider hiring a professional waste removal service to handle the disposal for you.
6.Frequently Asked Questions
Q: Can I reuse carpet grippers? It’s not recommended to reuse carpet grippers, as they may have lost their gripping strength and could damage the new carpet or floor. Q: How do I prevent damage to my wooden floors while removing carpet grippers? A: Always use the appropriate tools, such as a pry bar or flat-head screwdriver, and be gentle when lifting the grippers. Avoid hitting the wooden floor directly with any tools. Q: Can I remove carpet grippers from a concrete floor? Yes, the process is similar, but you may need a heavier-duty pry bar and a hammer to remove the grippers from a concrete floor.Some Useful Links:
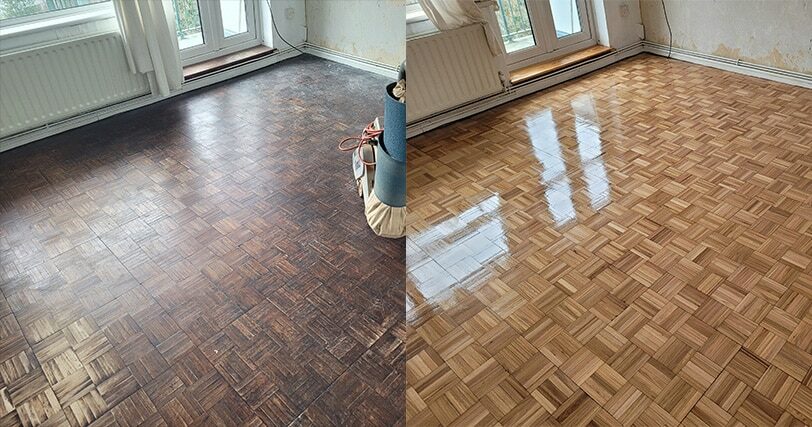
Conclusion
Efficiently removing carpet grippers from wooden floors is a crucial task when refinishing your floors or replacing your carpets. By following this step-by-step guide and using the right tools and techniques, you can successfully remove carpet grippers without causing damage to your wooden floors. Remember to dispose of the grippers and carpet responsibly and take the time to repair any damage to the floor for a smooth and visually appealing result.


Sanding
We provide virtually dust-free sanding with our continuous belt machinery with mobile extraction units, giving you a safer environment for your family.
Oiling
This organic finish not only adds beauty to your home but also has exceptional water-repellent characteristics, making it easier to clean and maintain.
Waxing
This natural floor finish offers the softest and most mellow appearance – and leaves your floor able to breath.
Buffing
Using soft buffing machines (and hand-polishing where required) will bring a wonderful sheen to your newly-finished floor.
Repairs
We offer a full assessment of your wooden floors to determine what repairs are needed to provide the perfect working surface for the later stages of sanding, staining and sealing.
Restoration
We offer a comprehensive restoration process designed to address floors that are improperly fitted or damaged over time through wear and tear.
Request a fixed price quote for your wood floor restoration now
Simply enter your postcode below to get started.
Services
Wood Floor Sanding Wood Floor Restoration Wood Floor Scratch Repair Squeaky Wood Floor Repair Parquet Floor Sanding Parquet Floor Restoration Commercial Floor Sanding Church Floor Sanding Community Centre Floor Sanding School Floor Sanding Gap Filling Gap Filling with ResinCopyright © Mr Sander®
Privacy & Cookies Terms & Conditions Complaints Procedure Cancellation Rights Sitemap

Get An Instant Price Estimate Before You Go…
Simply enter the rooms you need sanded and we’ll provide you with a price estimate instantly! Try our price calculator now.
Get a Price Estimate NowLocal Floor Sanding Experts
Over 500 5-Star Reviews
Safe, Dust Free Sanding
Operating Since 1994