London:
Nationwide:
Tips for DIY users Floorboard Sanding | The Ultimate Guide
Posted on April 23, 2023
Blog
The Ultimate Guide to DIY Floorboard Sanding: Tips, Techniques, and Best Practices
Floorboard sanding is an essential part of maintaining and refinishing wooden floors. This DIY project can transform your living space and add value to your home. In this comprehensive guide, we will cover the basics of floorboard sanding, essential equipment, step-by-step instructions, and best practises for achieving professional results. Whether you’re a DIY enthusiast or a first-time sander, this guide will help you on your floorboard sanding journey.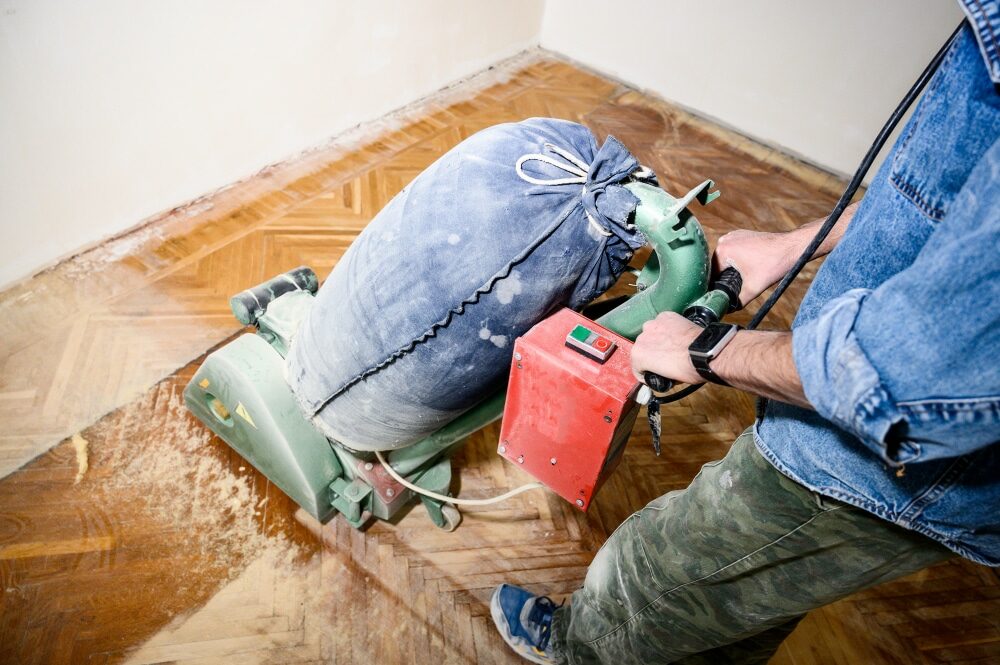
Why floorboard sanding?
Wooden floors have a timeless appeal, but over time, they can become worn and damaged. Sanding removes the top layer of the wood, revealing a fresh surface beneath. This process evens out any imperfections, like scratches or dents, and prepares the floor for refinishing with a new coat of stain or varnish. With a little patience and the right tools, you can bring your floor back to life and restore its original beauty.Essential Equipment for Floorboard Sanding
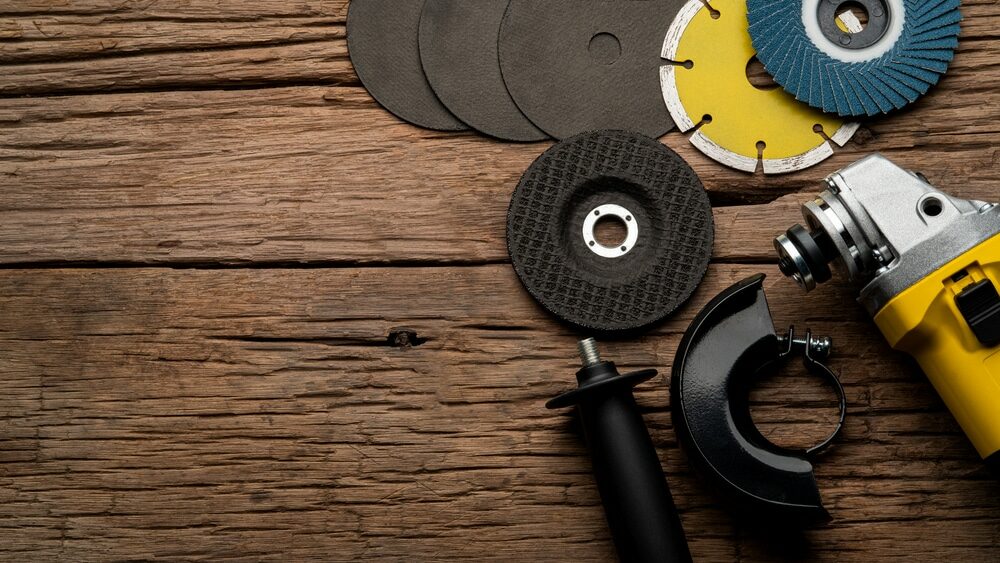
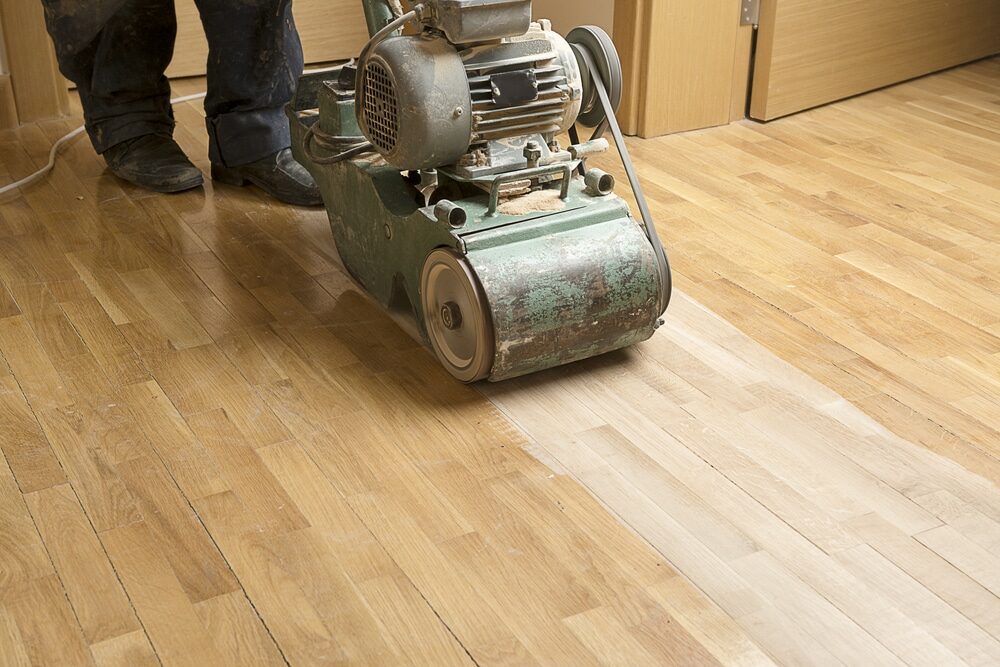
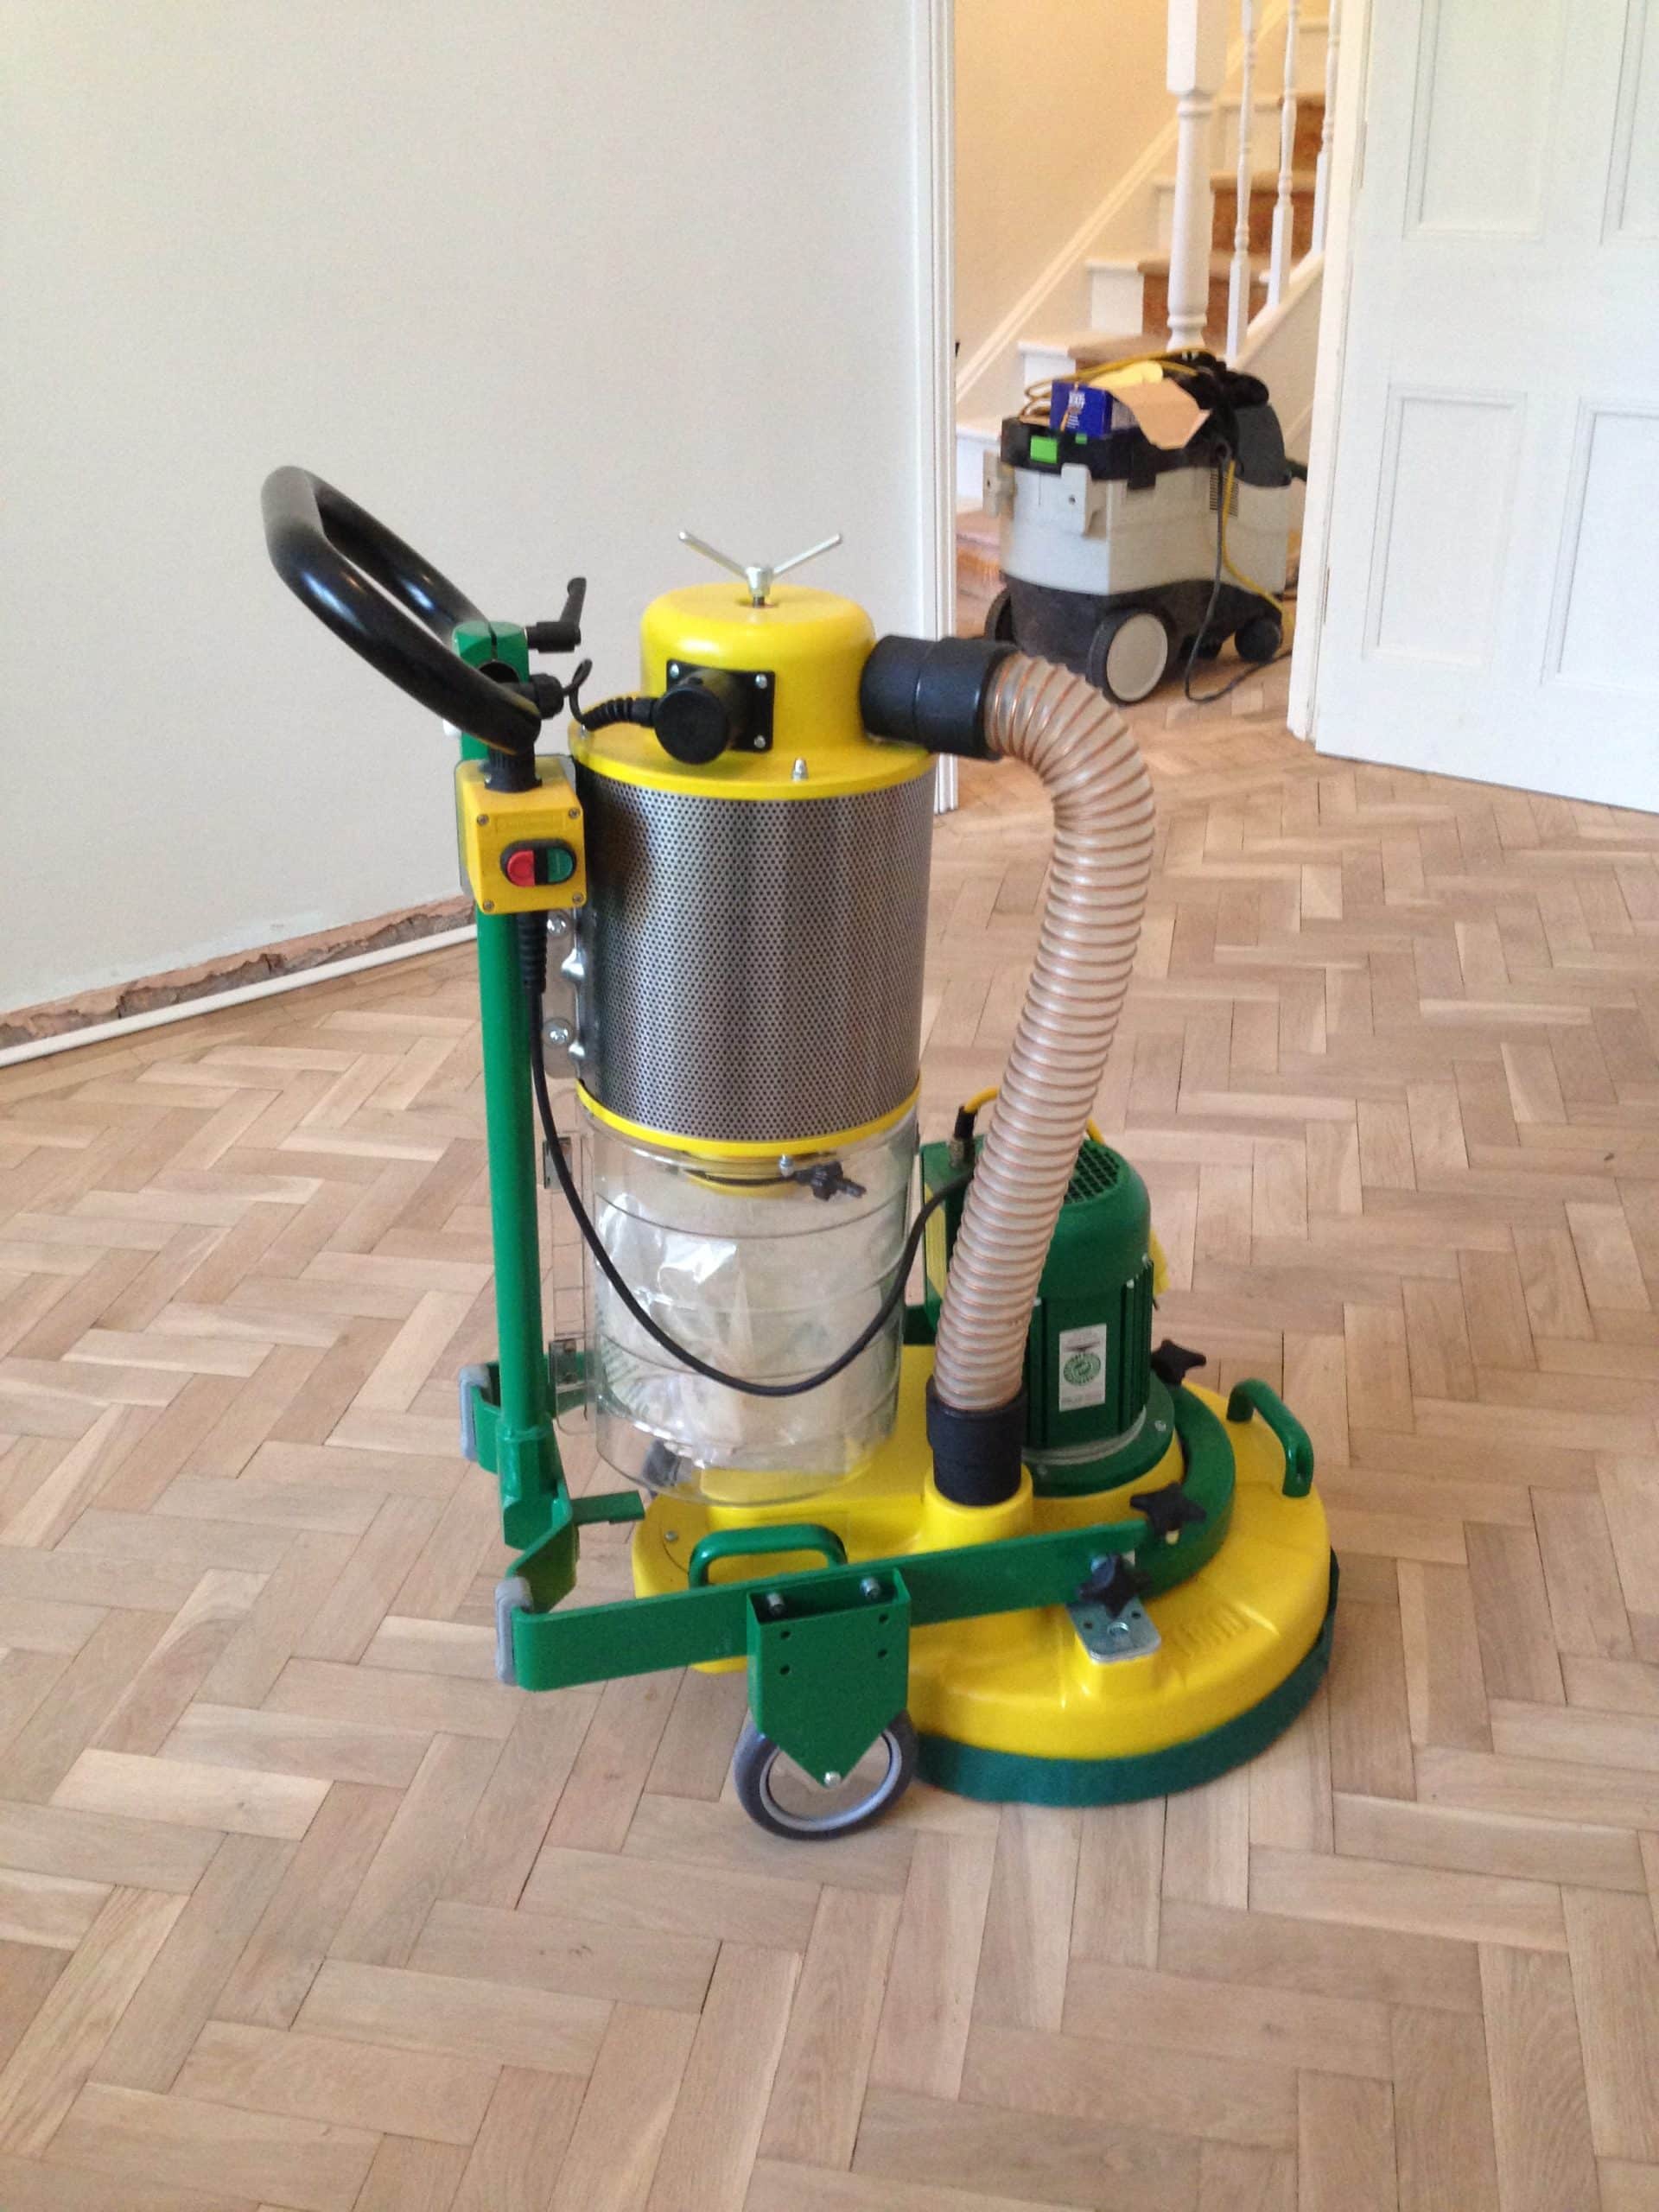
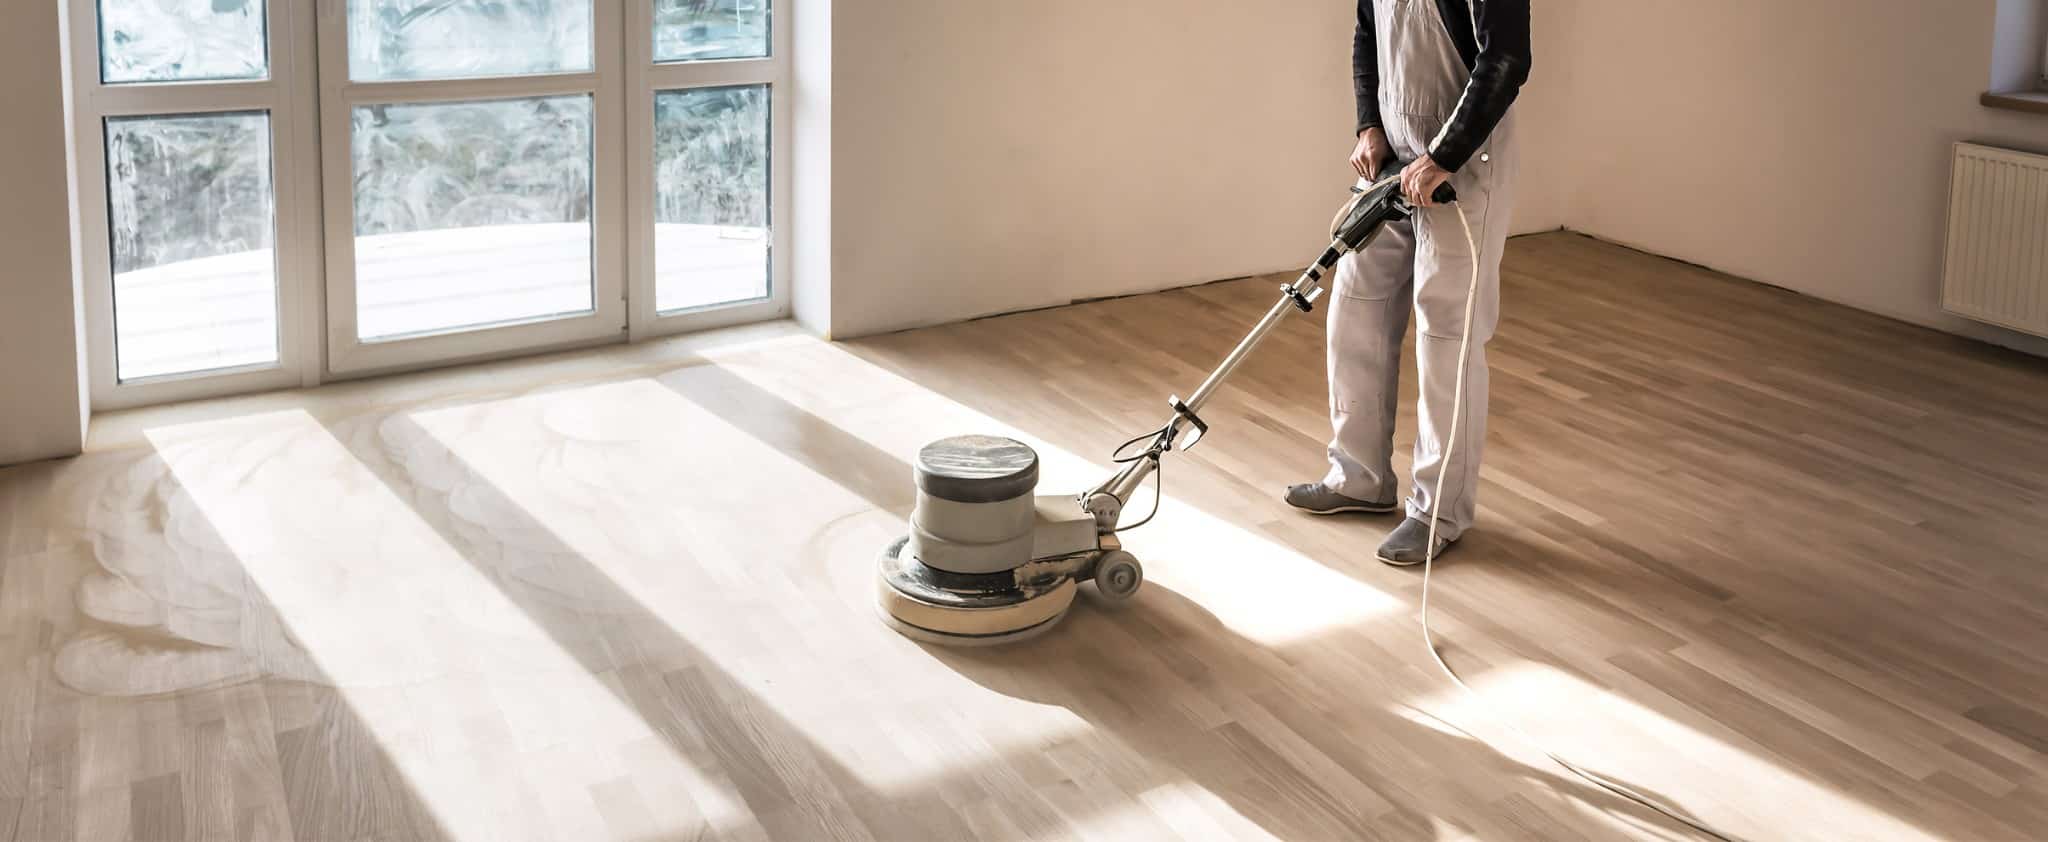
Before you begin, it’s crucial to gather the necessary tools and materials. Here’s a list of essentials for your DIY floorboard sanding project:- Drum sander or orbital sander: These power tools make sanding large areas more manageable. Drum sanders are more aggressive and suitable for heavily damaged floors, while orbital sanders are gentler and better for fine finishing work.
- Edge sander: This tool is designed to sand edges and tight spaces that the larger sanders cannot reach.
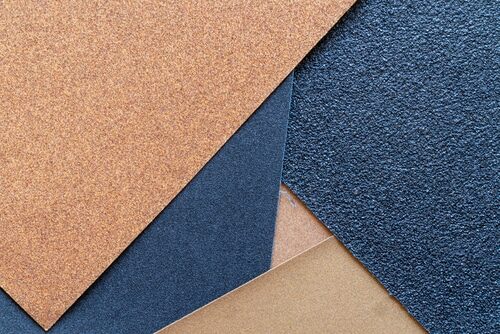
- Sandpaper: You’ll need a variety of grits, ranging from coarse (24–40 grit) to medium (60–80 grit) to fine (100–120 grit).
- Safety gear: Wear a dust mask, safety goggles, and ear protection to safeguard your health during the sanding process.
- Vacuum cleaner or shop vac: Use this to remove dust and debris after sanding.
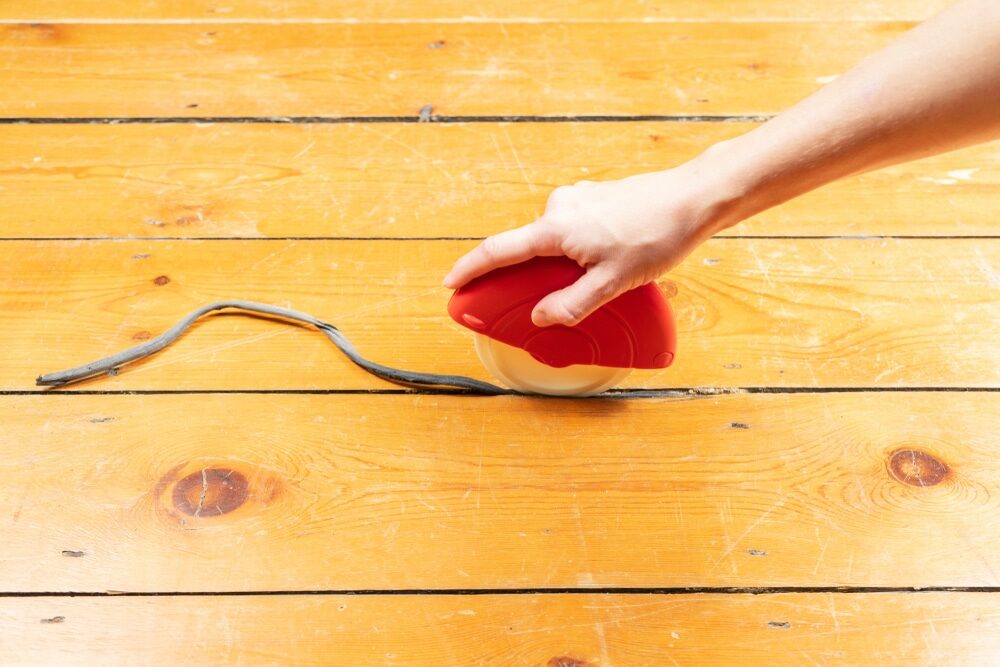
- Wood filler: Fill any gaps or cracks in the floor before sanding to ensure an even surface.
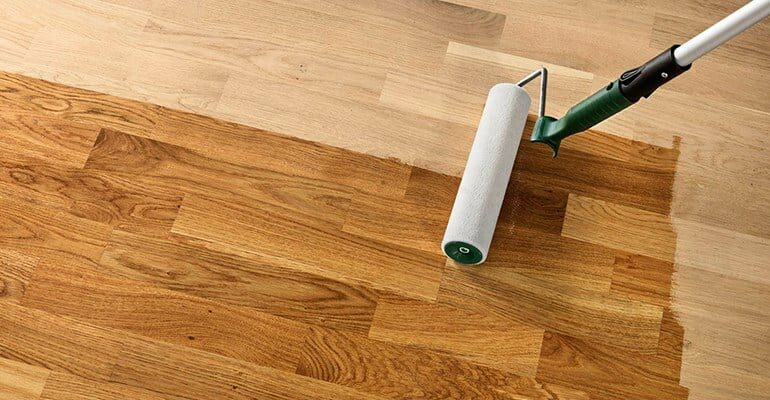
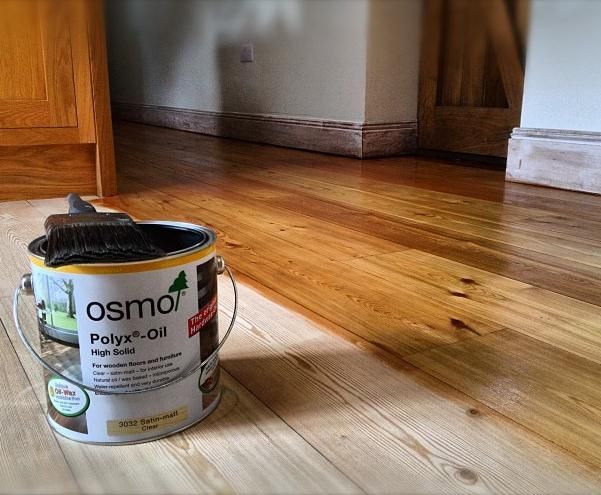
- Stain or varnish: Choose a finish that complements your home’s décor and provides durability and protection for your newly sanded floor.
- Paintbrushes and rollers: You’ll need these to apply the stain or varnish to your floor.
A Step-by-Step Guide to Floorboard Sanding
Now that you have your equipment ready, it’s time to start sanding. Follow these steps for a successful DIY floorboard sanding project: Step 1: Prepare the room Clear the room of all furniture and remove any carpet, underlay, or floor coverings. Inspect the floor for any protruding nails or staples and hammer them down or remove them. Vacuum the floor thoroughly to eliminate dirt and debris. Step 2: Repair and fill gaps Examine the floor for any gaps, cracks, or damaged boards. Repair or replace any damaged boards, and fill gaps or cracks with wood filler. Allow the filler to dry completely before proceeding. Step 3: Start sanding Begin by sanding the main area of the floor using a drum or orbital sander. Start with the coarsest sandpaper grit and work your way up to the finer grits. Always sand in the direction of the wood grain to prevent scratches. Keep the sander moving to avoid creating divots or uneven spots. Step 4: Edge Sanding Use the edge sander to sand the perimeter of the room and any tight spaces, such as corners and around doorframes. Start with the coarsest sandpaper grit and progress to finer grits, just like with the main floor area. Be careful not to dig into the wood and maintain a steady pace.Best Practises for DIY Floorboard Sanding
To ensure a professional finish and a successful DIY floorboard sanding project, follow these best practises:- Plan your sanding project during a dry season or when humidity is low, as high humidity can affect the drying time and the final result of the finish.
- Test your stain or varnish on a hidden area of the floor or a scrap piece of wood to make sure you’re happy with the colour and finish.
- Always start with the coarsest sandpaper grit and progress to finer grits. This will help remove imperfections and create a smoother surface for staining or varnishing.
- Keep the sanders moving at all times to avoid creating divots or uneven spots on the floor.
- Maintain a well-ventilated workspace to reduce dust buildup and ensure proper drying of the stain or varnish.

Some Useful Links:
Conclusion
DIY floorboard sanding can be a rewarding project that breathes new life into your wooden floors. By following this comprehensive guide, you’ll be equipped with the knowledge and tools necessary to achieve a professional finish. With a little patience and perseverance, you can restore your wooden floors to their former glory and add value to your home.More from our Blog:
Essential Tips on wooden parquet floor sanding | The Ultimate Guide Learn the Different Steps for Sanding Floorboards | The Best Guide 10 Great Reasons for Choosing Wood Floor Sanding Companies | The Ultimate Guide Sanding Wooden Floors – Increase the Value of Your Home
Sanding
We provide virtually dust-free sanding with our continuous belt machinery with mobile extraction units, giving you a safer environment for your family.
Oiling
This organic finish not only adds beauty to your home but also has exceptional water-repellent characteristics, making it easier to clean and maintain.
Waxing
This natural floor finish offers the softest and most mellow appearance – and leaves your floor able to breath.
Buffing
Using soft buffing machines (and hand-polishing where required) will bring a wonderful sheen to your newly-finished floor.
Repairs
We offer a full assessment of your wooden floors to determine what repairs are needed to provide the perfect working surface for the later stages of sanding, staining and sealing.
Restoration
We offer a comprehensive restoration process designed to address floors that are improperly fitted or damaged over time through wear and tear.
Request a fixed price quote for your wood floor restoration now
Simply enter your postcode below to get started.
Services
Wood Floor Sanding Wood Floor Restoration Wood Floor Scratch Repair Squeaky Wood Floor Repair Parquet Floor Sanding Parquet Floor Restoration Commercial Floor Sanding Church Floor Sanding Community Centre Floor Sanding School Floor Sanding Gap Filling Gap Filling with ResinCopyright © Mr Sander®
Privacy & Cookies Terms & Conditions Complaints Procedure Cancellation Rights Sitemap
