London:
Nationwide:
25,000+
Floors Restored
27 Years Experience
Wood Flooring Association Certified
10 Ways To keep floor sanding project under control
Posted on April 19, 2023
Blog
Mastering Your Floor Sanding Project: 10 Strategies for Optimal Time and Cost Management
Floor sanding is an essential process for maintaining and restoring the beauty of wooden floors. However, it can be a challenging and time-consuming task if not properly managed. To ensure that your floor sanding project stays within budget and on schedule, it’s crucial to implement effective strategies. In this comprehensive guide, we will explore 10 tried and tested techniques to help you manage your floor sanding project with ease, keeping costs and time under control.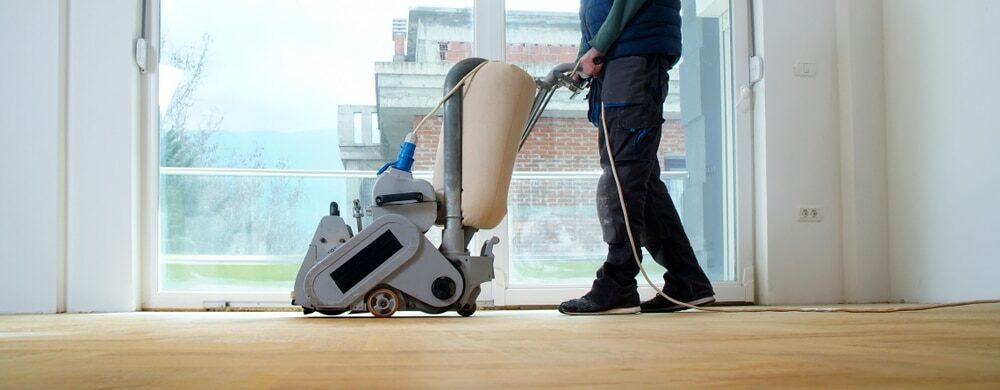
1. Plan ahead and set clear objectives.
A well-planned floor sanding project begins with a clear understanding of the desired outcome. Before you start, establish your goals for the project, such as the level of smoothness, stain removal, or finish you want to achieve. Consider factors like the type of wood, its age, and any previous treatments it has undergone. This information will help you choose the right sanding equipment, materials, and techniques to achieve your objectives.
2. Create a detailed budget and timeline.
A detailed budget and timeline are essential for keeping your floor sanding project on track. Break down the costs of equipment rental or purchase, materials, labour, and any additional expenses, such as waste disposal. Be realistic about the time needed for each phase of the project, including preparation, sanding, and finishing. Allocate buffer time for potential delays, such as equipment malfunctions or unexpected obstacles. Regularly review your budget and timeline to ensure you stay on target.
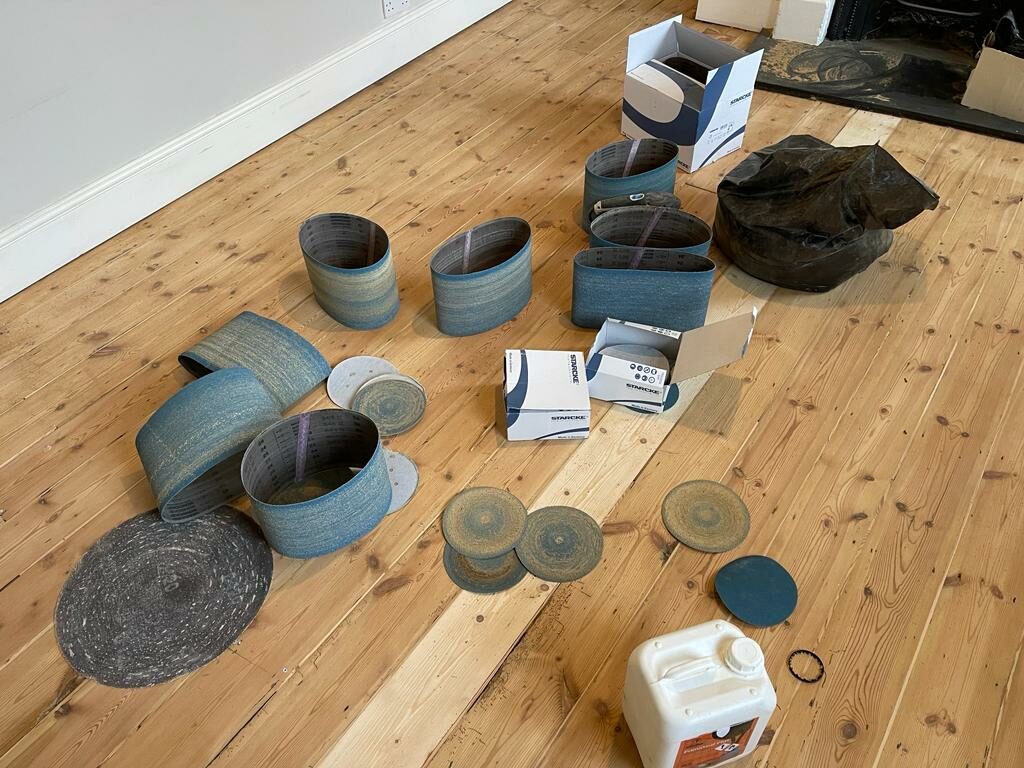
3. Invest in high-quality equipment and materials.
Using high-quality equipment and materials not only ensures a superior result but can also save time and money in the long run. Invest in a professional-grade floor sander and quality sandpaper that suits the type of wood and finish you’re working with. High-quality sandpaper will last longer and provide a more consistent finish, reducing the need for rework. Additionally, choose a durable and suitable finish that will protect the wood and maintain its appearance.
4. Prepare the Area Thoroughly
Preparing the area for floor sanding is crucial for a smooth and efficient process. Remove all furniture, rugs, and other items from the room. Take the time to repair any damaged or loose floorboards, as these can cause uneven sanding or even damage your equipment. Seal off doorways, vents, and windows with plastic sheeting to prevent dust from spreading throughout the house. A well-prepared space will make the sanding process quicker and more manageable.
5. Use the Right Sanding Technique
Using the correct sanding technique is vital for a successful floor sanding project. Start with a coarse-grit sandpaper to remove any old finish, stains, or imperfections. Gradually progress to finer grits, ensuring you sand evenly across the entire floor. Always sand in the direction of the wood grain to minimise scratches and maintain the integrity of the wood. Keep the sander moving at a consistent pace to avoid creating divots or uneven spots.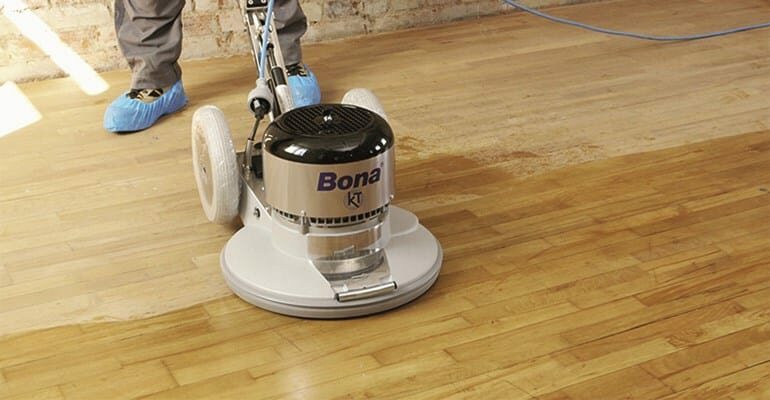
6. Prioritise Safety
Floor sanding can generate significant amounts of dust and noise, which can pose health risks if not properly managed. Wear appropriate safety gear, such as goggles, ear protection, and a dust mask, to minimise exposure. Ensure proper ventilation in the workspace and consider using a dust containment system to capture airborne particles. Follow the manufacturer’s guidelines for operating and maintaining your floor sanding equipment to minimise the risk of accidents or injuries.7. Monitor progress regularly.
Regularly monitoring the progress of your floor sanding project is essential for staying on schedule and within budget. Check the quality of the work frequently, looking for any imperfections, uneven areas, or missed spots. Address any issues promptly to avoid delays or additional costs down the line. Keep track of your8. Maintain good communication with your team.
If you’re working with a team, maintaining good communication is crucial for the success of your floor sanding project. Make sure everyone understands their roles and responsibilities, as well as the overall objectives of the project. Regularly update your team on progress, challenges, and any changes to the plan. Encourage open communication and feedback to ensure a collaborative and efficient working environment.
9. Stay Organised
Staying organised throughout your floor sanding project is key to keeping it under control. Develop a system for storing and managing your tools, equipment, and materials, ensuring they are easily accessible when needed. Keep track of your project’s paperwork, such as receipts, contracts, and permits, in a centralised location. Having a well-organised workspace will help you save time and minimise stress during the project.10. Prepare for cleanup and waste disposal.
A floor sanding project can generate a significant amount of dust and debris. Plan for the cleanup and waste disposal process before you start to ensure a smooth and efficient conclusion to your project. Invest in a suitable vacuum cleaner or dust extraction system to remove the majority of the dust. Have bags or containers on hand to collect waste materials, such as used sandpaper and debris. Research local waste disposal regulations and facilities to ensure you dispose of waste materials responsibly and legally.Some Useful Links:
Conclusion:
Floor sanding is an important aspect of maintaining and restoring the beauty of wooden floors. By implementing these 10 effective strategies, you can keep your floor sanding project under control, saving time and money while achieving the desired results. Remember to plan ahead, invest in quality equipment and materials, prioritise safety, and stay organised throughout the process. With careful preparation and management, your floor sanding project will be a success, leaving you with beautiful and revitalised wooden floors.More from our Blog:
How to Maintain Your Freshly Sanded and Lacquered Wooden Floors? Easy Tips to Maintaining Humidity for Restored Wood Floors Tips to Protect & Enhance Your Newly Refinished Floor

Sanding
We provide virtually dust-free sanding with our continuous belt machinery with mobile extraction units, giving you a safer environment for your family.
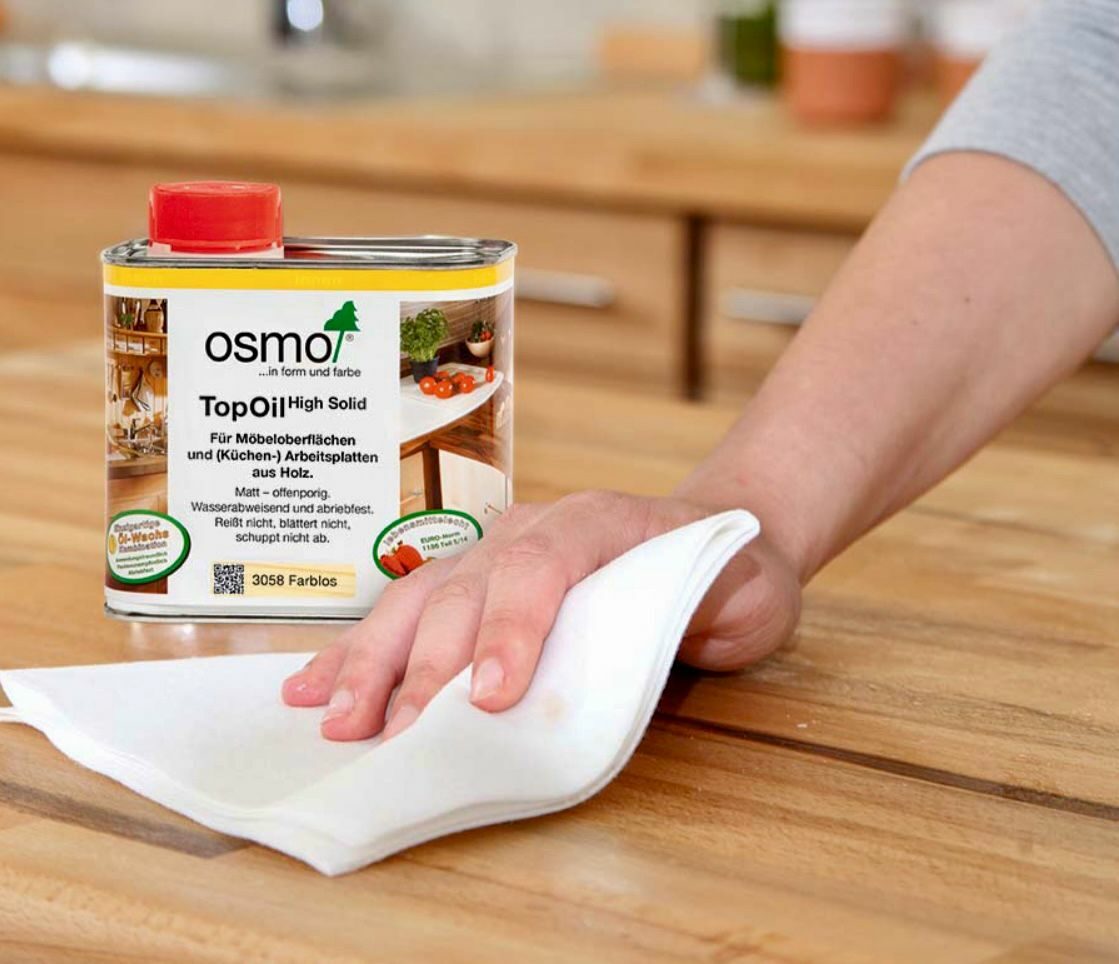
Oiling
This organic finish not only adds beauty to your home but also has exceptional water-repellent characteristics, making it easier to clean and maintain.
Waxing
This natural floor finish offers the softest and most mellow appearance – and leaves your floor able to breath.
Buffing
Using soft buffing machines (and hand-polishing where required) will bring a wonderful sheen to your newly-finished floor.
Repairs
We offer a full assessment of your wooden floors to determine what repairs are needed to provide the perfect working surface for the later stages of sanding, staining and sealing.
Restoration
We offer a comprehensive restoration process designed to address floors that are improperly fitted or damaged over time through wear and tear.
Request a fixed price quote for your wood floor restoration now
Simply enter your postcode below to get started.
Services
Wood Floor Sanding Wood Floor Restoration Wood Floor Scratch Repair Squeaky Wood Floor Repair Parquet Floor Sanding Parquet Floor Restoration Commercial Floor Sanding Church Floor Sanding Community Centre Floor Sanding School Floor Sanding Gap Filling Gap Filling with ResinCopyright © Mr Sander®
Privacy & Cookies Terms & Conditions Complaints Procedure Cancellation Rights Sitemap

Get An Instant Price Estimate Before You Go…
Simply enter the rooms you need sanded and we’ll provide you with a price estimate instantly! Try our price calculator now.
Get a Price Estimate NowLocal Floor Sanding Experts
Over 500 5-Star Reviews
Safe, Dust Free Sanding
Operating Since 1994