London:
Nationwide:
25,000+
Floors Restored
27 Years Experience
Wood Flooring Association Certified
Why Stripping and Sanding your wooden staircase shows results that are well worth.
Posted on May 25, 2023
Blog
Revitalizing Your Wooden Staircase: A Guide to Stripping and Sanding Techniques
A wooden staircase can be the architectural showpiece of your home. However, over time, it can become worn and lose its original charm. But don’t despair! By investing some time and effort into stripping and sanding, you can restore your wooden staircase to its former glory, making it the crowning jewel of your house once again. This comprehensive guide will walk you through the process of stripping and sanding your wooden staircase to give it a new lease on life.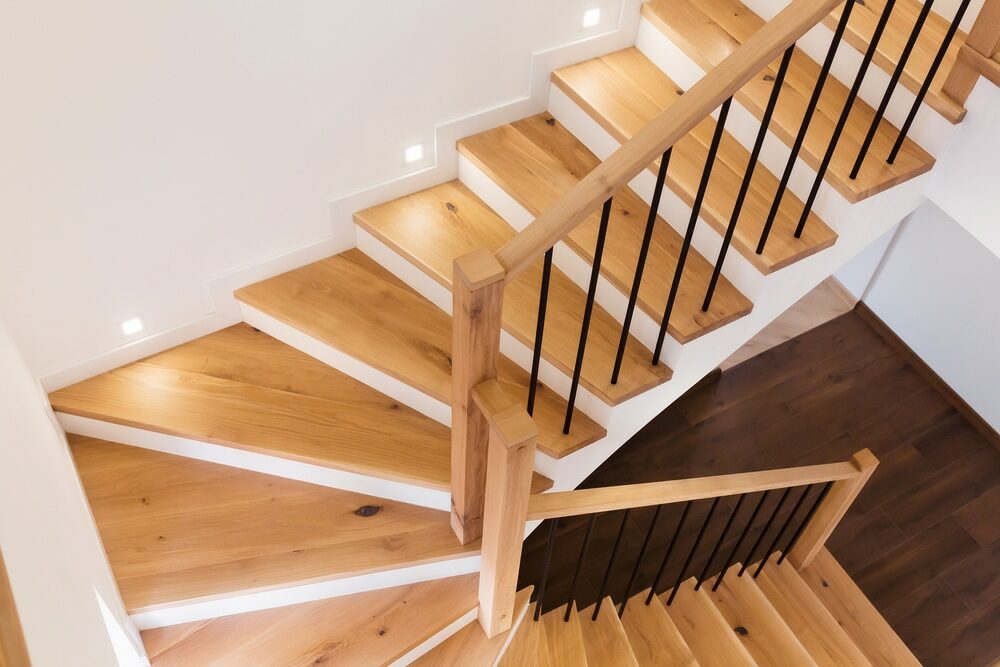
1. Introduction: The Beauty of a Wooden Staircase
A wooden staircase can act as the centerpiece of a home. Its aesthetic appeal and warm, organic feel add a timeless charm that few other architectural elements can match. However, with time and use, the wood may become worn, painted, or varnished, losing its beauty. The good news is that with a little know-how and some elbow grease, you can restore its charm and make it look elegant again.2. Stripping Your Wooden Staircase: Unearthing the Hidden Charm
Stripping is the first step in the staircase restoration process. It involves removing layers of old paint, varnish, or stain to reveal the original wood beneath. This section will guide you on how to effectively strip your wooden staircase.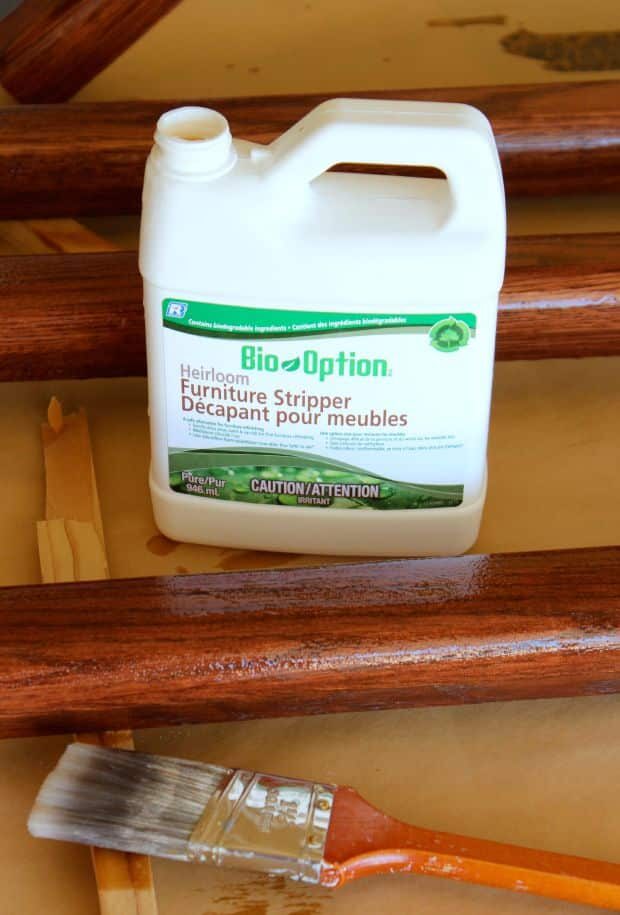
2.1 Understanding the Stripping Process
Stripping is a mechanical process aided significantly by chemical strippers. Depending on the type of wood and the kind of paint or varnish used, you can select from various chemical strippers. Factors to consider when choosing a chemical stripper include its effectiveness and the effort you’re willing to put in.2.2 Step-by-Step Guide to Stripping Your Wooden Staircase
- Safety First: Always ensure you’re wearing safety goggles, gloves, and a mask when working with chemical strippers.
- Choosing the Right Chemical Stripper: Evaluate your needs based on the paint or varnish on your staircase and the type of wood.
- Applying the stripper: Use a paintbrush to apply the stripper generously to a small section of the staircase.
- Waiting for the Stripper to Work: Allow the stripper to sit for the recommended time on the product label.
- Scraping off the Old Paint or Varnish: Using a scraper, gently remove the softened paint or varnish.
- Cleaning the Surface: After scraping, clean the area with a damp cloth to remove any stripper residue.
- Repeating the Process: Repeat these steps until you have stripped the entire staircase.
3. Sanding Your Wooden Staircase: Smoothness is Key
Once you’ve successfully stripped the old paint or varnish from your staircase, the next step is sanding. Sanding smooths the wood surface, removes any remaining paint or varnish, and prepares it for staining or painting.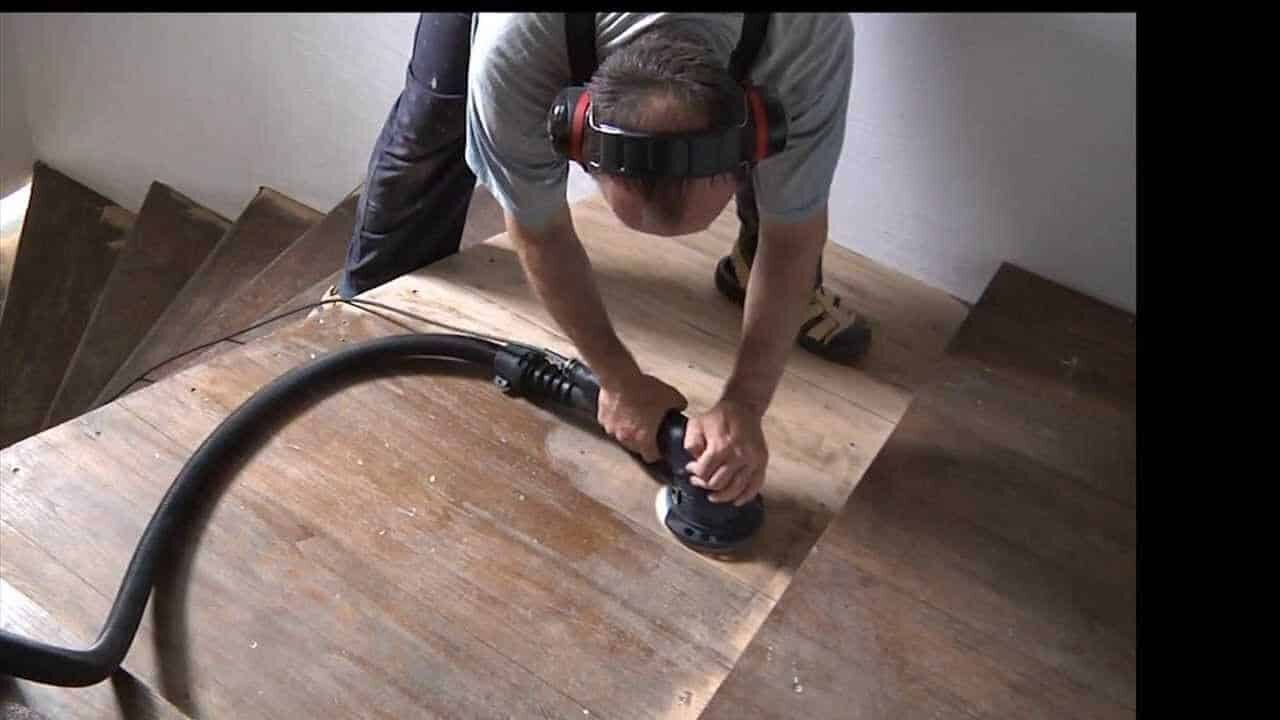
3.1 Understanding the Sanding Process
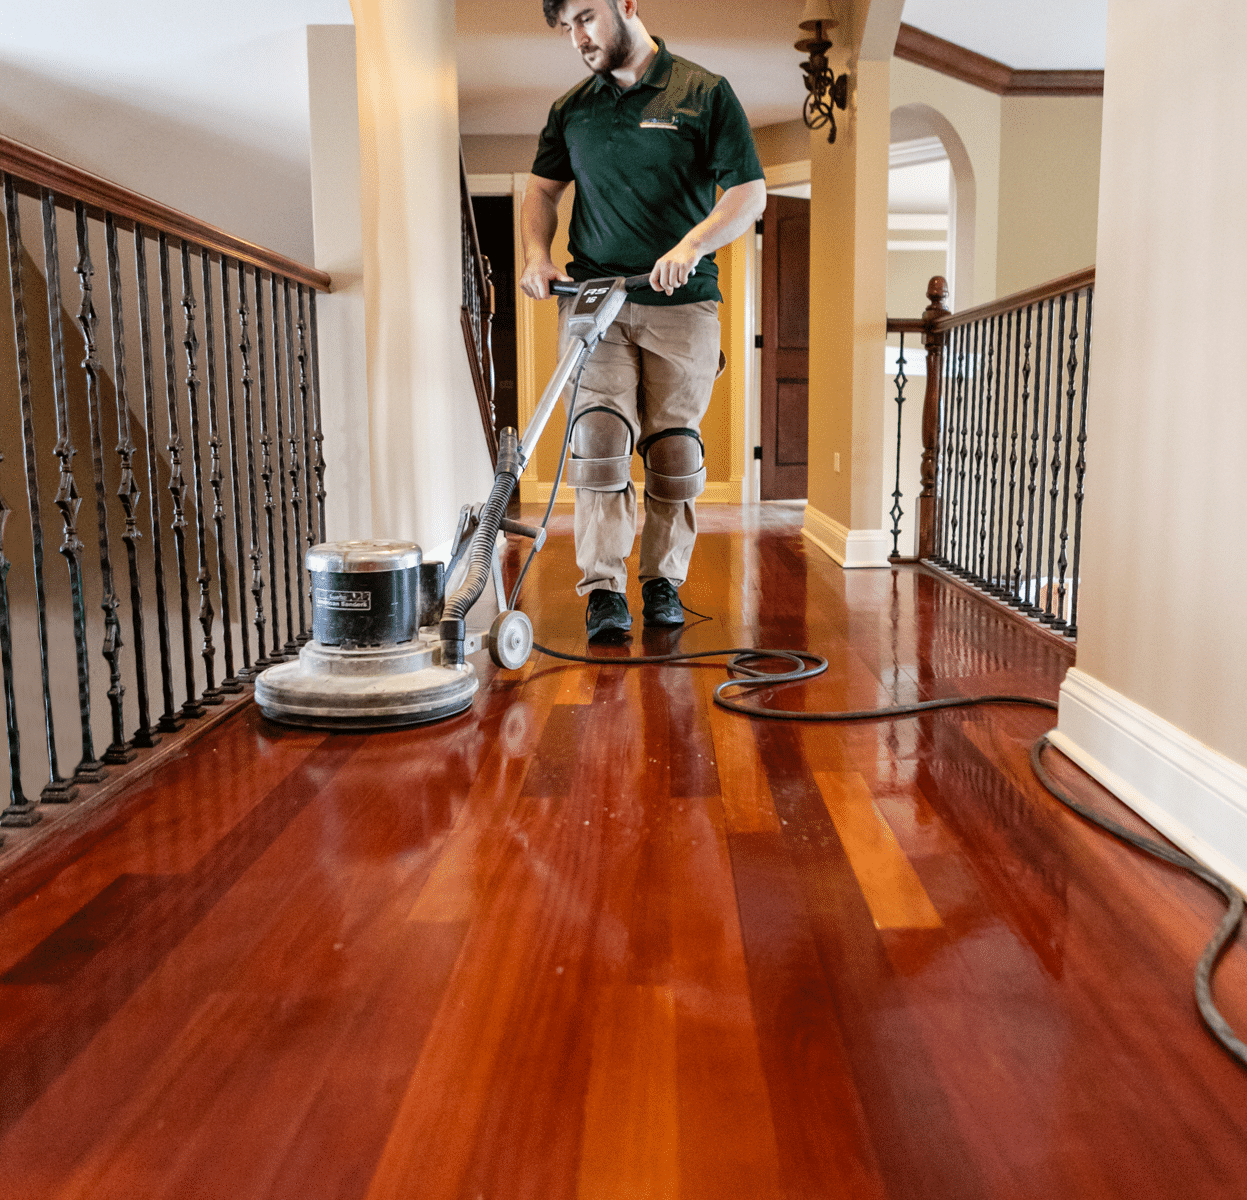
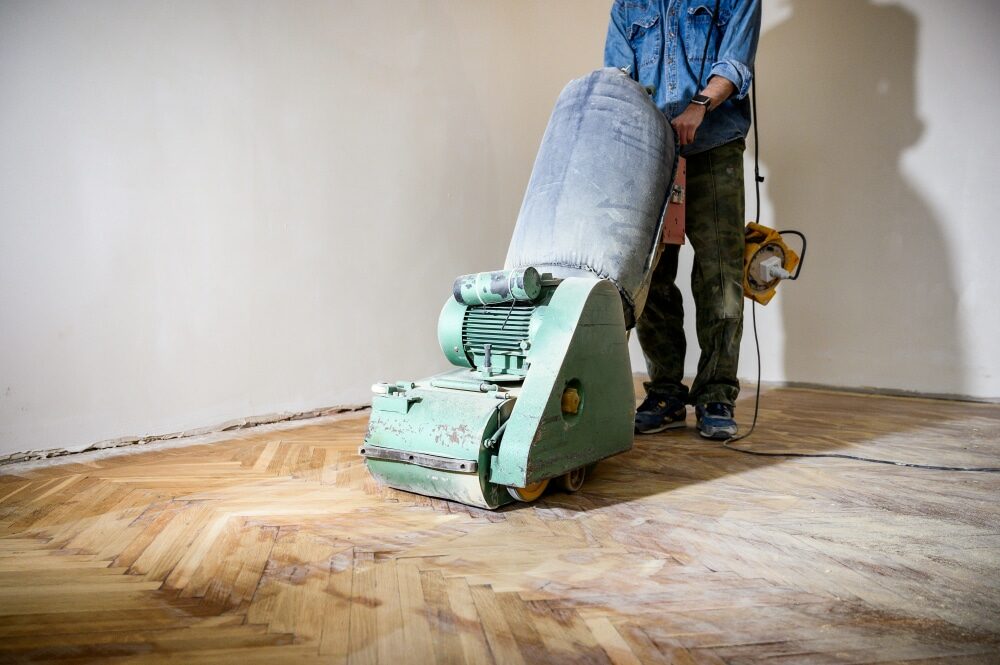
Sanding involves using a sander, a power tool that smooths surfaces through abrasion with sandpaper. For a wooden staircase, you’ll need to hire a floor sander designed for edges, not the main floor .3.2 Step-by-Step Guide to Sanding Your Wooden Staircase
- Safety First: Ensure you’re wearing safety goggles, a mask, and ear protection when sanding.
- Choosing the Right Sander: For staircases, a drum sander meant for edges is the best choice.
- Starting the Sanding Process: Starting from the top of the staircase, use the sander on each step, ensuring you reach the edges.
- Changing Sandpaper Grits: Begin with coarse-grit sandpaper to remove any remaining finish or blemishes. Then, progressively move to finer grits to smooth the wood and prepare it for staining or painting.
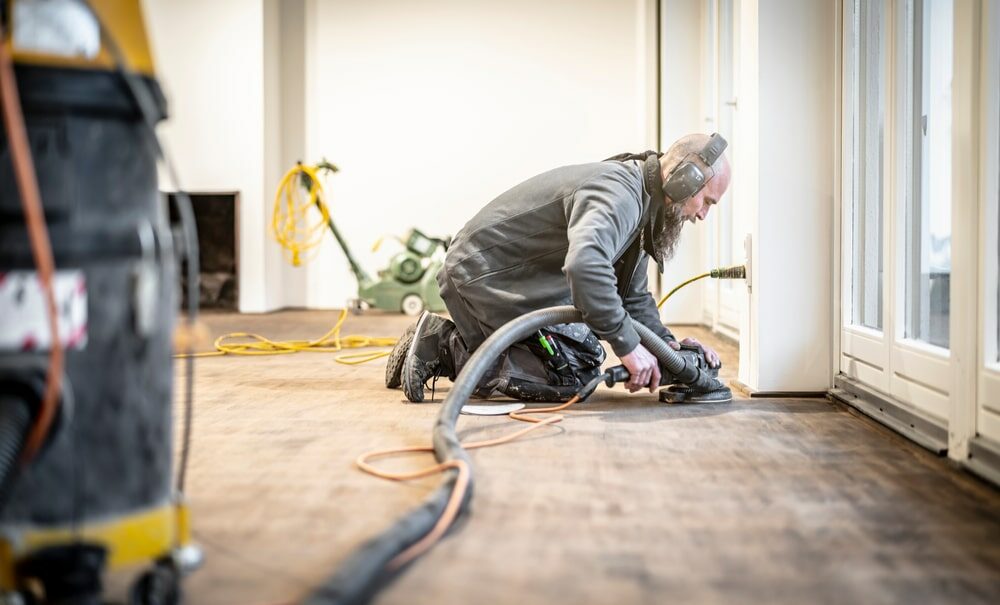
- Hand Sanding: Some areas may be difficult to reach with the sander. In such cases, hand sanding with a sanding block can ensure a uniformly smooth surface.
- Cleaning Up: Once you’ve finished sanding, clean up the dust. A vacuum cleaner can be effective for this.
4. Finishing Your Wooden Staircase: The Final Flourish
Once your wooden staircase has been stripped and sanded, it’s ready for the finishing touches. This could involve staining, painting, or simply sealing and varnishing to showcase the natural beauty of the wood.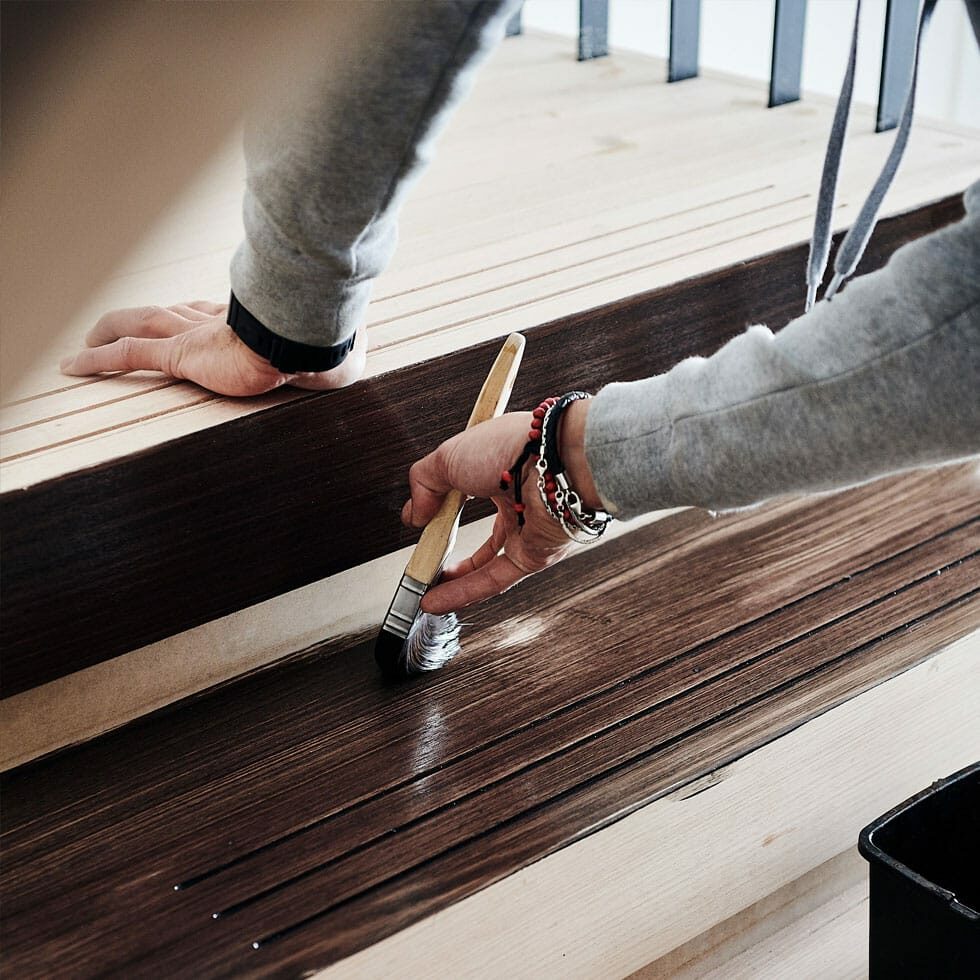
4.1 Staining Your Wooden Staircase
Staining allows you to add color to the wood while allowing the grain and texture to show through. Select a stain that complements the rest of your home’s decor.4.2 Painting Your Wooden Staircase
If you prefer a more solid color and don’t wish to showcase the wood’s natural grain, painting is an excellent option. Ensure to apply a primer before the paint for the best results.4.3 Sealing and Varnishing Your Wooden Staircase
If you wish to retain the natural look of the wood, consider sealing and varnishing it. This provides protection while enhancing the wood’s natural beauty.Conclusion: Revel in the Revitalized Beauty of Your Wooden Staircase
Restoring a wooden staircase is undoubtedly a project that requires time, effort, and patience. However, the outcome can be incredibly rewarding. By meticulously stripping, sanding, and finishing your wooden staircase, you can restore its charm, making it a standout feature of your home. Remember, while the task may seem daunting initially, breaking it down into these manageable steps can make the process significantly easier. With this comprehensive guide, you’re well-equipped to take on this project and transform your worn-out staircase into a beautiful, elegant feature in your home. Stripping, sanding, and finishing a wooden staircase not only enhances the aesthetic appeal of your home but also adds value to it. So, roll up your sleeves and get ready to reveal the hidden charm of your wooden staircase. You’ll be amazed at what a little effort can achieve, turning the careworn staircase into the crowning glory of your home.Some Useful Links:
- Floor Sanding Services
- School Floor Sanding
- Wood Floor Restorations
- Wood Floor Repairs
- Wood Floor Polishing
More from our Blog:
Addressing Wood Flooring Heating Issues: A Comprehensive Guide Eco-Friendly Wooden Flooring: FSC Certified, Bamboo, and Reclaimed Wood Options Ultimate Guide to Bamboo Wood Flooring Care and Maintenance Cork Wood Flooring: An Eco-Friendly Option for Today’s Home Traditional Methods of Finishing Hardwood Floors: Enhancing Beauty and Durability Considerations for Hardwood Flooring for Your Bedroom Makeover
Get more floor restoration advice…
Sanding
We provide virtually dust-free sanding with our continuous belt machinery with mobile extraction units, giving you a safer environment for your family.
Oiling
This organic finish not only adds beauty to your home but also has exceptional water-repellent characteristics, making it easier to clean and maintain.
Waxing
This natural floor finish offers the softest and most mellow appearance – and leaves your floor able to breath.
Buffing
Using soft buffing machines (and hand-polishing where required) will bring a wonderful sheen to your newly-finished floor.
Repairs
We offer a full assessment of your wooden floors to determine what repairs are needed to provide the perfect working surface for the later stages of sanding, staining and sealing.
Restoration
We offer a comprehensive restoration process designed to address floors that are improperly fitted or damaged over time through wear and tear.
Request a fixed price quote for your wood floor restoration now
Simply enter your postcode below to get started.
Services
Wood Floor Sanding Wood Floor Restoration Wood Floor Scratch Repair Squeaky Wood Floor Repair Parquet Floor Sanding Parquet Floor Restoration Commercial Floor Sanding Church Floor Sanding Community Centre Floor Sanding School Floor Sanding Gap Filling Gap Filling with ResinCopyright © Mr Sander®
Privacy & Cookies Terms & Conditions Complaints Procedure Cancellation Rights Sitemap

Get An Instant Price Estimate Before You Go…
Simply enter the rooms you need sanded and we’ll provide you with a price estimate instantly! Try our price calculator now.
Get a Price Estimate NowLocal Floor Sanding Experts
Over 500 5-Star Reviews
Safe, Dust Free Sanding
Operating Since 1994