London:
Nationwide:
Sanding Wood Floorboards – Expert Tips for a Stunning & Durable Home Transformation
Posted on May 1, 2023
Blog
The Ultimate Guide to Sanding Wood Floorboards: Enhance the Beauty and Durability of Your Home
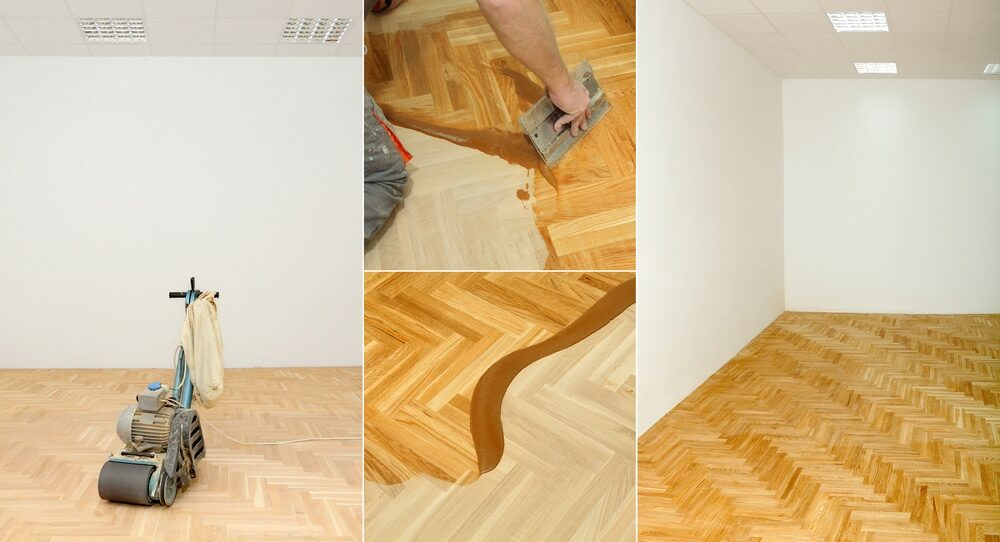
When it comes to home renovation, sanding wood floorboards is a great option to restore the natural beauty and durability of your flooring. It not only adds value to your property but also provides a warm, inviting atmosphere for your living space. This comprehensive guide will walk you through the process of sanding your wood floorboards, helping you transform your home with minimal effort and maximum results.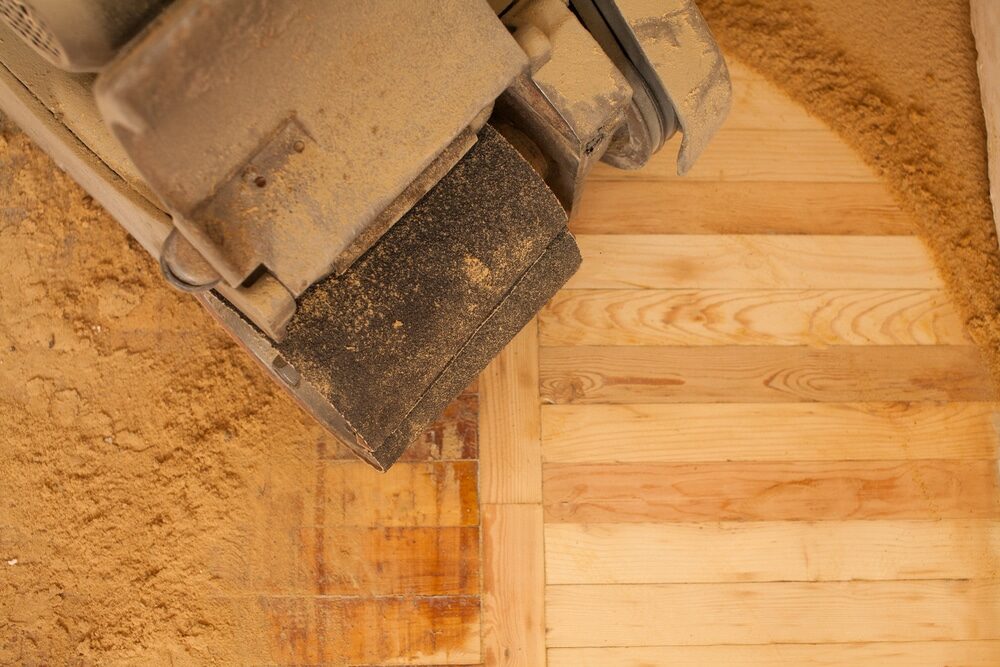
Why Sand Your Wood Floorboards?
There are several reasons why you may want to sand your wood floorboards:- Reviving Old Floors: Over time, wooden floors can become dull, damaged, or stained. Sanding can remove these imperfections and restore the original beauty of the flooring.
- Preparing for New Finishes: Sanding is an essential step in preparing your floor for refinishing, as it creates a smooth, even surface for the new finish to adhere to.
- Smoothing Uneven Surfaces: Sanding can level out uneven floorboards, removing high spots and filling in low spots for a consistent, level surface.
- Removing Old Finishes: If you want to change the finish on your floor, sanding is necessary to remove the old finish and prepare the surface for the new one.
- Increasing Durability: Properly sanded and refinished floors can last for decades, making them a cost-effective and eco-friendly choice for homeowners.
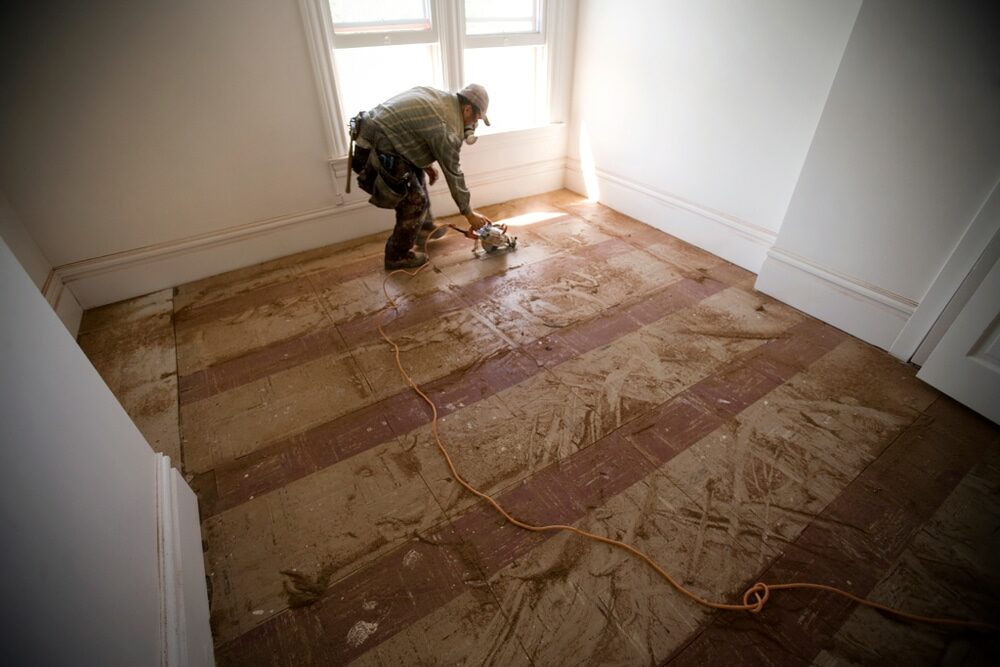
Tools and materials you’ll need
Before you begin the sanding process, make sure you have the following tools and materials on hand:- Drum or orbital sander (rent or purchase)
- Sandpaper in various grits (coarse, medium, and fine)
- Edge sander or hand sander
- Vacuum cleaner or shop vacuum
- Dust mask and safety goggles
- Ear protection
- Plastic sheeting or drop cloths
- Painters’ tape
- Wood filler
- Putty knife
- Tack cloth or microfiber cloth
- polyurethane finish or your preferred floor finish
- Paintbrush or floor finish applicator
A Step-by-Step Guide to Sanding Wood Floorboards
Step 1: Prepare Your Work Area- Clear the room of all furniture, rugs, and other items.
- Inspect the floor for any protruding nails or staples, and either remove them or hammer them down.
- Use plastic sheeting or drop cloths to cover any vents, doorways, or windows to prevent dust from spreading throughout your home.
- Use painters’ tape to secure the plastic sheeting or drop cloths in place.
 Step 2: Choose the Right Sander and Sandpaper
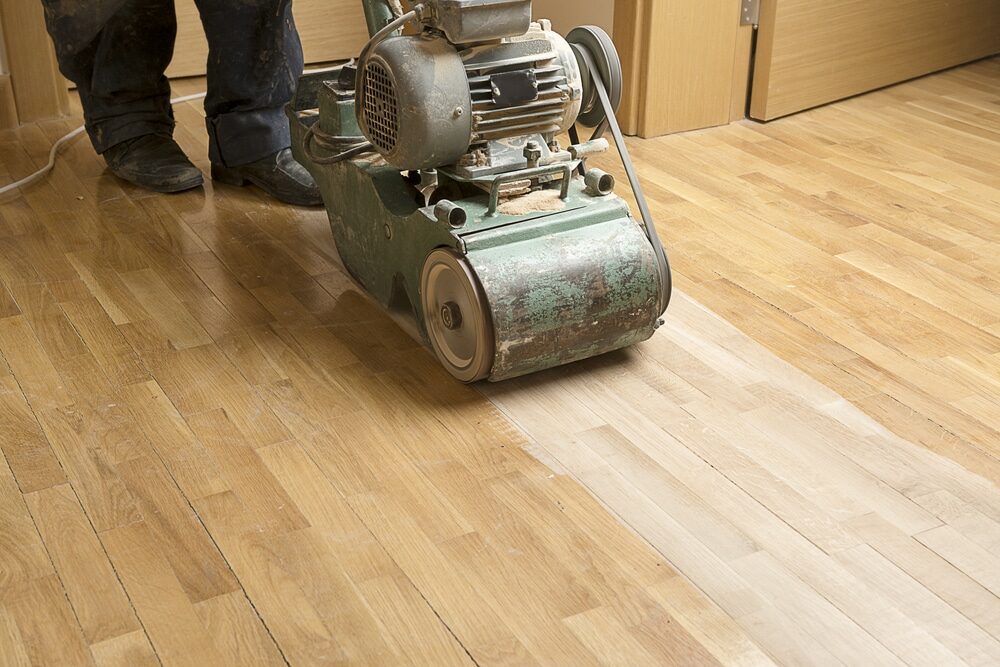
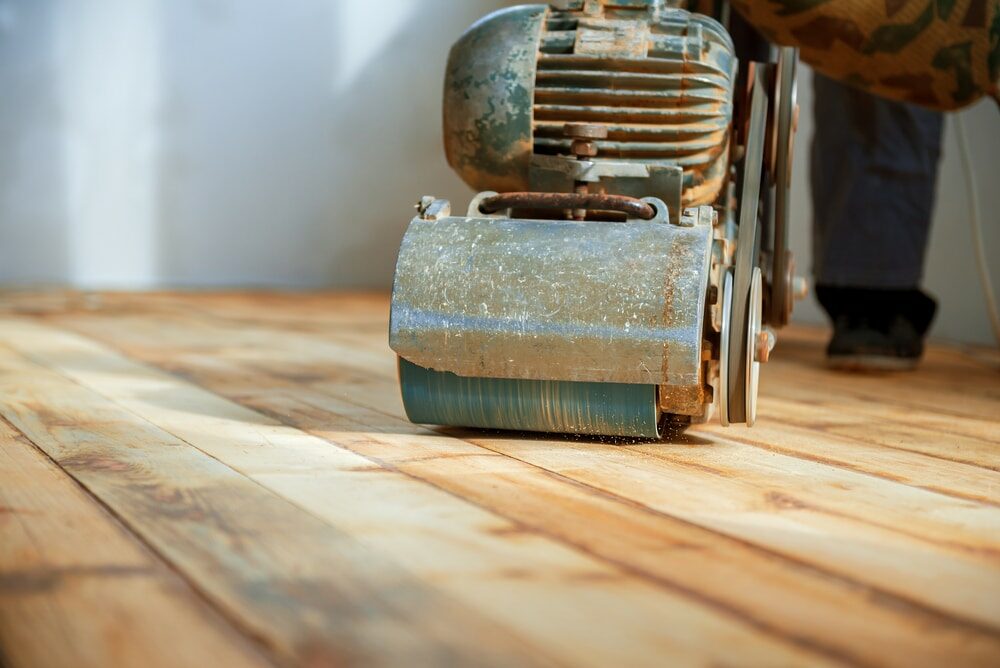
- Select a drum or orbital sander for the main floor area. Drum sanders are more aggressive and work faster, but they can also be more difficult to control. Orbital sanders are less aggressive and provide a smoother finish, but they may require more passes to remove the old finish.
- Choose sandpaper grits for your project. Start with a coarse grit (36–60) to remove old finishes and level the floor. Move to a medium grit (80–100) to smooth out the surface, and finish with a fine grit (120–150) for a polished look.
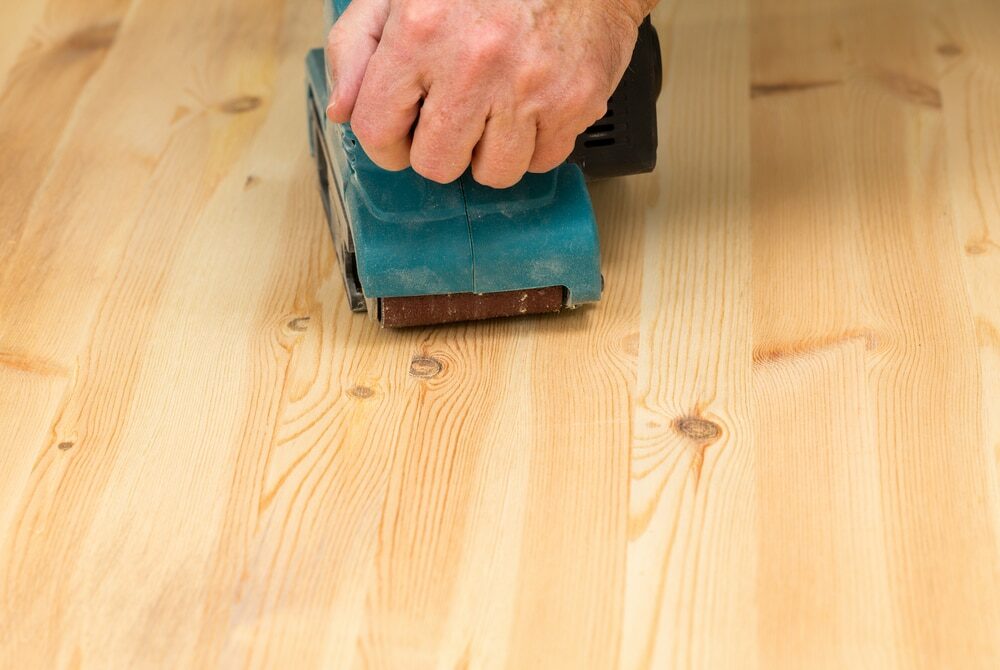 Step 3: Sand the floor
- Put on your dust mask, safety goggles, and ear protection.
- Install the coarse sandpaper on your sander and start in a corner of the room, working with the grain of the wood.
- Move the sander slowly and evenly across the floor, overlapping each pass by about one-third of the sander’s width. Keep the sander moving to prevent gouging the floor.
- As you complete the first pass with the coarse grit, inspect the floor for any remaining imperfections, high spots, or stubborn finishes. Repeat the process with the coarse grit, if necessary.
- Once you’re satisfied with the results, switch to medium-grit sandpaper and sand the entire floor again. This will smooth out any rough spots and further level the surface.
- Finally, use the fine-grit sandpaper for the last pass, creating a smooth, polished surface that’s ready for finishing.
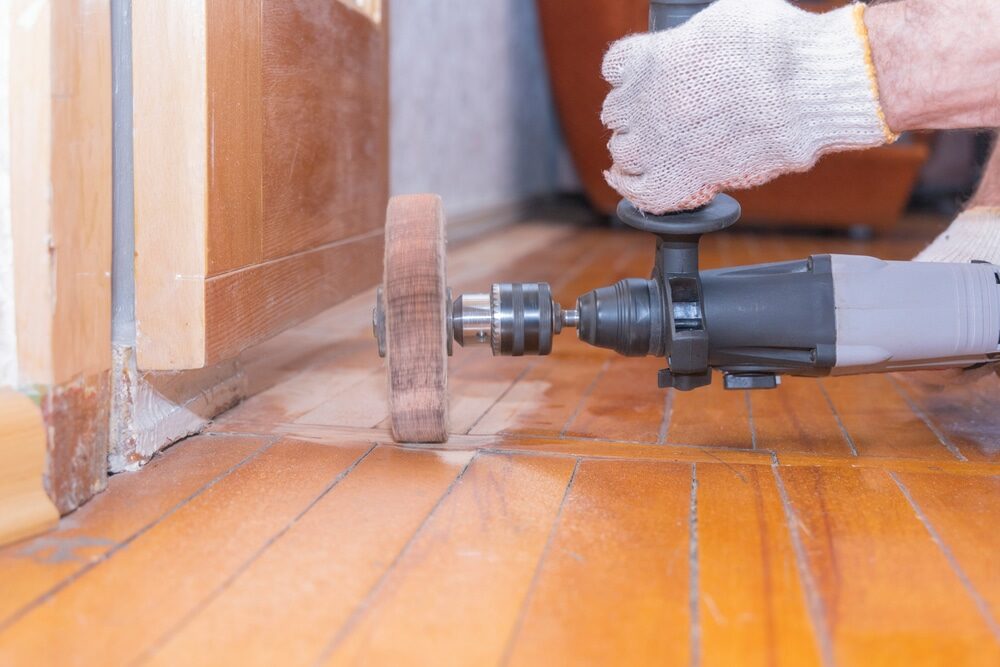
- Use an edge sander or hand sander with the same progression of sandpaper grits to sand the edges and corners of the floor. Make sure to blend the edges with the main floor area to create a consistent appearance.
- Be cautious when sanding near baseboards or moulding to avoid damaging them. You can also use painters’ tape to protect these areas.
 Step 5: Clean Up and Fill Gaps
- Thoroughly vacuum the entire floor with a shop vacuum or vacuum cleaner, making sure to remove all dust and debris.
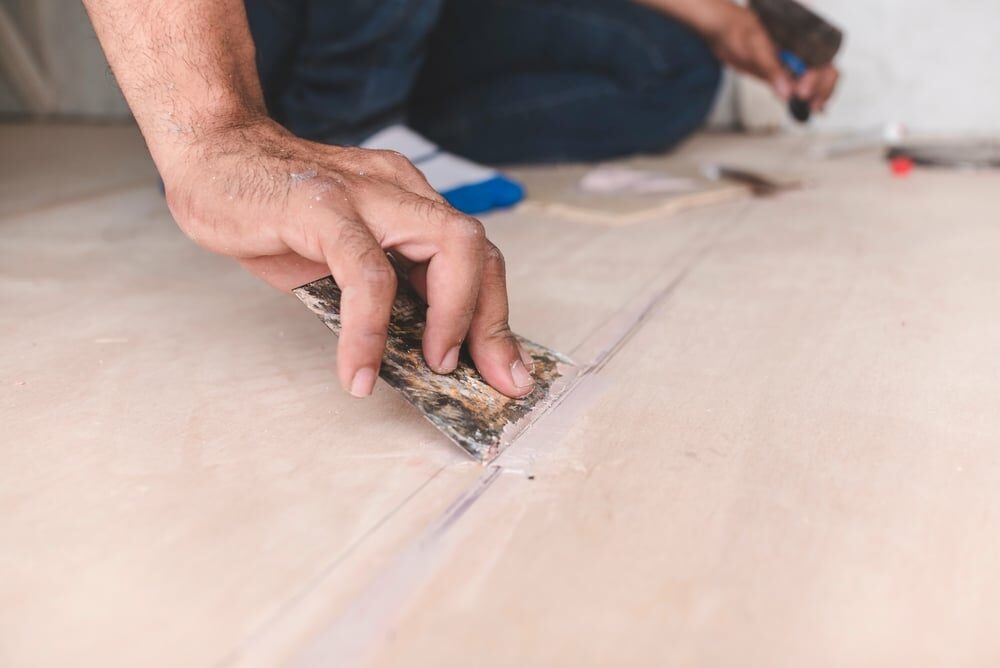
- Inspect the floor for any gaps, cracks, or holes. Use a putty knife to fill these areas with wood filler, ensuring a smooth, even surface.
- Allow the wood filler to dry according to the manufacturer’s instructions, then lightly sand the filled areas with fine-grit sandpaper.
- Vacuum the floor again to remove any dust from the sanding and filling process.
- Wipe the floor with a tack cloth or microfiber cloth to ensure it’s completely clean and dust-free before applying the finish.
 Step 6: Apply Your Finish
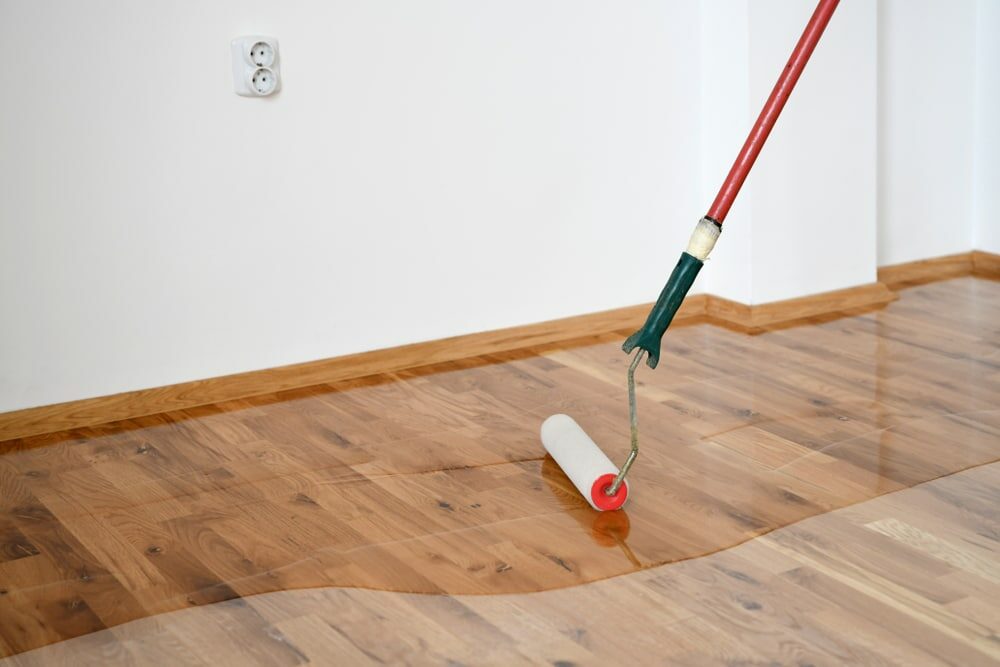
- Choose a polyurethane finish or another preferred floor finish to protect and enhance the appearance of your sanded wood floorboards.
- Follow the manufacturer’s instructions for application, typically using a paintbrush or floor finish applicator.
- Apply the finish in thin, even coats, working with the grain of the wood and ensuring full coverage.
- Allow the finish to dry according to the manufacturer’s instructions before applying additional coats. Most floors will require two to three coats for optimal durability and appearance.
- Once the final coat is dry, carefully remove the plastic sheeting or drop cloths and painters’ tape, and reinstall any removed baseboards or moulding.
- Allow the finish to cure completely (usually 24–48 hours) before moving furniture back into the room and resuming normal use.
Some Useful Links:
- Floor Sanding Services
- School Floor Sanding, Restoration & Repair Services
- Wood Floor Polishing
- Wood Floor Renovations
Conclusion
Sanding wood floorboards is a straightforward, rewarding process that can rejuvenate your home and add lasting beauty and durability to your floors. With the right tools, materials, and a bit of elbow grease, you can transform your living space and enjoy the timeless appeal of wooden flooring for years to come.More from our Blog:
The Ultimate Guide to Floorboard Sanding Techniques Uncover the Top Wood Floor Sanding Services in London: 5 Key Steps to Revive Your Floors Transform Your Home with Sustainable Wood Flooring Hardwood Floor Variations: Discover the Perfect Choice for Your Home Refresh Your Home With Floor Sanding and Finishing
Sanding
We provide virtually dust-free sanding with our continuous belt machinery with mobile extraction units, giving you a safer environment for your family.
Oiling
This organic finish not only adds beauty to your home but also has exceptional water-repellent characteristics, making it easier to clean and maintain.
Waxing
This natural floor finish offers the softest and most mellow appearance – and leaves your floor able to breath.
Buffing
Using soft buffing machines (and hand-polishing where required) will bring a wonderful sheen to your newly-finished floor.
Repairs
We offer a full assessment of your wooden floors to determine what repairs are needed to provide the perfect working surface for the later stages of sanding, staining and sealing.
Restoration
We offer a comprehensive restoration process designed to address floors that are improperly fitted or damaged over time through wear and tear.
Request a fixed price quote for your wood floor restoration now
Simply enter your postcode below to get started.
Services
Wood Floor Sanding Wood Floor Restoration Wood Floor Scratch Repair Squeaky Wood Floor Repair Parquet Floor Sanding Parquet Floor Restoration Commercial Floor Sanding Church Floor Sanding Community Centre Floor Sanding School Floor Sanding Gap Filling Gap Filling with ResinCopyright © Mr Sander®
Privacy & Cookies Terms & Conditions Complaints Procedure Cancellation Rights Sitemap