London:
Nationwide:
25,000+
Floors Restored
27 Years Experience
Wood Flooring Association Certified
Mastering Wood Stripping & Sanding: Your Comprehensive Guide
Posted on June 7, 2023
Floor Sanding Blogs
The Definitive Guide to Wood Stripping & Sanding
Wooden furniture and flooring add a touch of classic elegance and warmth to any interior space. Over time, however, the finishes can lose their luster due to everyday wear and tear, spills, or exposure to sunlight. Stripping and sanding is essential for revitalizing these surfaces and bringing back their natural charm and beauty. In this comprehensive guide, we delve into wood stripping and sanding techniques. We will walk you through the process step by step, offering expert tips and advice to help you rejuvenate your wooden surfaces and maintain their pristine condition.
Part I: Understanding Wood Stripping
What is wood stripping?
Wood stripping is the process of removing old paint, varnish, or stain from wooden surfaces. It can be an essential first step when you want to refinish furniture or recoat a wooden floor. Stripping allows the new finish to adhere to the wood properly, guaranteeing a flawless, long-lasting result.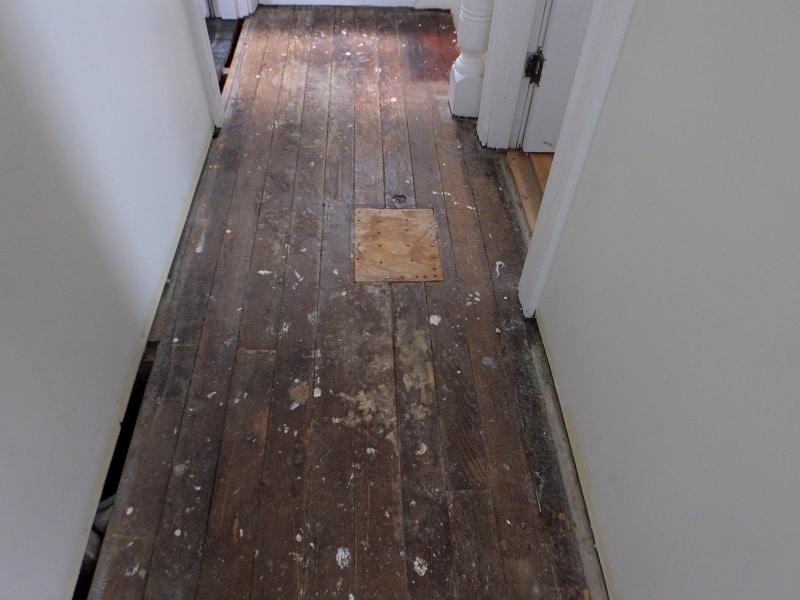
Methods of Wood Stripping
- Chemical Strippers: Chemical strippers are widely used for their efficiency in removing old finishes. They work by breaking down the finish, making it easier to scrape off.
- Heat Guns: A heat gun can soften the old finish, allowing it to be scraped off. This method requires caution, as the high temperatures can scorch the wood.
- Sanding: For small pieces or when you want to avoid chemicals or heat, sanding can strip the finish. However, it can be labor-intensive and time-consuming.
A Step-By-Step Guide to Wood Stripping
Before you start, gather all the necessary supplies, such as rubber gloves, safety goggles, a paintbrush, a paint scraper, steel wool, and your chosen stripper. Ensure you’re working in a well-ventilated area and follow safety guidelines. Step 1: Apply the stripper evenly across the surface with a paintbrush. Step 2: Allow the stripper to sit on the surface for the recommended time on the product’s instructions. The old finish will start to bubble or lift. Step 3: Using a scraper, gently remove the old finish. Be careful not to gouge the wood. Step 4: Use steel wool for any stubborn patches or detailed areas. Always rub in the direction of the wood grain. Step 5: Once all the finish is removed, neutralize the stripper if required (some products need this step). Step 6: Clean the surface thoroughly and let it dry.Part II: Understanding Wood Sanding
What is wood sanding?
Wood sanding involves using abrasive materials (sandpaper) to smooth the surface of the wood. It is a crucial step before applying any finish, as it removes imperfections, opens the wood’s pores, and ensures an even application of stain or paint.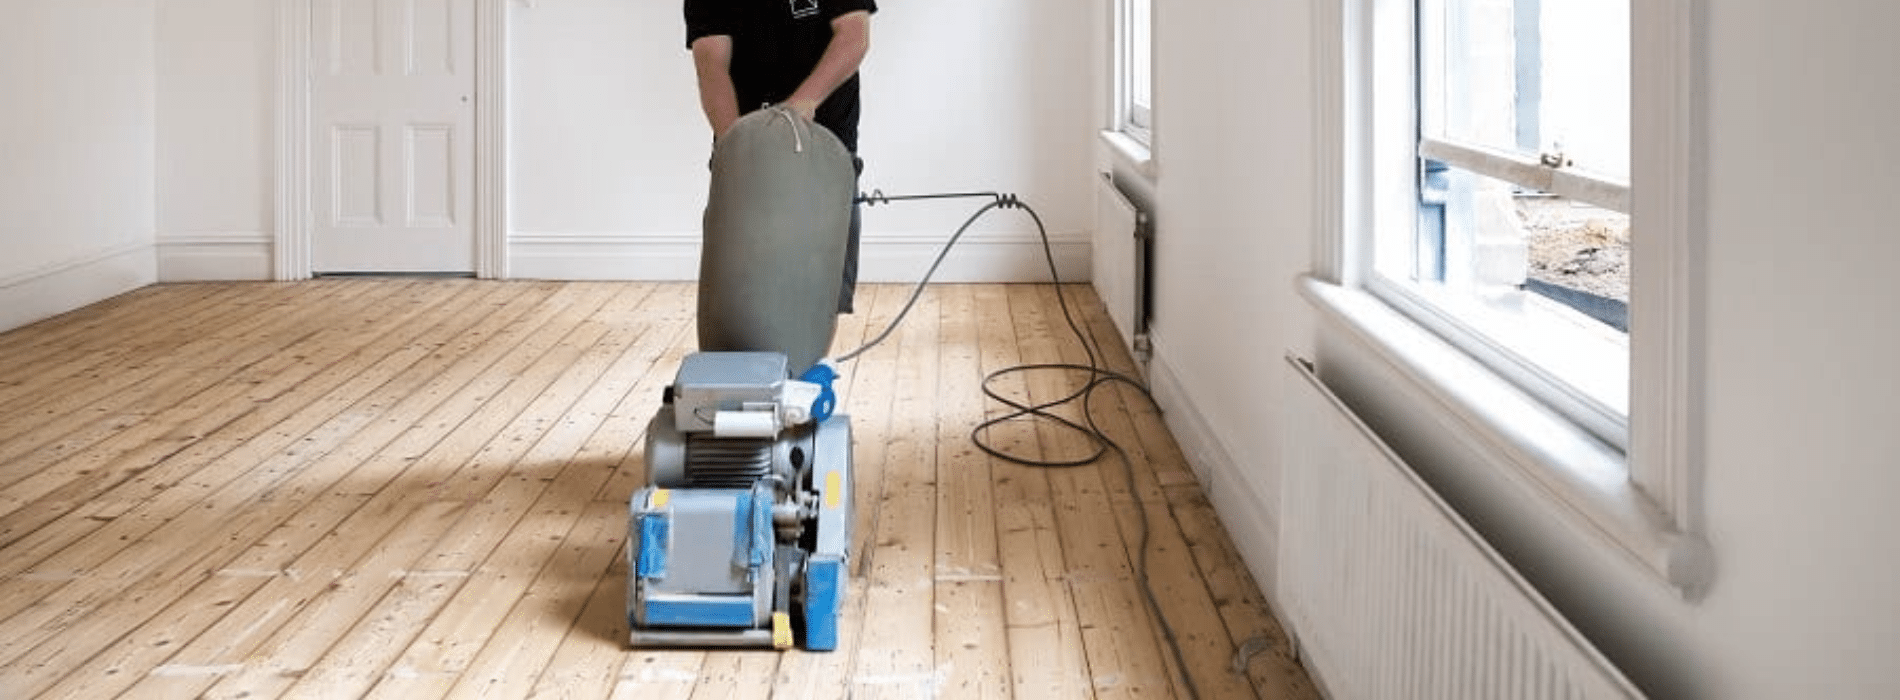
Choosing the right sandpaper
The key to effective sanding lies in understanding the grit number of sandpaper. A lower grit number indicates coarse paper used for initial sanding, while a higher grit number refers to finer paper for finishing touches.A Step-By-Step Guide to Sanding Wood
Equip yourself with different grits of sandpaper, a sanding block or sander, safety goggles, and a dust mask before starting. Step 1: Start with coarse-grit sandpaper (60–80 grit) to remove surface blemishes and old finish remnants. Step 2: Move to medium-grit sandpaper (100–120 grit) to smooth the surface further and remove any scratches from the coarse-grit sandpaper. Step 3: Finally, use fine-grit sandpaper (180–220 grit) to give the wood a smooth, almost polished finish. This will prepare the surface perfectly for the application of a new finish. Step 4: Always sand along the grain of the wood, not against it, to avoid scratching the surface. Step 5: After each sanding session, clean the surface with a damp cloth or a vacuum to remove dust particles. This ensures you can see the full effect of your work and identify any areas that might need more attention. Step 6: Repeat the process with increasingly finer-grit sandpaper until you achieve the desired smoothness.Pro Tips for Effective Sanding
- Change Sandpaper Often: A common mistake is using sandpaper beyond its effectiveness. Once sandpaper is clogged with dust or an old finish, it’s time to change it.
- Don’t Rush the Process: Gradually working up from coarse to fine grit is critical. Jumping to a finer grit too soon won’t provide the desired smoothness.
- Use a Sanding Block or Sander: A sanding block or an electric sander can ensure even pressure and a more uniform finish for large, flat surfaces.
The Final Steps: Applying a New Finish
It’s ready for a new finish after the wood has been properly stripped and sanded. Always follow the manufacturer’s instructions for the best results, whether staining, oiling, or painting. Apply your finish in a thin, even layer, and allow it to dry completely. You may want to apply several coats, sanding lightly between each one for the smoothest, most professional-looking result.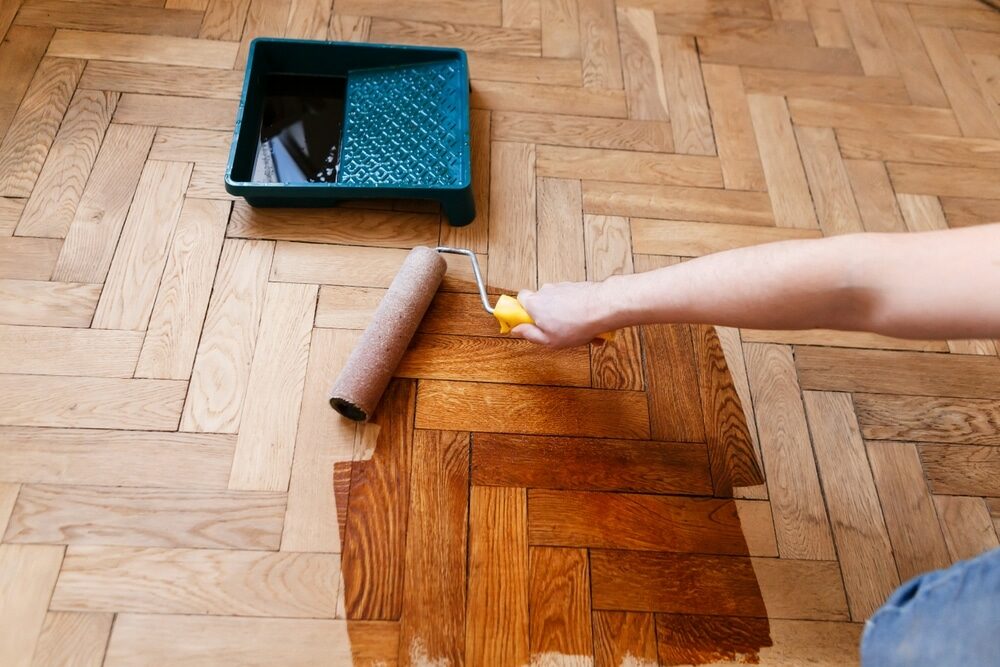
Conclusion
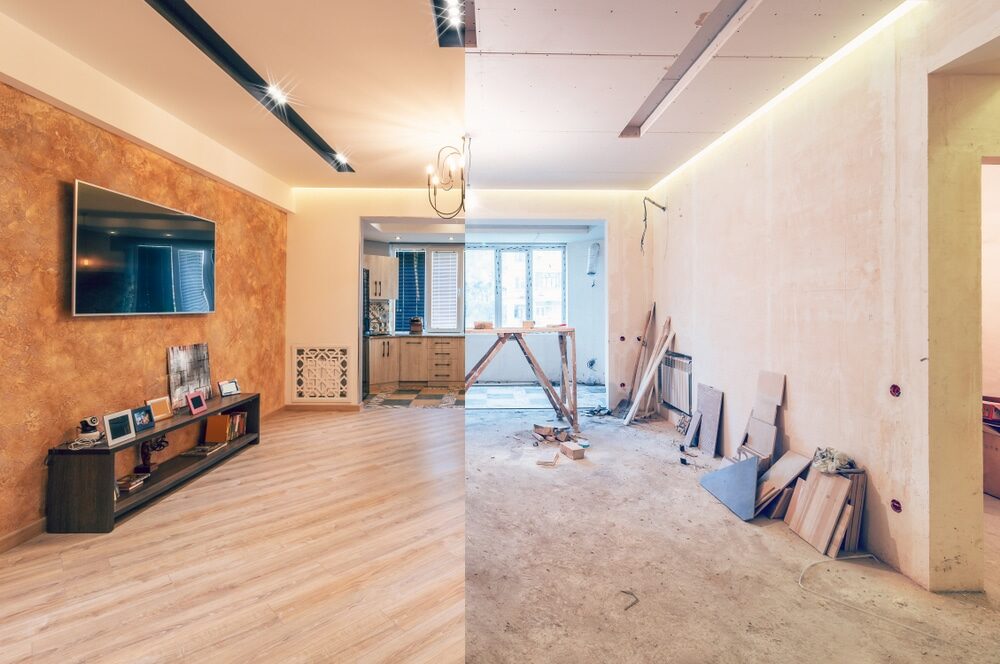
Wood stripping and sanding are labor-intensive processes, but they’re essential for maintaining the beauty and integrity of your wooden surfaces. Whether restoring a precious piece of antique furniture or refinishing your hardwood floors, stripping and sanding can transform worn-out, tired-looking surfaces into stunning, revitalized pieces you can be proud of. With the right tools, patience, and a step-by-step approach, you’ll be well on your way to becoming a master of wood stripping and sanding. Here’s to the rejuvenation of your wooden treasures!Some Useful Links:
- Floor Sanding Services
- School Floor Sanding
- Wood Floor Restorations
- Wood Floor Repairs
- Wood Floor Polishing
More from our Blog:
The top 6 places to buy Wood flooring in the UK | Mr Sander® Step-by-Step Guide to Sanding Your Wood Floor | Restore Your Floor’s Beauty Unraveling the Art of Fine Wood Floor Sanding | Detailed Guide Sanding Wood Floors: Demystifying Common Queries Care for Your Wooden Floors | The Ultimate Maintenance Guide


Sanding
We provide virtually dust-free sanding with our continuous belt machinery with mobile extraction units, giving you a safer environment for your family.
Oiling
This organic finish not only adds beauty to your home but also has exceptional water-repellent characteristics, making it easier to clean and maintain.
Waxing
This natural floor finish offers the softest and most mellow appearance – and leaves your floor able to breath.
Buffing
Using soft buffing machines (and hand-polishing where required) will bring a wonderful sheen to your newly-finished floor.
Repairs
We offer a full assessment of your wooden floors to determine what repairs are needed to provide the perfect working surface for the later stages of sanding, staining and sealing.
Restoration
We offer a comprehensive restoration process designed to address floors that are improperly fitted or damaged over time through wear and tear.
Request a fixed price quote for your wood floor restoration now
Simply enter your postcode below to get started.
Services
Wood Floor Sanding Wood Floor Restoration Wood Floor Scratch Repair Squeaky Wood Floor Repair Parquet Floor Sanding Parquet Floor Restoration Commercial Floor Sanding Church Floor Sanding Community Centre Floor Sanding School Floor Sanding Gap Filling Gap Filling with ResinCopyright © Mr Sander®
Privacy & Cookies Terms & Conditions Complaints Procedure Cancellation Rights Sitemap

Get An Instant Price Estimate Before You Go…
Simply enter the rooms you need sanded and we’ll provide you with a price estimate instantly! Try our price calculator now.
Get a Price Estimate NowLocal Floor Sanding Experts
Over 500 5-Star Reviews
Safe, Dust Free Sanding
Operating Since 1994