London:
Nationwide:
DIY Wood Floor Restoration Made Easy: 4 Simple Steps to Revive Your Floors
Posted on April 28, 2023
Blog
Easy 4 Simple Steps to Revive Your Floors
Wooden floors are a popular choice for many homeowners, offering a timeless elegance and warmth that few other flooring options can match. However, over time, the daily wear and tear can leave your floors looking dull, scratched, and worn. Thankfully, restoring your wood floors to their former glory is not only possible but also a task you can undertake yourself. In this comprehensive guide, we will walk you through four simple steps for wood floor restoration. With a little bit of patience and some elbow grease, you can bring your floors back to life and save thousands of dollars in the process. So, let’s dive right in!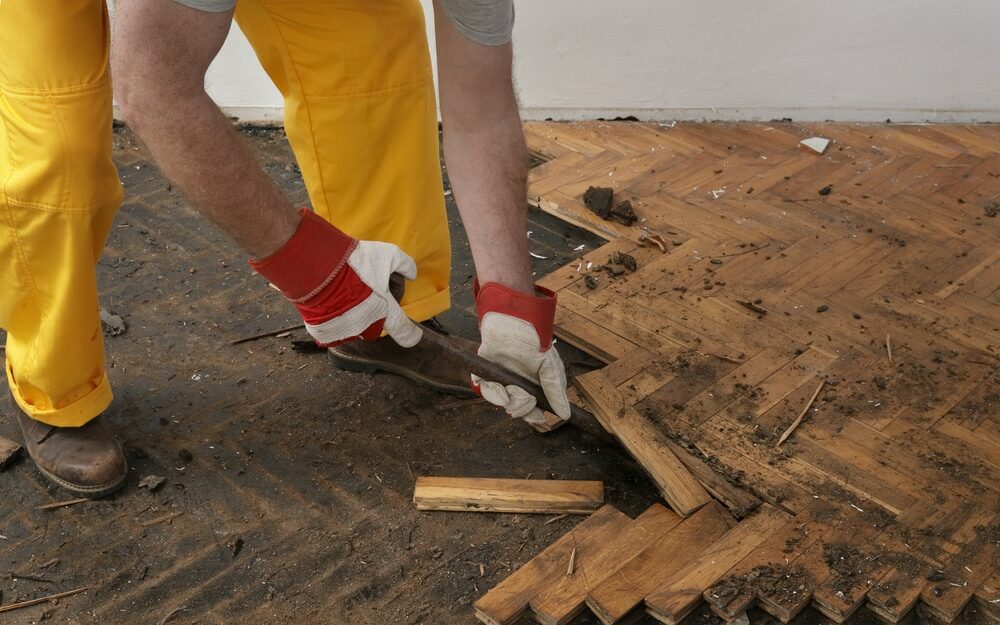
Step 1: Assess the Condition of Your Wood Floor
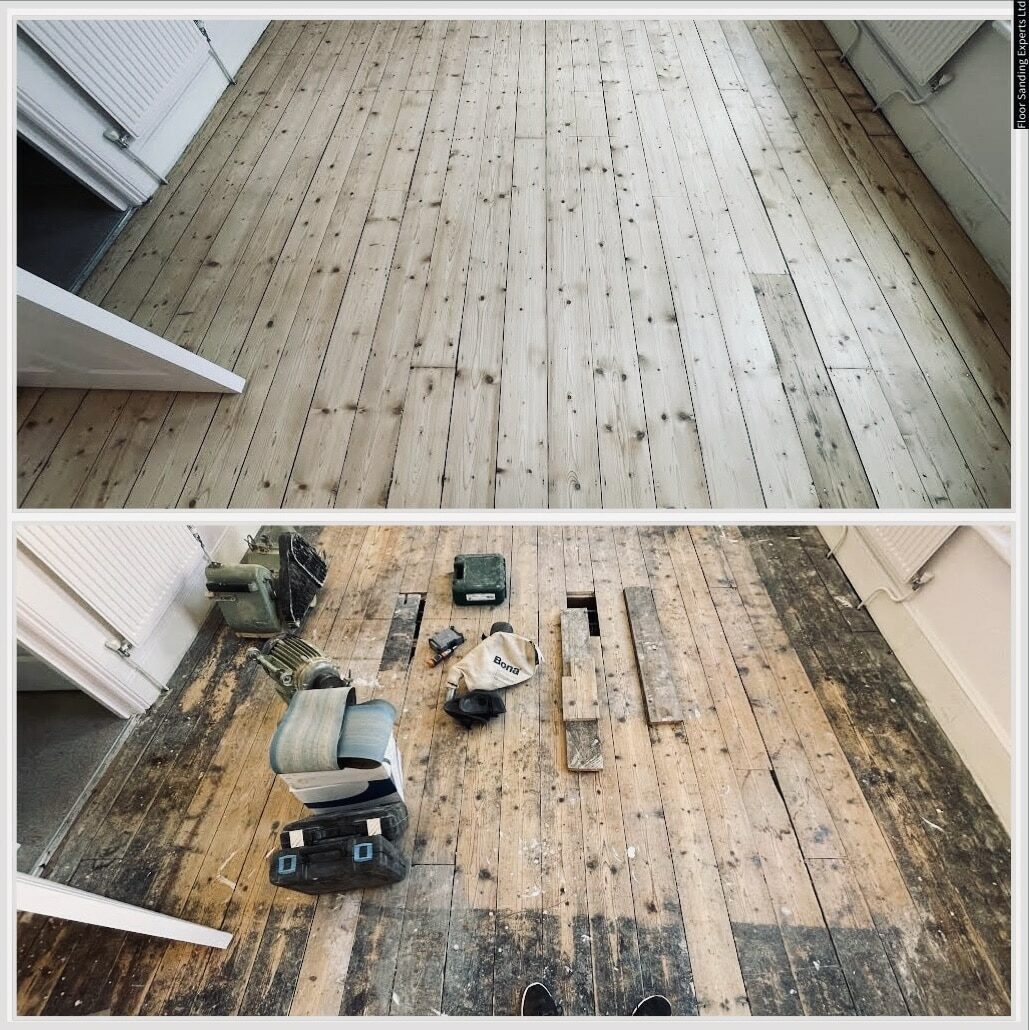
Before diving into the restoration process, it’s crucial to assess the condition of your wood floor. Inspect the floor carefully for any signs of damage, such as deep scratches, gouges, stains, or water damage. This assessment will help you determine the level of restoration needed and the appropriate tools and materials required for the job. If your floor has only minor surface scratches and wear, a simple sanding and refinishing job may be all that’s needed. However, if there is more significant damage or if the floorboards have become uneven, you may need to replace some sections of the flooring.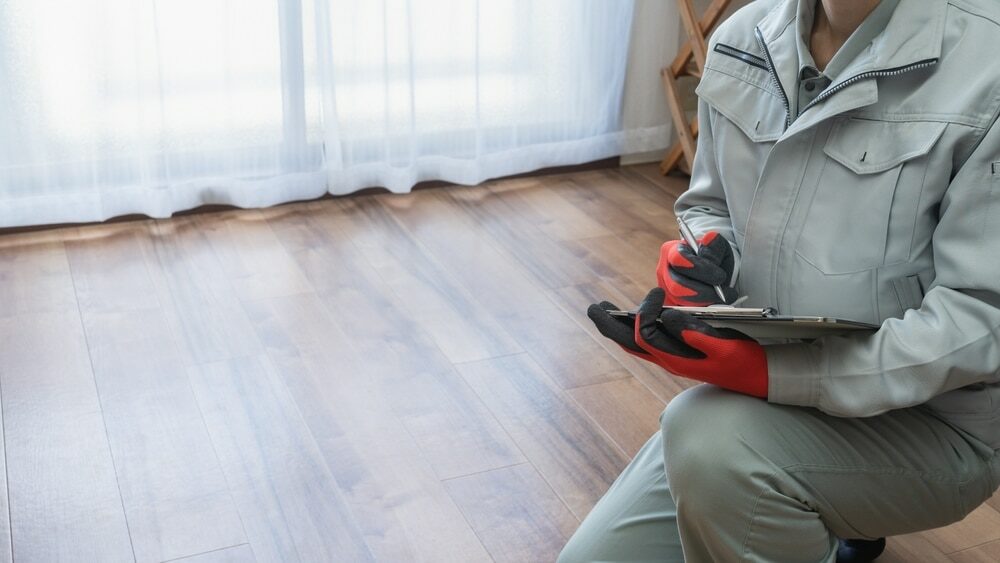
Step 2: Gather the Necessary Tools and Materials
Once you have assessed the condition of your floor, it’s time to gather the necessary tools and materials for the restoration. Here’s a list of items you’ll need for this DIY project:- Drum or orbital sander (rent one from a local hardware store if you don’t own one)
- Sandpaper in various grits (e.g., 40, 60, 80, 100, and 120 grit)
- Edge sander or hand-held sanding block
- Vacuum cleaner
- Wood filler or wood putty
- Putty knife
- Paintbrushes or rollers
- Wood stain (optional)
- Polyurethane finish
- Respirator mask, safety goggles, and ear protection
- Plastic sheeting and painter’s tape

 Step 3: Sand and Repair the Wood Floor
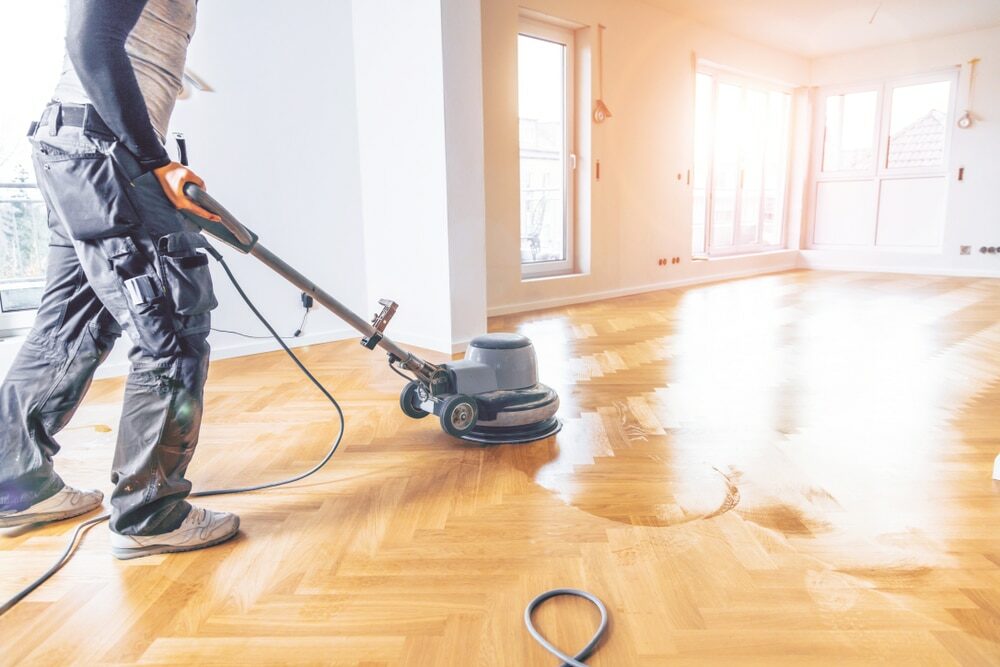
Sanding is a critical step in the restoration process, as it removes the old finish, scratches, and imperfections from your wood floor. Follow these steps for a successful sanding job:
- Prepare the room: Remove all furniture, rugs, and curtains from the room. Cover any vents, doorways, and windows with plastic sheeting and painter’s tape to prevent dust from spreading throughout your home.
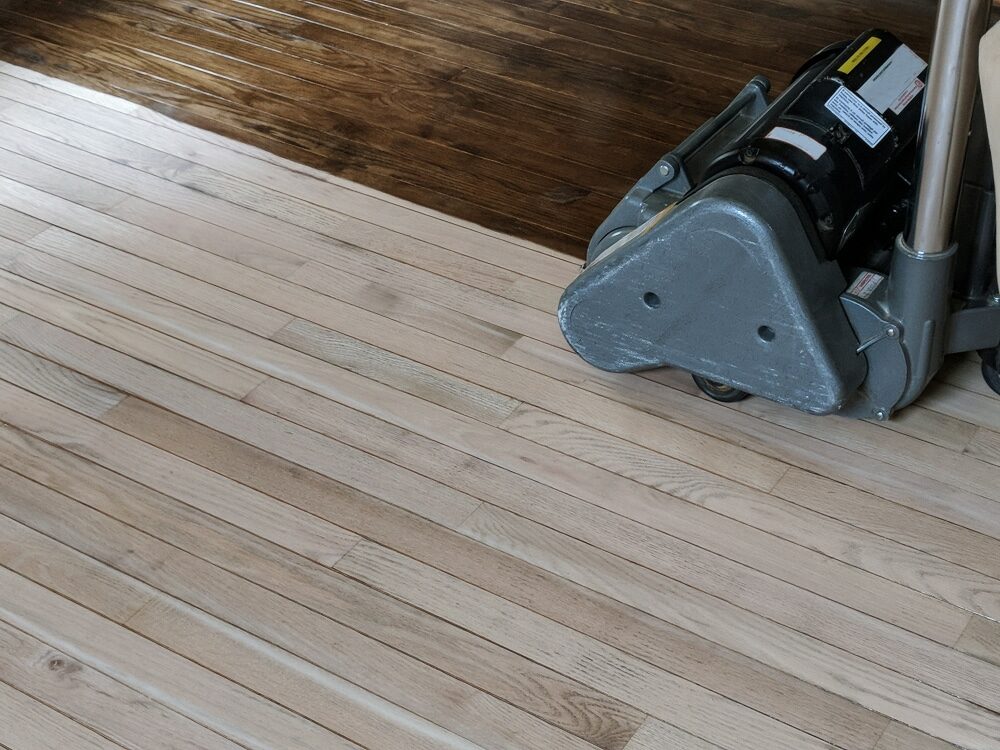
- Sand the main area: Put on your safety gear (respirator mask, goggles, and ear protection) and start sanding the main area of the floor using a drum or orbital sander. Begin with the coarsest grit sandpaper (40 or 60 grit) and work in the direction of the wood grain. Sand the entire floor, overlapping each pass slightly for even sanding.
- Sand the edges: Use an edge sander or hand-held sanding block to sand the edges and corners of the room. Ensure that you use the same grit of sandpaper as you did for the main area.
- Progress to finer grits: Repeat the sanding process with progressively finer grit sandpaper (80, 100, and 120 grit) to remove any remaining scratches and create a smooth surface.
- Repair any damage. Fill in any gouges, gaps, or deep scratches with wood filler or wood putty, using a putty knife. Allow the filler to dry according to the manufacturer’s instructions.
- Final sanding: Lightly sand the entire floor with 120-grit sandpaper to smoothout any filled areas and ensure a uniform surface. Be sure to sand in the direction of the wood grain.
- Clean up: Vacuum the entire room thoroughly to remove all dust and debris from the floor, walls, and other surfaces. Wipe down the floor with a damp cloth to pick up any remaining dust. Allow the floor to dry completely before proceeding to the next step.
Step 4: Stain and Finish the Wood Floor
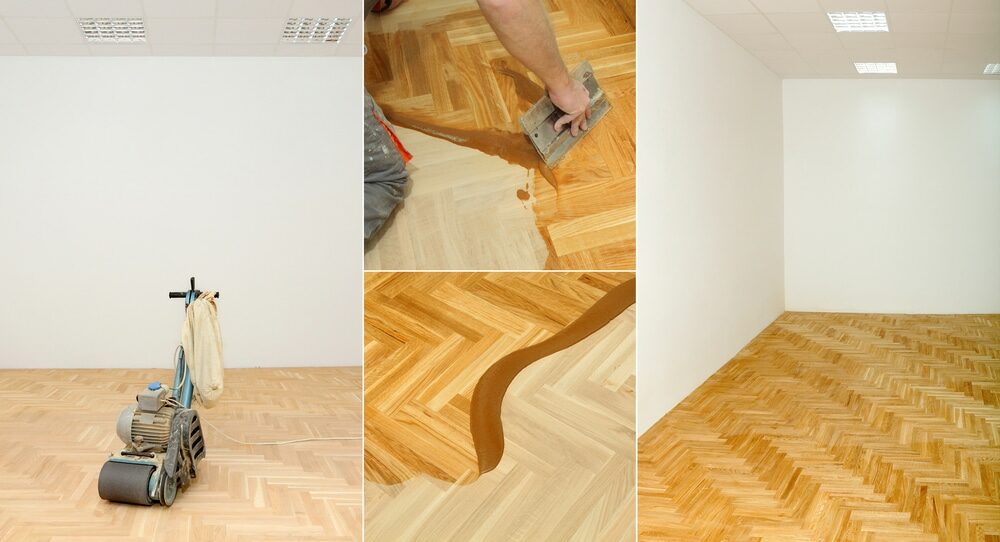
With your wood floor sanded and repaired, it’s time to apply the stain and finish. This step will protect your floor and bring out its natural beauty.- Choose a stain (optional): If you wish to change the colour of your wood floor or enhance its natural tone, you can apply a wood stain. Choose a stain colour that complements your home’s decor and test it on a small, inconspicuous area of the floor to ensure you’re satisfied with the result. Allow the test area to dry before proceeding.
- Apply the stain: Using a paintbrush or roller, apply the stain evenly to the entire floor, working in the direction of the wood grain. Allow the stain to penetrate the wood for the recommended time on the product label, usually around 15–20 minutes.
- Remove excess stain: Wipe off any excess stain using a clean, lint-free cloth. Be sure to work in the direction of the wood grain. Allow the stain to dry completely, following the manufacturer’s recommended drying time, typically 24 hours.
- Apply the polyurethane finish: Once the stain is dry, apply a thin, even coat of polyurethane finish using a high-quality paintbrush or roller. Apply the finish in the direction of the wood grain, being careful not to leave any brush or roller marks. Allow the first coat to dry according to the manufacturer’s instructions, usually around 4 hours.
- Lightly sand between coats: Using fine-grit sandpaper (220 grit or higher), lightly sand the entire floor to remove any imperfections and ensure proper adhesion of the next coat. Vacuum and wipe down the floor with a damp cloth to remove any dust.
- Apply additional coats: Apply at least two more coats of polyurethane finish, following the same process as above and allowing each coat to dry before applying the next. Three coats are typically recommended for optimal durability and protection.
- Allow the finish to cure: Once you’ve applied the final coat of polyurethane finish, let it cure for the recommended time on the product label, usually 24-48 hours, before moving furniture back into the room or walking on the floor.
Some Useful Links:
Conclusion
Wood floor restoration can be a rewarding DIY project that breathes new life into your home’s interior. By following these four simple steps, you can restore the beauty and durability of your wood floors without the need for professional help. With a little patience and effort, you’ll be able to enjoy the stunning results of your hard work for years to come.More from our Blog:
Hardwood Floor Sanding Guide: 10 Steps to Beautiful, Revitalized Floors Upgrade Your Home Elegantly with Dustless Wood Floor Sanding – A Comprehensive Guide Tips to Prevent Dust When Sanding Wooden Floors – A Comprehensive Guide Top 10 FAQ: About Floor Sanding & Varnishing for Stunning Floors
Sanding
We provide virtually dust-free sanding with our continuous belt machinery with mobile extraction units, giving you a safer environment for your family.
Oiling
This organic finish not only adds beauty to your home but also has exceptional water-repellent characteristics, making it easier to clean and maintain.
Waxing
This natural floor finish offers the softest and most mellow appearance – and leaves your floor able to breath.
Buffing
Using soft buffing machines (and hand-polishing where required) will bring a wonderful sheen to your newly-finished floor.
Repairs
We offer a full assessment of your wooden floors to determine what repairs are needed to provide the perfect working surface for the later stages of sanding, staining and sealing.
Restoration
We offer a comprehensive restoration process designed to address floors that are improperly fitted or damaged over time through wear and tear.
Request a fixed price quote for your wood floor restoration now
Simply enter your postcode below to get started.
Services
Wood Floor Sanding Wood Floor Restoration Wood Floor Scratch Repair Squeaky Wood Floor Repair Parquet Floor Sanding Parquet Floor Restoration Commercial Floor Sanding Church Floor Sanding Community Centre Floor Sanding School Floor Sanding Gap Filling Gap Filling with ResinCopyright © Mr Sander®
Privacy & Cookies Terms & Conditions Complaints Procedure Cancellation Rights Sitemap