London:
Nationwide:
Ultimate Guide to Sanding Floorboards: Revitalize Your Wooden Floors
Posted on July 2, 2023
Blog
Comprehensive Guide to the Basics of Sanding Floorboards
The timeless appeal of wooden floors has made them a popular choice among homeowners for centuries. But like all things, wooden floors need proper care to maintain their charm. One of the most effective ways to revitalize old, worn-out wooden floors is by sanding them. This blog post will guide you through the basics of sanding floorboards.What is Floor Sanding?
Floor sanding is a process that involves removing the top surfaces of a wooden floor by abrasively sanding the boards with a variety of sandpaper grits. The result is a smoother surface, free from old finishes or imperfections, ready for a fresh finish.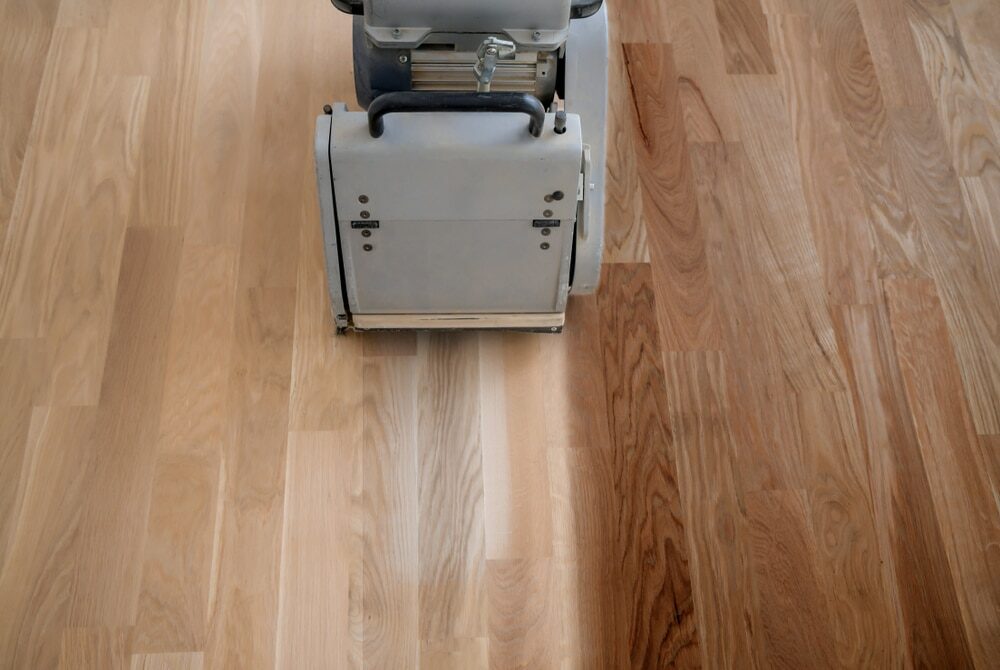
Why Sand Your Floors?
Sanding can breathe new life into your wooden floors. It removes old finishes, stains, and minor damages, such as scratches or dents. It also prepares the floor for a new finish, enhancing the wood’s natural beauty and prolonging the floor’s life.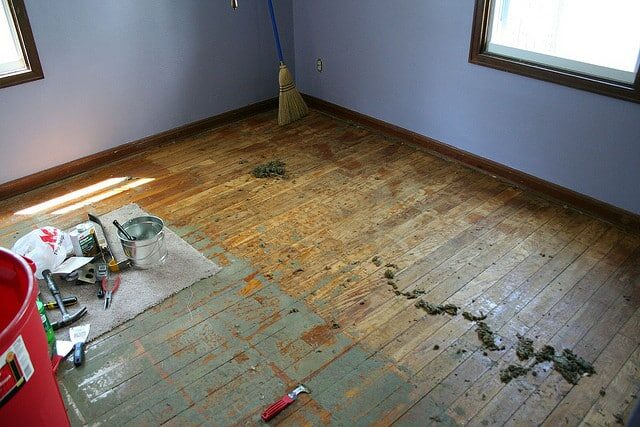
Tools and Materials Needed
Before you start sanding, gather all the necessary tools and materials. These include:- Drum or belt floor sander
- Edger sander
- Detail or orbital sander
- Variety of sandpaper grits
- Safety goggles
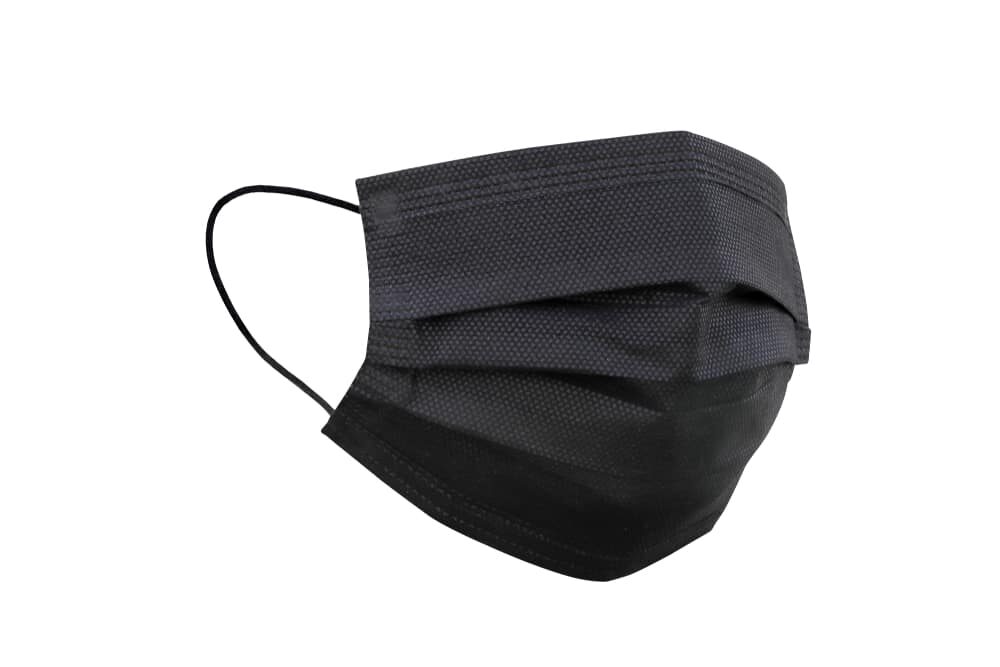
- Dust masks
- Ear protection
- Vacuum cleaner
- Broom and dustpan


Preparing for Sanding
Safety First
Before you begin, ensure you have appropriate safety equipment. Sanding can produce a large amount of dust, so use safety goggles to protect your eyes, a dust mask for your lungs, and ear protection from the noise of the machines.Prepare the room.
Remove all furniture, rugs, and any other objects from the room. Look for and remove any nails or screws that are protruding from the floorboards. They can damage the sanding machine and create an uneven surface.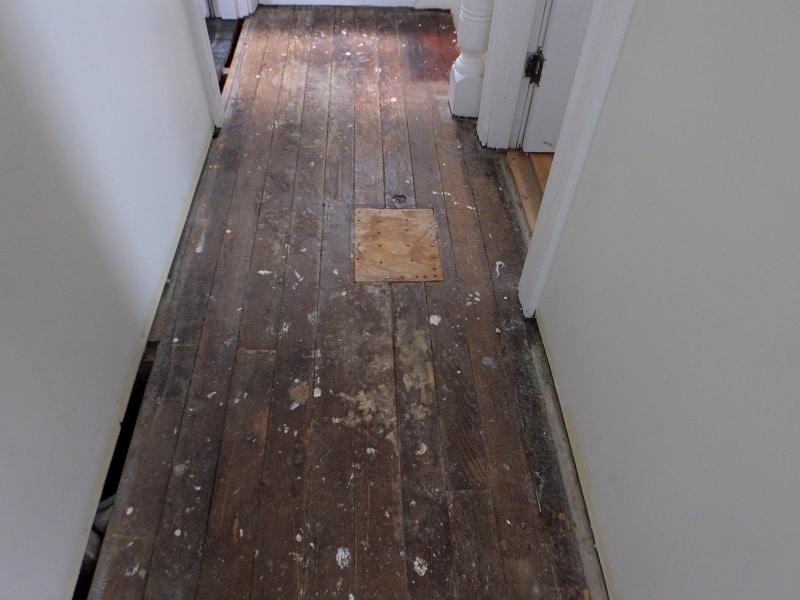
The Sanding Process
Choose the Right grit.
Sandpaper comes in different grits, and the choice of grit depends on the condition of your floor. A lower grit number (like 24 or 36) means coarser sandpaper that can remove more wood, which is useful for very old or damaged floors. Higher grit numbers (like 80 or 100) provide a finer sanding, which is used for finishing touches.Start with the Drum or Belt sander.
The drum or belt sander is for the main areas of the floor. Always sand along the grain of the wood, never across it. Start with coarser-grit sandpaper and work your way up to finer grits.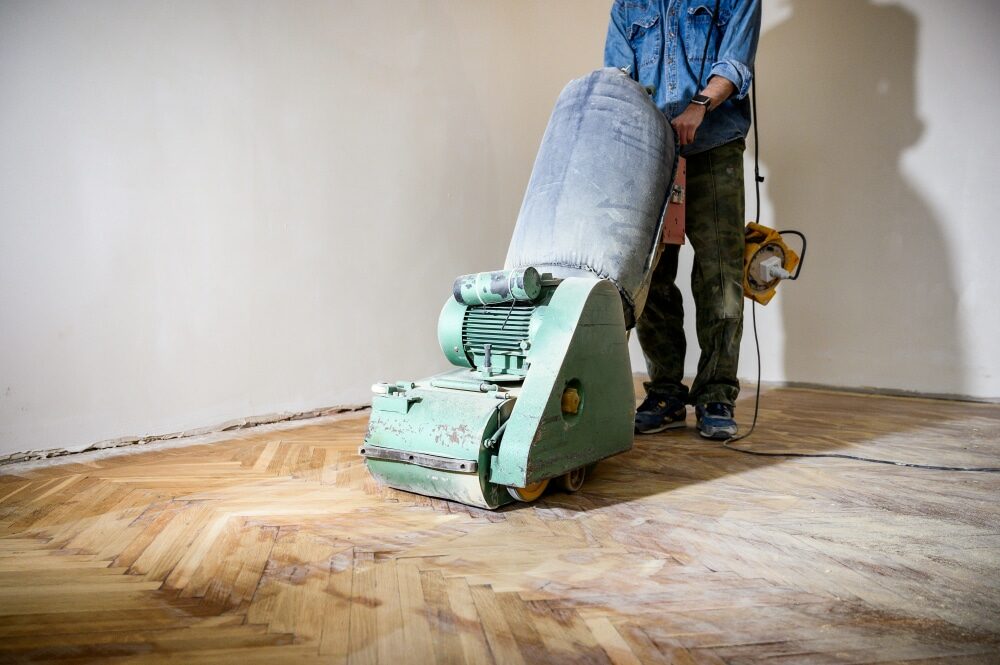
Use an Edger sander.
An edger sander is used for areas where the drum or belt sander cannot reach, such as the edges of the room. Be careful to blend the edge-sanding area with the drum-sanding area for a consistent look.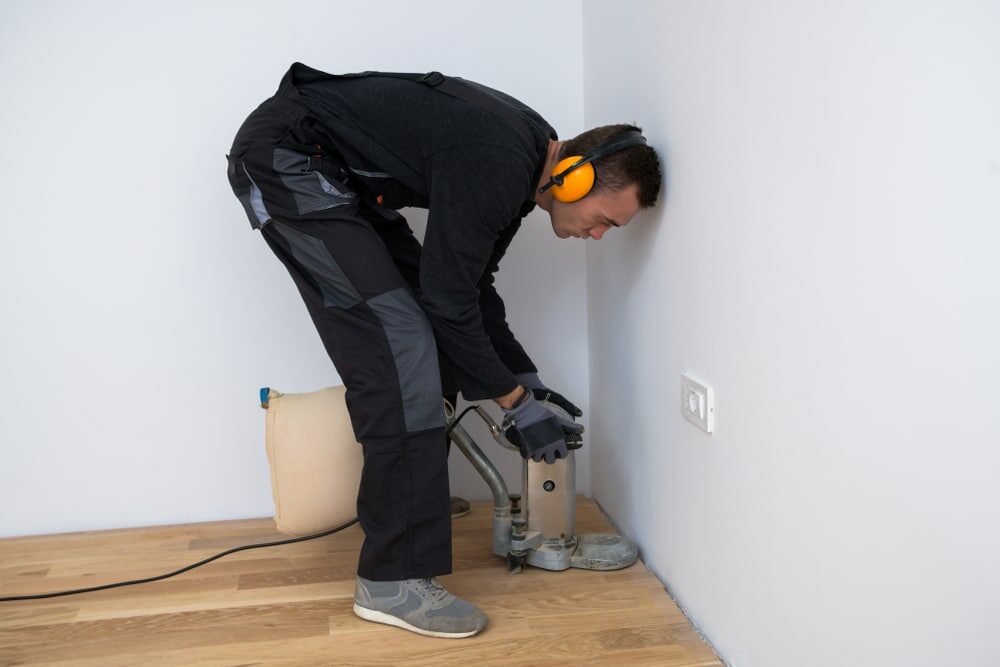
Detail Sanding
Use a detailer or orbital sander for corners and hard-to-reach places where the edger cannot reach.Cleaning Up After Sanding
Once the sanding is complete, it’s time to clean. Sweep the floor and then vacuum it thoroughly. Make sure you remove all dust, as it can affect the new finish’s application and appearance.Post-Sanding: Applying the Finish
After sanding, you’re ready to apply the new finish. This could be a stain if you want to change the wood’s color or a clear finish to enhance the natural grain. Follow the manufacturer’s instructions for best results.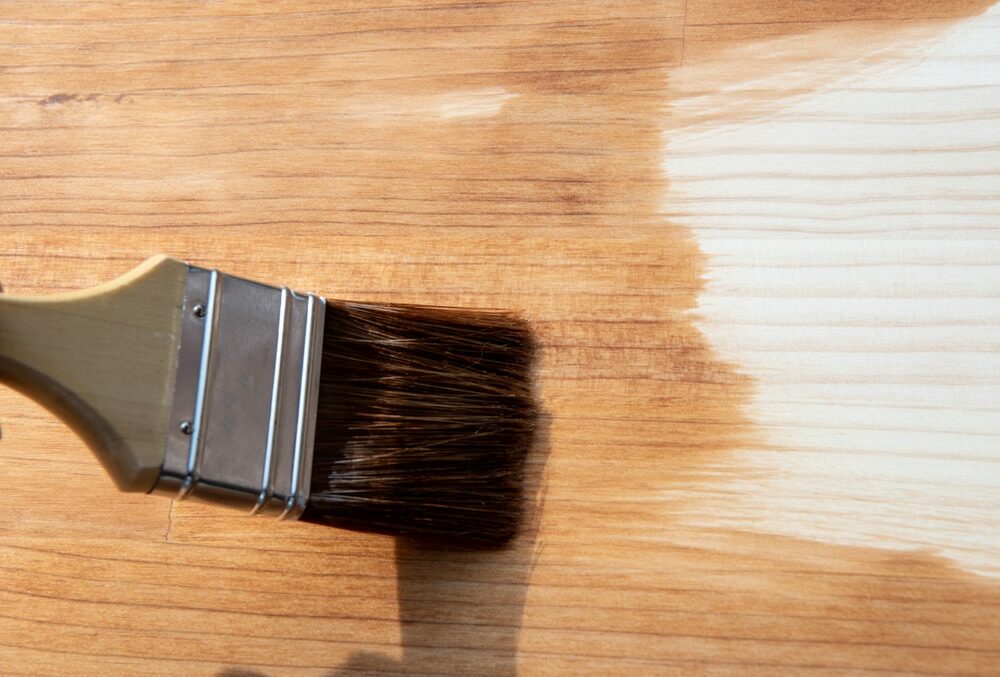
Conclusion
Sanding floorboards is a challenging yet rewarding task. It revitalizes your wooden floors, restoring their beauty and prolonging their life. Though it requires effort, understanding the basics and taking it step-by-step can make the task manageable, even for a DIY beginner. So, roll up your sleeves and bring back the charm to your wooden floors.Some Useful Links:
- Floor Sanding Services
- School Floor Sanding
- Wood Floor Restorations
- Wood Floor Repairs
- Wood Floor Polishing
More from our Blog:
Essential Wood Floor Maintenance Tips for Long-lasting Shine How to Choose the Right Floor Sanding Service for Your Parquet Floors Health and Safety Guidelines to Sanding Floorboards Latest Trends in Kitchen Flooring | Your Guide to Style & Function Easy Guide to Wood Floor Sanding & Polishing | DIY in 5 Steps
Sanding
We provide virtually dust-free sanding with our continuous belt machinery with mobile extraction units, giving you a safer environment for your family.
Oiling
This organic finish not only adds beauty to your home but also has exceptional water-repellent characteristics, making it easier to clean and maintain.
Waxing
This natural floor finish offers the softest and most mellow appearance – and leaves your floor able to breath.
Buffing
Using soft buffing machines (and hand-polishing where required) will bring a wonderful sheen to your newly-finished floor.
Repairs
We offer a full assessment of your wooden floors to determine what repairs are needed to provide the perfect working surface for the later stages of sanding, staining and sealing.
Restoration
We offer a comprehensive restoration process designed to address floors that are improperly fitted or damaged over time through wear and tear.
Request a fixed price quote for your wood floor restoration now
Simply enter your postcode below to get started.
Services
Wood Floor Sanding Wood Floor Restoration Wood Floor Scratch Repair Squeaky Wood Floor Repair Parquet Floor Sanding Parquet Floor Restoration Commercial Floor Sanding Church Floor Sanding Community Centre Floor Sanding School Floor Sanding Gap Filling Gap Filling with ResinCopyright © Mr Sander®
Privacy & Cookies Terms & Conditions Complaints Procedure Cancellation Rights Sitemap