London:
Nationwide:
25,000+
Floors Restored
27 Years Experience
Wood Flooring Association Certified
What are the Essential Secrets on Floor Sanding and Finishing?
Posted on July 5, 2023
Blog
Essential Secrets on Floor Sanding and Finishing Revealed | Master the Art of Floor Restoration
Floor sanding and finishing is a delicate task that requires proper knowledge and expertise. When done correctly, it can bring out the beauty of your wooden floors and add an elegant touch to your home. However, it’s not always as straightforward as it may seem. In this extensive guide, we’ll divulge the essential secrets to floor sanding and finishing.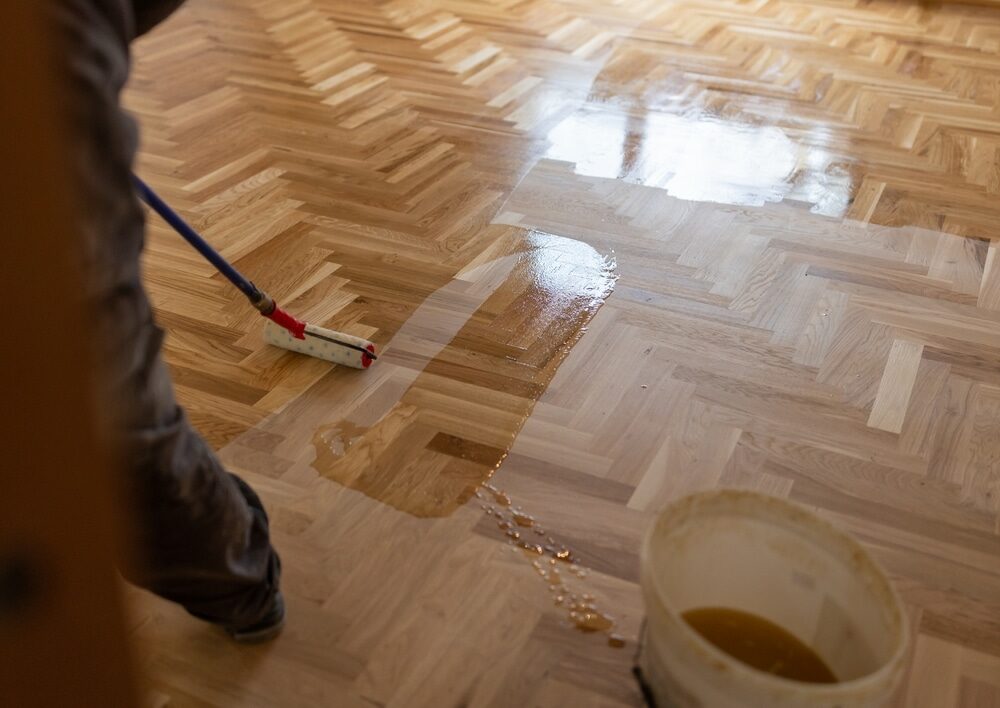
1. Understanding the Type of Wood
Identifying Wood Type
Different types of wood respond differently to sanding and finishing. Hardwood species, like oak and maple, require a different approach compared to softer woods, such as pine or cedar. Identifying the wood type is crucial in determining the best sanding and finishing technique.Sanding Technique Per Wood Type
Once you’ve identified the type of wood, it’s essential to use a suitable sanding technique. Hardwoods usually require more aggressive sanding, while softwoods need gentler treatment to prevent damage.2. Choosing the Right Sandpaper
Understanding Grit Numbers
The sandpaper grit number corresponds to the roughness of the sandpaper. Lower numbers are coarser and are used for initial sanding, while higher numbers are finer and are used for finishing touches.Progression of Grit Numbers
The secret to smooth sanding is to progress gradually through grit numbers. Starting with a too-fine grit won’t remove defects effectively, while jumping to a too-coarse grit can cause unnecessary scratches.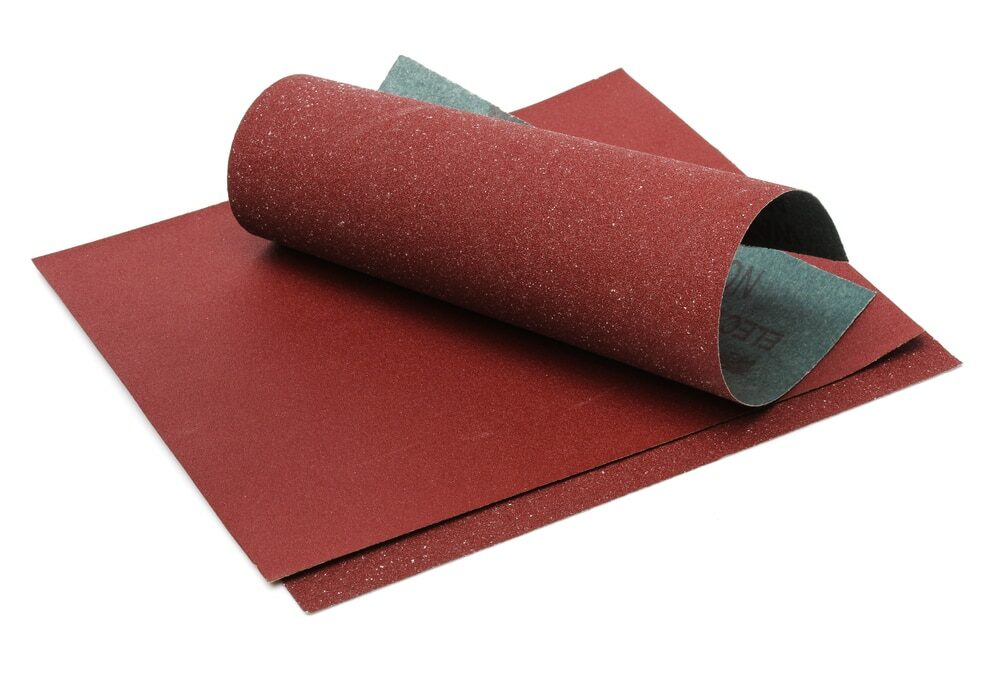
3. Proper Sanding Techniques
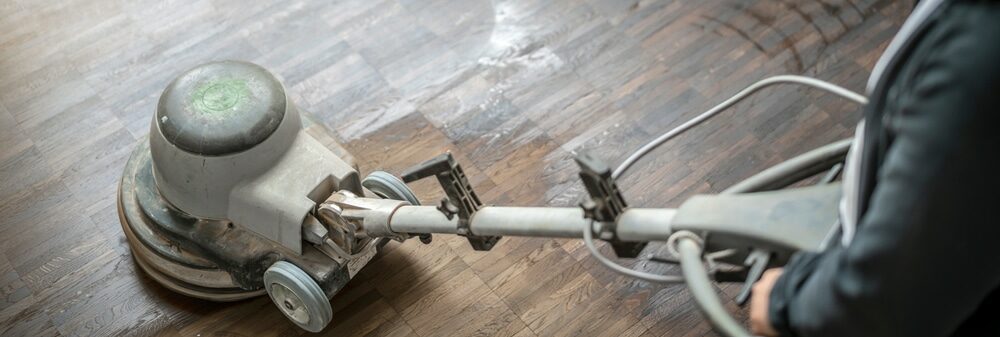
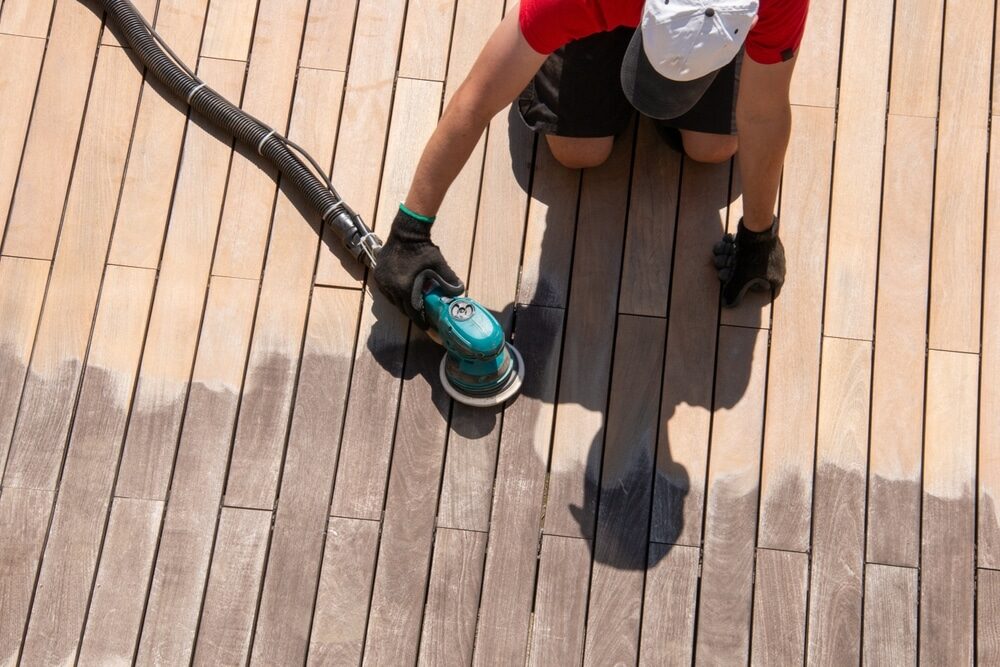
Using a Sanding Machine
Floor sanding machines can make the job more manageable, but they need to be used correctly. Always keep the machine moving to prevent digging into the floor. Also, sand along the wood grain and not against it to avoid scratches.Manual Sanding
For corners and edges where the machine can’t reach, manual sanding is necessary. However, the same principles apply: always sand with the grain and be careful not to sand too much in one spot.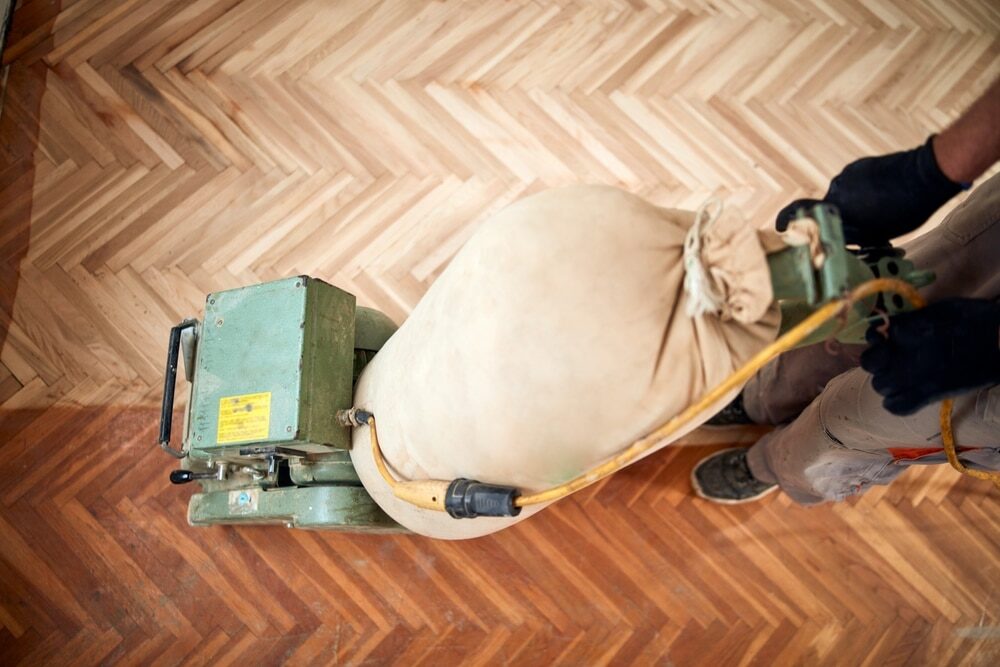
4. Preparing for Finishing
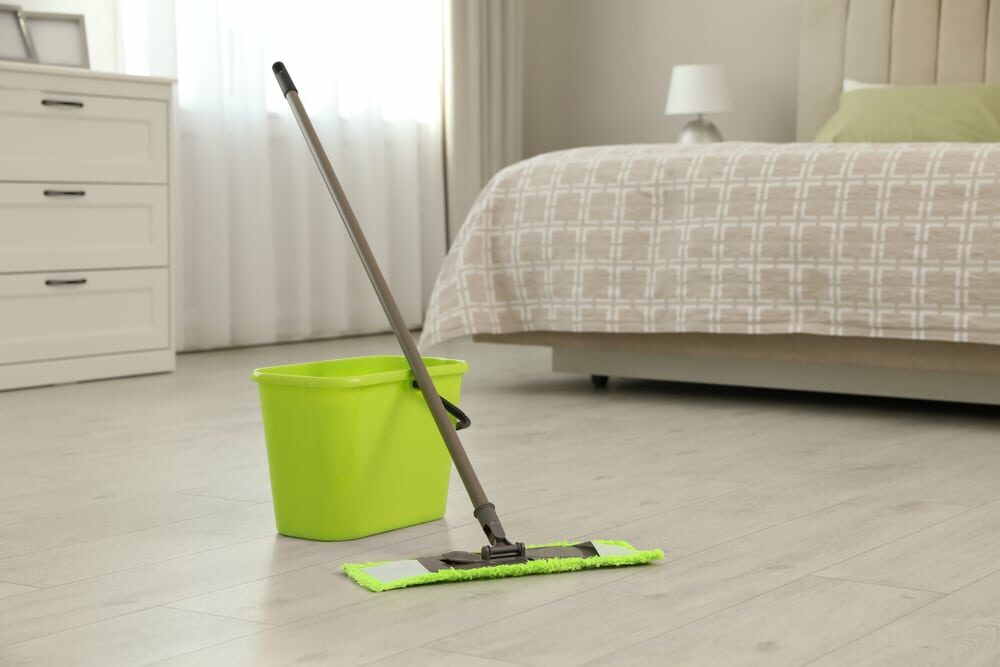
Vacuuming
Before applying the finish, vacuum thoroughly to remove all dust. Any dust left on the floor can get trapped in the finish and ruin the look.Tack Cloth
After vacuuming, wipe the floor with a tack cloth. This sticky cloth will pick up any remaining dust particles and ensure a perfectly clean surface for finishing.
5. Selecting the Right Finish
Understand Your Options
There are several types of finishes, each with its own pros and cons. Polyurethane finishes are durable and water-resistant, making them suitable for high-traffic areas. Oil finishes, on the other hand, give a more natural look but require more maintenance.Test Before Applying
Always test the finish on a hidden area or a scrap piece of the same wood before applying it to the whole floor. This will allow you to see the final look and make sure it’s what you want.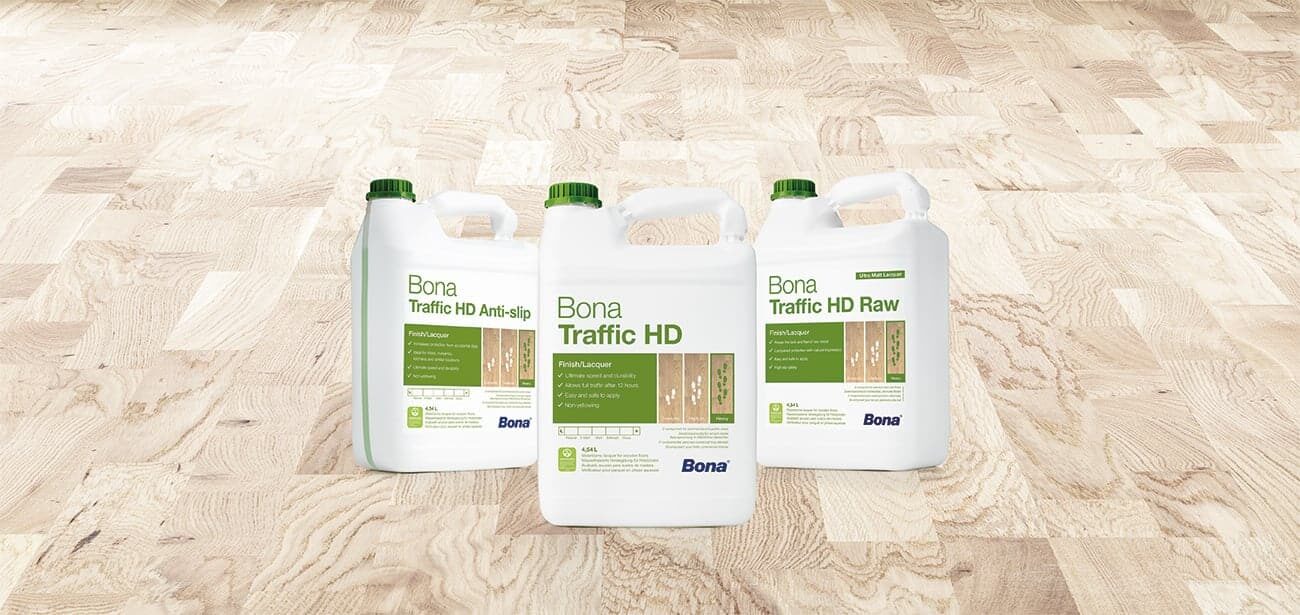
6. Applying the Finish
Proper Ventilation
When applying the finish, make sure the room is well-ventilated. Most finishes emit fumes that can be harmful in enclosed spaces.Even Application
The secret to a perfect finish is even application. Apply the finish in thin, consistent layers, following the wood grain. Too thick a layer can lead to drips and unevenness.
7. Allow Adequate Drying time.
Patience is key.
One of the biggest secrets to floor sanding and finishing is patience. It can be tempting to rush the process, but it’s vital to give each layer of finish adequate time to dry before applying the next one.Test for dryness.
Before applying the next layer or moving furniture back onto the floor, test the finish to make sure it’s completely dry. A simple way to do this is to touch the floor in a hidden spot. If it’s no longer tacky, it’s dry.Conclusion
Floor sanding and finishing may seem daunting, but by understanding these essential secrets, you’ll be well-equipped to handle the task. Remember that the keys are preparation, patience, and proper technique. With these at your fingertips, you can restore your wooden floors to their original glory, creating a stunning and timeless appeal in your home.Some Useful Links:
- Floor Sanding Services
- School Floor Sanding
- Wood Floor Restorations
- Wood Floor Repairs
- Wood Floor Polishing
More from our Blog:
Top 5 Advantages of Hiring a Professional Floor Sanding Company The Advantages of Opting for Dustless Floor Sanding Why Should You Consider Wood Floor Restoration? Answering the Four Key Questions about Wood Floor Sanding in West London Essential Hardwood Floor Installation Tips for Homeowners
Sanding
We provide virtually dust-free sanding with our continuous belt machinery with mobile extraction units, giving you a safer environment for your family.
Oiling
This organic finish not only adds beauty to your home but also has exceptional water-repellent characteristics, making it easier to clean and maintain.
Waxing
This natural floor finish offers the softest and most mellow appearance – and leaves your floor able to breath.
Buffing
Using soft buffing machines (and hand-polishing where required) will bring a wonderful sheen to your newly-finished floor.
Repairs
We offer a full assessment of your wooden floors to determine what repairs are needed to provide the perfect working surface for the later stages of sanding, staining and sealing.
Restoration
We offer a comprehensive restoration process designed to address floors that are improperly fitted or damaged over time through wear and tear.
Request a fixed price quote for your wood floor restoration now
Simply enter your postcode below to get started.
Services
Wood Floor Sanding Wood Floor Restoration Wood Floor Scratch Repair Squeaky Wood Floor Repair Parquet Floor Sanding Parquet Floor Restoration Commercial Floor Sanding Church Floor Sanding Community Centre Floor Sanding School Floor Sanding Gap Filling Gap Filling with ResinCopyright © Mr Sander®
Privacy & Cookies Terms & Conditions Complaints Procedure Cancellation Rights Sitemap

Get An Instant Price Estimate Before You Go…
Simply enter the rooms you need sanded and we’ll provide you with a price estimate instantly! Try our price calculator now.
Get a Price Estimate NowLocal Floor Sanding Experts
Over 500 5-Star Reviews
Safe, Dust Free Sanding
Operating Since 1994