London:
Nationwide:
25,000+
Floors Restored
27 Years Experience
Wood Flooring Association Certified
How to Colour a Solid Wood Floor: Complete Guide to a Stunning Transformation
Posted on May 26, 2023
News
Coloring a Solid Wood Floor: An In-Depth Guide to Create Your Desired Aesthetic
Hardwood floors have been adored for centuries for their natural beauty, durability, and timeless appeal. They can enhance the value and aesthetic appeal of any space. However, as beautiful as they are in their natural state, there comes a time when you might want to change their color to better match your home’s interior design. Coloring a solid wood floor can be an exciting yet daunting task. You have to choose the right color, prepare the floor, apply the stain, and finish the surface to protect it. The entire process requires careful planning and execution. In this comprehensive guide, we will walk you through each step of coloring your solid wood floor.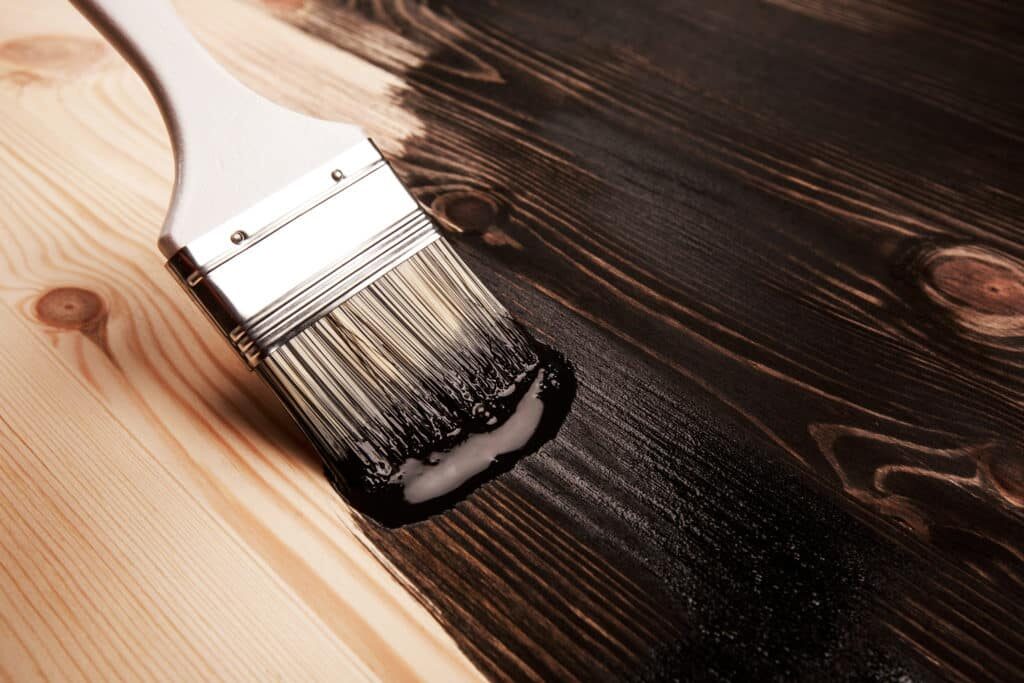
Why color your wood floor?
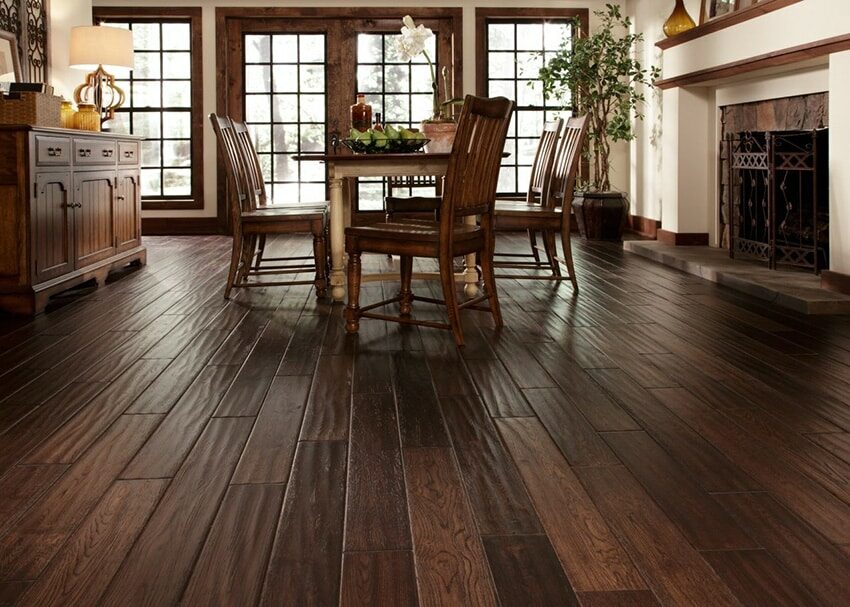
Changing the color of your wood floor can dramatically transform the ambiance of your room. You might want to darken your wood floor for a more elegant, formal appearance or lighten it for a fresh, airy feel. You could even add a colorful stain for a unique, modern look. Coloring your wood floor allows you to tailor your home’s interior design to your specific tastes and needs. With a vast array of colors and finishes available, you have the freedom to create a floor that truly reflects your style.Choosing the Right Color for Your Wood Floor
The first step in coloring a solid wood floor is selecting the right color. This can be a challenging task due to the wide range of options available. Consider the size and lighting of your room, the style of your furniture, and the overall aesthetic you want to achieve. Light colors can make a small room feel larger and brighter, while dark colors can create a cozy, intimate atmosphere. The type of wood also plays a significant role in the final outcome. Different woods absorb stains differently, which can dramatically affect the color. For example, oak, with its open grain, takes stain well and is available in a variety of colors, while maple, with its tight grain, may appear blotchy when stained. Consult with a flooring specialist or interior designer to help you choose a color that suits your space and style.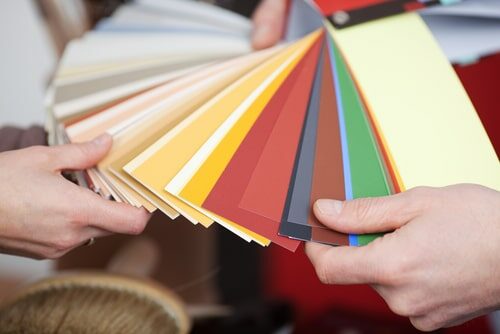
Preparing Your Wood Floor for Coloring
Before you apply any stain, you must properly prepare your wood floor. This involves cleaning, sanding, and priming the surface.- Cleaning: Remove all furniture from the room and thoroughly clean the floor. Sweep or vacuum to remove dust and debris, then wipe the floor with a damp cloth to remove any remaining dirt. Avoid soaking the floor, as excessive water can damage the wood.
- Sanding: Sanding is crucial as it opens up the wood’s pores, allowing it to absorb the stain evenly. Begin with coarse-grit sandpaper to remove the old finish, then gradually switch to finer grits for a smooth surface. Always sand along the grain of the wood to avoid scratches.
- Priming: After sanding, wipe the floor with a damp cloth to remove any dust. Then apply a wood conditioner or primer to help the stain penetrate the wood evenly.

Applying the stain to your wood floor
Now that your floor is prepared, it’s time to apply the stain.- Test the Stain: Before staining the entire floor, test the stain on a small, inconspicuous area to ensure you’re happy with the color.
- Apply the stain: Using a brush or cloth, apply the stain along the grain of the wood. Work in small sections, applying the stain evenly.
- Wipe Off Excess Stain: After allowing the stain to penetrate for a few minutes, wipe off any excess stain with a clean cloth. The longer the stain is left on the wood, the darker the color will be.
- Let the stain dry. Allow the stain to dry completely. The drying time will depend on the type of stain used and the room’s temperature and humidity. It’s crucial not to rush this process, as walking on the floor too soon can ruin the finish.
- Apply Additional Coats: If you want a darker color, you can apply additional coats of stain. Just remember to let each coat dry completely before applying the next one.
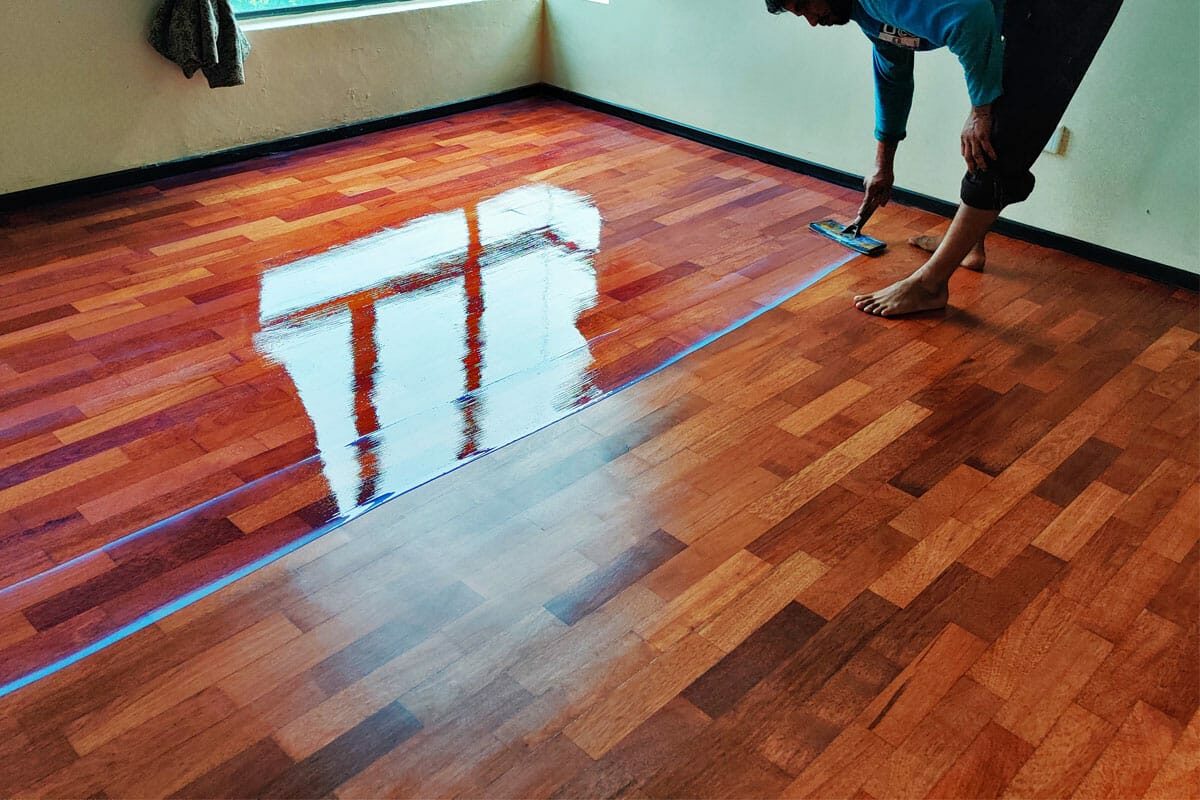
Finishing Your Wood Floor
After staining your wood floor, you must apply a finish to protect it from scratches, stains, and other damage.- Choose the Right Finish: There are several types of finishes you can choose from, including polyurethane, varnish, and oil. The right one depends on your specific needs and preferences.
- Apply the Finish: Use a brush or roller to apply the finish evenly over the floor. As with the stain, it’s best to work in small sections and go along the grain of the wood.
- Let the finish dry: Allow the finish to dry fully before walking on the floor. Again, this will depend on the type of finish and the room’s conditions.
- Apply Additional Coats: Depending on the type of finish and the amount of traffic your floor gets, you might need to apply additional coats of finish. Each coat should be allowed to dry fully before the next one is applied.
Maintaining Your Colored Wood Floor
Maintaining your colored wood floor is key to keeping it looking beautiful for years to come. Here are a few maintenance tips:- Regular Cleaning: Dust and clean your floor regularly to prevent dirt and debris from scratching the surface.
- Avoid water damage: Never leave spills unattended. Water can damage the finish and the wood, leading to stains and warping.
- Use protective pads: Place protective pads under furniture legs to prevent scratches and dents.
- Refinish When Necessary: Over time, the finish on your floor may wear down. When this happens, it might be time for a refresh. Refinishing involves sanding down the existing finish and applying a new one.
Some Useful Links:
- Floor Sanding Services
- School Floor Sanding
- Wood Floor Restorations
- Wood Floor Repairs
- Wood Floor Polishing
More from our Blog:
Hand Scraped Wood Flooring: Discovering Its Unique Charm and Timeless Appeal Step-by-Step Guide to Wood Floor Restoration for Lasting Beauty Hardwood Floors Sanding – 10 Most Important Benefits How to Keep Your Dustless Wood Floor Sanding Under Control? Wood Floor Protection Techniques | Preserving Your Wooden Floors

Sanding
We provide virtually dust-free sanding with our continuous belt machinery with mobile extraction units, giving you a safer environment for your family.
Oiling
This organic finish not only adds beauty to your home but also has exceptional water-repellent characteristics, making it easier to clean and maintain.
Waxing
This natural floor finish offers the softest and most mellow appearance – and leaves your floor able to breath.
Buffing
Using soft buffing machines (and hand-polishing where required) will bring a wonderful sheen to your newly-finished floor.
Repairs
We offer a full assessment of your wooden floors to determine what repairs are needed to provide the perfect working surface for the later stages of sanding, staining and sealing.
Restoration
We offer a comprehensive restoration process designed to address floors that are improperly fitted or damaged over time through wear and tear.
Request a fixed price quote for your wood floor restoration now
Simply enter your postcode below to get started.
Services
Wood Floor Sanding Wood Floor Restoration Wood Floor Scratch Repair Squeaky Wood Floor Repair Parquet Floor Sanding Parquet Floor Restoration Commercial Floor Sanding Church Floor Sanding Community Centre Floor Sanding School Floor Sanding Gap Filling Gap Filling with ResinCopyright © Mr Sander®
Privacy & Cookies Terms & Conditions Complaints Procedure Cancellation Rights Sitemap

Get An Instant Price Estimate Before You Go…
Simply enter the rooms you need sanded and we’ll provide you with a price estimate instantly! Try our price calculator now.
Get a Price Estimate NowLocal Floor Sanding Experts
Over 500 5-Star Reviews
Safe, Dust Free Sanding
Operating Since 1994