London:
Nationwide:
25,000+
Floors Restored
27 Years Experience
Wood Flooring Association Certified
Step-by-Step Guide to Sanding Your Wood Floor | Restore Your Floor’s Beauty
Posted on May 31, 2023
Floor Sanding and Finishing News
How to Sand a Wood Floor in 6 Steps: A Comprehensive Guide
Hardwood floors are prized for their natural beauty, durability, and the character they bring to a space. However, over time, these floors can lose their luster due to wear and tear. Fortunately, sanding can restore their former glory, providing a fresh, clean surface ready for refinishing. This blog post will guide you through the process of sanding a wood floor in six steps.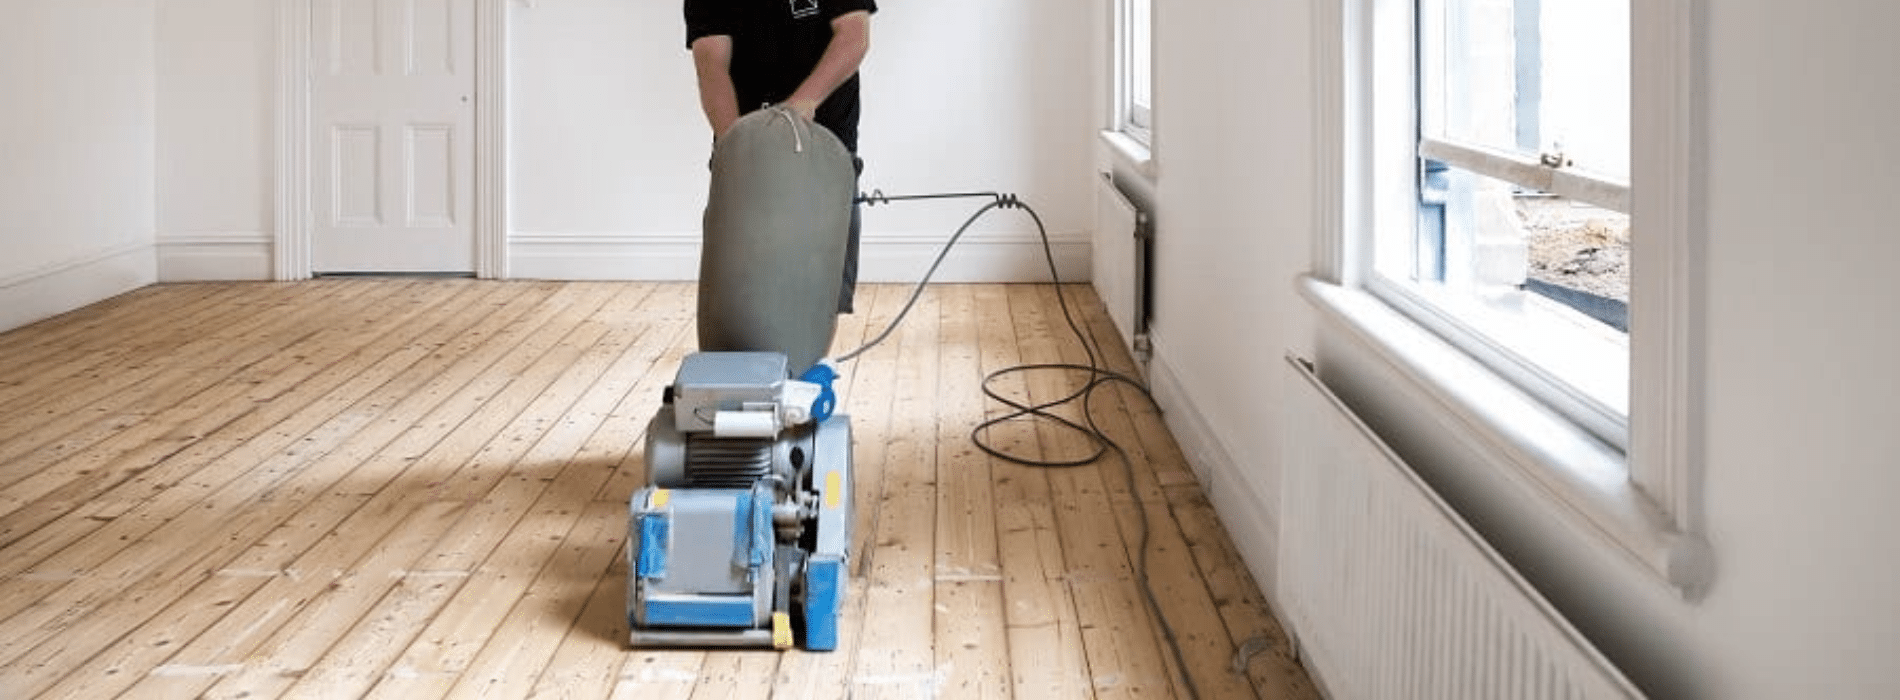
Introduction to Wood Floor Sanding
Wood floor sanding is the process of removing the top layer of a wooden floor using sanding equipment. It’s an essential step in wood floor restoration, capable of removing scratches, stains, and worn-out finishes, leaving a smooth surface ready for a new finish. Remember that sanding is a major undertaking that requires time, effort, and the right equipment. If you’re prepared for a bit of hard work, follow these steps to revitalize your wooden floor.Step 1: Preparation
Proper preparation is critical for a successful sanding job. First, you’ll need to clear the room entirely. This means removing all furniture, rugs, curtains, and any other items that might get in the way or collect dust. Don’t forget to take down wall hangings and light fixtures that could vibrate off their hooks during the sanding process. Next, inspect your floor for any protruding nails or staples that could potentially damage your sanding equipment. Hammer them down below the surface or remove them entirely. Finally, clean your floor thoroughly to eliminate dust and debris. This can be done using a broom or a vacuum cleaner.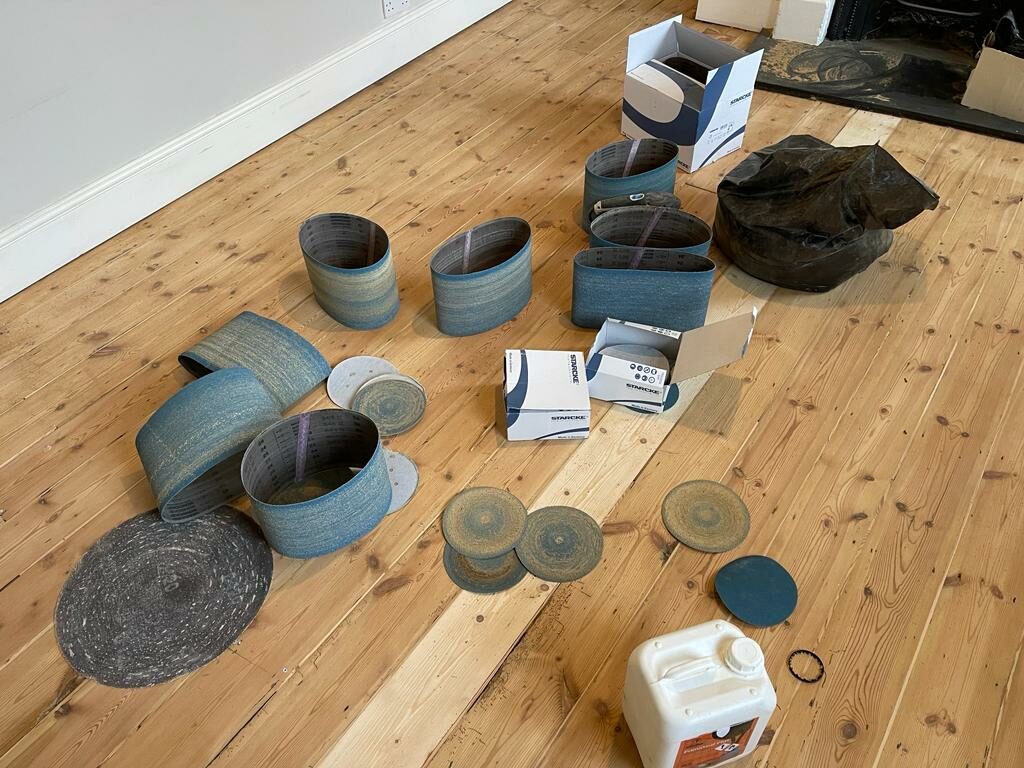
Step 2: Select the Right Sanding Equipment
To sand your wooden floor, you’ll need a drum sander for the main areas and an edge sander for corners and edges that the drum sander can’t reach. Both types of sanders can be rented from a local tool rental store. You’ll also need sandpaper in various grits. Start with coarse-grit sandpaper (about 36 grit) to remove the old finish and major imperfections. Then, you’ll progressively move to finer grits (like 60-grit and 100-grit) to smooth the surface and prepare it for the finish. Safety gear is equally important. Sanding produces a lot of dust, so make sure to have a dust mask, safety goggles, and ear protection.
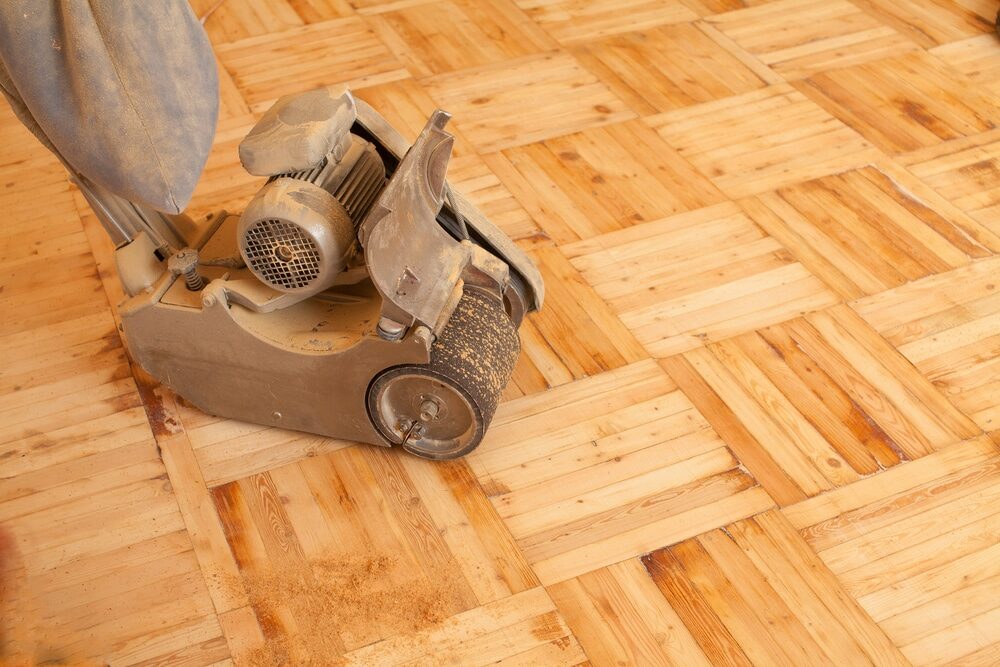
Step 3: Coarse Sanding
Start sanding with the drum sander and coarse-grit sandpaper. Remember to sand with the grain of the wood, not against it, to prevent cross-grain scratches that are hard to remove. Move the sander steadily and gradually, ensuring it remains in contact with the floor. Don’t let it sit in one spot while it’s running, or it might dig a hole in the floor. Also, remember to slightly lift the drum before stopping the machine to avoid creating divots. Coarse sanding removes the old finish and levels the floor, but it also leaves visible scratches. These will be smoothed out in the next stages.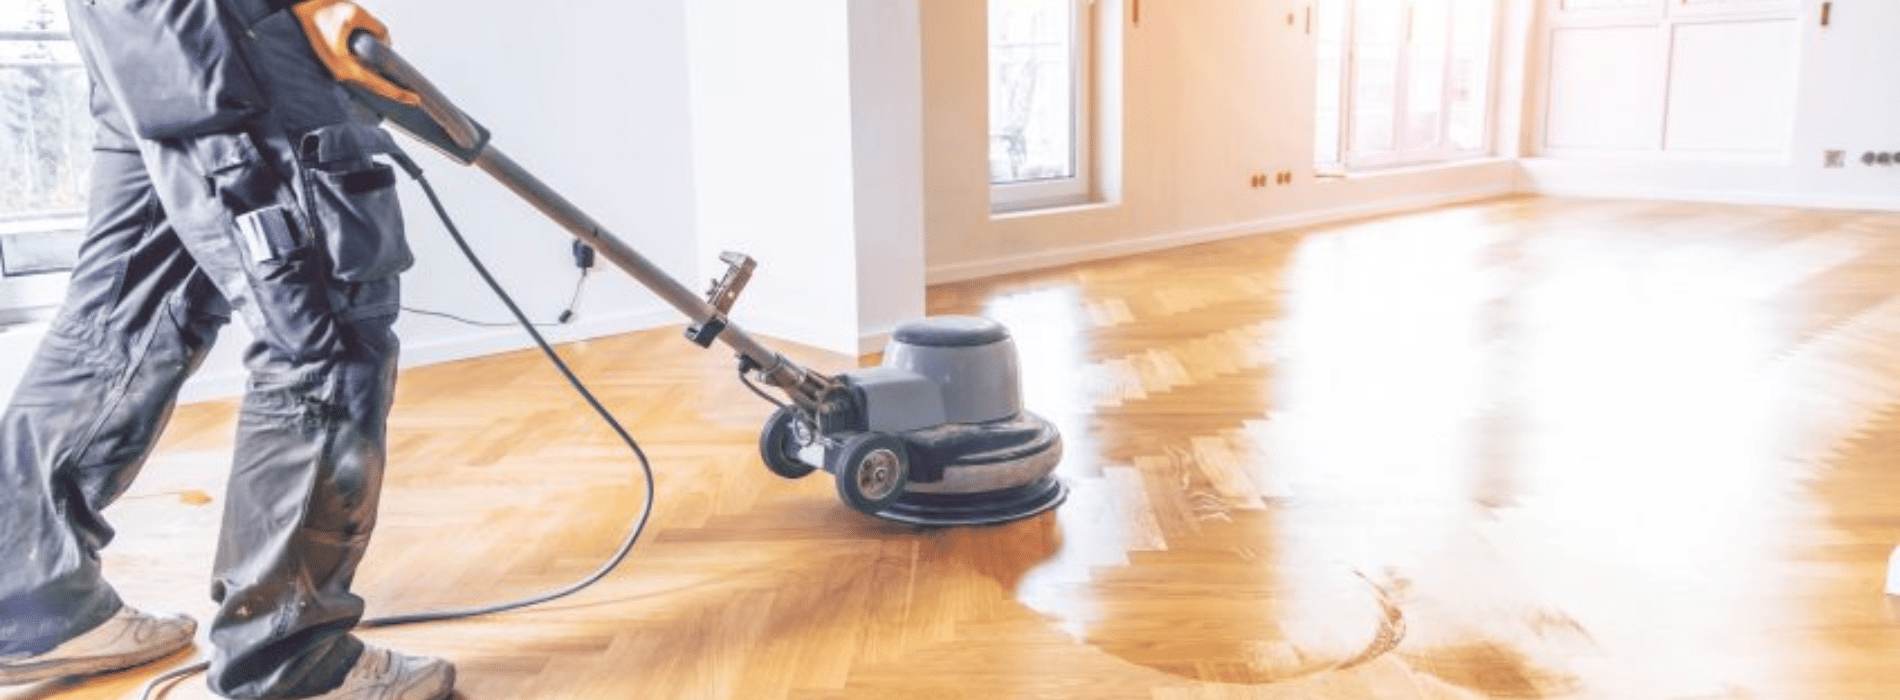
Step 4: Edge Sanding
After sanding the main areas of the floor, you’ll need to sand the edges and corners using an edge sander. This machine is smaller and lighter than the drum sander, making it suitable for hard-to-reach areas. Just like with the drum sander, start with coarse-grit sandpaper to remove the old finish and then move to finer grits to smooth out the surface. Be careful not to press too hard or move too fast, as the edge sander can leave circular scratches that are difficult to remove.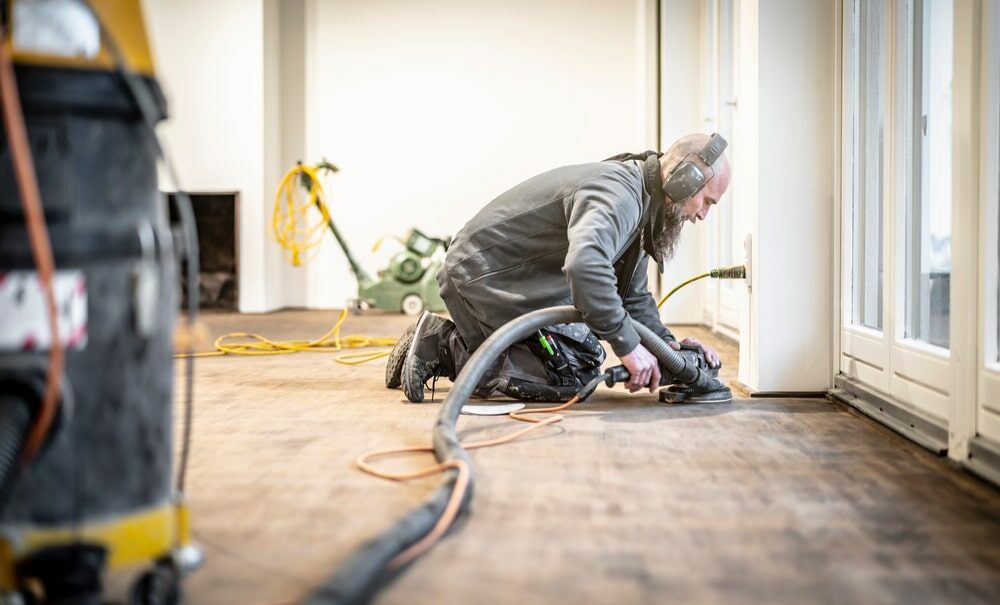
Step 5: Medium and Fine Sanding
After completing the coarse sanding, you’ll need to move on to medium and fine sanding. This process involves sanding the floor again, first with medium-grit sandpaper (60 grit) and then with fine-grit sandpaper (100 grit). This will remove any scratches left by the coarse-grit sandpaper and create a smooth, even surface ready for the new finish. For medium and fine sanding, you’ll use both the drum sander and the edge sander, just as you did in the previous steps. Remember to keep the sanders moving at a steady pace to avoid creating divots or sanding too much off in one area.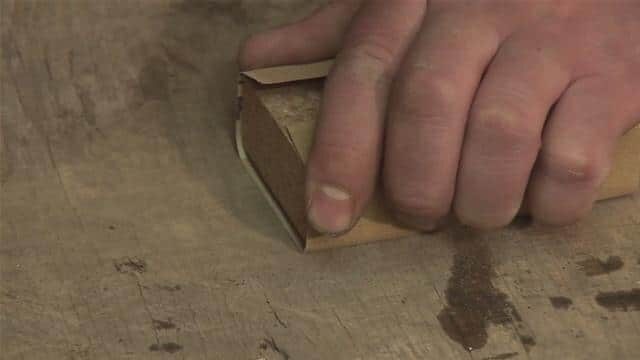
Step 6: Final Touches and Cleanup
After sanding the floor to a smooth finish, the final step is to clean up and prepare the floor for the new finish. Use a vacuum cleaner to remove dust from the floor. Next, wipe the floor with a damp (not wet) cloth or mop to pick up any remaining dust. This step is crucial because any dust left on the floor will get trapped in the finish, creating a rough texture. Once the floor is completely clean and dry, it’s ready for the new finish. You can choose from various finishes, including polyurethane, varnish, and oil, depending on your preferences and the type of wood.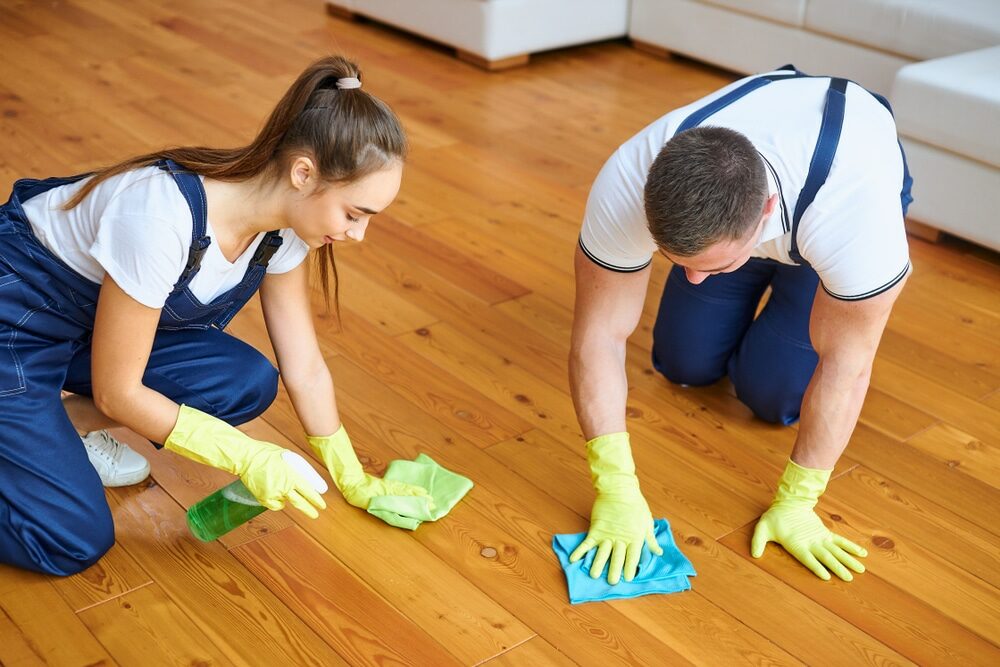
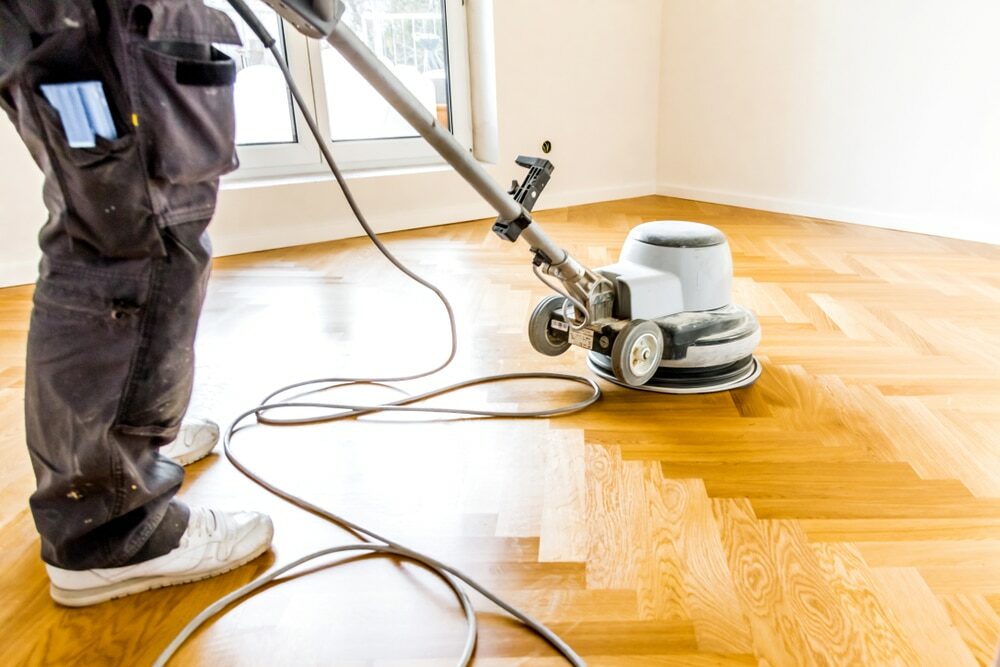
Safety Considerations
Throughout the sanding process, it’s important to ensure your safety. Always wear protective gear, including safety goggles, a dust mask, and ear protection, when operating the sanders. Additionally, ensure the room is well ventilated to reduce the concentration of dust in the air.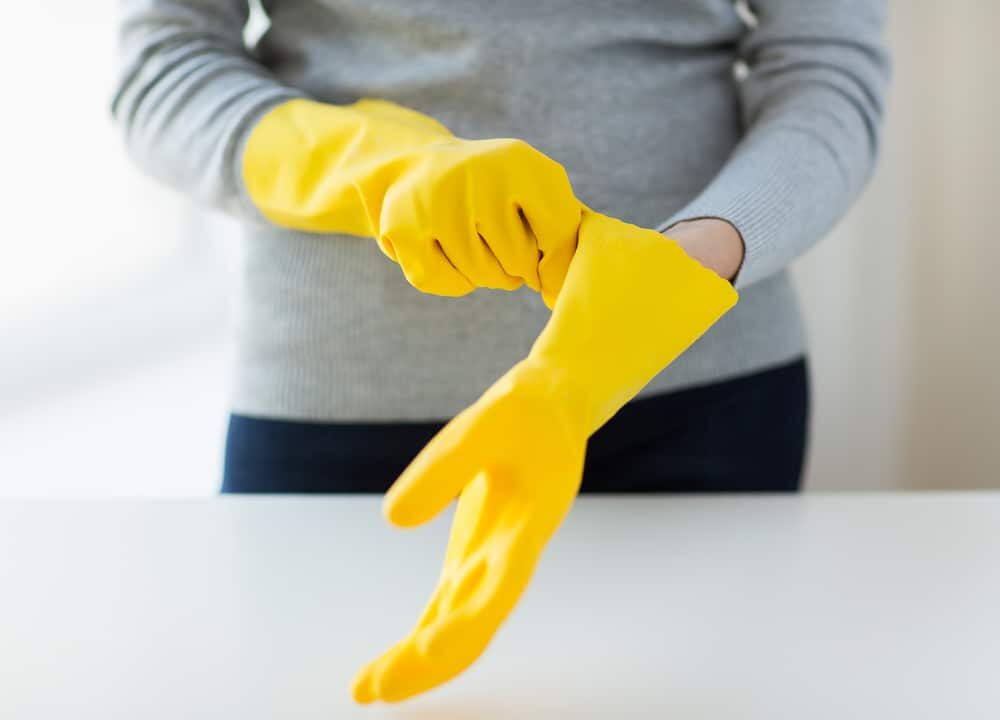
Conclusion
Sanding a wooden floor is a labor-intensive process, but it’s also a rewarding one. By following these six steps, you can bring back the natural beauty of your wooden floor, making it look as good as new. Whether you’re planning to restore an old wooden floor or simply want to refresh the look of your existing floor, knowing how to sand a wood floor is a valuable skill. So roll up your sleeves and prepare for some hard work; the results will be well worth it. Remember, though, that sanding is a major project that requires a significant investment of time and effort. If you’re unsure about any step in the process, don’t hesitate to seek professional help. The goal is to ensure your wooden floor is beautifully restored, whether you do it yourself or with the help of a professional. Happy sanding, and here’s to a beautiful wooden floor!Some Useful Links:
- Floor Sanding Services
- School Floor Sanding
- Wood Floor Restorations
- Wood Floor Repairs
- Wood Floor Polishing
More from our Blog:
Unraveling the Art of Fine Wood Floor Sanding | Detailed Guide Sanding Wood Floors: Demystifying Common Queries Care for Your Wooden Floors | The Ultimate Maintenance Guide Wood Floor Staining: Techniques, Tips, and Benefits Explained Mastering Hardwood Floor Sanding: Wood Mr Sander® London
Sanding
We provide virtually dust-free sanding with our continuous belt machinery with mobile extraction units, giving you a safer environment for your family.
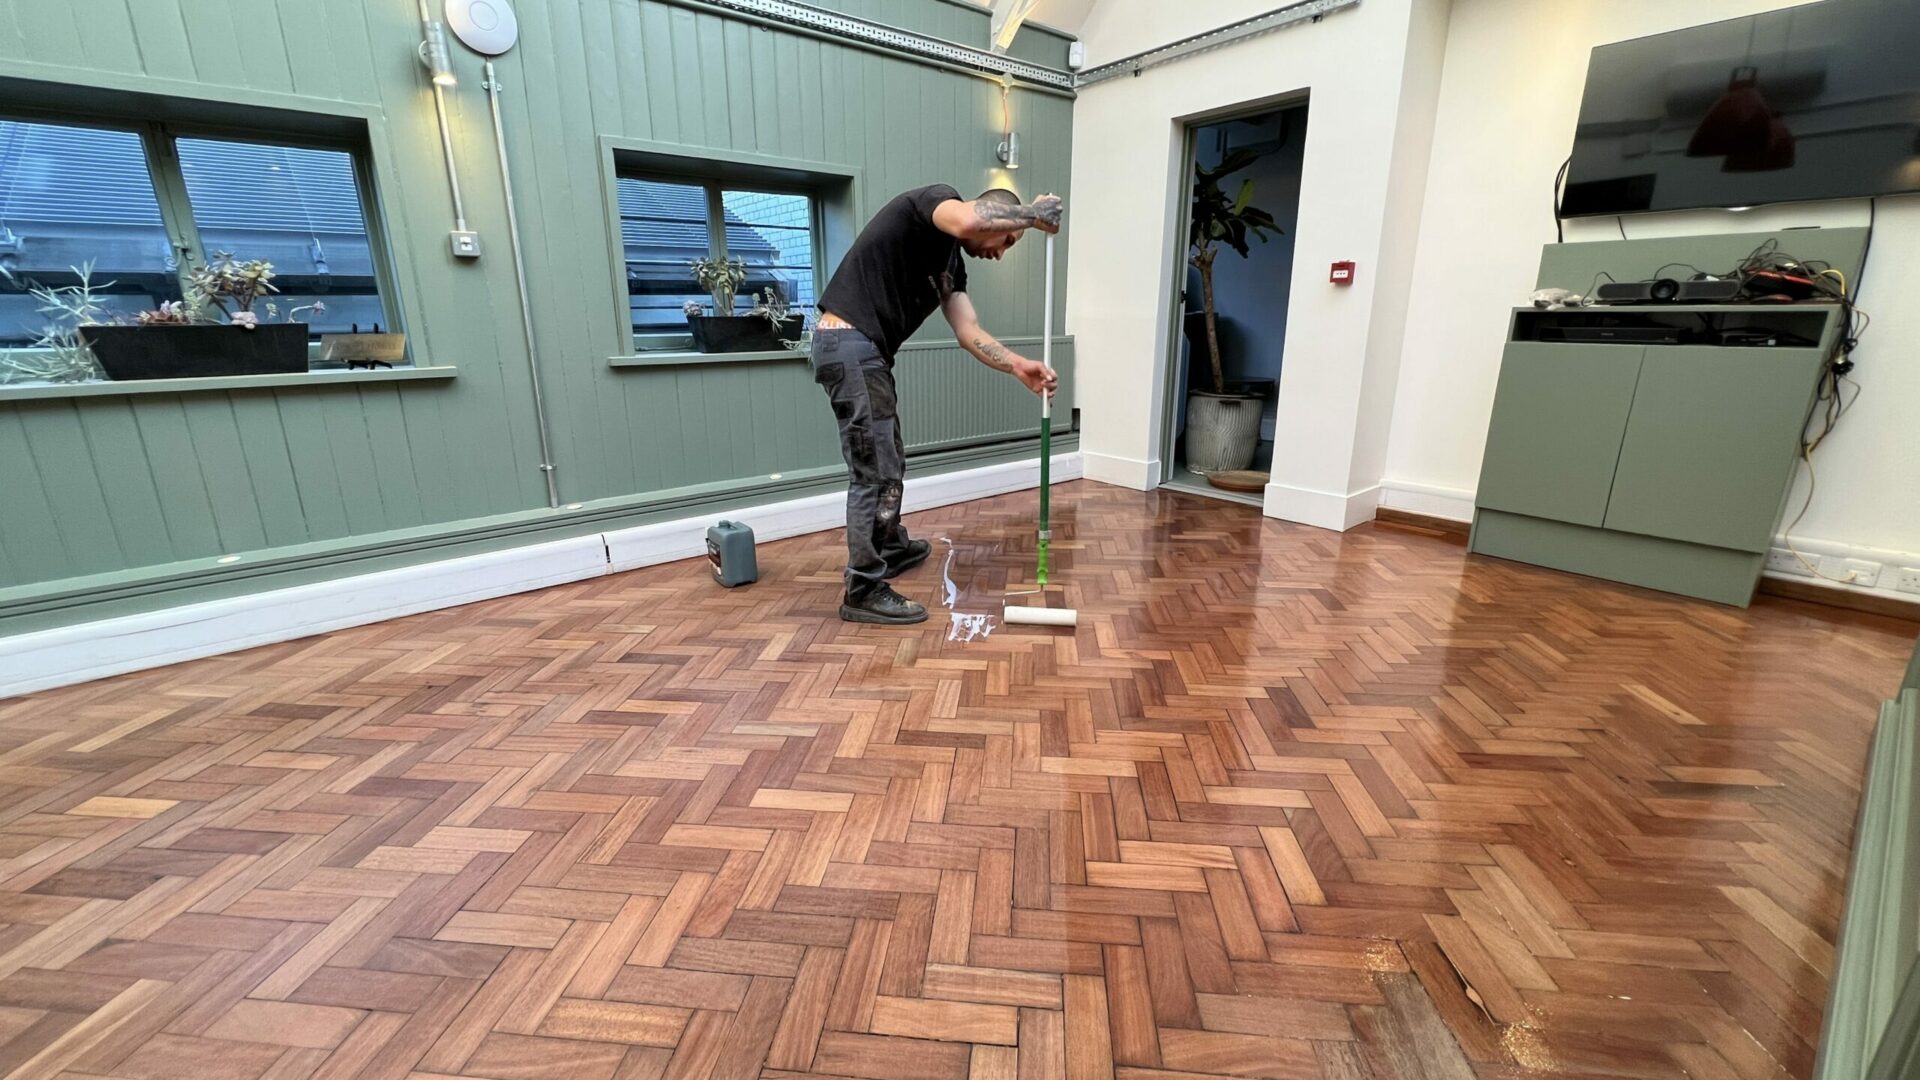
Oiling
This organic finish not only adds beauty to your home but also has exceptional water-repellent characteristics, making it easier to clean and maintain.
Waxing
This natural floor finish offers the softest and most mellow appearance – and leaves your floor able to breath.
Buffing
Using soft buffing machines (and hand-polishing where required) will bring a wonderful sheen to your newly-finished floor.
Repairs
We offer a full assessment of your wooden floors to determine what repairs are needed to provide the perfect working surface for the later stages of sanding, staining and sealing.
Restoration
We offer a comprehensive restoration process designed to address floors that are improperly fitted or damaged over time through wear and tear.
Request a fixed price quote for your wood floor restoration now
Simply enter your postcode below to get started.
Services
Wood Floor Sanding Wood Floor Restoration Wood Floor Scratch Repair Squeaky Wood Floor Repair Parquet Floor Sanding Parquet Floor Restoration Commercial Floor Sanding Church Floor Sanding Community Centre Floor Sanding School Floor Sanding Gap Filling Gap Filling with ResinCopyright © Mr Sander®
Privacy & Cookies Terms & Conditions Complaints Procedure Cancellation Rights Sitemap

Get An Instant Price Estimate Before You Go…
Simply enter the rooms you need sanded and we’ll provide you with a price estimate instantly! Try our price calculator now.
Get a Price Estimate NowLocal Floor Sanding Experts
Over 500 5-Star Reviews
Safe, Dust Free Sanding
Operating Since 1994