London:
Nationwide:
25,000+
Floors Restored
27 Years Experience
Wood Flooring Association Certified
The Comprehensive DIY Guide to Sanding and Refinishing Your Floor
Posted on May 8, 2023
Floor Sanding News
Complete Guide to DIY Floor Sanding: From Equipment Rental to Finishing Touches
As the sun peeks through the clouds and the warmth of spring begins to thaw the remnants of winter, DIY enthusiasts emerge from their hibernation, ready to tackle their next home improvement projects. This annual awakening ignites a flurry of activity in home improvement stores nationwide as people seek out the tools and materials to transform their homes to match their visions. While gardening supplies and paint cans are often the first to disappear from the shelves, there’s one aisle where a queue is a constant: the hire counter for floor sanding equipment.
For novices and seasoned DIYers alike, the process of floor sanding can seem a little daunting. But fear not; it’s much more straightforward than you might think, and we’re here to guide you through each step of the way.

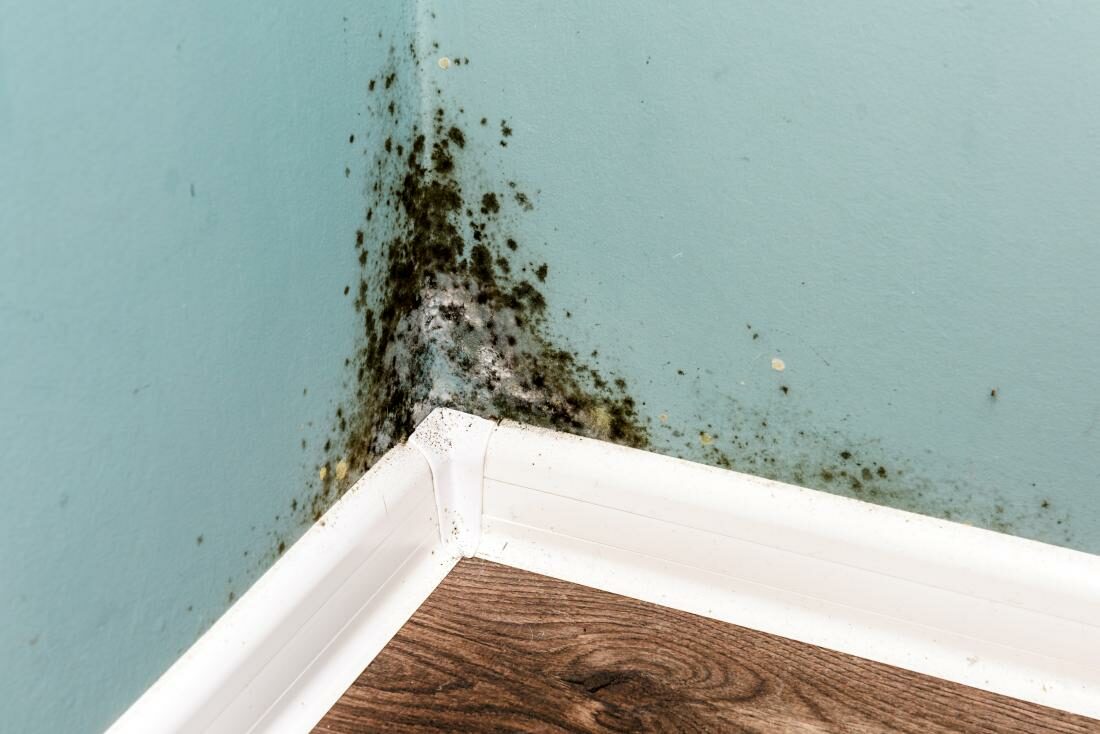
The Importance of Checking Your Floor
Before you dive into the world of floor sanding, the very first step is to ensure that your floor is appropriate for sanding. This may sound like a no-brainer, but hundreds of DIYers every year discover too late that their wooden floors are damaged and not suitable for sanding, or even worse, that their “wooden” floors are actually concrete.
So, before you spend a dime on equipment hire or dedicate hours to researching the sanding process, double-check your floor. Ensure it’s made of wood and in a condition that makes it a suitable candidate for sanding.
The Value of Hiring Equipment
The reality of floor sanding is that the equipment you’ll need for the job is expensive and bulky, and it’s not something you’re likely to use more than once every few years. Therefore, it makes more sense to hire the equipment rather than buy it outright.
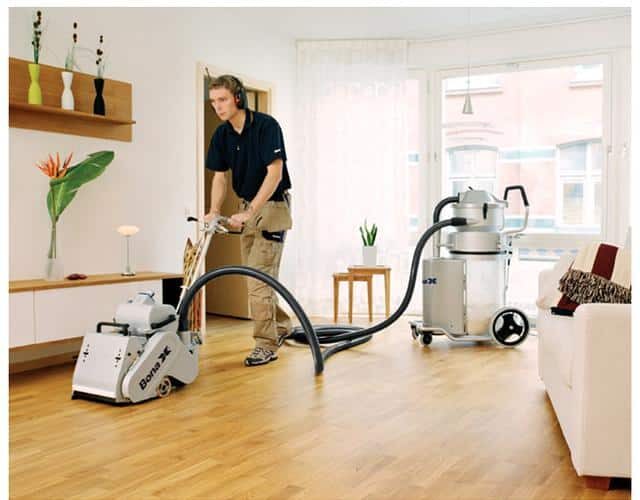
Most equipment rental shops will stock industrial sanders, but quantities are usually limited. To ensure you’re not left empty-handed on the day of your project, book your machines well in advance. Also, make sure you have some help collecting and transporting the machinery, as some, like the drum sander, can be very heavy and cumbersome.
In general, you’ll need a drum sander and an edge sander for this job. A vibrating sander can also be useful for finishing the floor, but it’s not a necessity. The staff at the hire shop will be able to help you with the specifics and ensure you leave with the right tools for the job.

The sanding process
With the right equipment in hand, it’s time to move on to the actual sanding process. If you’re new to using floor sanders, ensure you’re comfortable with the machines before starting on the main area of the floor. Practise on a small, less visible area first.
Following the instructions provided carefully and treating the machines with respect will make the job easier and safer. Remember, sanding generates a lot of dust, so always wear a dust mask and eye protection to prevent any injuries.
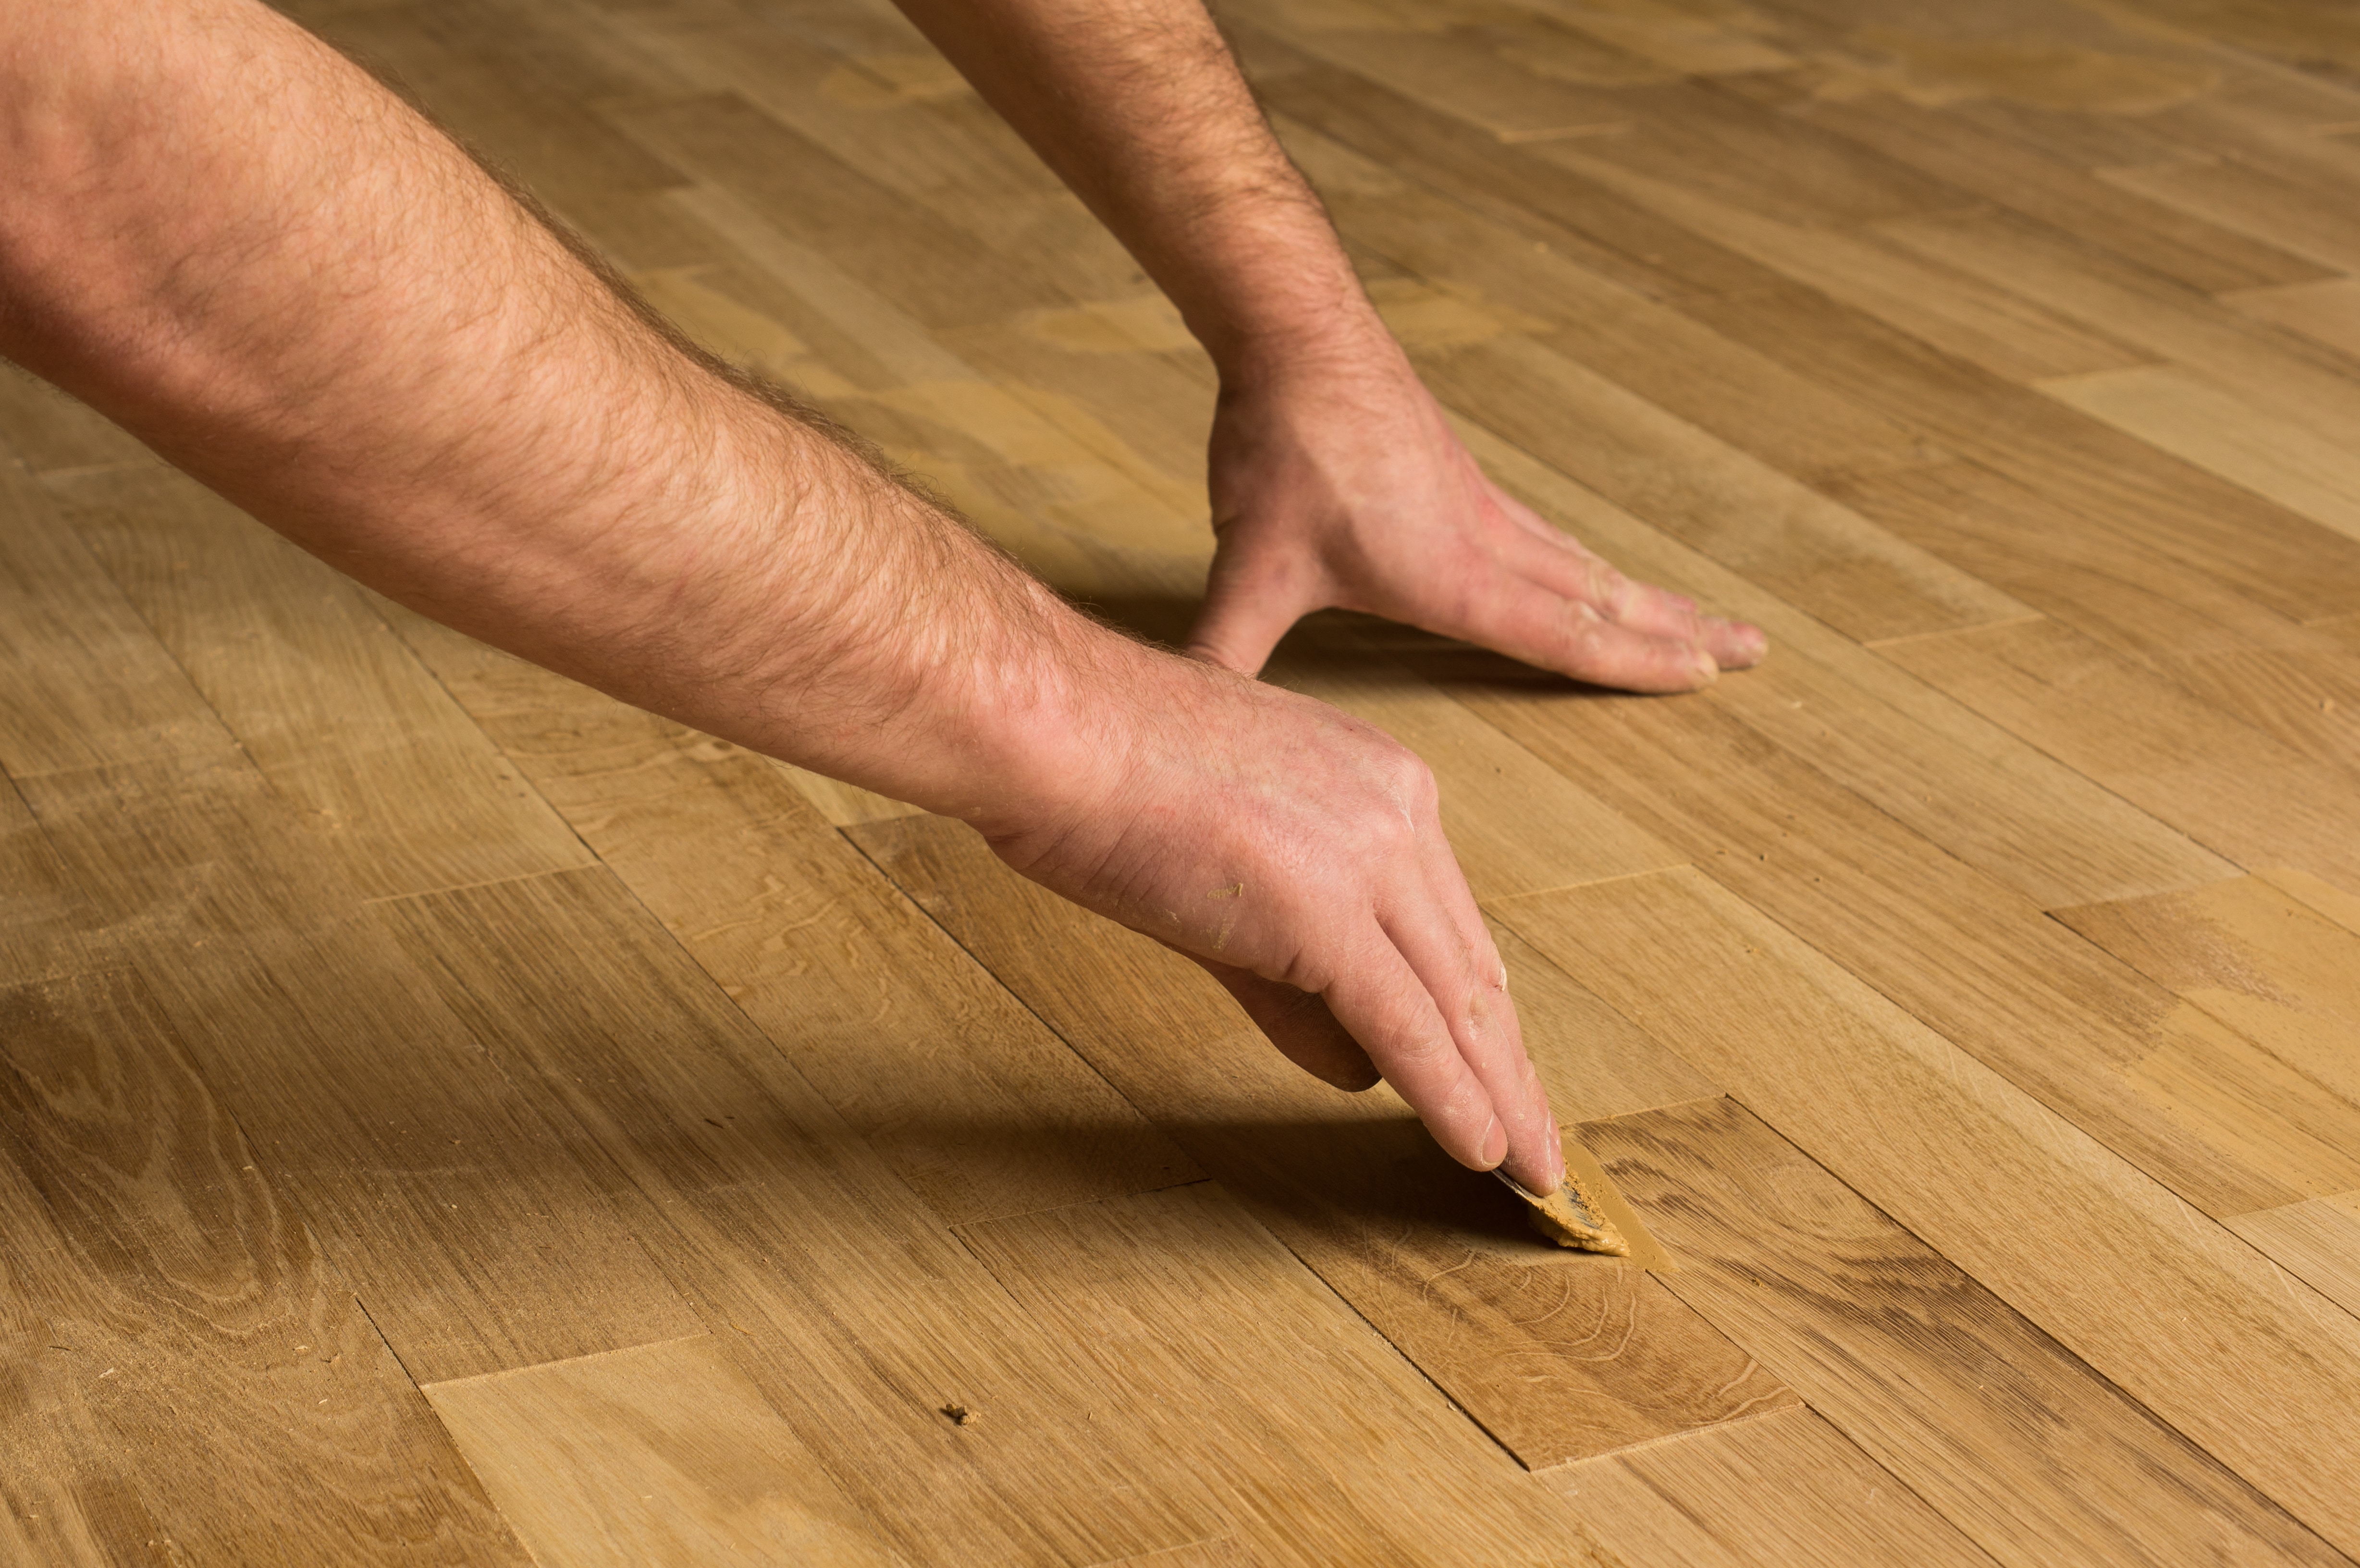
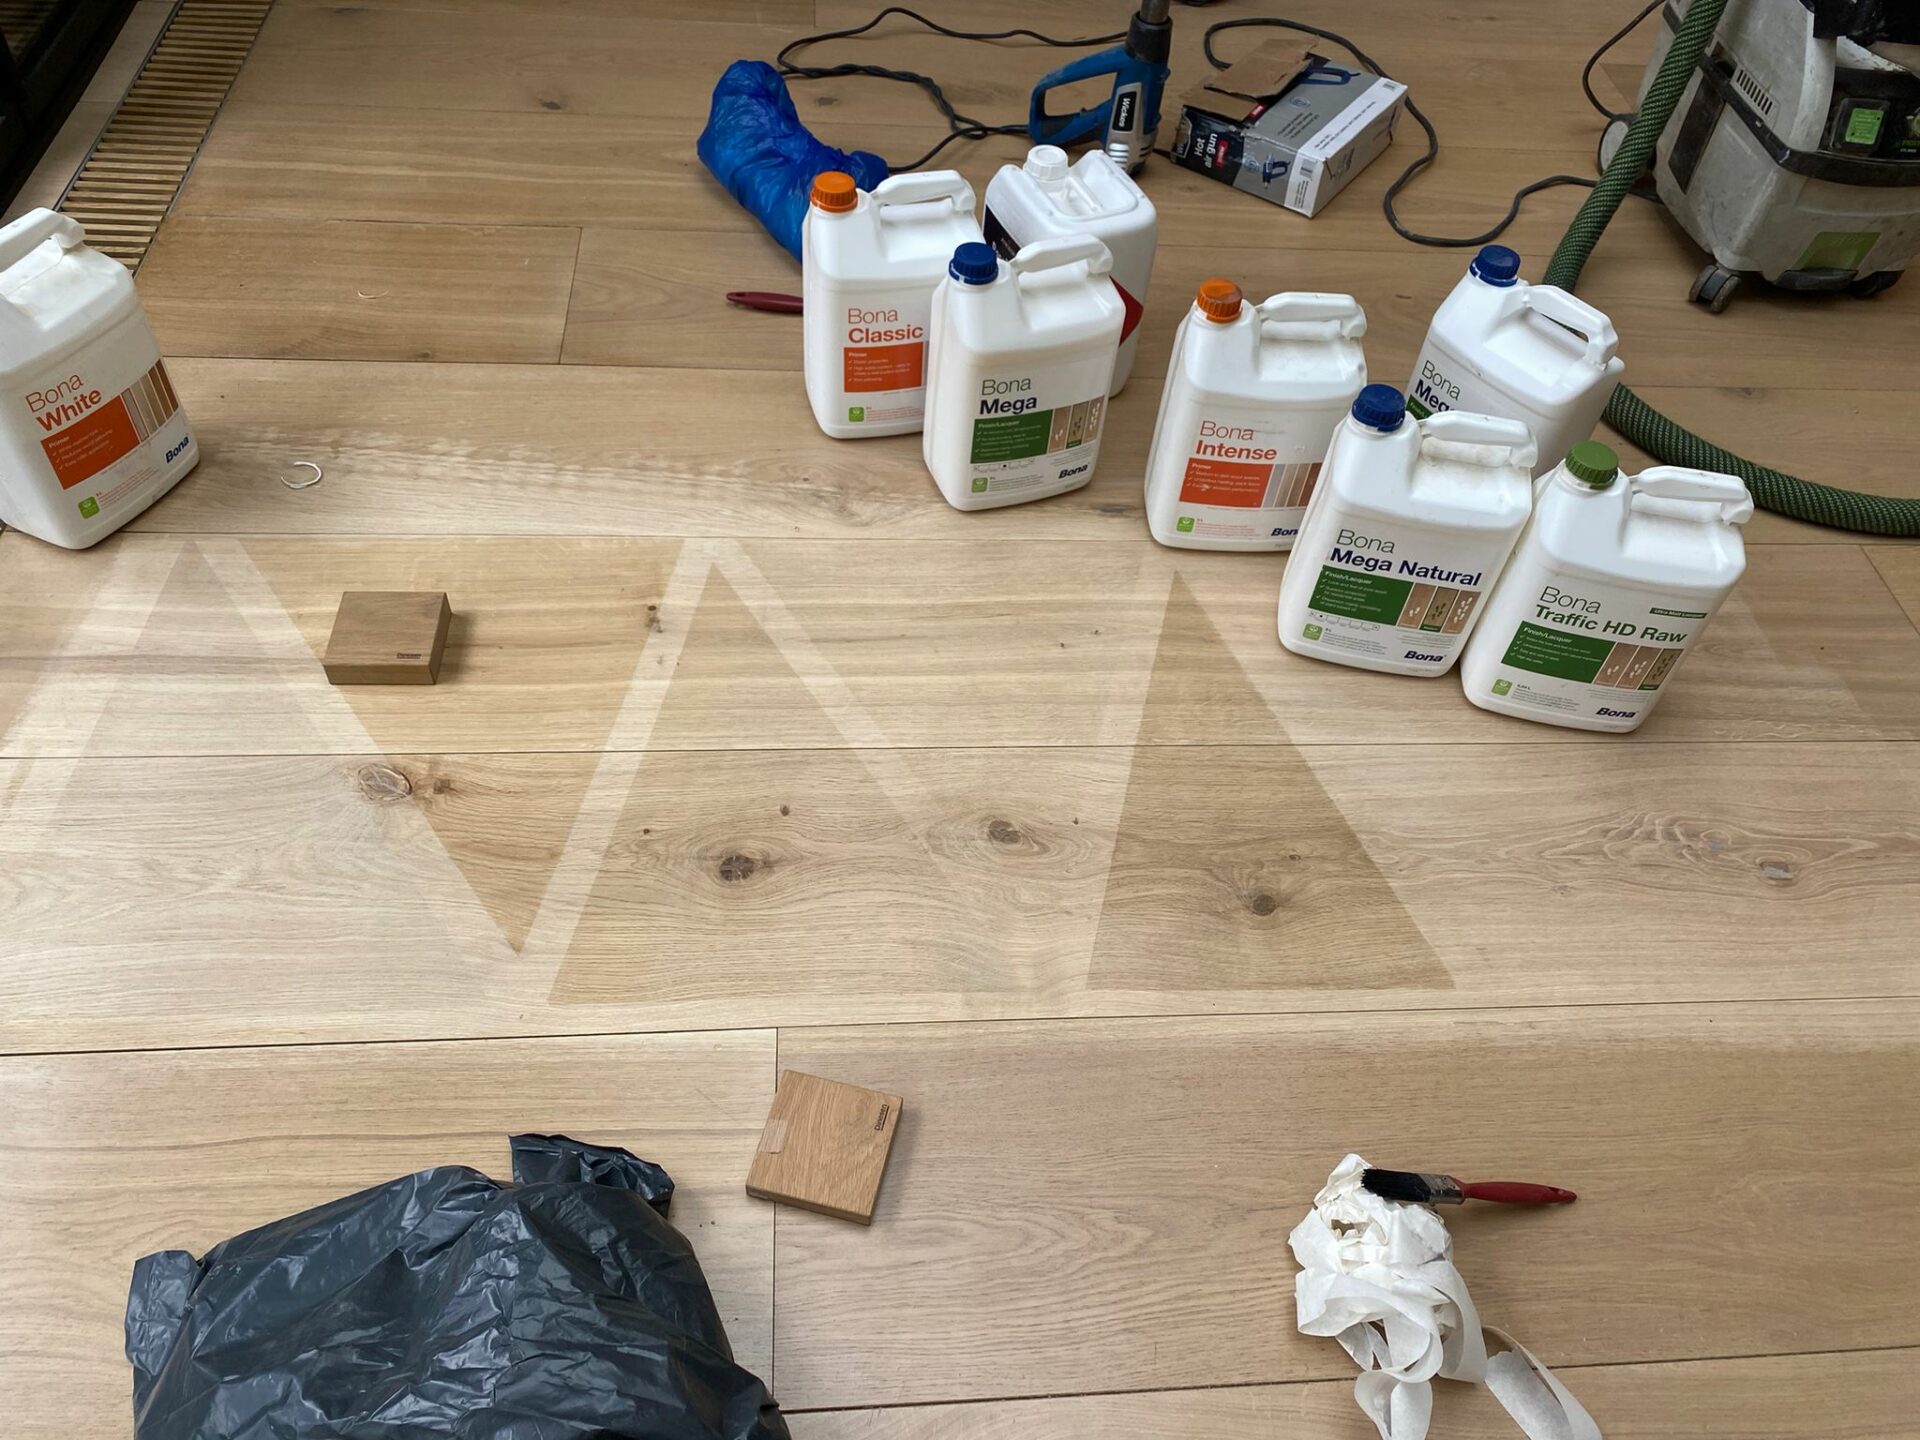
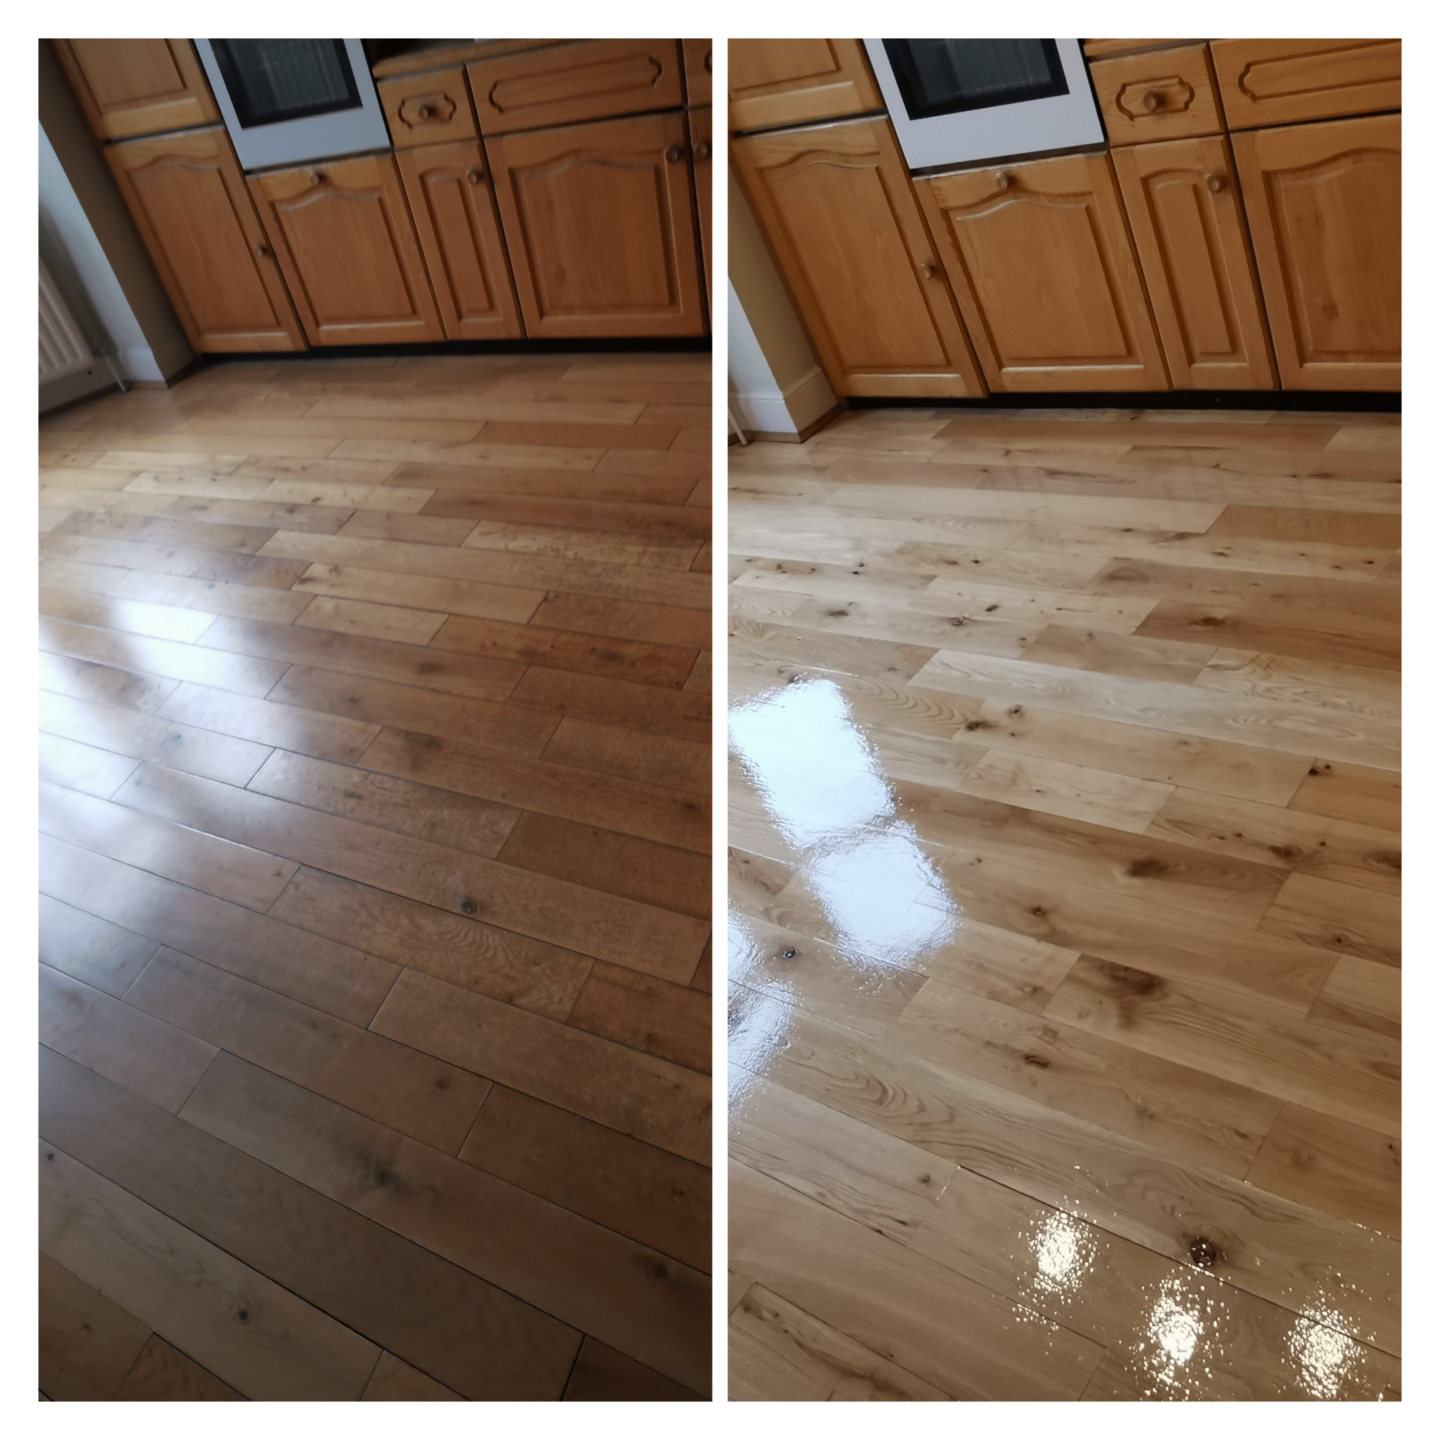
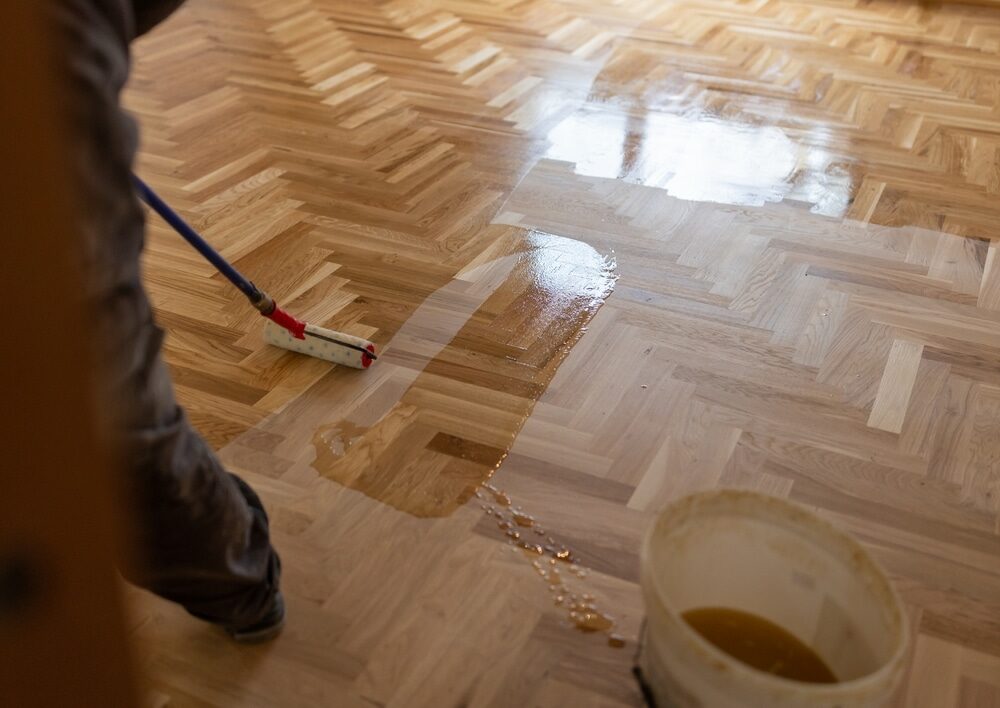
Finishing your floor
The final step in your floor sanding journey is to add the finish. You may choose to stain the wood to alter its colour, but this will depend on whether the stain is compatible with the finish you’ve chosen. The hire shop should be able to advise on the best finish for the effect you want. In most cases, a polyurethane varnish applied with a synthetic brush will provide a durable, attractive finish.
Sanding and finishing your own floor can be a gratifying project. Not only does it give you the chance to personally enhance your home, but it can also save you a significant amount of money compared to hiring a professional.
By following this guide, along with the advice of floor sanding professionals, you can confidently embark on your floor sanding journey. Who knows? You may even surprise yourself with the professional-level results you can achieve.
Taking Care of Your Equipment
Hiring equipment is a cost-effective solution for DIY projects like floor sanding, but it also comes with responsibilities. You’re expected to return the machines in the same condition in which you received them, barring normal wear and tear. Always handle the machinery with care and follow the user guide’s instructions.
Drum sanders, edge sanders, and vibrating sanders are powerful machines that can cause injury if mishandled. Never force a sander to move, and always turn off and unplug the equipment before attempting any maintenance or troubleshooting.
Dealing with Potential Challenges
Despite your best preparations, you might encounter a few challenges along the way. Here are some common issues and how to overcome them:
- Uneven sanding: This usually happens when the sander is left in one spot for too long. Always keep the sander moving in a steady, even motion across the floor.
- Dust management: Sanding can generate a lot of dust. Using a sander with a built-in dust collection bag can help. Also, sealing off the room you’re working in can prevent dust from spreading to other areas of your house.
- Gouges and scratches: If you’re not careful, sanders can leave noticeable gouges and scratches on the floor. Always sand along the grain of the wood, not against it, and never drop a running sander onto the floor.
Final Words
When all is said and done, the satisfaction of standing back and admiring your newly sanded and finished floor is hard to beat. You’ve taken an active role in enhancing your home, learned new skills, and saved money in the process.
Don’t forget that floor sanding is a major project that requires time and patience. It’s unlikely you’ll get everything perfect on your first attempt, but that’s okay. The important thing is that you’re giving it a try and learning as you progress.
So, whether you’re a DIY enthusiast or a novice trying your hand at floor sanding for the first time, remember to plan carefully, follow the guidelines, take your time, and enjoy the process. The journey may be filled with dust and a little sweat, but the end result—a beautiful, refinished floor—is worth every moment of effort.
Happy sanding!

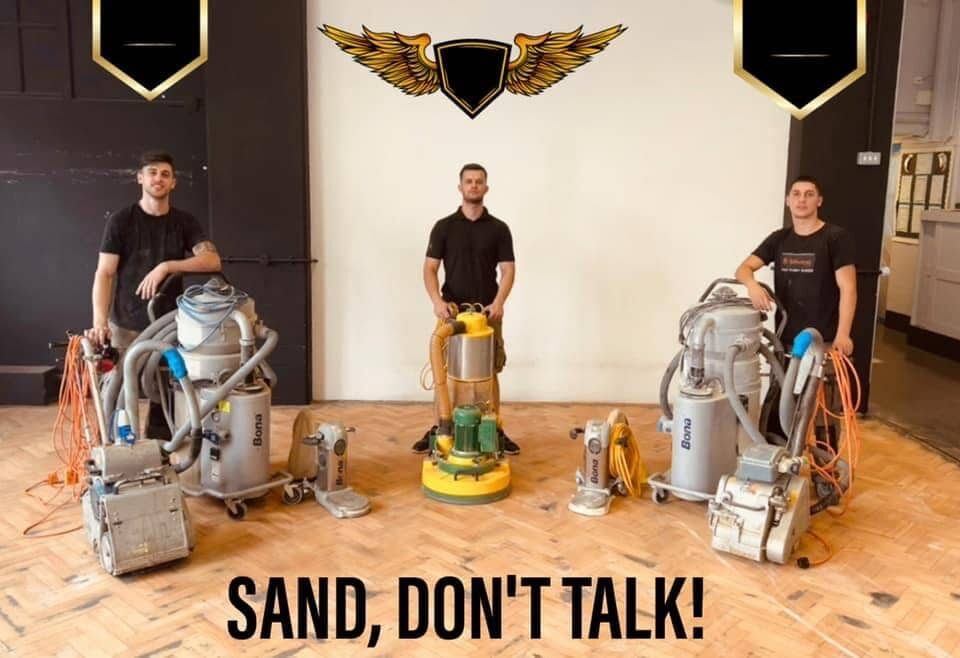
Sanding
We provide virtually dust-free sanding with our continuous belt machinery with mobile extraction units, giving you a safer environment for your family.
Oiling
This organic finish not only adds beauty to your home but also has exceptional water-repellent characteristics, making it easier to clean and maintain.
Waxing
This natural floor finish offers the softest and most mellow appearance – and leaves your floor able to breath.
Buffing
Using soft buffing machines (and hand-polishing where required) will bring a wonderful sheen to your newly-finished floor.
Repairs
We offer a full assessment of your wooden floors to determine what repairs are needed to provide the perfect working surface for the later stages of sanding, staining and sealing.
Restoration
We offer a comprehensive restoration process designed to address floors that are improperly fitted or damaged over time through wear and tear.
Request a fixed price quote for your wood floor restoration now
Simply enter your postcode below to get started.
Services
Wood Floor Sanding Wood Floor Restoration Wood Floor Scratch Repair Squeaky Wood Floor Repair Parquet Floor Sanding Parquet Floor Restoration Commercial Floor Sanding Church Floor Sanding Community Centre Floor Sanding School Floor Sanding Gap Filling Gap Filling with ResinCopyright © Mr Sander®
Privacy & Cookies Terms & Conditions Complaints Procedure Cancellation Rights Sitemap

Get An Instant Price Estimate Before You Go…
Simply enter the rooms you need sanded and we’ll provide you with a price estimate instantly! Try our price calculator now.
Get a Price Estimate NowLocal Floor Sanding Experts
Over 500 5-Star Reviews
Safe, Dust Free Sanding
Operating Since 1994