London:
Nationwide:
25,000+
Floors Restored
27 Years Experience
Wood Flooring Association Certified
Essential Hardwood Floor Installation Tips for Homeowners
Posted on July 3, 2023
Floor Sanding Services News
Mastering Hardwood Floor Installation: Comprehensive Tips for Success
Installing hardwood flooring is an excellent way to enhance your home’s aesthetic appeal while boosting its value. Hardwood floors are timeless, durable, and versatile. However, successful installation requires careful planning and attention to detail. This comprehensive guide shares essential tips to ensure your hardwood floor installation process is smooth and rewarding.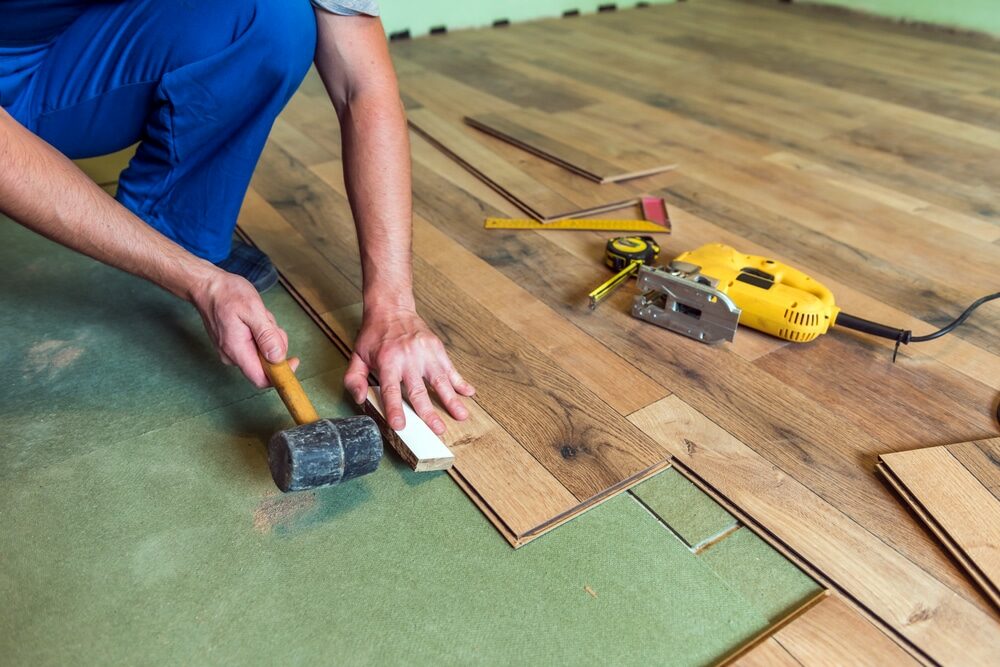
Understand the Different Types of Hardwood
There are several types of hardwood, each with its own unique characteristics, strengths, and weaknesses. Your choice will depend on your budget, desired aesthetic, and the specific requirements of the area being floored. The main types include:Solid Hardwood
This traditional type of wood flooring is made from a single piece of wood. It is renowned for its durability and longevity. It can be sanded and refinished numerous times, making it a lifelong investment for many homeowners.Engineered Hardwood
Engineered hardwood is made of multiple layers of wood pressed together. This structure provides greater stability and resistance to temperature and humidity changes, making it an excellent choice for basements or regions with significant seasonal variations.Evaluate Your Subfloor
Before you begin the installation, it’s crucial to evaluate your subfloor. The type of subfloor you have can influence the kind of hardwood flooring you choose and the installation method. The main types of subfloors include concrete slabs, plywood, and particleboard. For instance, while you can install engineered hardwood directly onto a concrete slab, you might need a plywood sublayer before installing solid hardwood.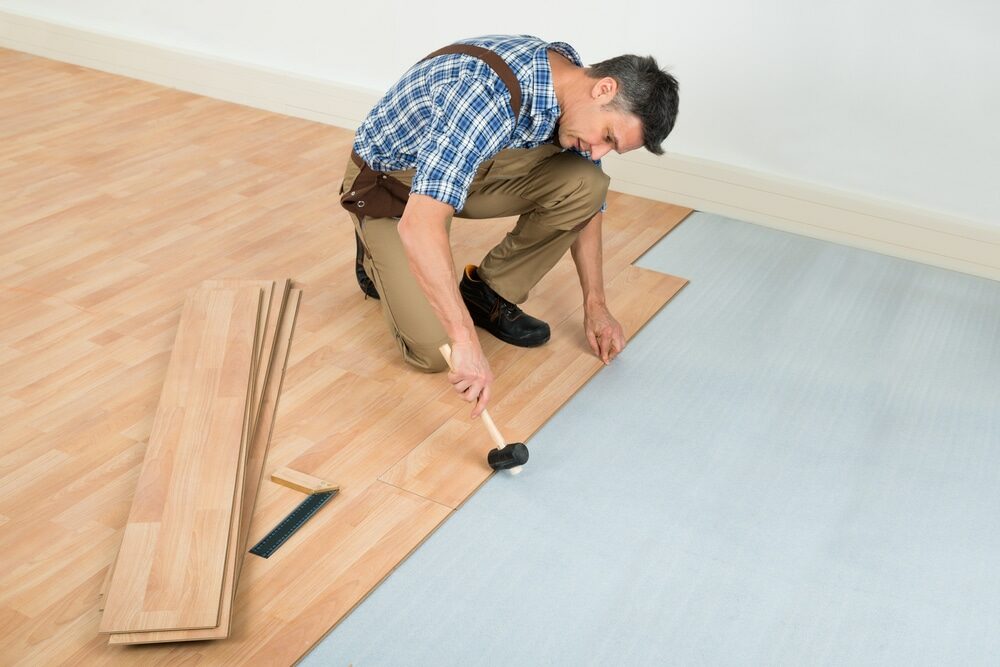
Acclimatise the Wood
One common mistake is not allowing the wood to acclimatise to the room’s conditions before installation. Wood is a hygroscopic material, meaning it absorbs and releases moisture from and into the surrounding environment. If the wood is not acclimated, it may shrink or expand after installation, causing issues like warping or gaps. To acclimatise the wood, leave it in the room where it will be installed for a few days. This way, the wood can adjust to the room’s temperature and humidity conditions, ensuring a more stable installation.Plan Your layout.
Planning your layout is a critical step in the hardwood floor installation process. The direction in which you lay your floorboards can impact the room’s visual impression and structural integrity. Typically, it’s recommended to lay floorboards perpendicular to the joists for added support. In terms of aesthetics, running the boards parallel to the longest wall can make the room appear larger.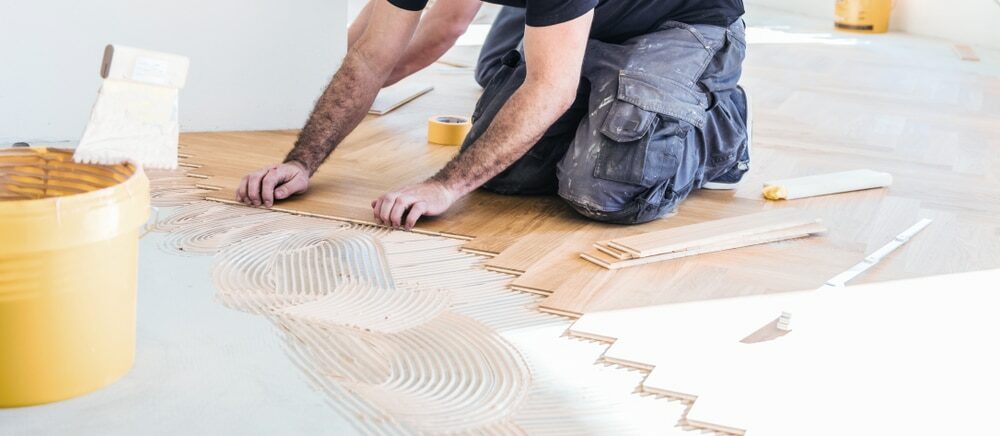
Use the Right tools.
Using the right tools can make the installation process smoother and more efficient. Essential tools for hardwood floor installation include a circular saw or table saw for cutting planks, a floor nailer or stapler for securing the planks, a hammer, a pry bar, and a tape measure. Safety equipment like knee pads, safety glasses, and ear protection is also crucial.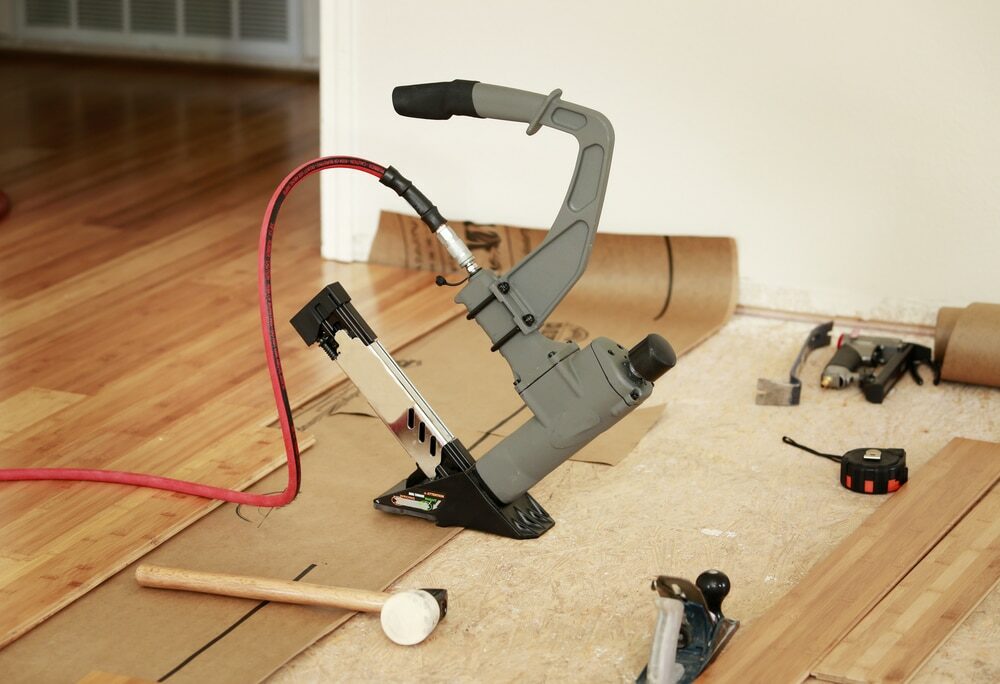
Leave Expansion Gaps
Wood expands and contracts with changes in humidity and temperature. Therefore, leaving an expansion gap between the flooring and the wall is necessary to accommodate this natural movement. If no expansion gap is left, the wood may buckle or warp. The size of the expansion gap will depend on the type of hardwood and the room’s size. However, a general rule is to leave a gap of about 3/8 to 1/2 inch.Start from the Right Place
Generally, it’s best to start installing on the longest, straightest wall, usually an exterior wall. This wall is more likely to be straight and square, providing a good guide for laying the rest of the floor.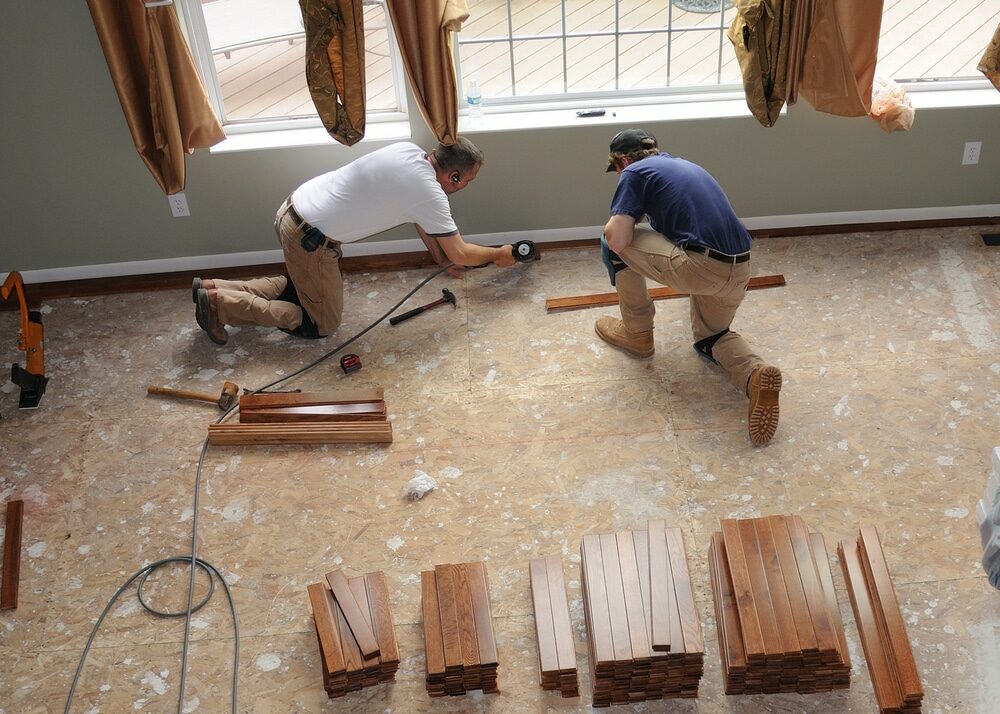
Seal Your Hardwood floor.
After installing the floor, remember to seal it. Sealing protects the wood from damage, enhances its appearance, and extends its lifespan. You can choose from various sealants, including polyurethane, varnish, and oil. Each type has its pros and cons, so consider factors like durability, drying time, and finish when choosing a sealant.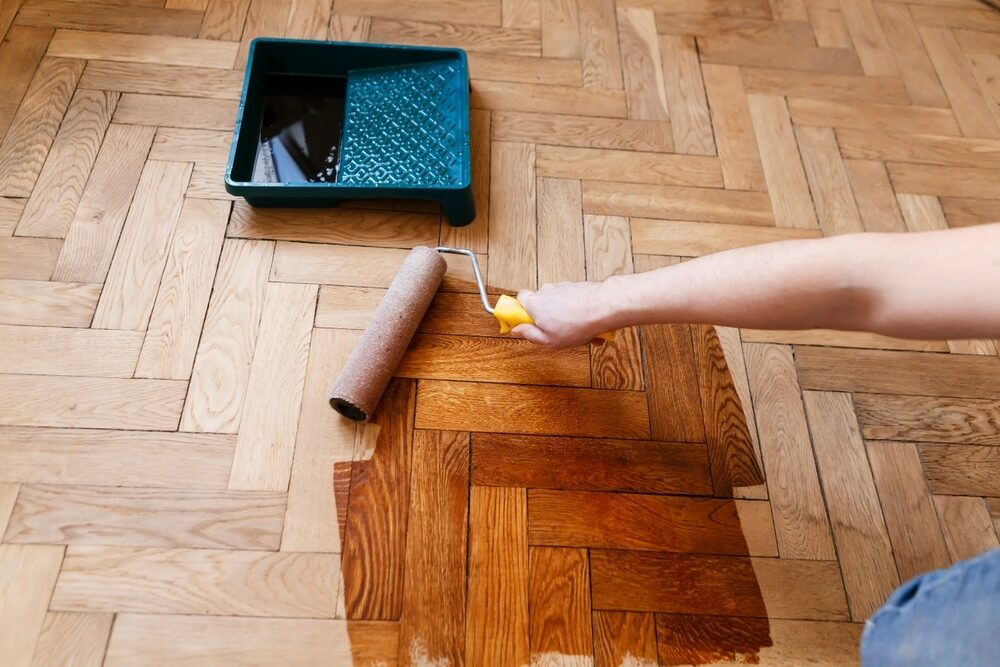
Conclusion
Hardwood floor installation can be a complex but rewarding project. Understanding the different types of hardwood, evaluating your subfloor, acclimating the wood, planning your layout, using the right tools, leaving expansion gaps, starting from the right place, and sealing your hardwood floor are all essential steps in the process. With these tips, you’ll be well-equipped to install a beautiful, durable, and long-lasting hardwood floor in your home.Some Useful Links:
- Floor Sanding Services
- School Floor Sanding
- Wood Floor Restorations
- Wood Floor Repairs
- Wood Floor Polishing
More from our Blog:
The Benefits of Choosing a Floor Sanding Company Instead Of Doing It Yourself Embracing Sustainable Flooring: An Eco-Friendly Choice for Modern Homes Comprehensive Guide to Different Types of Wooden Floors Advantages of Modern Hardwood Flooring: A Comprehensive Guide A Complete Guide to Choosing the Right Wooden Flooring Options


Sanding
We provide virtually dust-free sanding with our continuous belt machinery with mobile extraction units, giving you a safer environment for your family.
Oiling
This organic finish not only adds beauty to your home but also has exceptional water-repellent characteristics, making it easier to clean and maintain.
Waxing
This natural floor finish offers the softest and most mellow appearance – and leaves your floor able to breath.
Buffing
Using soft buffing machines (and hand-polishing where required) will bring a wonderful sheen to your newly-finished floor.
Repairs
We offer a full assessment of your wooden floors to determine what repairs are needed to provide the perfect working surface for the later stages of sanding, staining and sealing.
Restoration
We offer a comprehensive restoration process designed to address floors that are improperly fitted or damaged over time through wear and tear.
Request a fixed price quote for your wood floor restoration now
Simply enter your postcode below to get started.
Services
Wood Floor Sanding Wood Floor Restoration Wood Floor Scratch Repair Squeaky Wood Floor Repair Parquet Floor Sanding Parquet Floor Restoration Commercial Floor Sanding Church Floor Sanding Community Centre Floor Sanding School Floor Sanding Gap Filling Gap Filling with ResinCopyright © Mr Sander®
Privacy & Cookies Terms & Conditions Complaints Procedure Cancellation Rights Sitemap

Get An Instant Price Estimate Before You Go…
Simply enter the rooms you need sanded and we’ll provide you with a price estimate instantly! Try our price calculator now.
Get a Price Estimate NowLocal Floor Sanding Experts
Over 500 5-Star Reviews
Safe, Dust Free Sanding
Operating Since 1994