London:
Nationwide:
25,000+
Floors Restored
27 Years Experience
Wood Flooring Association Certified
Key Rules for Preparing Your Wood Floor for Sanding
Posted on May 18, 2023
Floor Sanding and Finishing News
Crucial Rules to Prepare Your Wood Floor for Sanding
When it comes to revamping the look of your hardwood floor, sanding is a popular option. The process involves removing the top surface of the floor to expose the fresh wood underneath, giving your floor a new lease on life. However, preparing your floor for sanding is just as crucial as the sanding process itself. Let’s dive into the important rules for preparing your wood floor for sanding.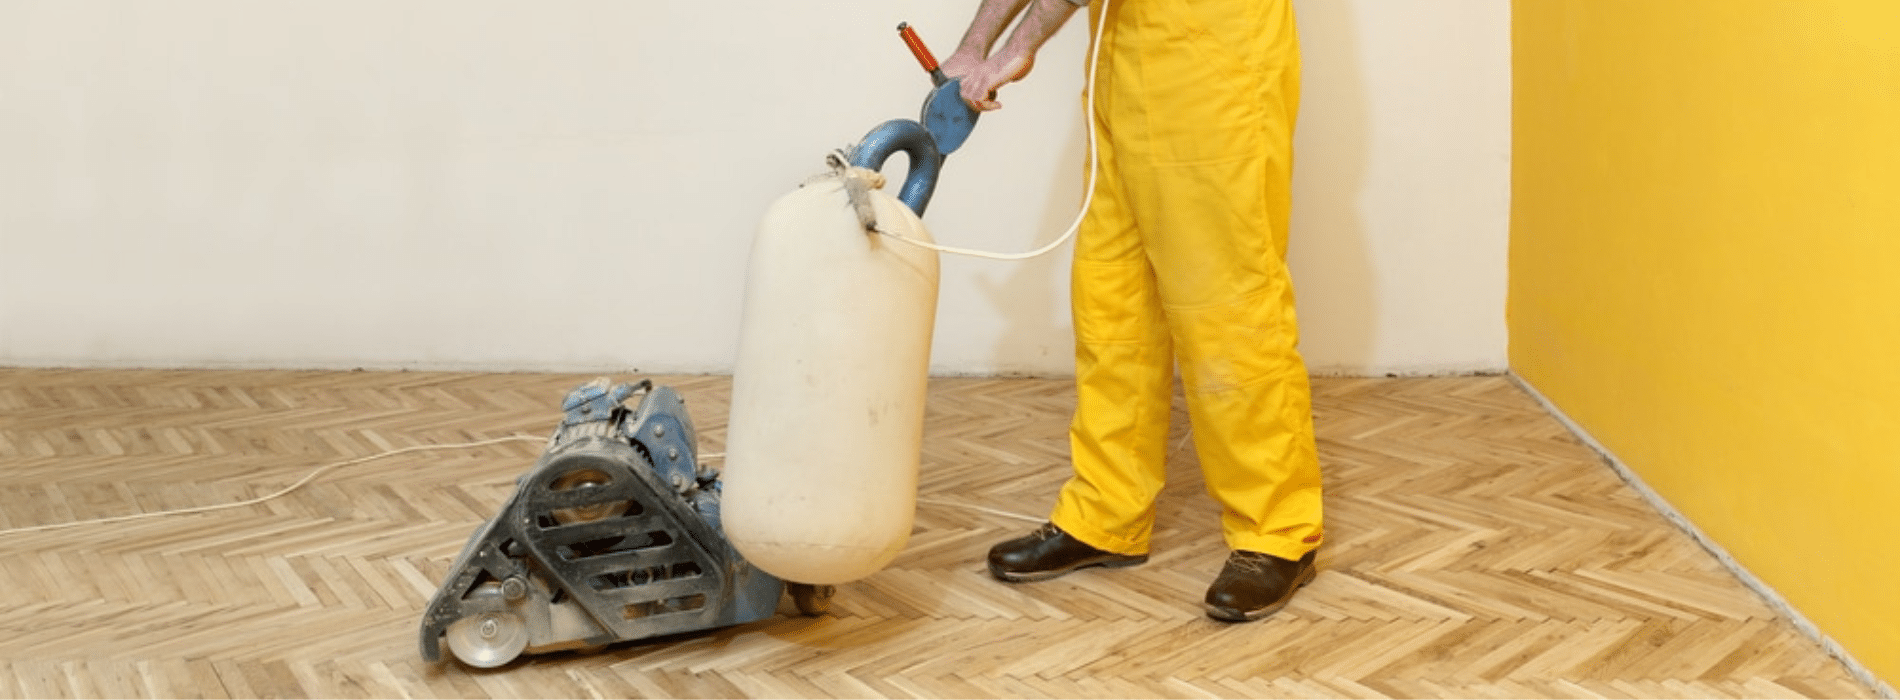
Understanding the Importance of Preparation
Before you start, it’s essential to understand why preparing your floor for sanding is so critical. If you begin sanding without appropriate preparation, you may run into issues such as uneven surfaces, excessive dust, and even damage to your floor. Proper preparation ensures a smoother, more efficient process and a higher-quality finished result.Assess the condition of the floor
First, you need to assess the condition of your floor. Check for loose planks, protruding nails, and other imperfections. These can cause issues during sanding, leading to a less-than-perfect finish. Take note of any deep stains or scratches that might require extra attention. If the floor is severely damaged, you may need to replace some boards before you can start sanding.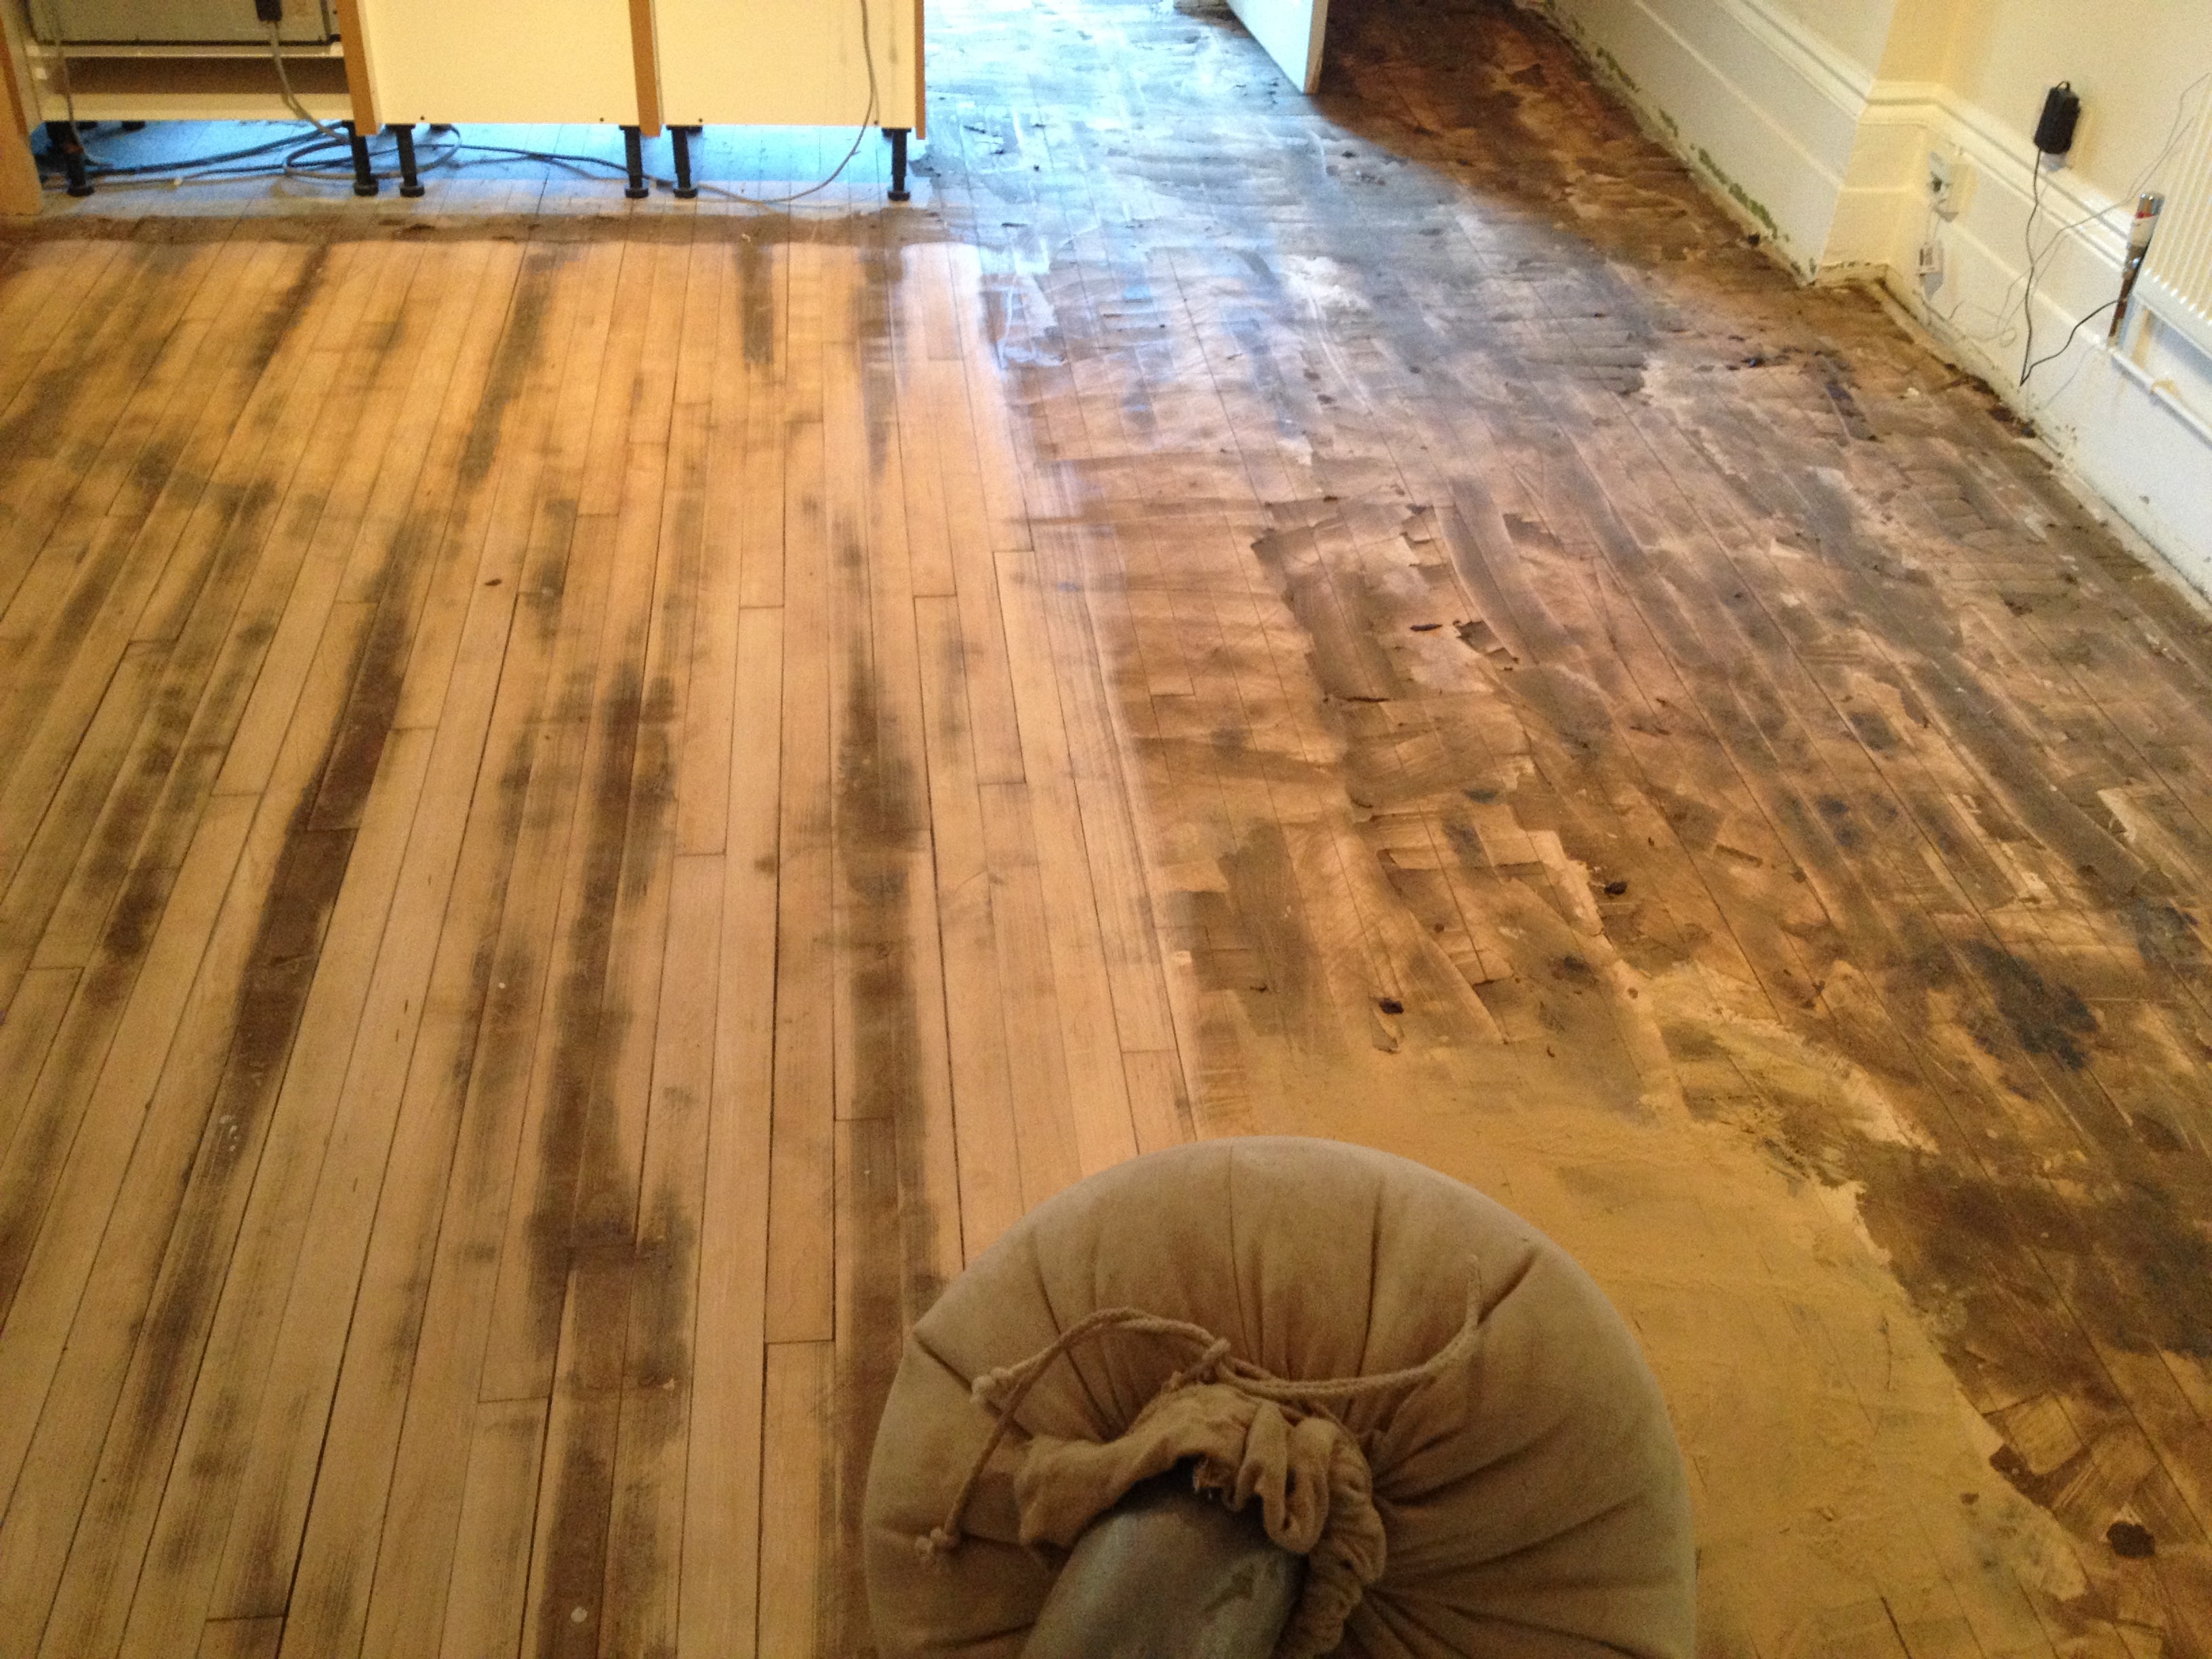
Clear and clean the area
Before you begin sanding, the area should be completely clear. Remove all furniture, rugs, and other items from the room. Don’t forget about curtains and wall hangings as well; dust from sanding can reach surprisingly far. Once the area is clear, give it a thorough clean. Sweep or vacuum to remove any dust or debris that could interfere with the sanding process.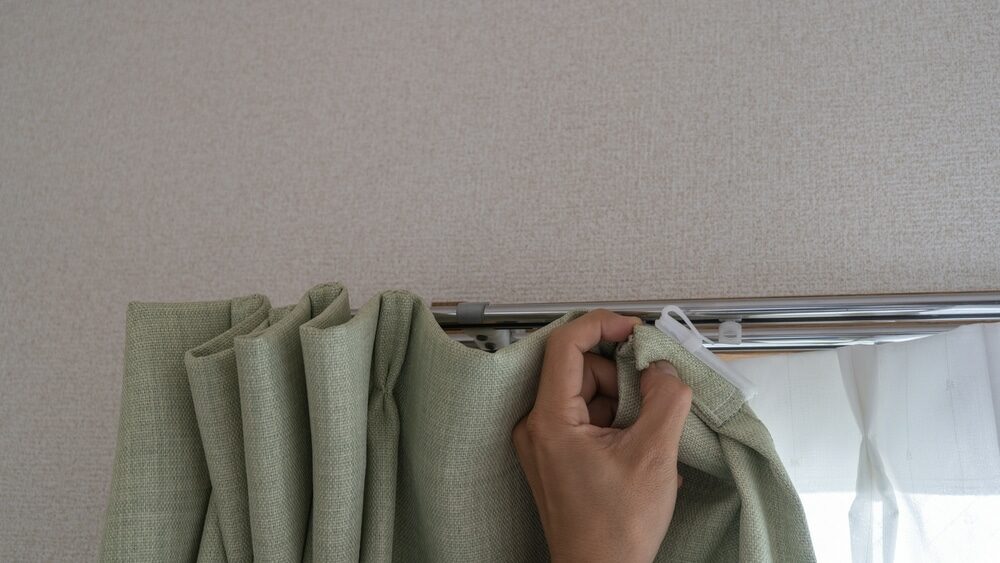

Address loose boards and protruding nails
After you’ve cleared and cleaned the area, it’s time to address any issues you noted during your initial assessment. Secure loose boards by adding screws or nails, ensuring they’re flush with the surface or slightly below. This will provide a smooth surface for sanding and prevent damage to your sanding equipment. If there are any protruding nails, either remove them or drive them deeper into the wood.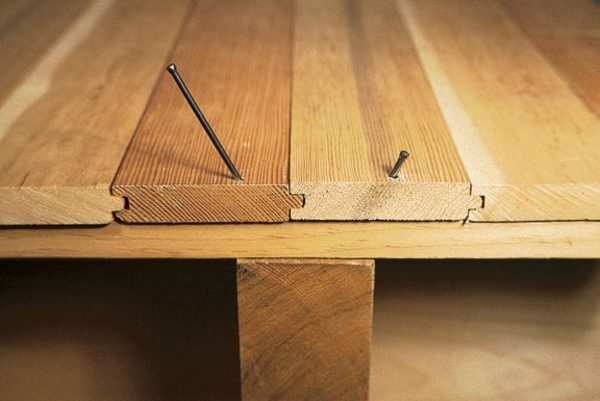
Fill any gaps
Next, take a look for filling gaps between your floorboards. Over time, wood contracts and expands due to changes in temperature and humidity, resulting in gaps. Fill these gaps with an appropriate wood filler to create a level surface. Remember, the filler should match the colour of your floor to blend seamlessly once sanded and stained.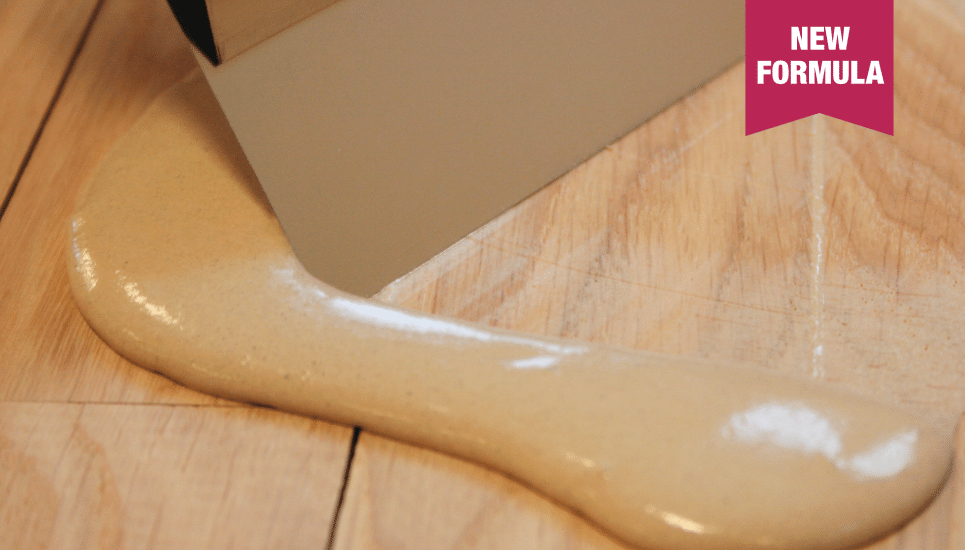
Cover all vents and outlets
Before you begin sanding, you need to protect your home from the dust that will inevitably be produced. Cover all vents in the room with plastic sheeting or tape to prevent dust from being distributed throughout your home. Similarly, cover power outlets to prevent dust from getting inside and causing potential safety issues.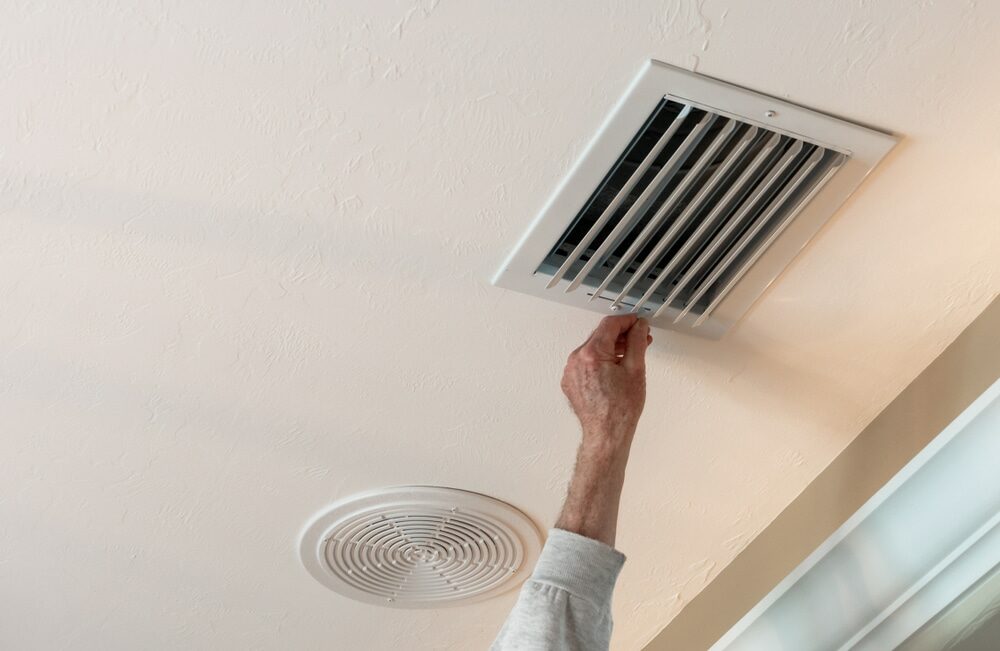
Equip Yourself with the Right Tools
Make sure you have the right tools for the job. This includes a drum sander or an orbital sander, edge sanders for corners, a buffer, and various grits of sandpaper. Having the right equipment will make your job more manageable and result in a better finish.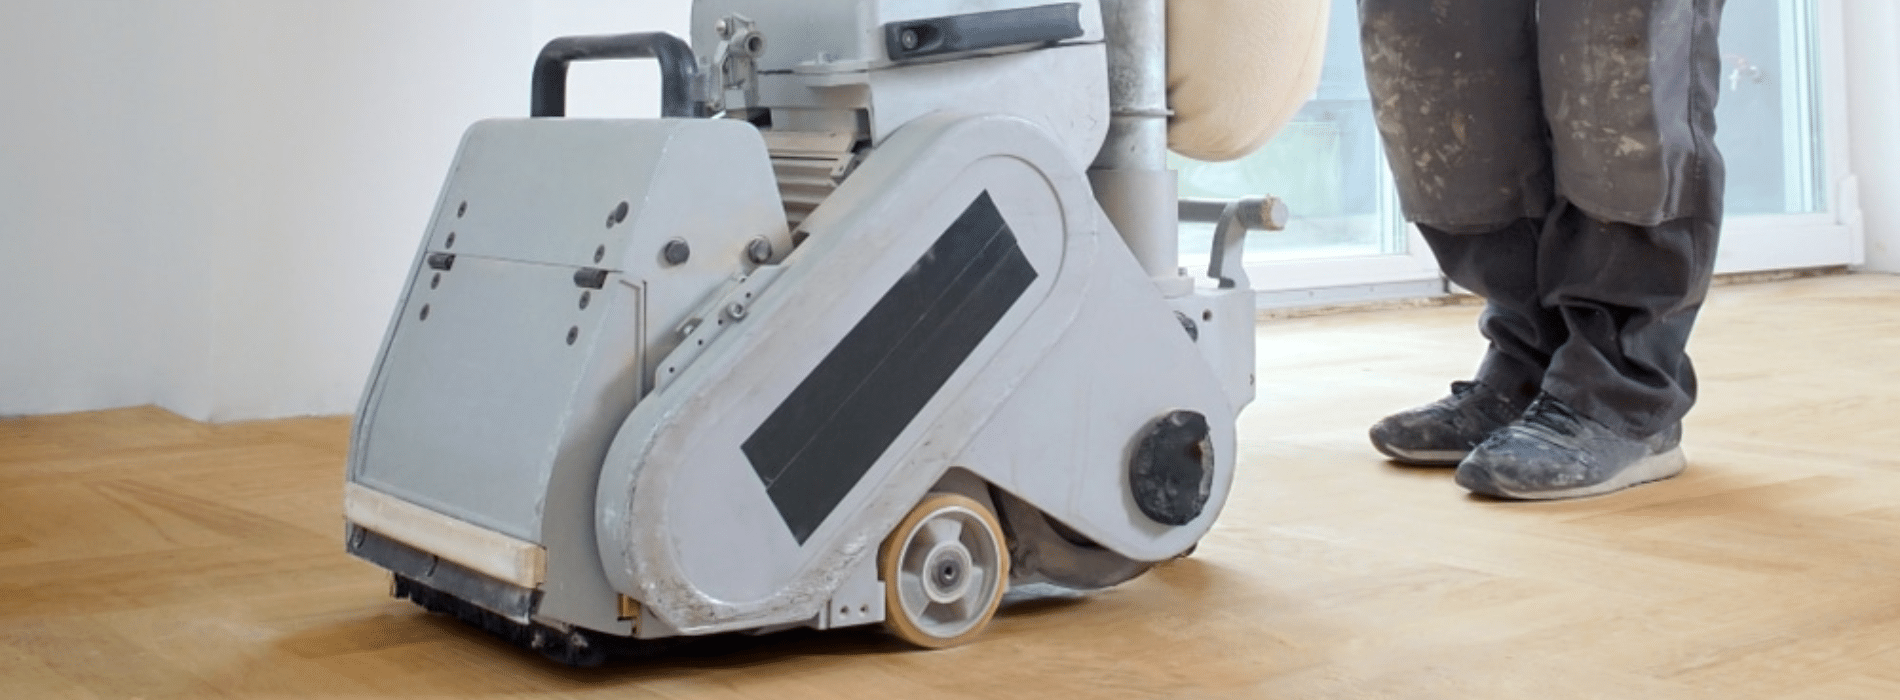
Use Proper Safety Gear
Safety should always be a priority. Ensure you have proper safety gear, including safety glasses, ear protection, and a dust mask or respirator. Sanding can produce a significant amount of dust, and it’s important to protect yourself from potential health hazards.
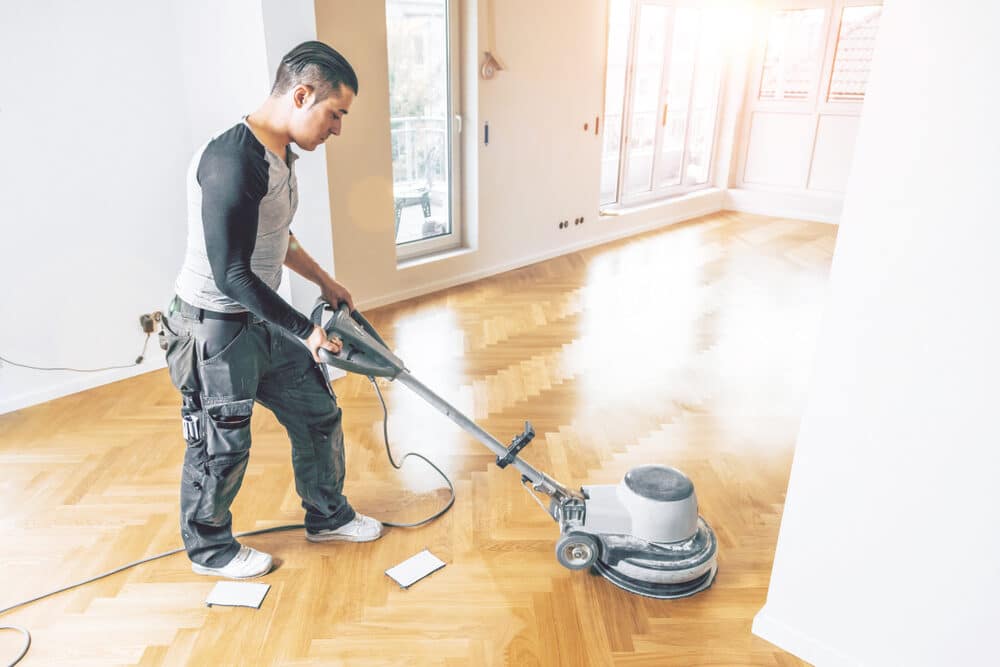
Start sanding
Now that you’ve prepared your floor for sanding, you can start the process. Begin with coarse-grit sandpaper to remove the old finish and any imperfections,then gradually move to finer grits for a smooth finish. Remember, the goal is to remove just enough wood to create a new surface, not to dig too deep into your floor.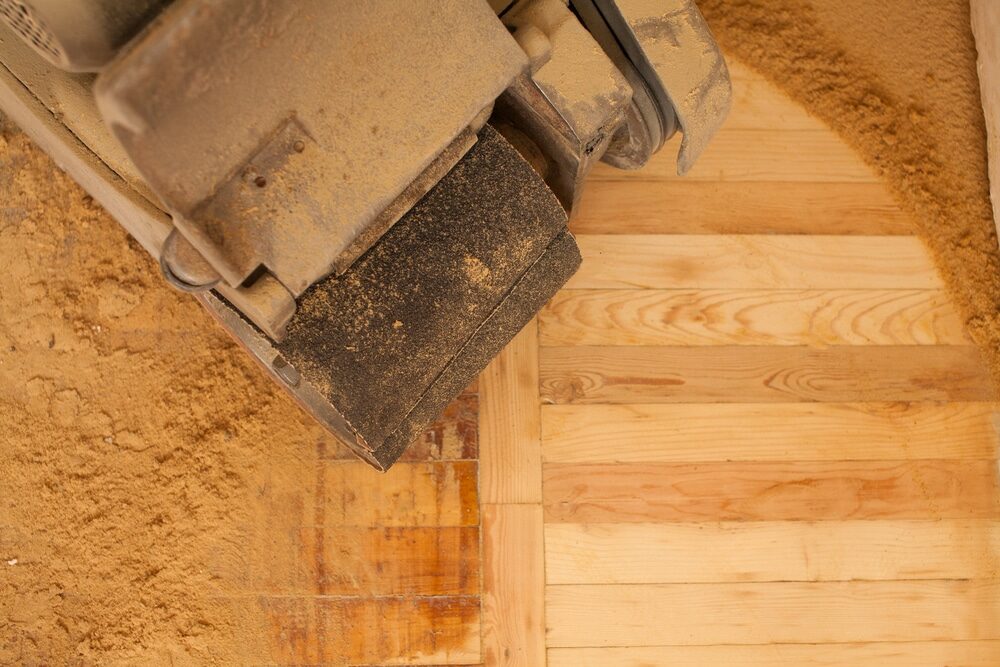
Be patient and methodical
Sanding a hardwood floor is not a race. It requires patience and precision to achieve a beautiful, even finish. Move the sander slowly and evenly across the floor, going with the grain of the wood. Overlapping your passes slightly will help to prevent lines and streaks in the finished floor.Clean up between sandings
After each pass with the sander, take the time to clean up. This will remove the dust and debris that could scratch the floor when you make the next pass with a finer grit. Vacuum the floor and then wipe it down with a damp cloth or mop to catch any lingering dust particles.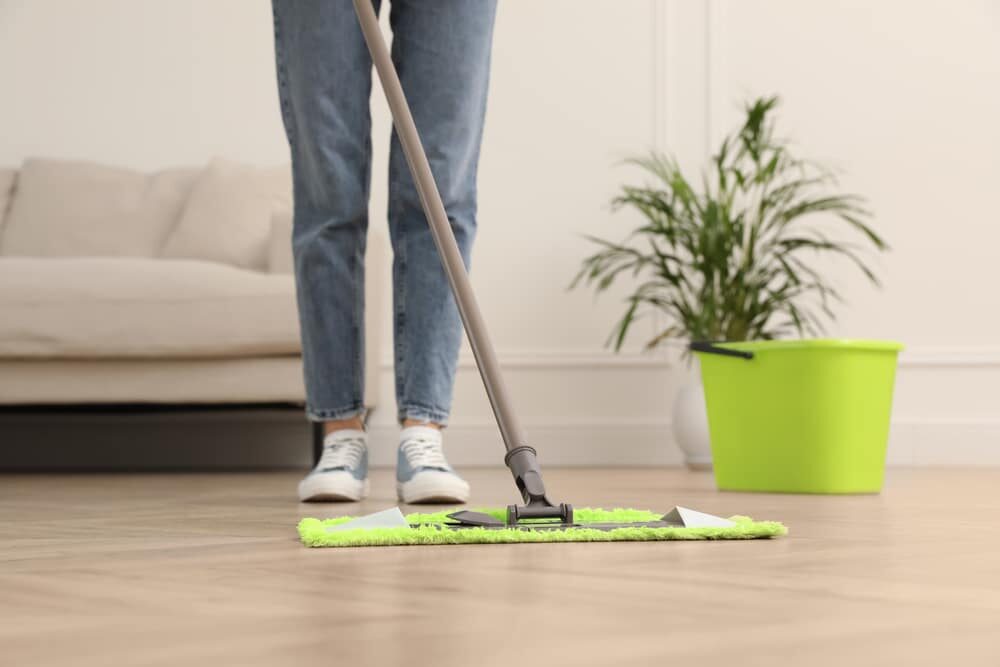
Check Your Progress
As you work, stop frequently to check your progress. Look for any uneven spots or areas where the old finish remains. These will need to be addressed before you can move on to the next grit of sandpaper. A good tip is to use a small handheld light at a low angle to the floor to highlight any problem areas.Prepare for Finishing
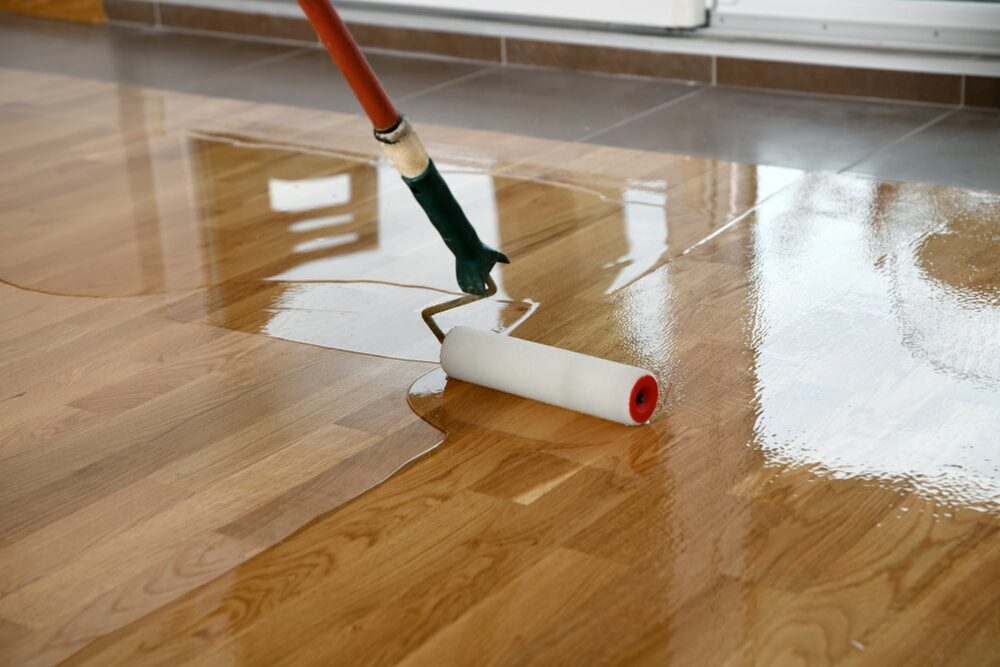
Once you’re satisfied with the sanding, you’ll need to prepare the floor for the finishing process. First, give the floor one final thorough cleaning. Use a vacuum and a damp mop to ensure that all dust and debris are gone. If you plan to stain the floor, now is the time to do so. Remember to let the stain dry completely before applying any finish.Apply the Finish
Now it’s time for the final step: applying the finish. Depending on your choice, this could be oil, wax, or polyurethane. Each has its own method of application, so be sure to follow the manufacturer’s instructions. Most finishes will require multiple coats for the best result. Allow each coat to dry thoroughly before applying the next one.Conclusion
Preparing your wood floor for sanding is an essential step in the refinishing process. By following these rules, you can ensure a smoother sanding process and a beautifully finished floor. Remember, the key to a successful project is patience and attention to detail. So take your time, follow these rules, and enjoy the process. The result will be a beautifully restored wood floor that will enhance the beauty and value of your home. Keep in mind that, while DIY is a great way to save money and take ownership of your projects, sanding and refinishing a hardwood floor can be a challenging task. If you’re uncertain about any step in the process or don’t have the necessary tools, it might be best to hire a professional. A good flooring contractor will have the knowledge, experience, and equipment to ensure that your floor is sanded and finished to the highest standard.Some Useful Links:
- Floor Sanding Services
- School Floor Sanding
- Wood Floor Restorations
- Wood Floor Repairs
- Wood Floor Polishing
More from our Blog:
Floor Sanding Services in London: Choosing Experts for Your Wooden FloorsWood Floor Filling Tips: A Comprehensive Guide to Flawless Flooring
Answering Your Questions about Dustless Floor Sanding in 2023
Best Floor Sanding Company: A Guide to Choosing Right Company
Comparing Wood Flooring in Circle Bath & Queen Elizabeth Hospitals
Understanding French Bleed Flooring: A Detailed Guide


Sanding
We provide virtually dust-free sanding with our continuous belt machinery with mobile extraction units, giving you a safer environment for your family.
Oiling
This organic finish not only adds beauty to your home but also has exceptional water-repellent characteristics, making it easier to clean and maintain.
Waxing
This natural floor finish offers the softest and most mellow appearance – and leaves your floor able to breath.
Buffing
Using soft buffing machines (and hand-polishing where required) will bring a wonderful sheen to your newly-finished floor.
Repairs
We offer a full assessment of your wooden floors to determine what repairs are needed to provide the perfect working surface for the later stages of sanding, staining and sealing.
Restoration
We offer a comprehensive restoration process designed to address floors that are improperly fitted or damaged over time through wear and tear.
Request a fixed price quote for your wood floor restoration now
Simply enter your postcode below to get started.
Services
Wood Floor Sanding Wood Floor Restoration Wood Floor Scratch Repair Squeaky Wood Floor Repair Parquet Floor Sanding Parquet Floor Restoration Commercial Floor Sanding Church Floor Sanding Community Centre Floor Sanding School Floor Sanding Gap Filling Gap Filling with ResinCopyright © Mr Sander®
Privacy & Cookies Terms & Conditions Complaints Procedure Cancellation Rights Sitemap

Get An Instant Price Estimate Before You Go…
Simply enter the rooms you need sanded and we’ll provide you with a price estimate instantly! Try our price calculator now.
Get a Price Estimate NowLocal Floor Sanding Experts
Over 500 5-Star Reviews
Safe, Dust Free Sanding
Operating Since 1994