London:
Nationwide:
25,000+
Floors Restored
27 Years Experience
Wood Flooring Association Certified
Refinishing Old Wood Flooring: Your Step-by-Step Guide to a New Look
Posted on May 16, 2023
Hardwood Floors Sanding News
A Comprehensive Guide to Refinishing Your Old Wood Flooring
Old wood flooring carries an aura of timeless elegance and charm. With the passage of time, it develops a character that is both unique and enchanting. However, like all things, hardwood floors may lose their lustre, becoming dull and worn. Despite their durability, hardwood floors are not immune to scratches, dents, and everyday wear and tear. But fear not, for with a little bit of hard work and patience, you can rejuvenate your hardwood flooring, restoring its original beauty and charm. This comprehensive guide will walk you through the process of refinishing old wood flooring, transforming your space into a stunning showcase of natural beauty.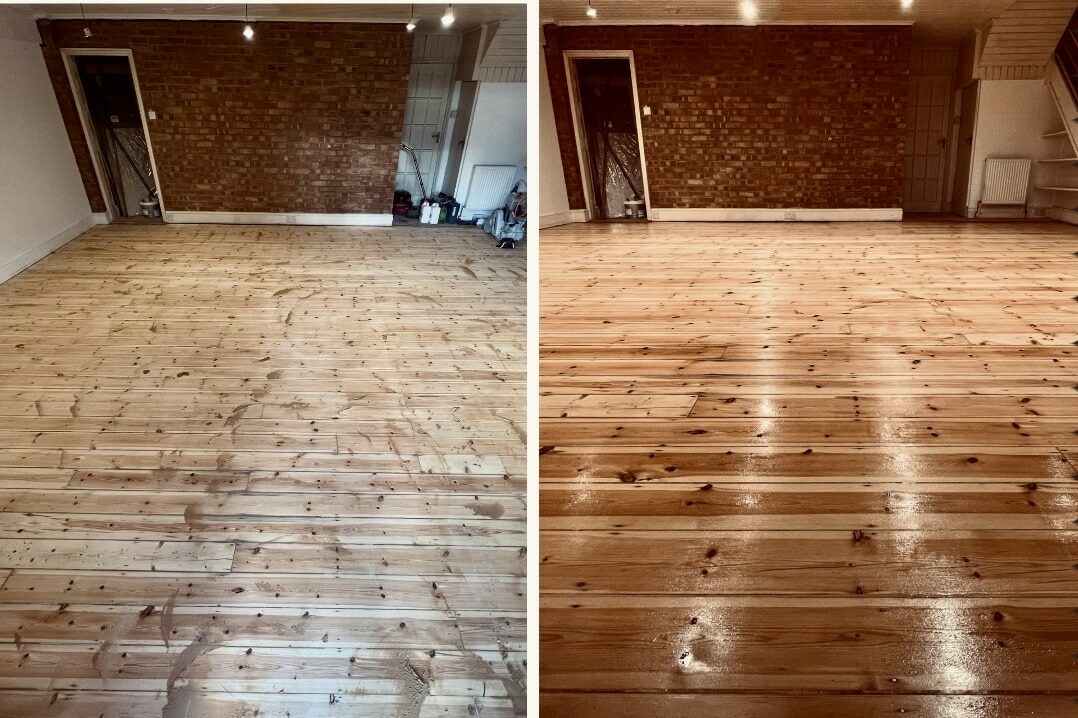
1: Understanding the Value of Your Wood Floor
Before embarking on the journey of refinishing your hardwood floor, it is essential to understand the value it holds. Well-maintained hardwood floors last for decades, and a well-executed restoration can significantly enhance the value of your home. Even if you do not plan to sell your home, a beautifully refinished floor can drastically improve the aesthetic appeal of your living space, creating a warm, inviting environment for you and your family.2: Preparing for the Task
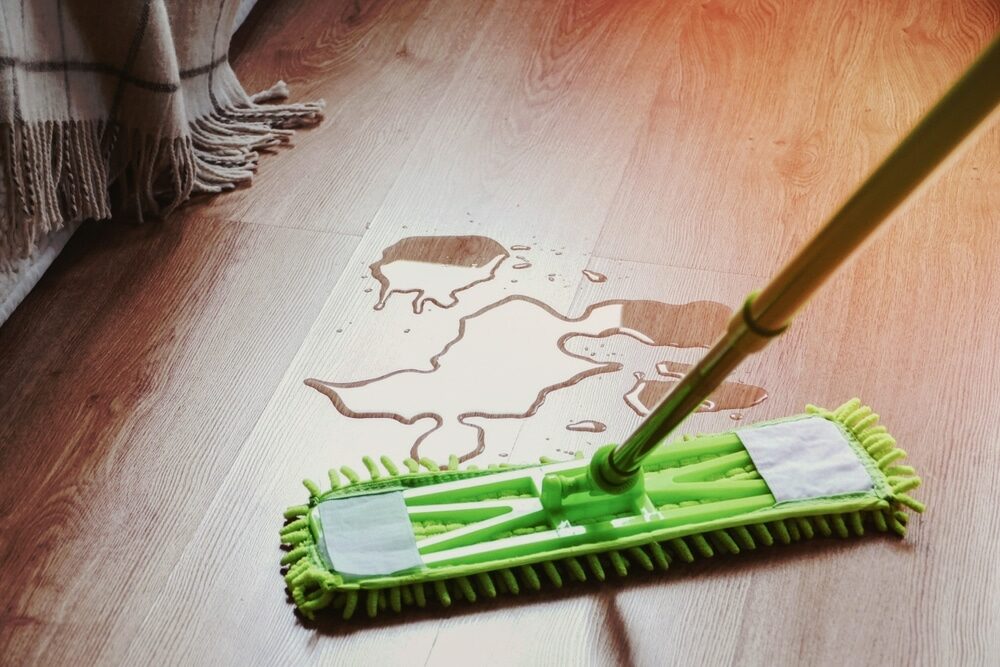
Refinishing hardwood flooring might not be the easiest job in the world, but it is certainly one of the most rewarding. The first step in this process is preparation. Remove all furniture and movable fixtures from the room, and then sweep and vacuum the space thoroughly. Inspect the floor closely, paying particular attention to areas around radiators and other fixtures that may have been installed after the flooring was installed. Look for loose or damaged boards, raised nails, and signs of wear and tear, no matter how tiny. It is crucial to address all these flaws before you begin the sanding process.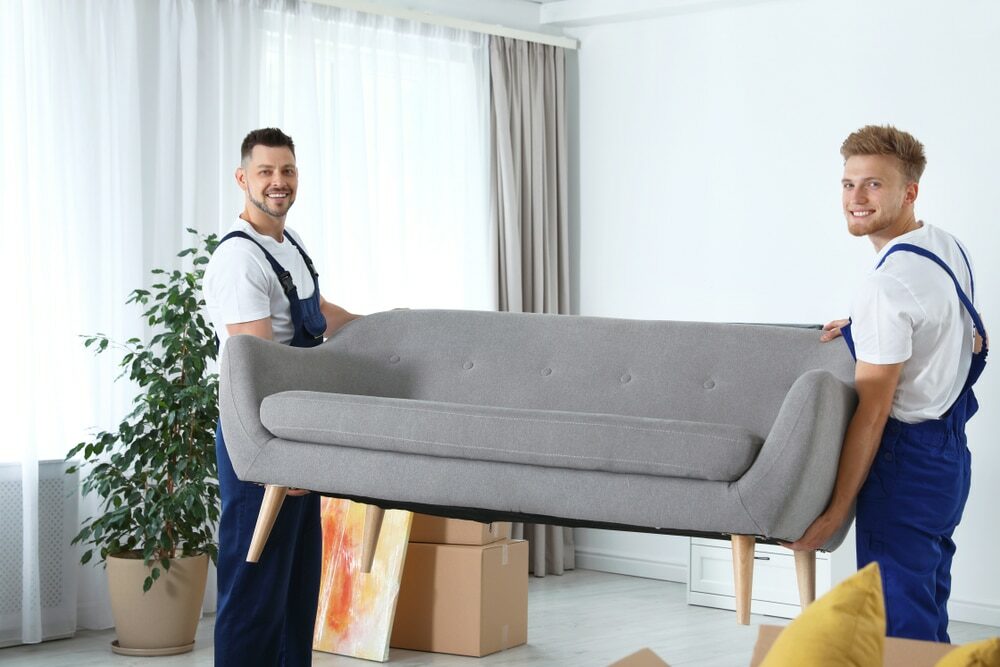
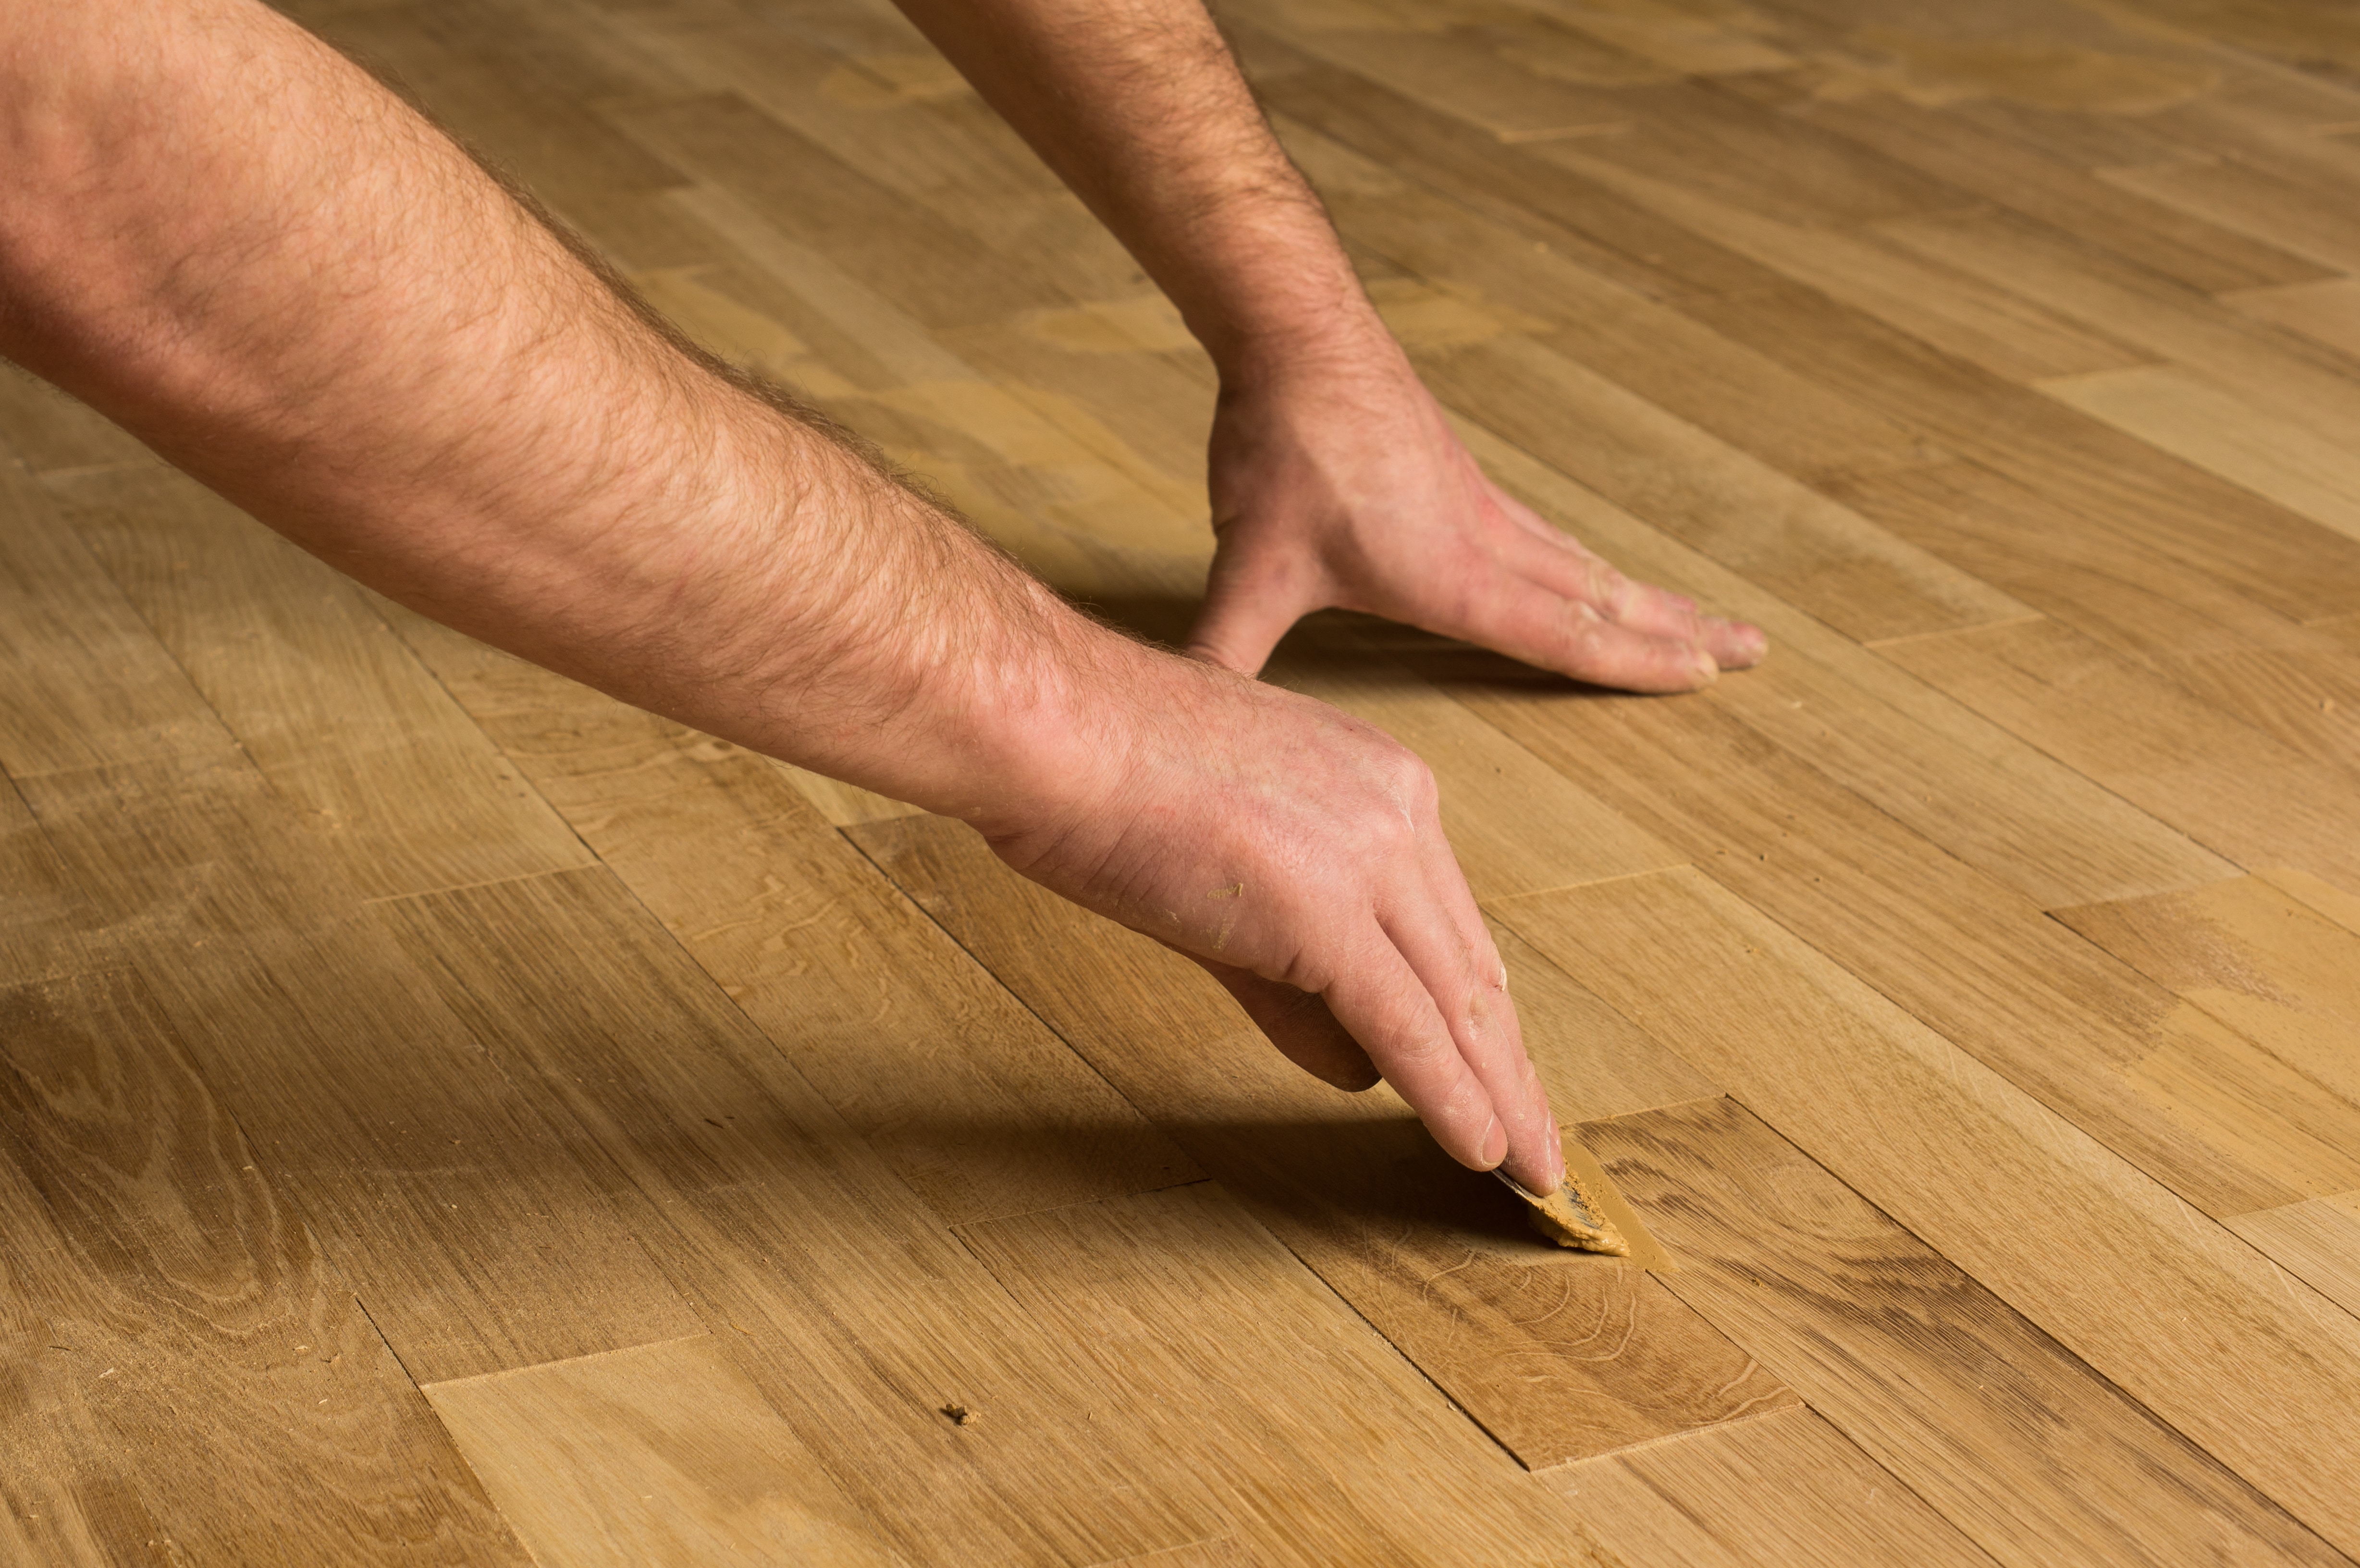
3: Addressing Flaws and Imperfections
Once you have identified any flaws or imperfections in your hardwood floor, the next step is to rectify them. Remove or hammer in all nails and tacks, secure loose boards, and replace any planks that have rotted. Use wood putty to carefully fill in the gaps between the boards. Once you’ve fixed these flaws, vacuum the floor again to ensure it is as flawless as possible.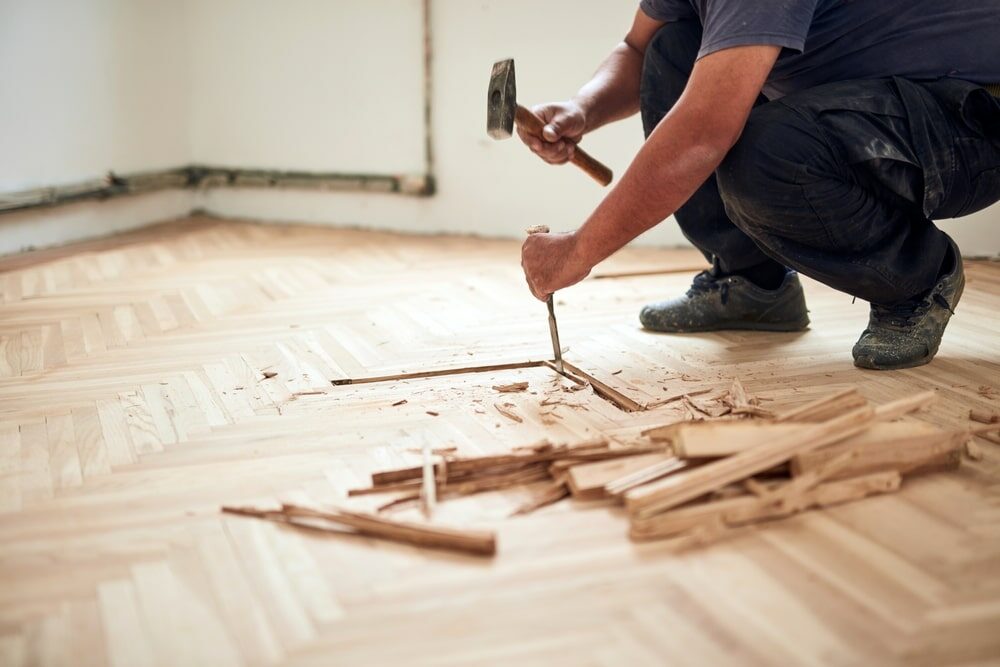
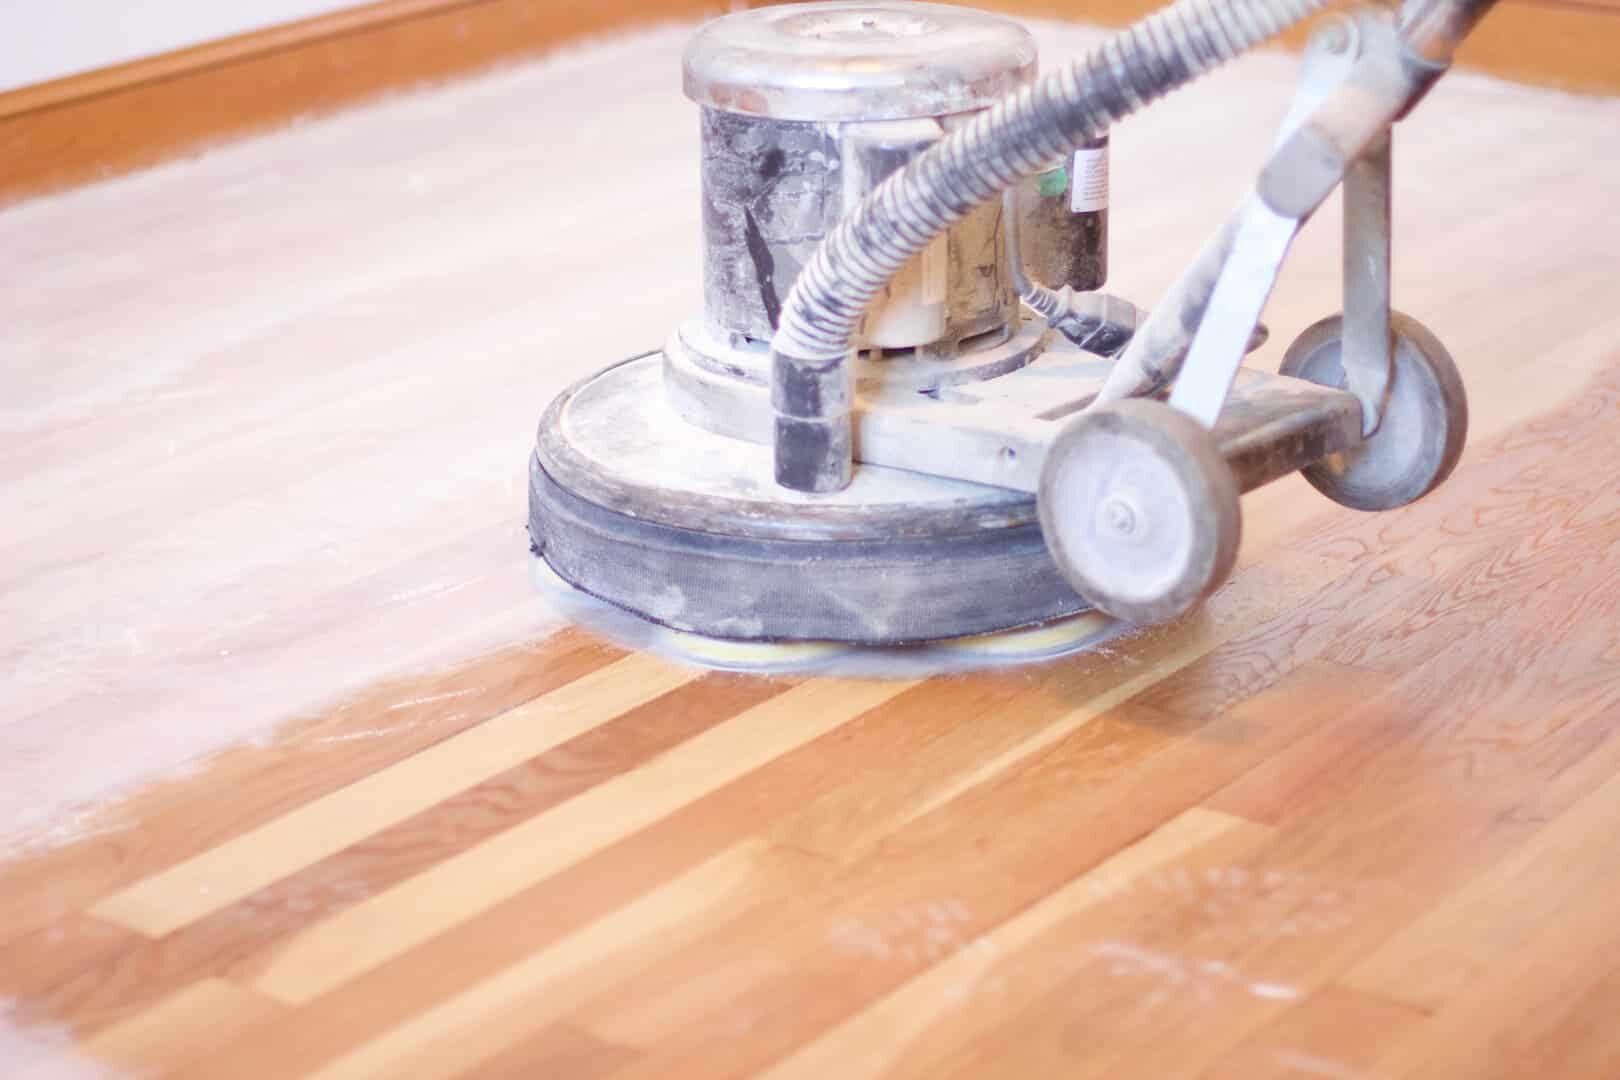
4: The Sanding Process
Now that your floor is prepped and ready, it’s time to start the sanding process. The goal of sanding is to remove the old finish and smooth out any imperfections. This step requires a bit of elbow grease, but the result is worth it. You’ll need to rent or buy a floor sanding machine for this task. Move slowly and evenly across the floor, making sure to keep the sander moving at all times to avoid creating uneven spots. Remember, the aim is to remove the old finish, not to dig into the wood. Once you’ve sanded the entire surface, vacuum up the dust and debris.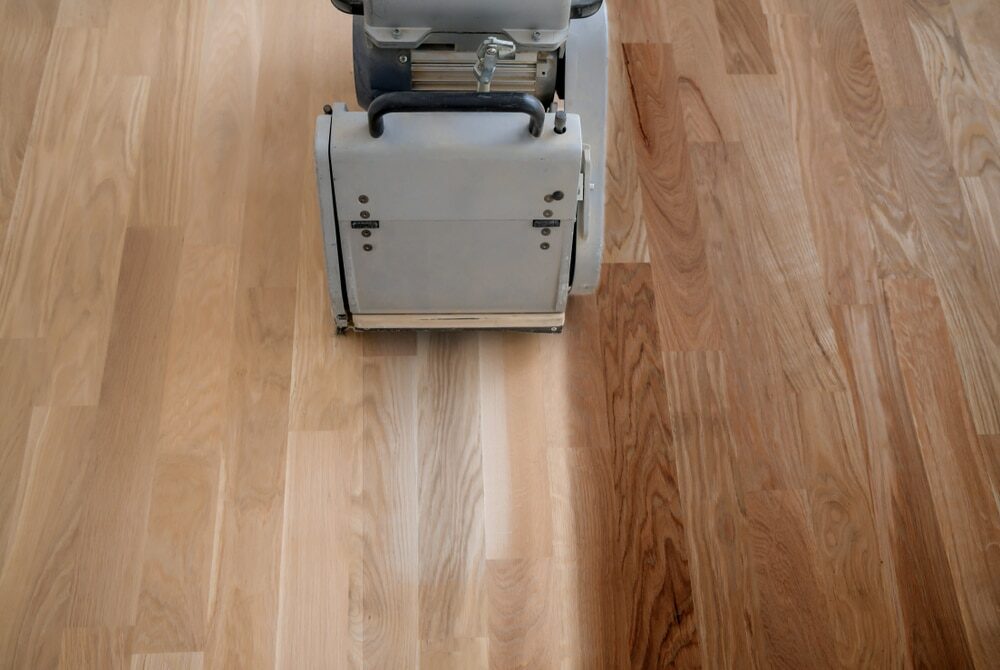
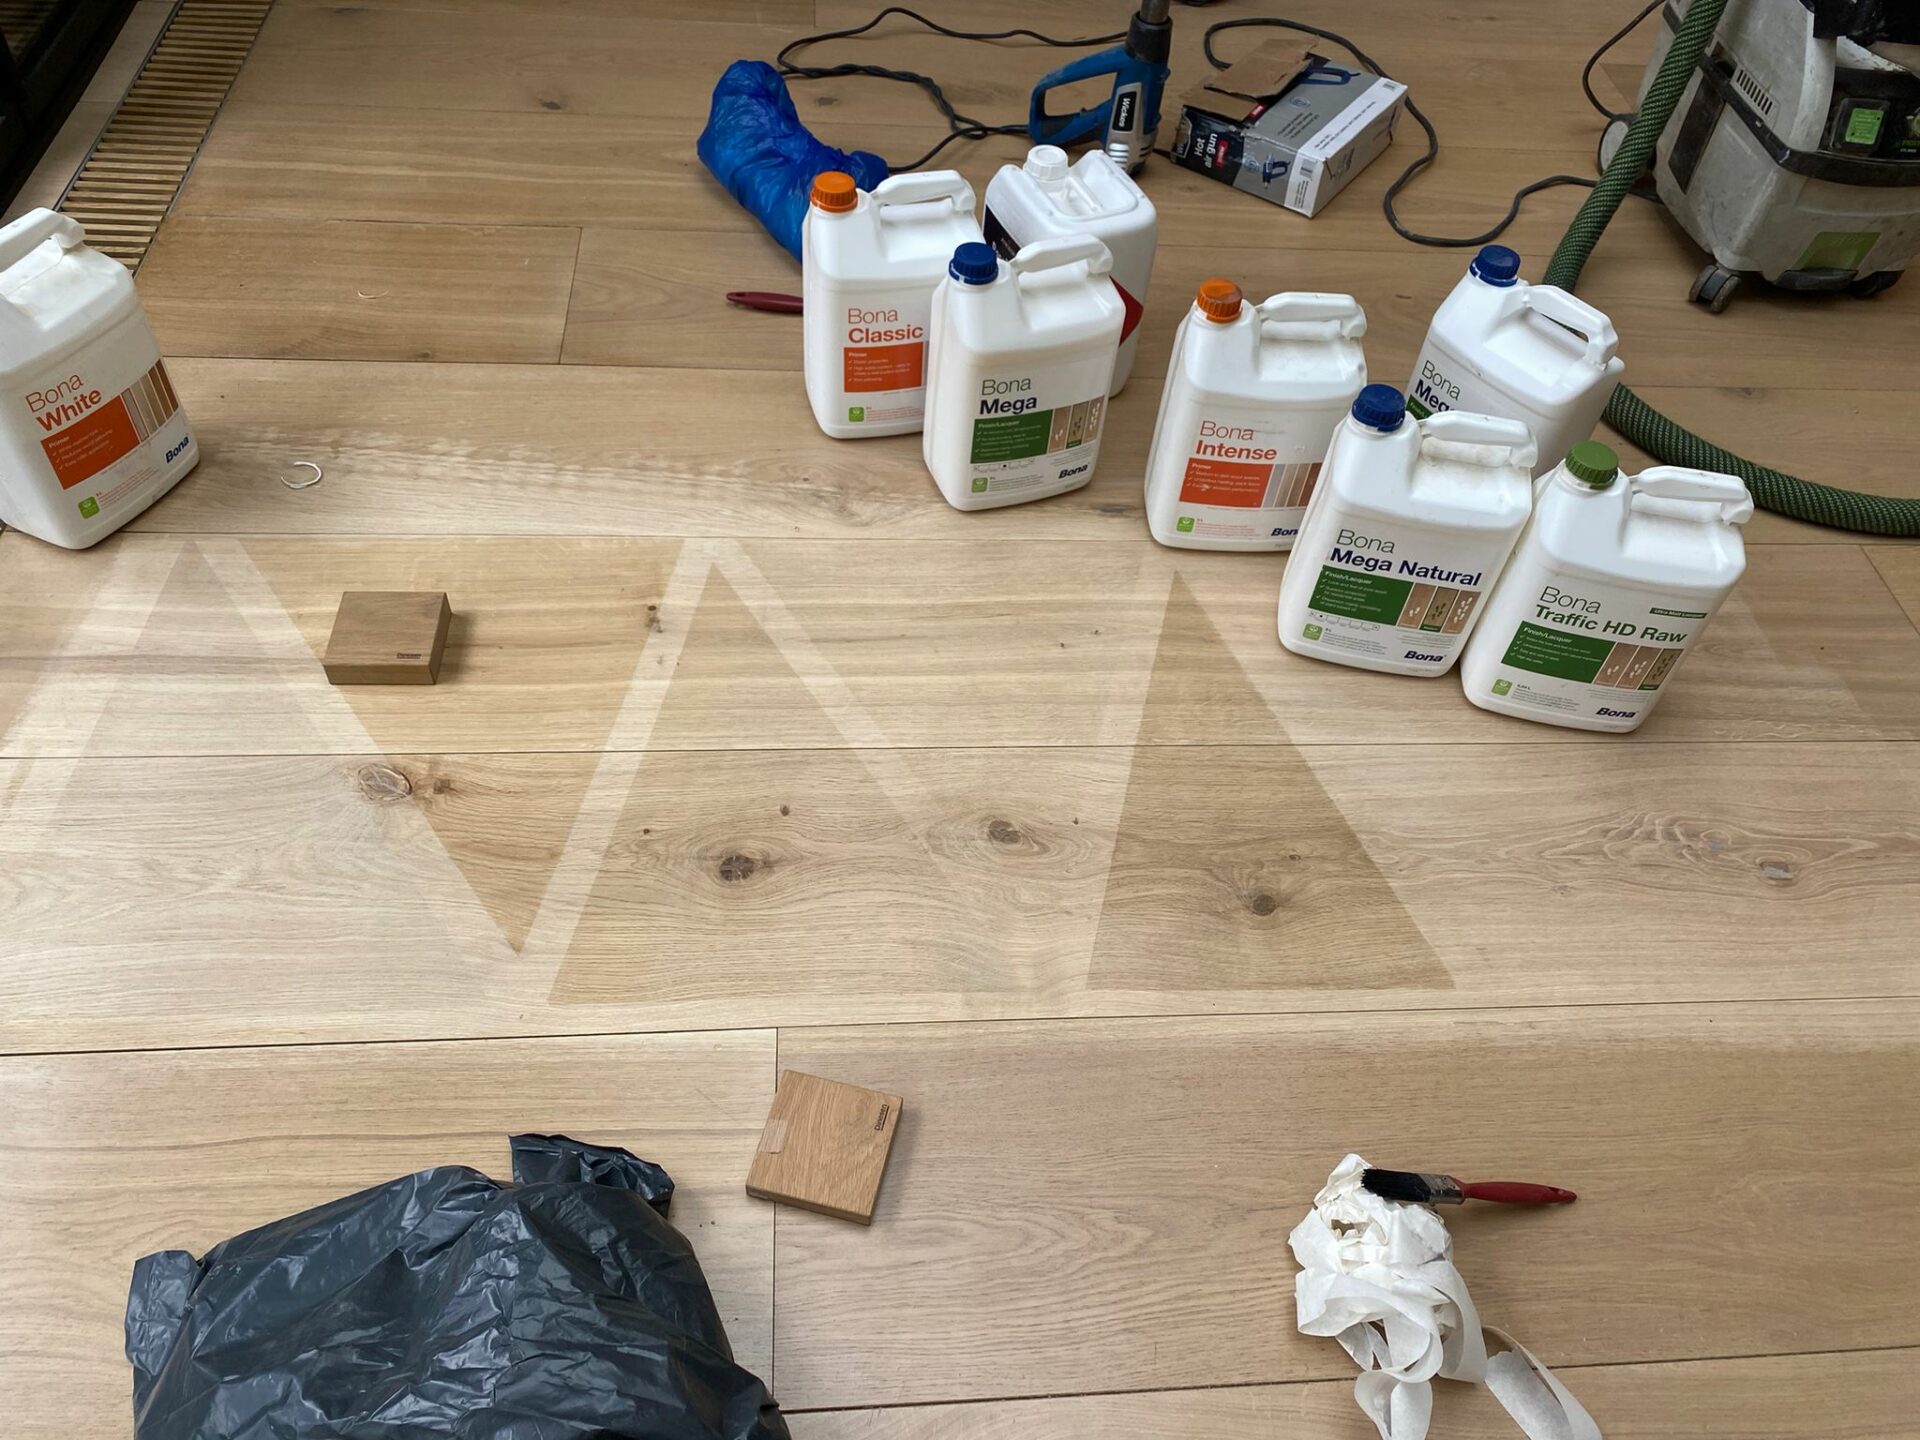
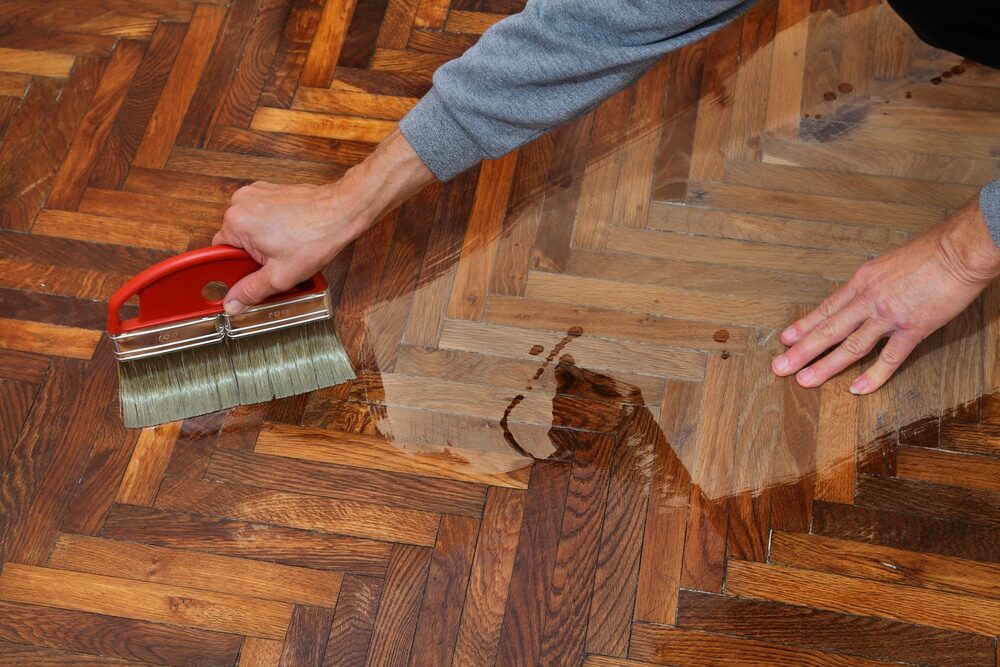
5: The Finishing Touches
After the floor is sanded and cleaned, it’s time to apply the new finish. You can choose from oil, lacquer, floor paint, and varnish, but whatever your choice, apply it sparingly and evenly, working in small sections. This is a critical step, as the finish will protect your floor and give it a glossy shine. After applying the finish, allow it to dry completely before moving furniture back into the room.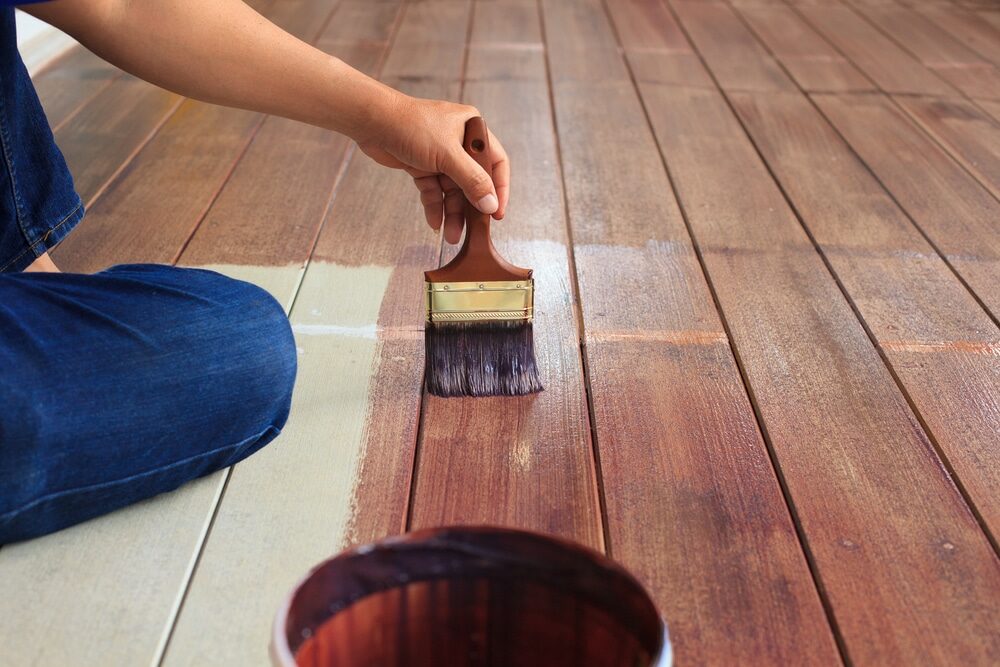
6: Maintaining Your Refinished Floor
Now that you have successfully refinished your hardwood floor, it’s important to maintain it properly to preserve its beauty. Regular cleaning with products safe for hardwood floors is essential. Avoid using harsh chemicals that could damage the finish. Place protective pads under furniture legs to prevent scratches.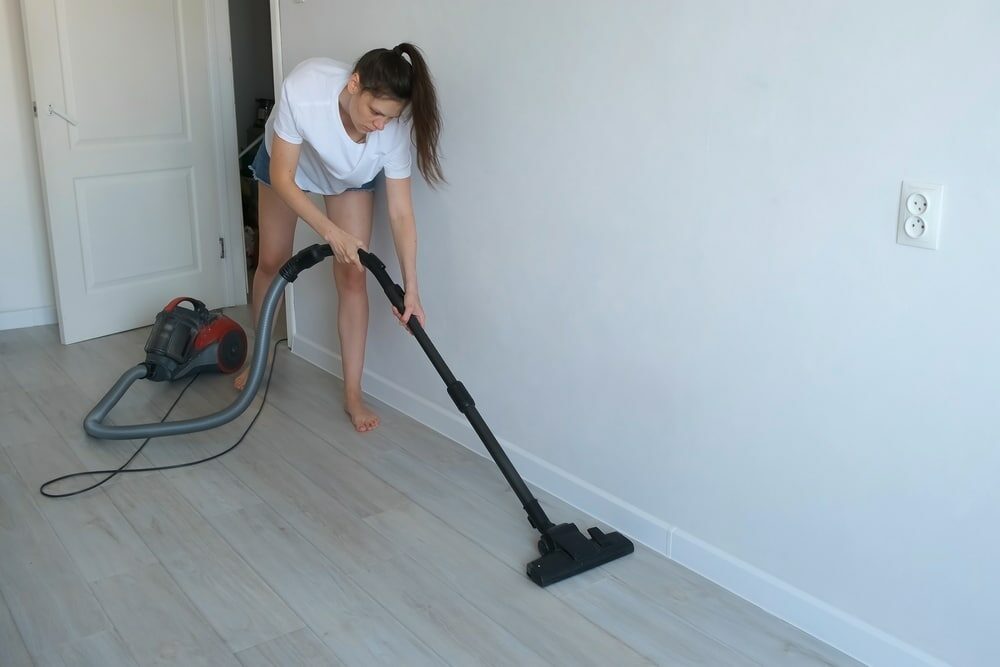
7: The Art of Preventative Maintenance
Preventative maintenance is an essential part of ensuring the longevity of your refinished hardwood floor. This involves regular cleaning, avoiding harsh chemical cleaners, and immediately cleaning up spills to prevent staining. Additionally, using rugs and floor protectors under furniture can help prevent scratches and dents. If possible, maintain a consistent indoor climate. Hardwood floors can warp in high humidity or crack in low humidity, so a consistent, moderate humidity level will help keep your floor in good shape.8: When to Seek Professional Help
While DIY floor refinishing is a rewarding project, it may not be the right choice for everyone or every floor. If your floor is severely damaged or if it’s made of an unusual or exotic wood, you might want to consider hiring a professional. They have the experience and equipment to handle difficult jobs and can ensure the refinishing process is done correctly, protecting your investment in your home.9: The Beauty of Restored Hardwood Floors
A well-executed hardwood floor restoration can breathe new life into your home. It not only revitalises the look of your room but also enhances the overall appeal of your home. The charm and warmth that a refinished hardwood floor brings are unparalleled. It’s a testament to the timeless beauty of natural materials and a tribute to your labour and dedication.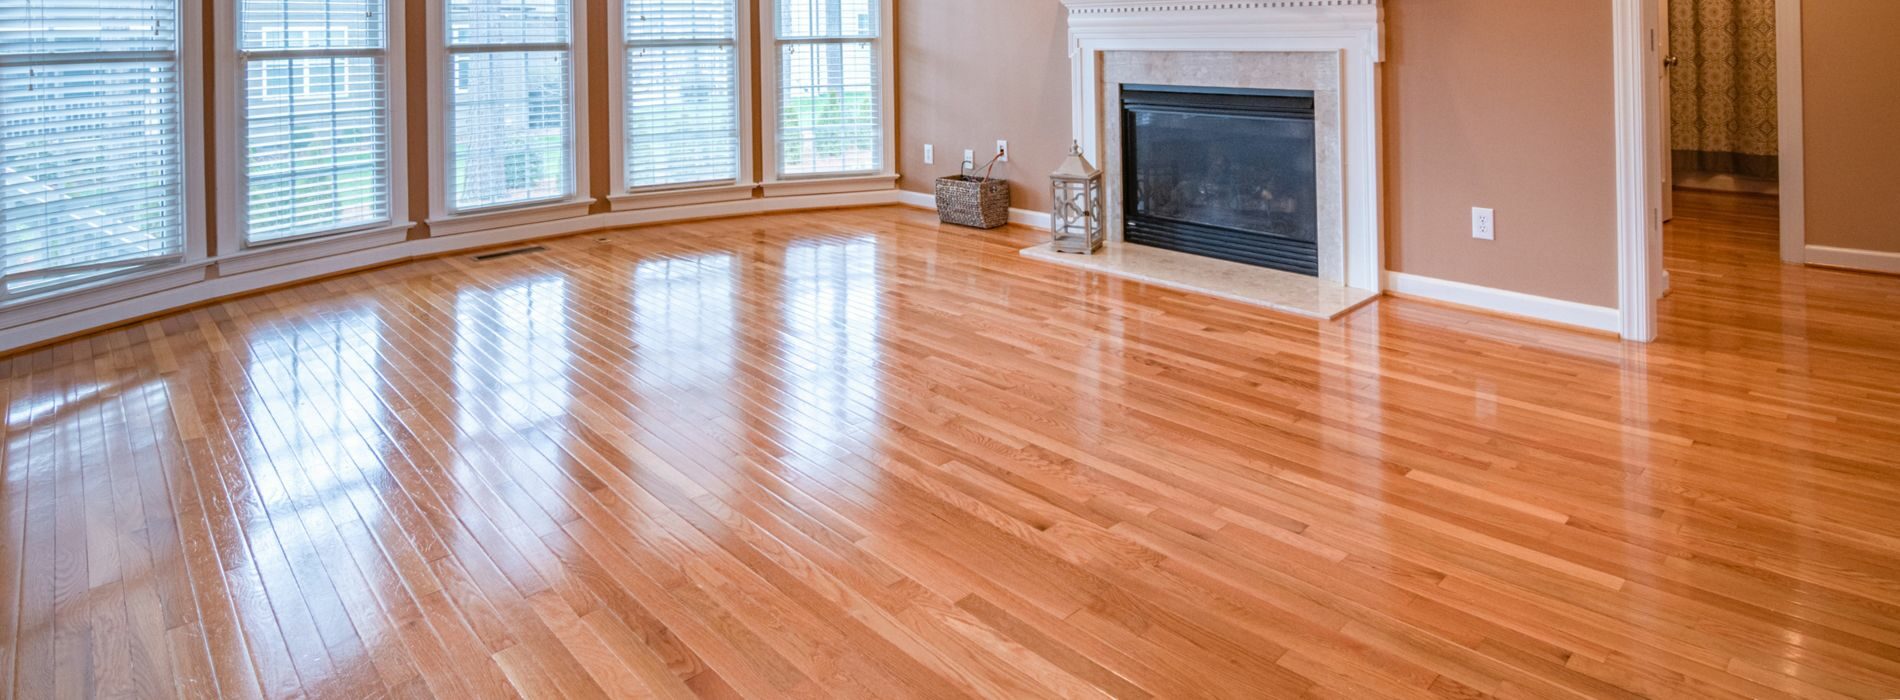
Conclusion
Refinishing old wood flooring is an intensive process that requires patience, hard work, and a keen eye for detail. However, the result is incredibly rewarding. Not only does it improve the aesthetic appeal of your home, but it also increases its value. Whether you’re planning to sell or simply wish to rejuvenate your living space, restoring your hardwood floor is a worthwhile endeavour. Remember, the key to a successful hardwood floor restoration lies in the meticulous execution of each step. From the initial assessment to the final touches, each stage is integral to achieving a beautifully refinished floor. By following this step-by-step guide, you can look forward to a revitalised hardwood floor that will continue to charm and impress for years to come.Some Useful Links:
- Floor Sanding Services
- School Floor Sanding
- Wood Floor Restorations
- Wood Floor Repairs
- Wood Floor Polishing
More from our Blog:
A DIY Guide to Sanding Your Hardwood Floor SuccessfullyMastering Wood Floor Sanding: A Comprehensive Guide to Doing It Right
Achieve a Perfect Refinish for Your Hardwood Floor: Comprehensive DIY Guide
The Definitive Guide to Professional Wood Floor Restoration Services
Wood Floor Sanding in Your London Home

Sanding
We provide virtually dust-free sanding with our continuous belt machinery with mobile extraction units, giving you a safer environment for your family.
Oiling
This organic finish not only adds beauty to your home but also has exceptional water-repellent characteristics, making it easier to clean and maintain.
Waxing
This natural floor finish offers the softest and most mellow appearance – and leaves your floor able to breath.
Buffing
Using soft buffing machines (and hand-polishing where required) will bring a wonderful sheen to your newly-finished floor.
Repairs
We offer a full assessment of your wooden floors to determine what repairs are needed to provide the perfect working surface for the later stages of sanding, staining and sealing.
Restoration
We offer a comprehensive restoration process designed to address floors that are improperly fitted or damaged over time through wear and tear.
Request a fixed price quote for your wood floor restoration now
Simply enter your postcode below to get started.
Services
Wood Floor Sanding Wood Floor Restoration Wood Floor Scratch Repair Squeaky Wood Floor Repair Parquet Floor Sanding Parquet Floor Restoration Commercial Floor Sanding Church Floor Sanding Community Centre Floor Sanding School Floor Sanding Gap Filling Gap Filling with ResinCopyright © Mr Sander®
Privacy & Cookies Terms & Conditions Complaints Procedure Cancellation Rights Sitemap

Get An Instant Price Estimate Before You Go…
Simply enter the rooms you need sanded and we’ll provide you with a price estimate instantly! Try our price calculator now.
Get a Price Estimate NowLocal Floor Sanding Experts
Over 500 5-Star Reviews
Safe, Dust Free Sanding
Operating Since 1994