London:
Nationwide:
25,000+
Floors Restored
27 Years Experience
Wood Flooring Association Certified
Quick Steps to Installing Your New Wood Flooring
Posted on July 13, 2023
News
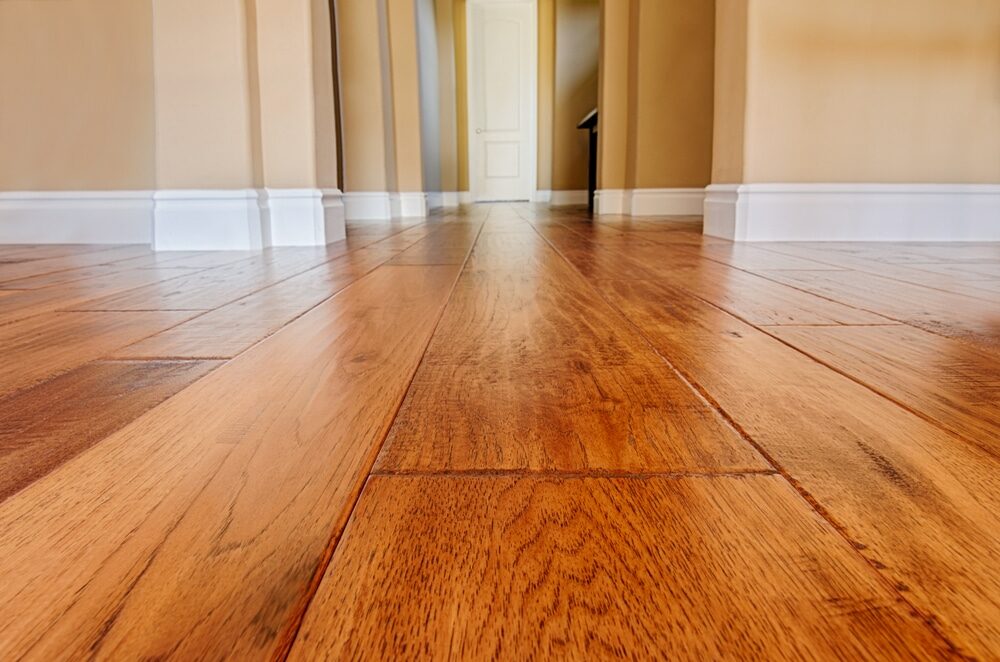
Achieve Stunning New Wood Floors: Quick and Easy Installation Guide
If your home’s hardwood floor is showing signs of wear and tear, or if you’re just looking for a fresh design upgrade, you might consider installing new wood flooring. While this may seem like a daunting task, breaking it down into quick, manageable steps can make the process a lot easier. Here’s your guide to a brand new wood flooring in just a few steps.
Step 1: Planning and Choosing Your Wood
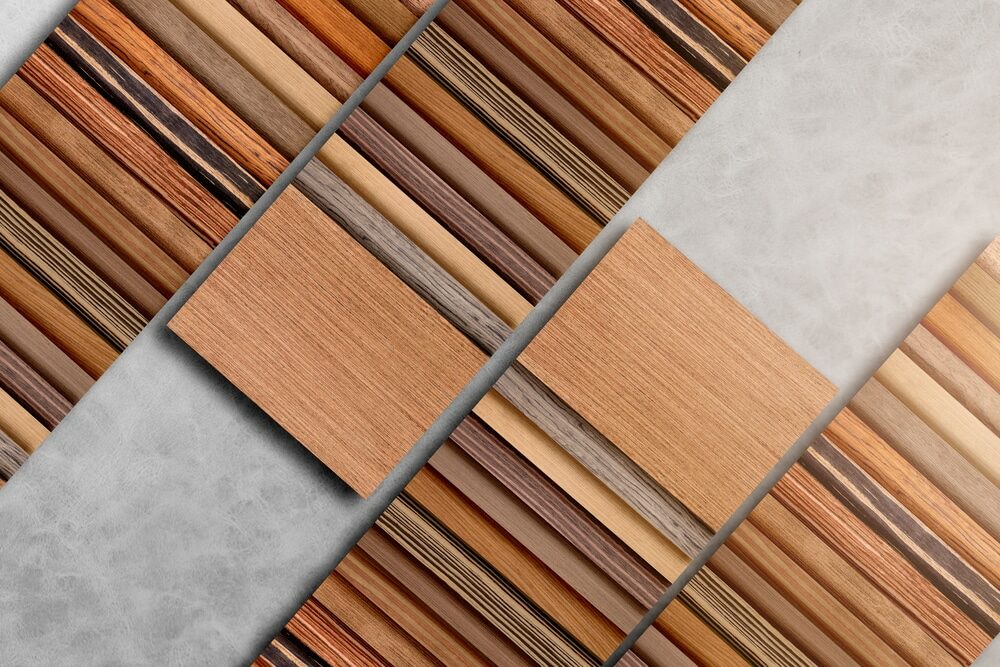
Planning is essential to any successful home improvement project. When it comes to wood flooring, consider your lifestyle, budget, and interior design. Choose the type of wood that best suits your needs. From durable oak to exotic teak or economical engineered wood, there are numerous options available.
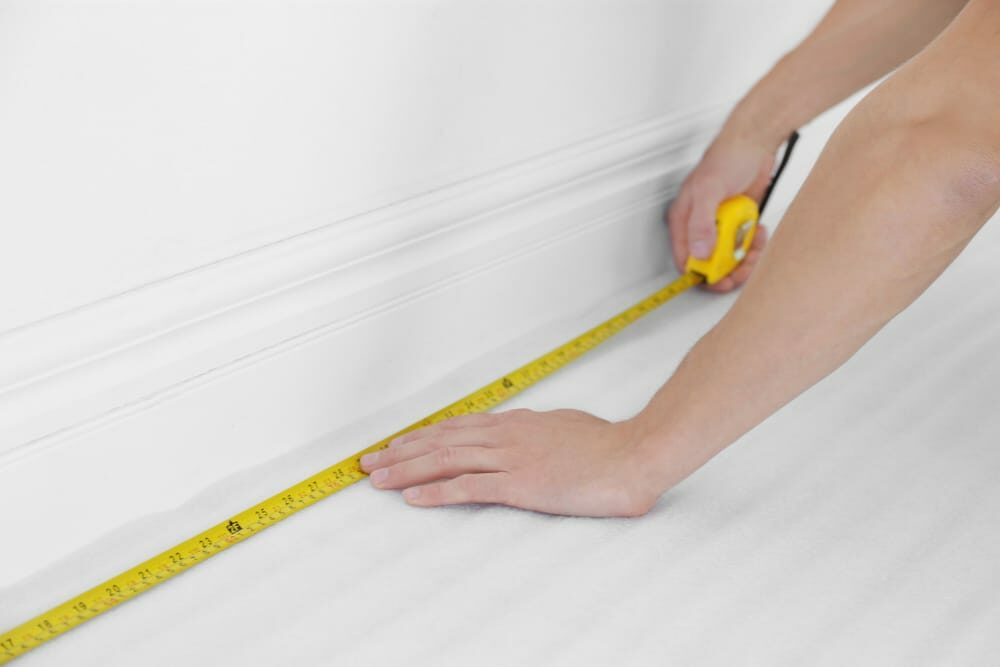
Step 2: Measuring Your Room
Measure the area of your room to determine how much flooring you’ll need. Remember to add 10-15% extra to account for any mistakes or wastage. This is particularly important if you’re choosing a patterned layout, such as herringbone or chevron, which require more wood.
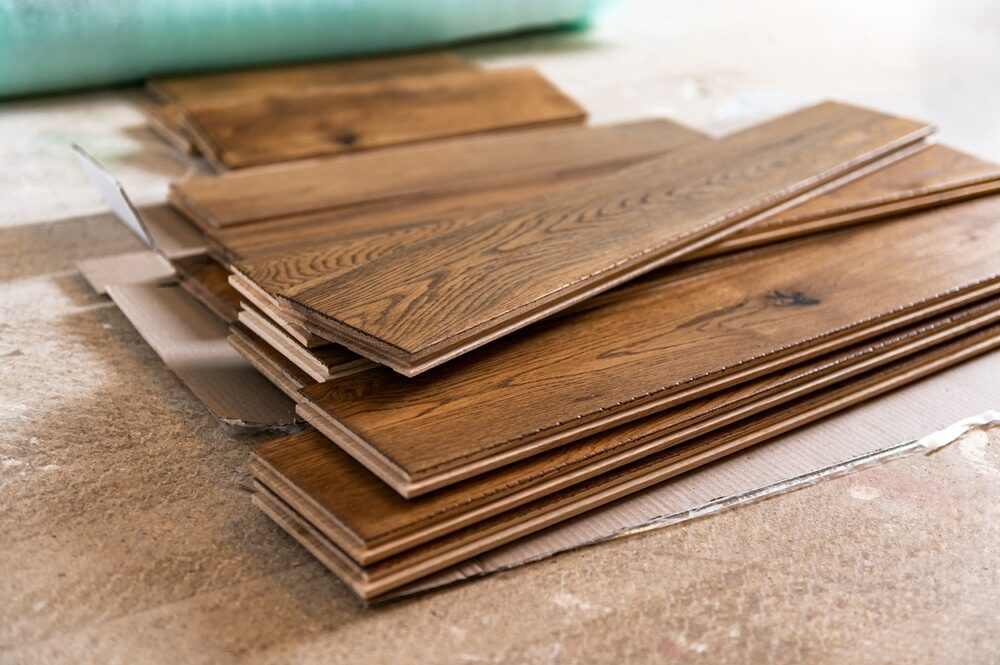
Step 3: Buying Your Wood
Now that you’ve chosen your wood type and calculated the required amount, it’s time to make your purchase. Visit local home improvement stores or check online retailers to compare prices and buy your wood. Remember to buy all your flooring from the same batch to ensure colour and pattern consistency.
Step 4: Acclimatise Your Wood
Wood is a natural material that reacts to its environment. Before installation, let your wood flooring acclimate to your home’s humidity and temperature for at least 48 hours. This helps prevent warping or shrinkage after installation.
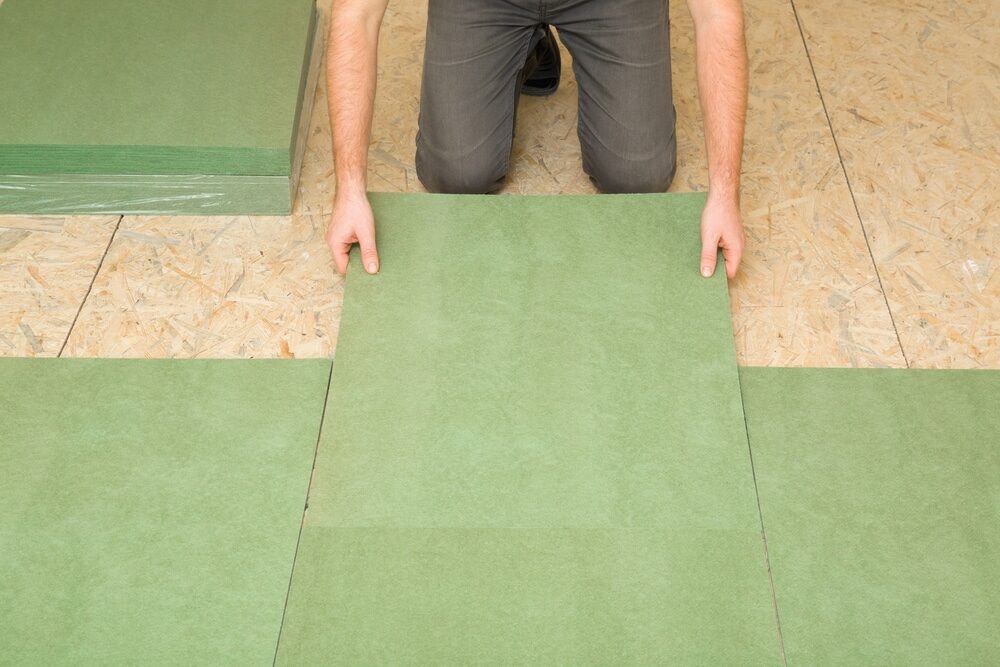
Step 5: Prepare Your Subfloor
A clean, level subfloor is key to a successful installation. Remove any existing flooring, thoroughly clean the area, and level the subfloor if needed. Install an underlay for soundproofing and to create a moisture barrier.
Step 6: Layout Planning
Plan your layout before starting the installation. The direction of your floorboards can significantly impact the room’s look. As a rule of thumb, floorboards are often installed parallel to the longest wall. Remember to plan for the placement of expansion gaps to account for natural wood movement.
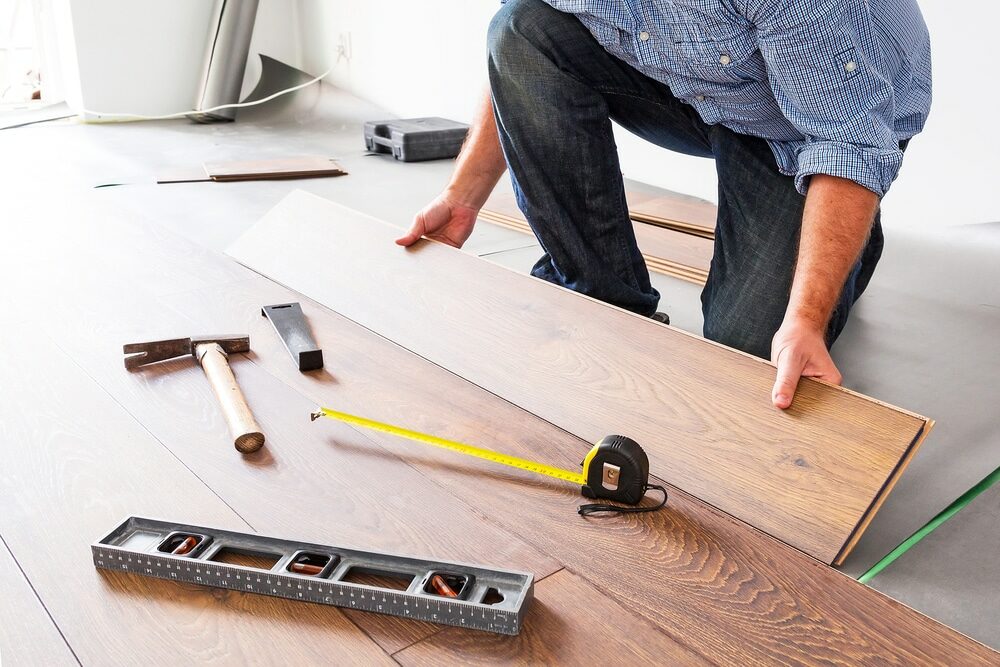
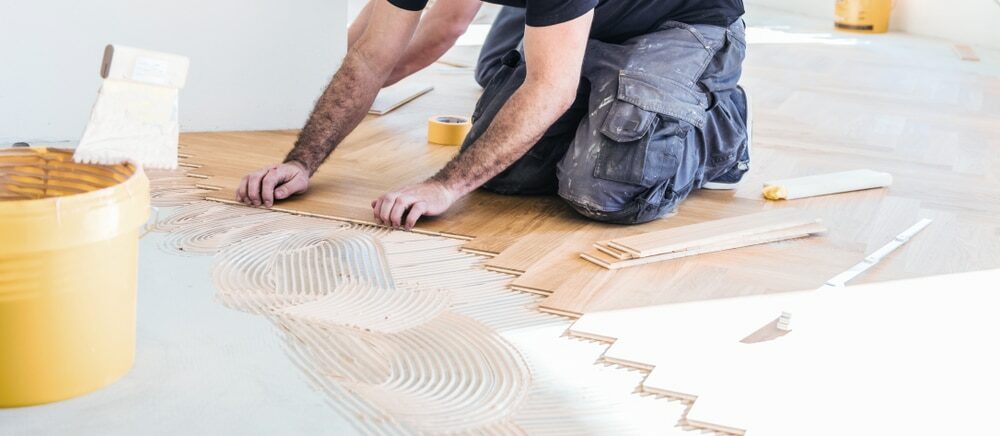
Step 7: Install Your Wood Flooring
Now the real work begins. Start from one corner of your room and work your way across. Depending on the type of flooring, you might need to glue, nail, or click the planks into place. Ensure that the planks fit snugly together and lay flat.
Step 8: Cut for The Last Row
The last row of flooring will likely need to be cut to fit. Measure the gap and subtract the expansion gap to know how wide the final plank needs to be. Use a table saw or hand saw to cut the planks to the correct width.
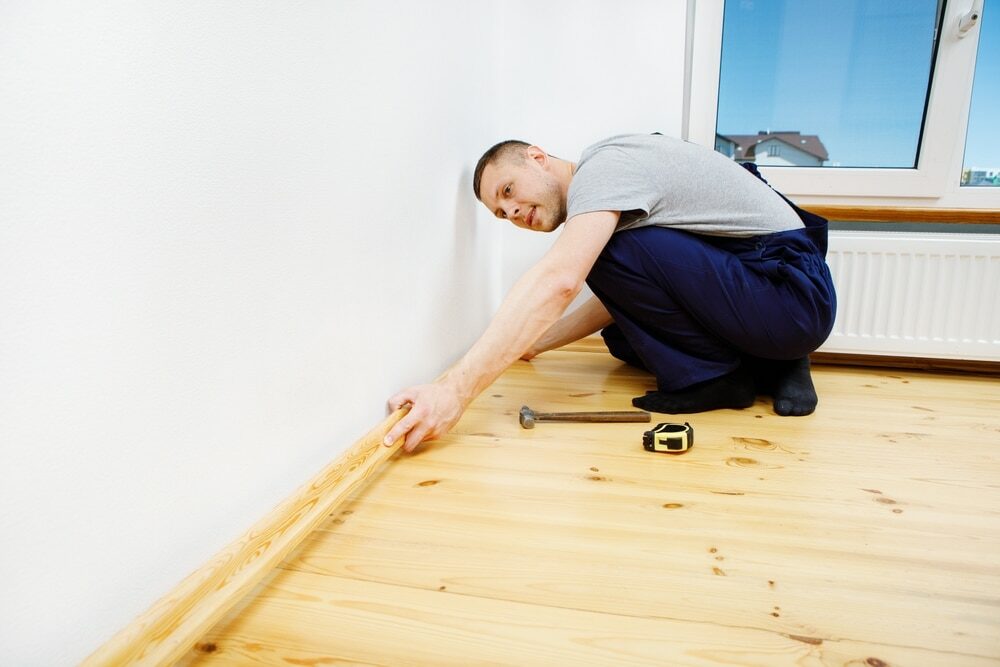
Step 9: Apply Finishing Touches
Once all the planks are installed, apply finishing touches. This may include installing baseboards or quarter round molding to hide the expansion gaps, or adding transitions between different flooring types in your home.
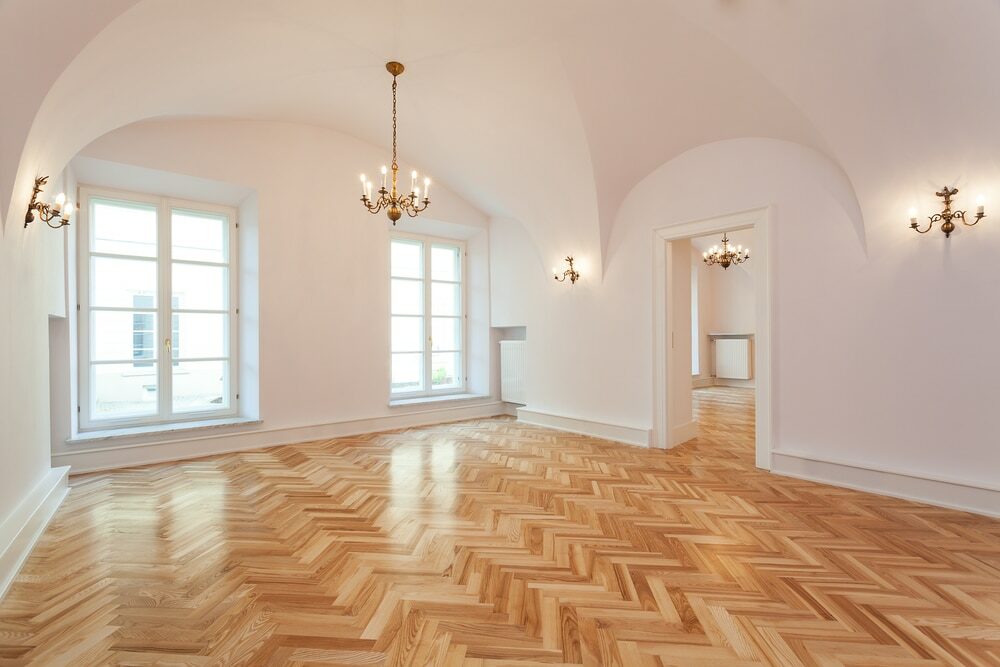
Step 10: Enjoy Your New Floor
Allow any adhesives to dry completely according to the manufacturer’s instructions, then clean your new floor before moving furniture back into the room. Now, sit back and enjoy the fresh look of your new wood flooring.
While installing new wood flooring might seem complicated, breaking it down into these quick steps can make the task more approachable. Remember that patience, attention to detail, and proper planning are critical in ensuring the success of your installation. With these steps at your fingertips, you’re well-equipped to give your home a stunning makeover with new wood flooring.
Some Useful Links:
- Floor Sanding Services
- School Floor Sanding
- Wood Floor Restorations
- Wood Floor Repairs
- Wood Floor Polishing
More from our Blog:
Fascinating Facts About Hardwood Floor Sanding in London How to Find The Best Value For Money Floorboard Sanding Experts Home Improvement Guidelines – Sanding Wooden Floors Dust Free Floor Sanding: Unraveling the Myth and Embracing the Reality


Sanding
We provide virtually dust-free sanding with our continuous belt machinery with mobile extraction units, giving you a safer environment for your family.
Oiling
This organic finish not only adds beauty to your home but also has exceptional water-repellent characteristics, making it easier to clean and maintain.
Waxing
This natural floor finish offers the softest and most mellow appearance – and leaves your floor able to breath.
Buffing
Using soft buffing machines (and hand-polishing where required) will bring a wonderful sheen to your newly-finished floor.
Repairs
We offer a full assessment of your wooden floors to determine what repairs are needed to provide the perfect working surface for the later stages of sanding, staining and sealing.
Restoration
We offer a comprehensive restoration process designed to address floors that are improperly fitted or damaged over time through wear and tear.
Request a fixed price quote for your wood floor restoration now
Simply enter your postcode below to get started.
Services
Wood Floor Sanding Wood Floor Restoration Wood Floor Scratch Repair Squeaky Wood Floor Repair Parquet Floor Sanding Parquet Floor Restoration Commercial Floor Sanding Church Floor Sanding Community Centre Floor Sanding School Floor Sanding Gap Filling Gap Filling with ResinCopyright © Mr Sander®
Privacy & Cookies Terms & Conditions Complaints Procedure Cancellation Rights Sitemap

Get An Instant Price Estimate Before You Go…
Simply enter the rooms you need sanded and we’ll provide you with a price estimate instantly! Try our price calculator now.
Get a Price Estimate NowLocal Floor Sanding Experts
Over 500 5-Star Reviews
Safe, Dust Free Sanding
Operating Since 1994