London:
Nationwide:
25,000+
Floors Restored
27 Years Experience
Wood Flooring Association Certified
Comprehensive Guide to Floor Sanding and Polishing Original Floorboards
Posted on April 12, 2023
Articles
The Ultimate Guide to Floor Sanding and Polishing: Restoring the Beauty of Your Wooden Floors
A well-maintained wooden floor can bring warmth, elegance, and charm to any home. However, over time, the floorboards can become dull, scratched, and worn out. Floor sanding and polishing are crucial processes that help restore the original beauty and shine of your wooden floors. In this comprehensive guide, we will discuss the process of floor sanding and polishing floorboards, the tools and materials you’ll need, and the best practises to ensure a professional finish.
1. Understanding the Floor Sanding and Polishing Process
Floor sanding and polishing involve several steps that include preparing the floor, sanding, filling gaps, and applying the finish. Each step is vital to achieving a smooth and glossy wooden floor that enhances the overall aesthetic of your home.
A. Floor Preparation
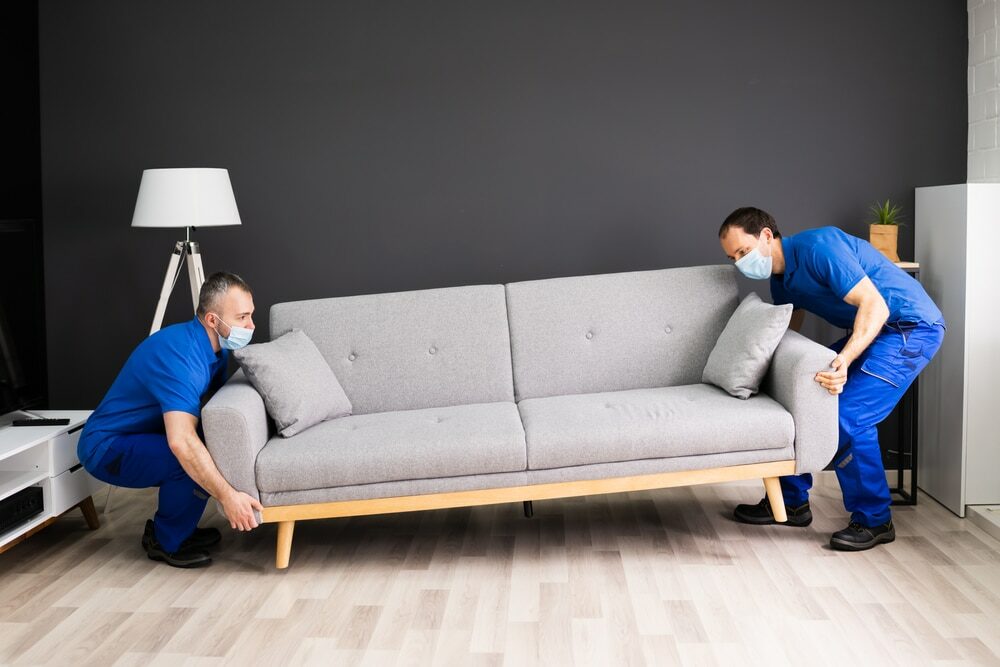
Before starting the sanding process, it’s essential to prepare the floorboards properly. Remove any furniture, rugs, and other items from the room. Inspect the floor for any protruding nails, staples, or tacks and remove them. Also, clean the floor thoroughly to remove any dust or debris.
B. Sanding
Sanding is the process of removing the old finish and smoothing out any imperfections in the wood. This step usually involves using various grits of sandpaper to achieve a smooth, even surface.
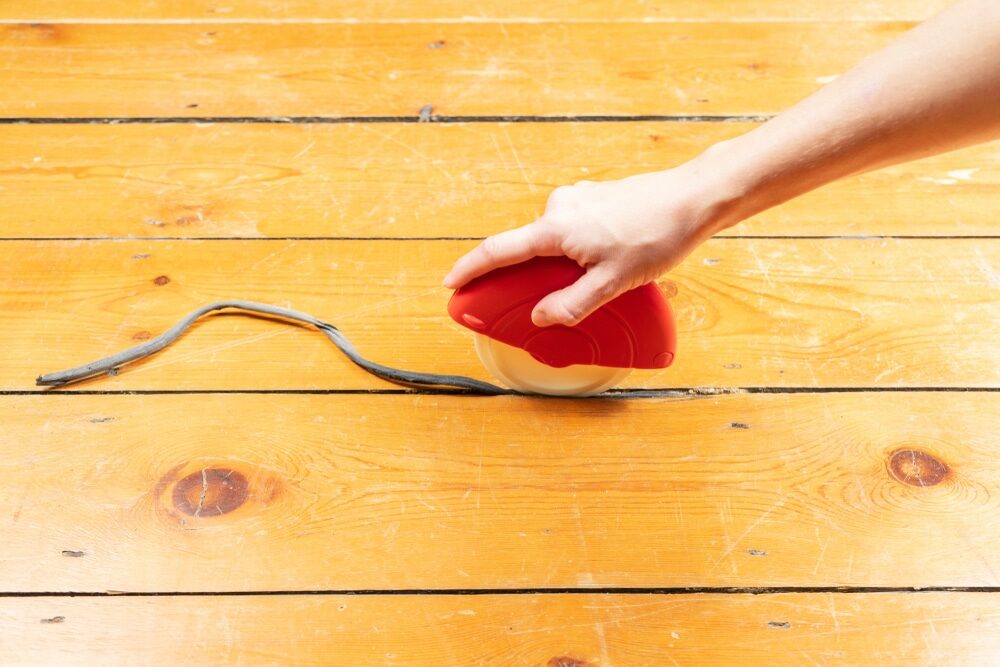
C. Gap Filling
Filling gaps between the floorboards helps create a seamless surface and prevents draughts, dirt, and moisture from seeping through. You can use various gap-filling materials, such as wood filler, sawdust mixed with wood glue, or flexible filler.
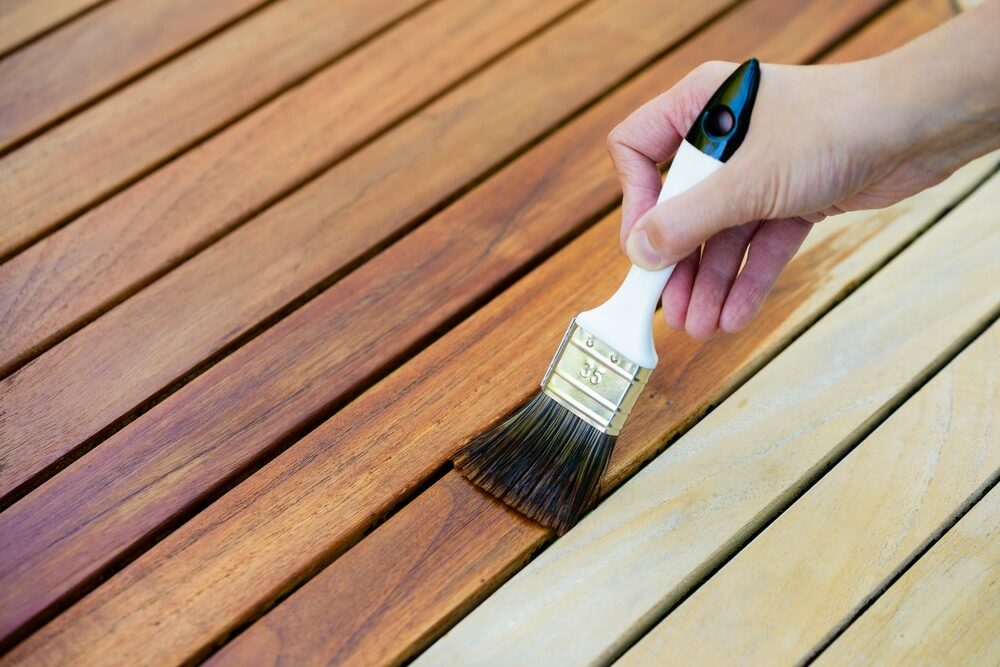
D. Polishing
Polishing, also known as buffing, is the final step in the process. It involves applying a protective finish to the floor, such as wax, oil, or polyurethane, and then buffing the surface to create a smooth, glossy shine.
2. Tools and Materials You’ll Need
To sand and polish your wooden floorboards, you’ll need the following tools and materials:
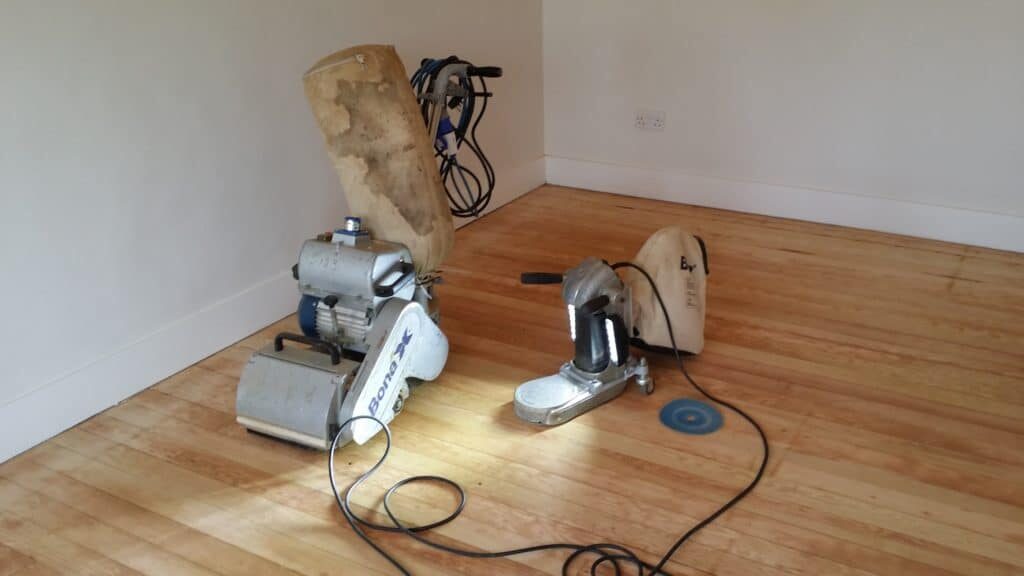
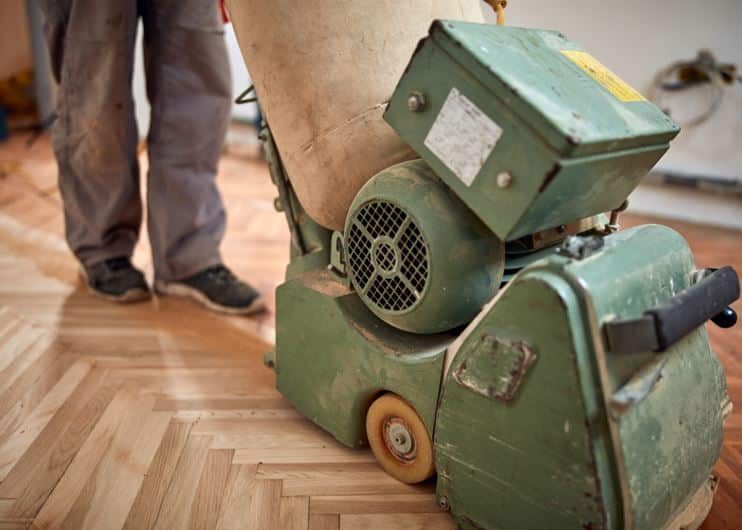
A. Floor sanding machine
B. Edging sander
C. Orbital or buffing sander
D. Sanding paper in various grits (e.g., 40, 60, 80, 100, and 120 grit)
E. Gap filler or wood filler
F. Protective finish (wax, oil, or polyurethane)
G. Paintbrush or roller
H. Buffering pad or cloth
I. Safety equipment (dust mask, safety goggles, and earplugs)
3. The Step-by-Step Process of Floor Sanding and Polishing
A. Sanding the Floor
- Begin by sanding the main area of the floor using a floor sanding machine. Start with the lowest grit sandpaper (40 grit) and work your way up to the highest grit (120 grit). This will ensure a smooth, even surface.
- Use an edging sander to sand the edges and corners of the room, following the same grit progression as with the main floor.
- Vacuum the floor thoroughly to remove any dust and debris created during the sanding process.
B. Filling Gaps
- Choose the appropriate gap filler for your floorboards and mix it according to the manufacturer’s instructions.
- Apply the filler to the gaps between the floorboards, using a putty knife or a flexible scraper. Ensure that the filler is level with the surface of the floor.
- Allow the filler to dry according to the manufacturer’s recommended time before proceeding to the next step.
C. Final Sanding
- Once the filler is dry, sand the entire floor once more using the highest grit sandpaper (120 or 150 grit) to ensure a smooth surface. Pay special attention to the areas where the filler was applied to blend it seamlessly with the rest of the floor.
- Vacuum the floor thoroughly to remove any remaining dust and debris
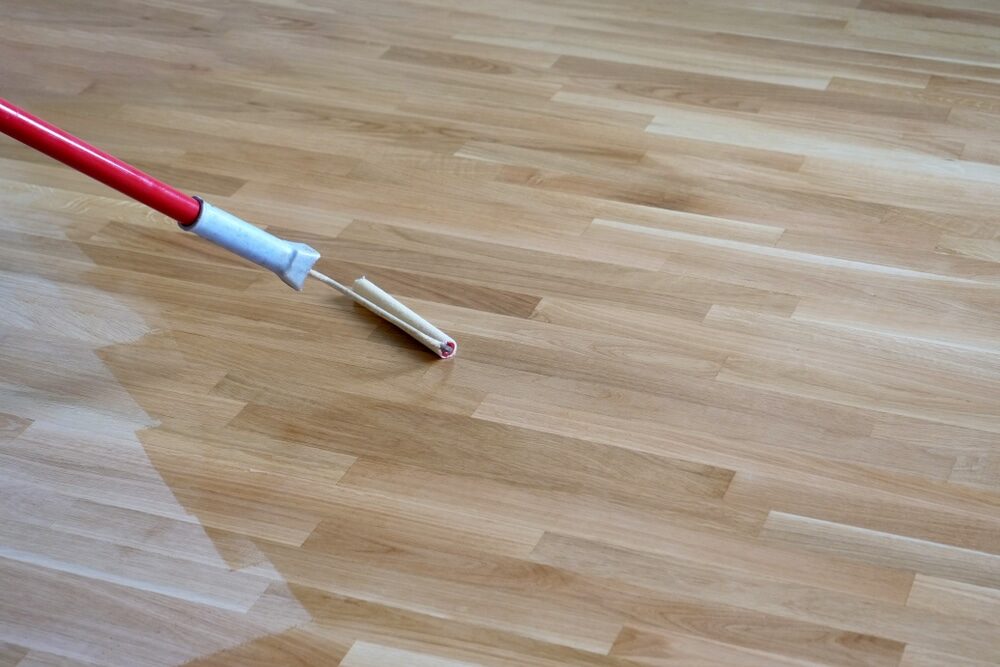
D. Applying the Finish
- Choose the protective finish that best suits your needs and preferences. Hardwax, oil, and polyurethane finishes each have their pros and cons, so research the options carefully before making your decision.
- Apply the chosen finish to the wooden floor using a paintbrush or roller, following the manufacturer’s instructions. Start at the farthest corner of the room and work your way towards the exit to avoid stepping on the wet floor.
- Allow the finish to dry according to the manufacturer’s recommended time (1hr to 8hrs). It’s essential to give the finish sample time to dry to ensure proper adhesion and durability.
E. Buffing the Floor
- Once the finish is completely dry, use an orbital or buffing sander with a buffing pad or cloth to polish the floor. This process will give your floorboards a smooth, glossy shine.
- If desired, you can apply additional coats of finish for increased durability and gloss. Be sure to follow the manufacturer’s instructions regarding the number of coats and drying times.
- Vacuum or sweep the floor to remove any dust or debris created during the buffing process.
- Tips and Tricks for a Professional Result
A. Work in a systematic manner, moving from one section of the room to another, to ensure even sanding and polishing.
B. Always sand in the direction of the wood grain to minimise scratches and achieve a smooth finish.
C. Use proper safety equipment, such as a dust mask, safety goggles, and earplugs, to protect yourself from dust and noise during the sanding and polishing process.
D. Be patient and take your time during each step of the process. Rushing through the sanding and polishing steps can lead to uneven results and an unsatisfactory finish.
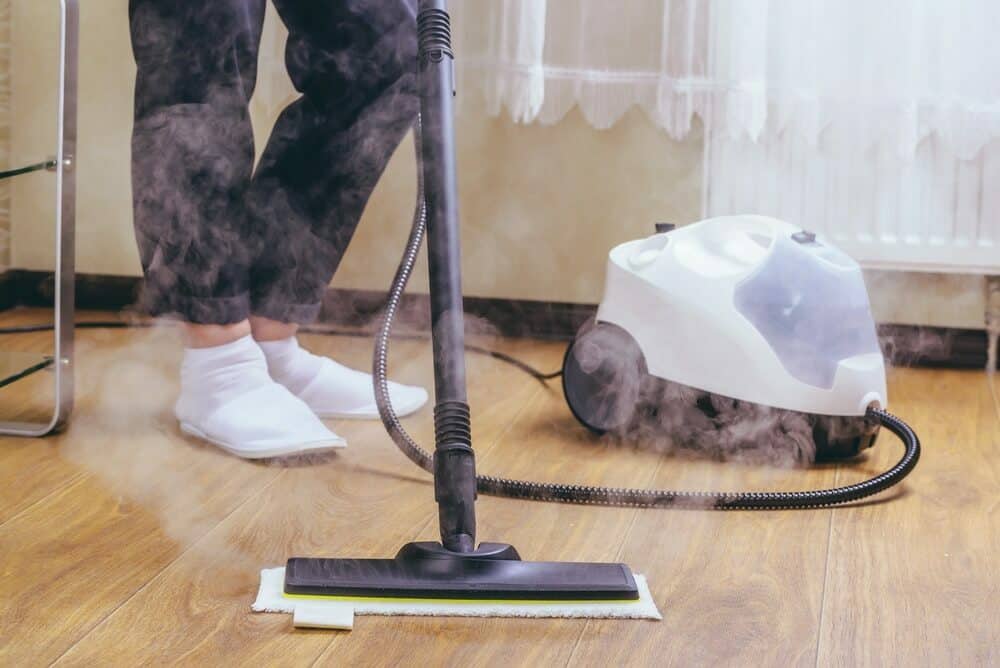
E. Regularly clean and maintain your wooden floors to prolong their lifespan and minimise the need for extensive sanding and polishing in the future.
Conclusion
Floor sanding and polishing are essential steps in restoring the beauty and shine of your wooden floorboards. By following the step-by-step process outlined in this comprehensive guide and using the appropriate tools and materials, you can achieve a professional result that enhances the overall aesthetic of your home. Remember, patience, attention to detail, and proper maintenance are key to ensuring the longevity and appeal of your wooden floors.

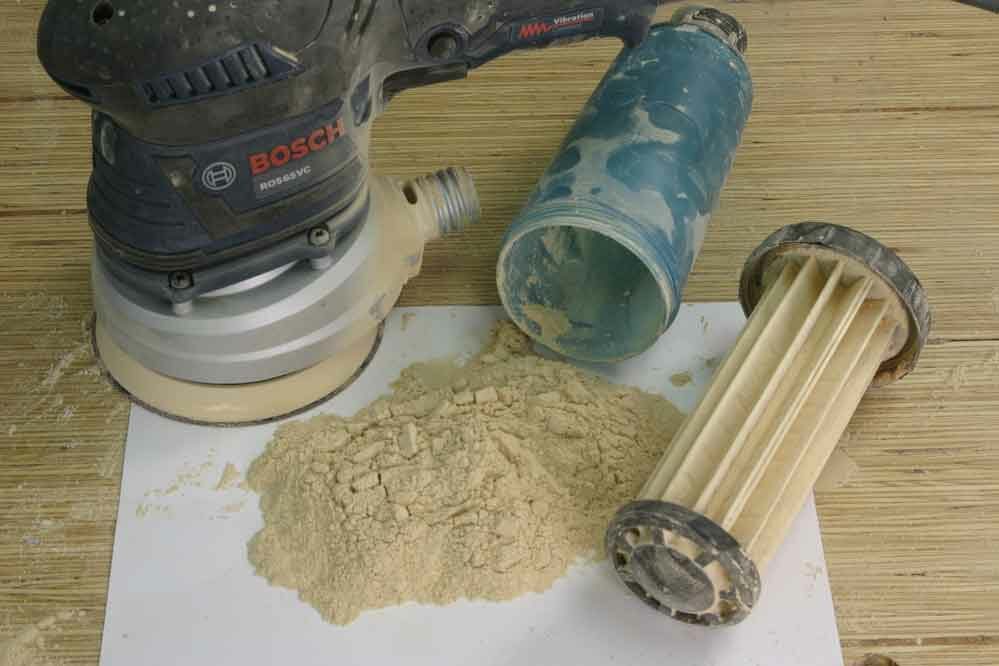
Sanding
We provide virtually dust-free sanding with our continuous belt machinery with mobile extraction units, giving you a safer environment for your family.
Oiling
This organic finish not only adds beauty to your home but also has exceptional water-repellent characteristics, making it easier to clean and maintain.
Waxing
This natural floor finish offers the softest and most mellow appearance – and leaves your floor able to breath.
Buffing
Using soft buffing machines (and hand-polishing where required) will bring a wonderful sheen to your newly-finished floor.
Repairs
We offer a full assessment of your wooden floors to determine what repairs are needed to provide the perfect working surface for the later stages of sanding, staining and sealing.
Restoration
We offer a comprehensive restoration process designed to address floors that are improperly fitted or damaged over time through wear and tear.
Request a fixed price quote for your wood floor restoration now
Simply enter your postcode below to get started.
Services
Wood Floor Sanding Wood Floor Restoration Wood Floor Scratch Repair Squeaky Wood Floor Repair Parquet Floor Sanding Parquet Floor Restoration Commercial Floor Sanding Church Floor Sanding Community Centre Floor Sanding School Floor Sanding Gap Filling Gap Filling with ResinCopyright © Mr Sander®
Privacy & Cookies Terms & Conditions Complaints Procedure Cancellation Rights Sitemap

Get An Instant Price Estimate Before You Go…
Simply enter the rooms you need sanded and we’ll provide you with a price estimate instantly! Try our price calculator now.
Get a Price Estimate NowLocal Floor Sanding Experts
Over 500 5-Star Reviews
Safe, Dust Free Sanding
Operating Since 1994