London:
Nationwide:
25,000+
Floors Restored
27 Years Experience
Wood Flooring Association Certified
How to Sand Hardwood Floors in 10 Easy Steps
Posted on June 14, 2023
Floor Sanding Articles
Sanding Hardwood Floors: A Comprehensive DIY Guide in 10 Steps
Sanding your hardwood floors is not a project for the faint-hearted, but it’s certainly doable if you’re prepared to dedicate some time, patience, and elbow grease. Let’s break down this process into ten easy steps that anyone can follow.Understanding the Basics: What is Floor Sanding?
Floor sanding is a process that removes the top surface of a wooden floor by sanding it with abrasive materials. The purpose is to smooth out imperfections and prepare the floor for refinishing. While it’s possible to do this yourself, the process requires care to avoid damaging your floors.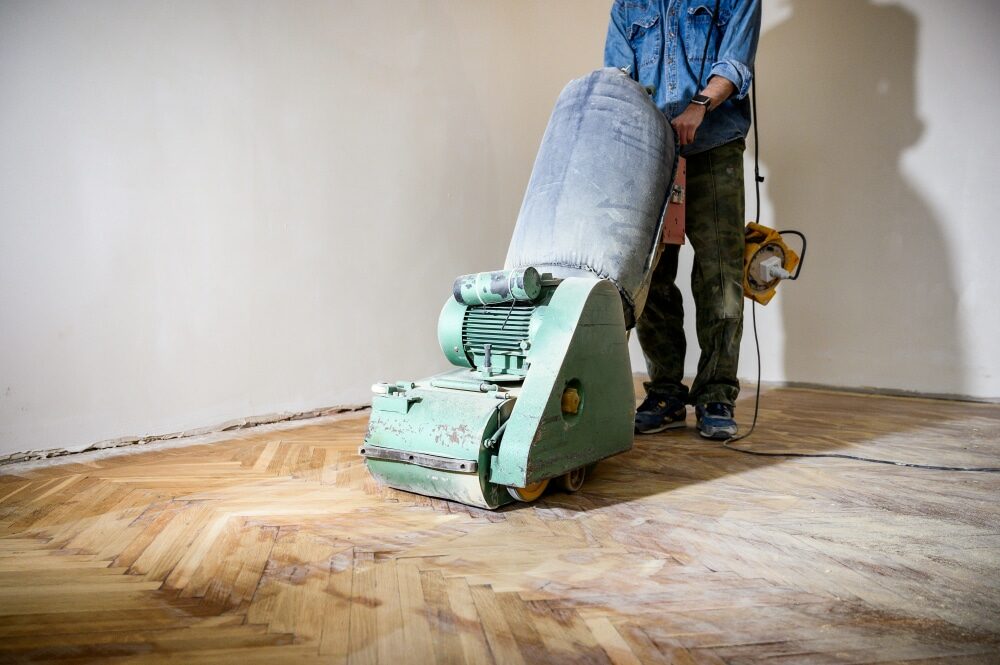
The Importance of Sanding Hardwood Floors
Sanding your hardwood floors can restore their beauty, remove stains, scratches, and imperfections, and provide a fresh, clean slate for staining and sealing. The result is a beautifully refreshed floor that can significantly enhance the look of your home.The tools and materials you’ll need
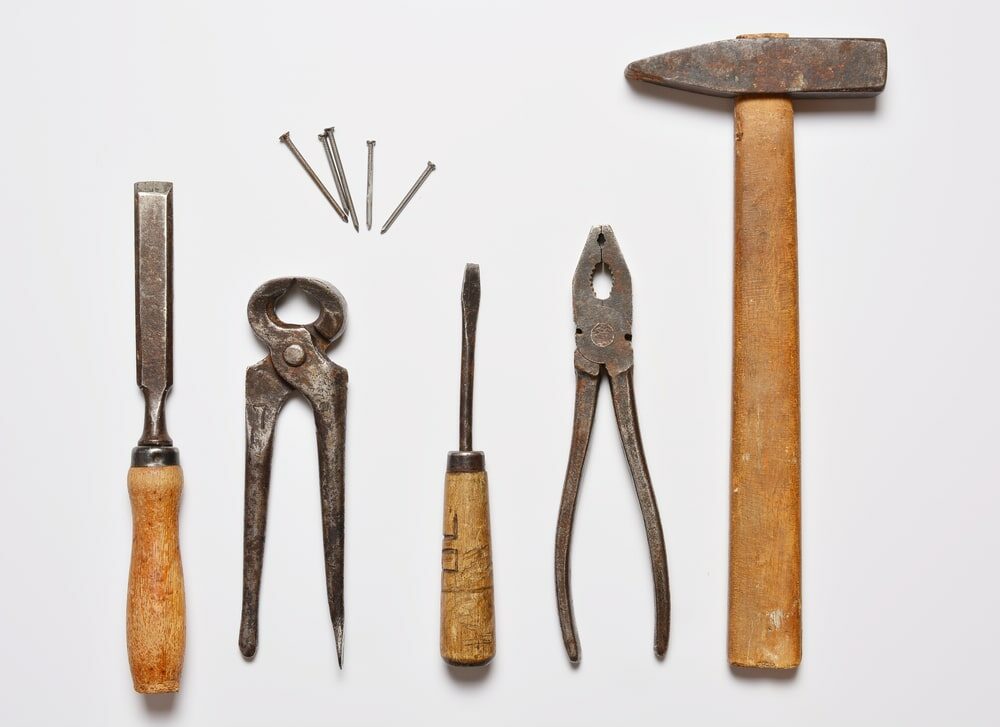
Before you start, you’ll need to gather the necessary tools and materials.- Drum or orbital sander
- Edge Sander
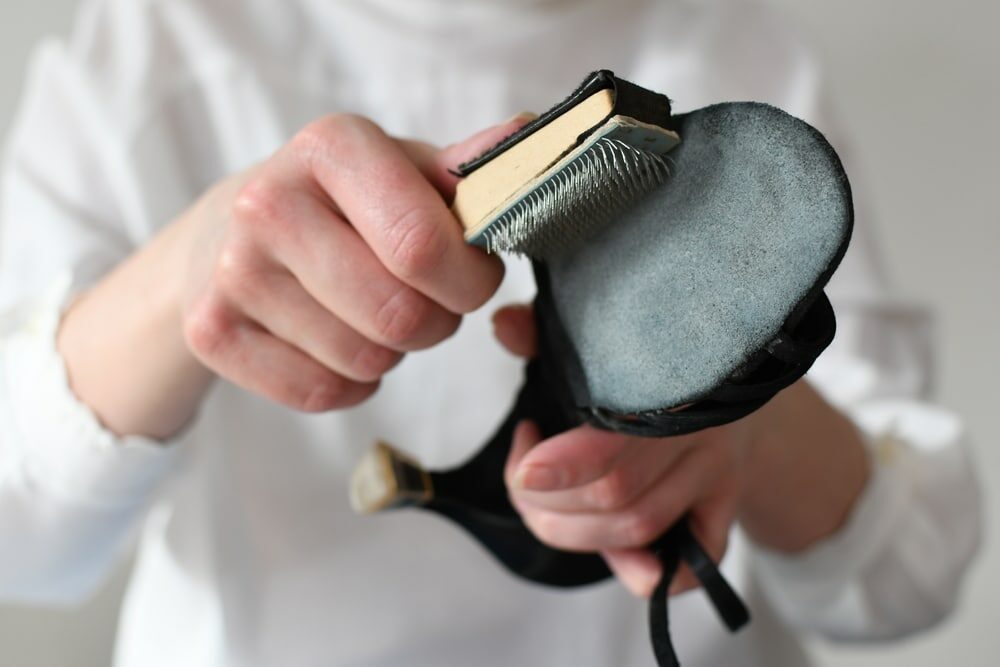
- Sandpaper (various grits: 36-grit, 60-grit, 80-grit, and 100-grit)
- Protective gear (dust masks, goggles, ear protection)
- Vacuum cleaner or dust collection system
- Hammer and Nail Set
- Plastic Sheeting
- Painters’ Tape

Step 1: Preparing the Room
The first step involves preparing the room for sanding. Remove all furniture, rugs, and miscellaneous items. Use your hammer and nail set to make sure all nail heads are below the surface of the floor to prevent damaging the sander. Cover all doors, windows, vents, and electrical outlets with plastic sheeting and painters’ tape to protect them from dust.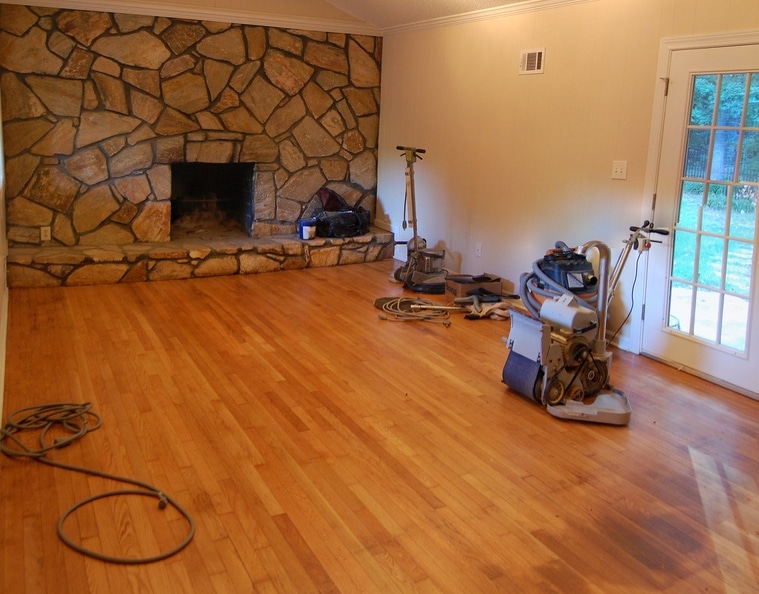
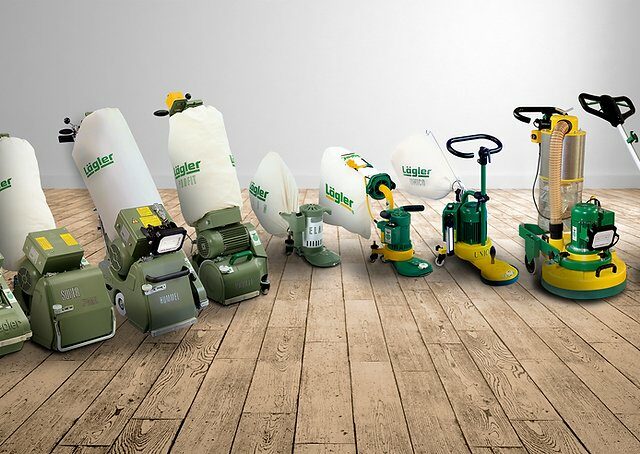
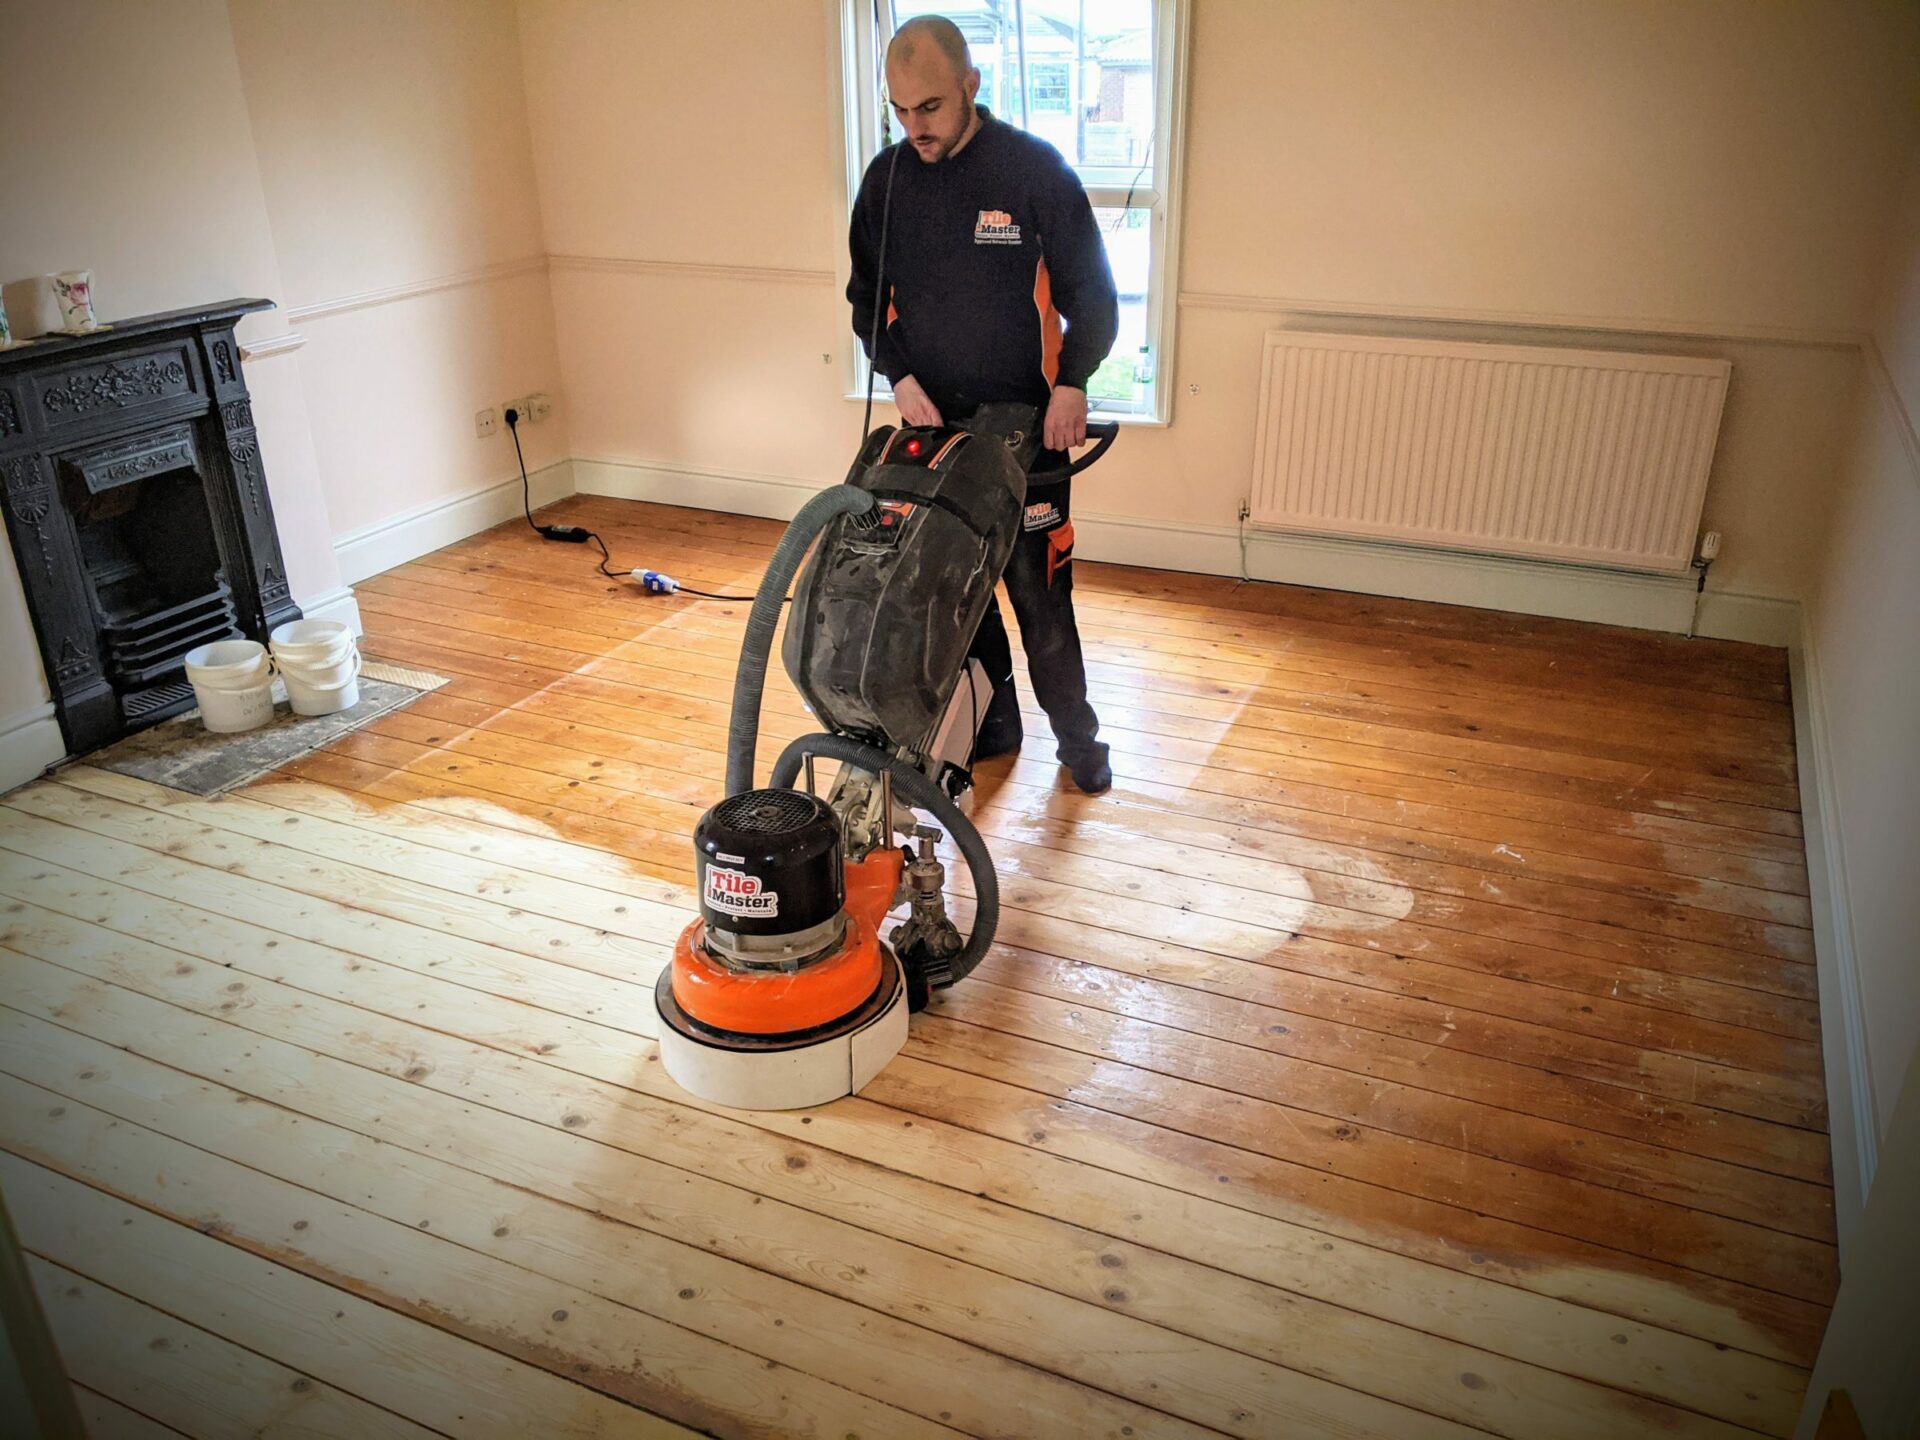
Step 2: Choosing the Right Sander
Your choice of sander is critical. A drum sander is powerful and great for large, open areas, but it can be difficult to control for beginners. An orbital sander is easier to handle and less aggressive, making it a safer choice for DIY enthusiasts.Step 3: Starting with Coarse-Grit Sandpaper
Start with 36-grit sandpaper for the initial sanding pass. It’s coarse enough to strip away the old finish and level out minor unevenness in the floor.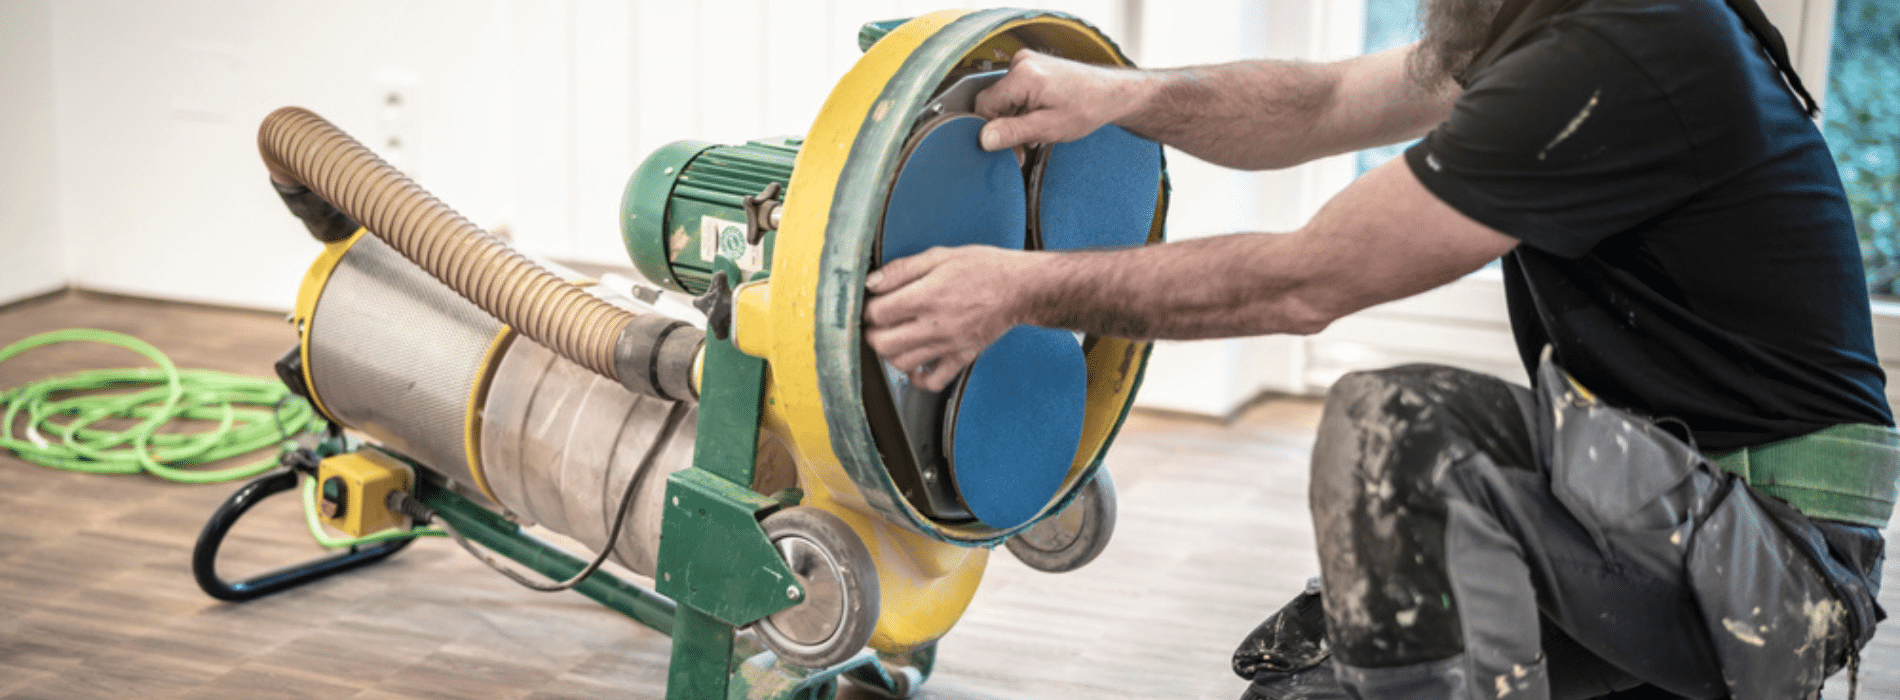
Step 4: Sanding the Floor
Always sand along the grain of the wood, not against it, to avoid scratches. Start at one end of the room and work your way towards the other end. Move the sander forward and backward, overlapping each pass for an even finish.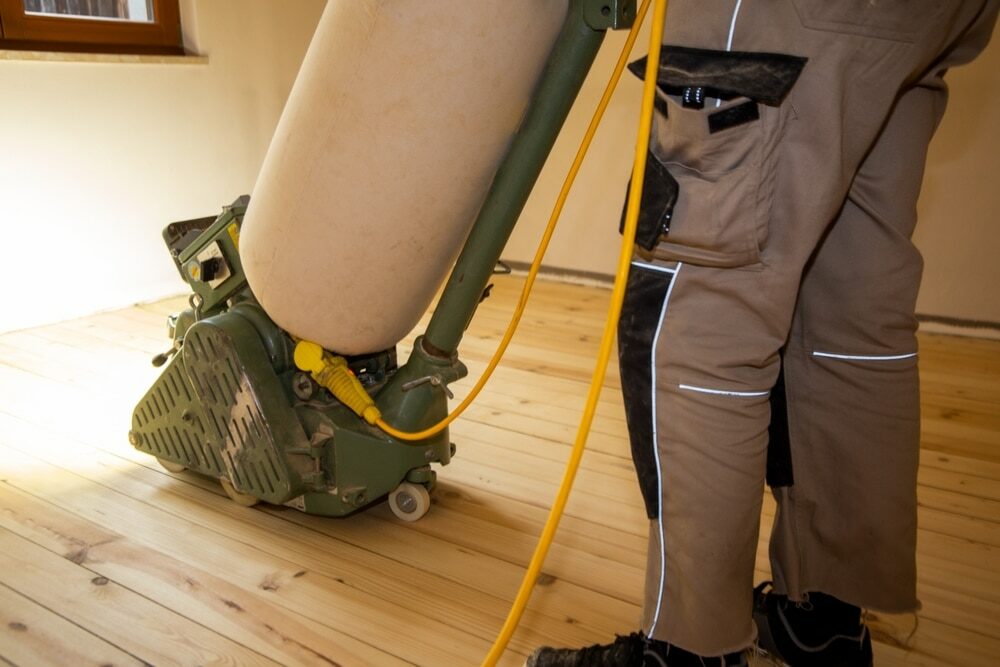
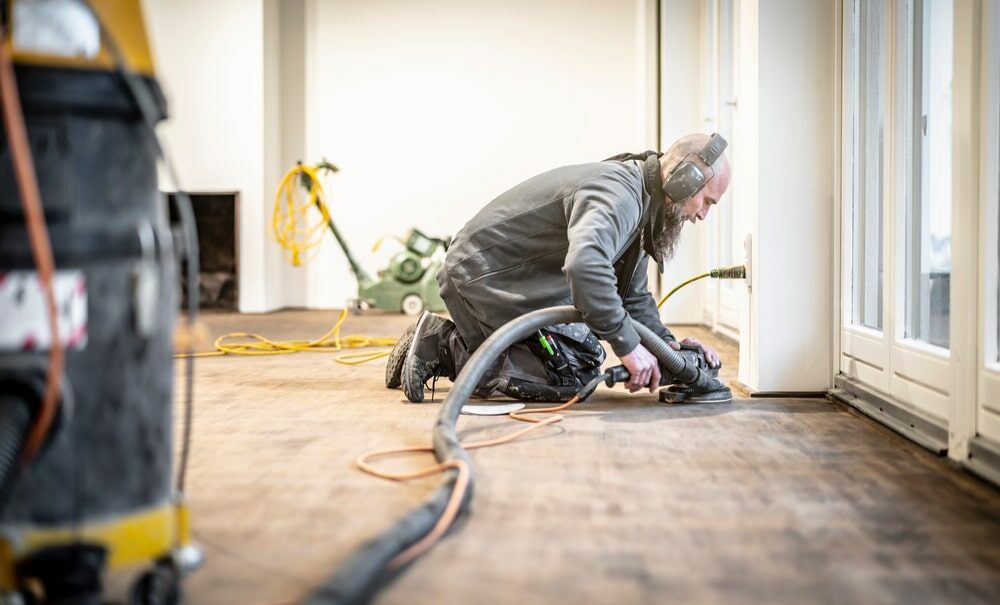
Step 5: Edge Sanding
The edge sander comes into play for areas where your primary sander can’t reach, such as corners and edges. Use the same grit of sandpaper as your initial pass.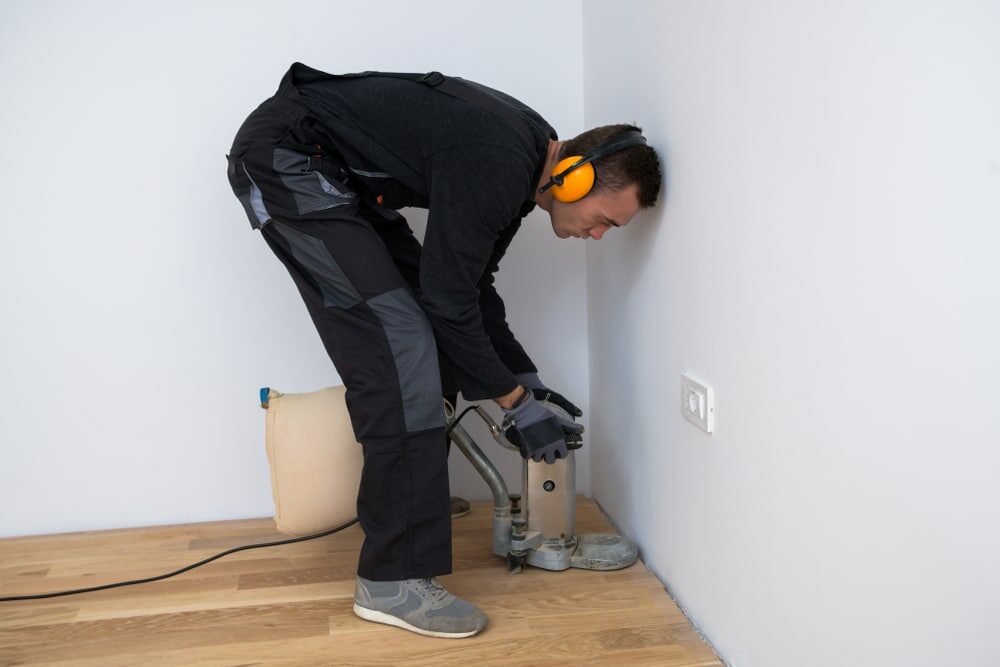
Step 6: Repeat sanding with higher-grit sandpaper.
After the initial sanding, repeat the process with medium-grit (60-grit) sandpaper. This pass will remove any scratches left by the previous sanding. Remember to also use the edge sander.Step 7: Final Sanding Pass
The final sanding pass should be with fine-grit (80-grit or 100-grit) sandpaper. This will leave your floor smooth and ready for finishing. Again, don’t forget to take care of the edges.Step 8: Cleaning Up
After sanding, there will be a substantial amount of dust. Vacuum the room thoroughly, making sure to get into all the nooks and crannies. Follow this with a damp mop to pick up any remaining dust.Step 9: Checking Your Work
Before moving on to finishing, check your work. Look for any missed areas or swirl marks. If necessary, perform a quick touch-up with fine-grit sandpaper.Step 10: Applying the Finish
Once you’re satisfied with your sanding, you can move on to staining and sealing your floors. Be sure to follow the manufacturer’s instructions for the best results.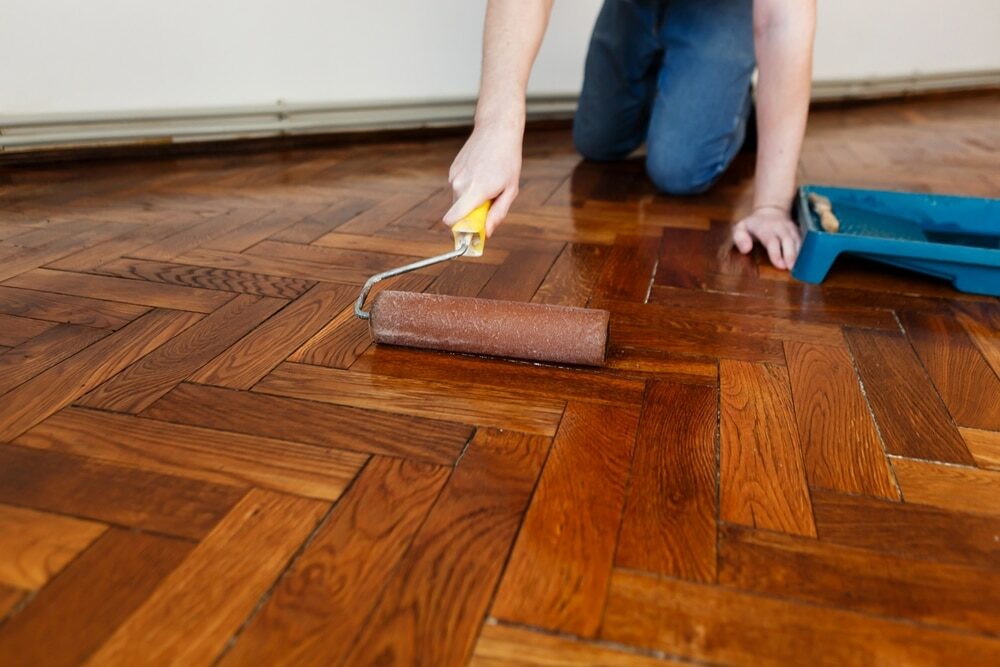
Conclusion
Sanding hardwood floors can be an intense DIY project, but it’s one that can breathe new life into your home. Take your time, be prepared, and remember that the key to a great finish is in the prep work. With these ten easy steps, you’re well on your way to beautifully refinished hardwood floors.Some Useful Links:
- Floor Sanding Services
- School Floor Sanding
- Wood Floor Restorations
- Wood Floor Repairs
- Wood Floor Polishing
More from our Blog:
Reviving Victorian Elegance: Floorboard Sanding in West London Homes The Rise of Carpet Tiles: A Popular Choice for Modern Flooring The Biggest Wood Flooring Trends Revealed: Creating Timeless Interiors Wood Flooring: The Sustainable Choice for Your Home Everything You Need to Know About Wood Floor Sanding Companies

Sanding
We provide virtually dust-free sanding with our continuous belt machinery with mobile extraction units, giving you a safer environment for your family.
Oiling
This organic finish not only adds beauty to your home but also has exceptional water-repellent characteristics, making it easier to clean and maintain.
Waxing
This natural floor finish offers the softest and most mellow appearance – and leaves your floor able to breath.
Buffing
Using soft buffing machines (and hand-polishing where required) will bring a wonderful sheen to your newly-finished floor.
Repairs
We offer a full assessment of your wooden floors to determine what repairs are needed to provide the perfect working surface for the later stages of sanding, staining and sealing.
Restoration
We offer a comprehensive restoration process designed to address floors that are improperly fitted or damaged over time through wear and tear.
Request a fixed price quote for your wood floor restoration now
Simply enter your postcode below to get started.
Services
Wood Floor Sanding Wood Floor Restoration Wood Floor Scratch Repair Squeaky Wood Floor Repair Parquet Floor Sanding Parquet Floor Restoration Commercial Floor Sanding Church Floor Sanding Community Centre Floor Sanding School Floor Sanding Gap Filling Gap Filling with ResinCopyright © Mr Sander®
Privacy & Cookies Terms & Conditions Complaints Procedure Cancellation Rights Sitemap

Get An Instant Price Estimate Before You Go…
Simply enter the rooms you need sanded and we’ll provide you with a price estimate instantly! Try our price calculator now.
Get a Price Estimate NowLocal Floor Sanding Experts
Over 500 5-Star Reviews
Safe, Dust Free Sanding
Operating Since 1994