London:
Nationwide:
25,000+
Floors Restored
27 Years Experience
Wood Flooring Association Certified
Revive the Timeless Elegance of Parquet Floors: A Comprehensive Restoration Guide
Posted on May 26, 2023
Articles
Uncovering the Hidden Beauty: Restoring Original Parquet Floors in Pre-War London Bungalows
Imagine your surprise when you pull up the old carpet in your pre-war London bungalow and discover a hidden treasure: original herringbone or chevron-style parquet tiles. This beautiful and timeless flooring, though perhaps a little worn and needing some tender loving care, is a testament to the craftsmanship of a bygone era. Even if there are missing, damaged, or rotten tiles, these can be replaced, and your parquet flooring can be refreshed, renewed, and returned to its original shine and luster. This is more than a restoration; it’s an opportunity to preserve a piece of history and add additional value to your home.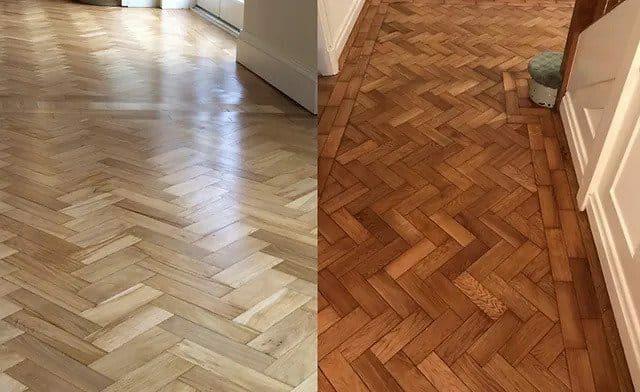
Understanding Parquet Floors
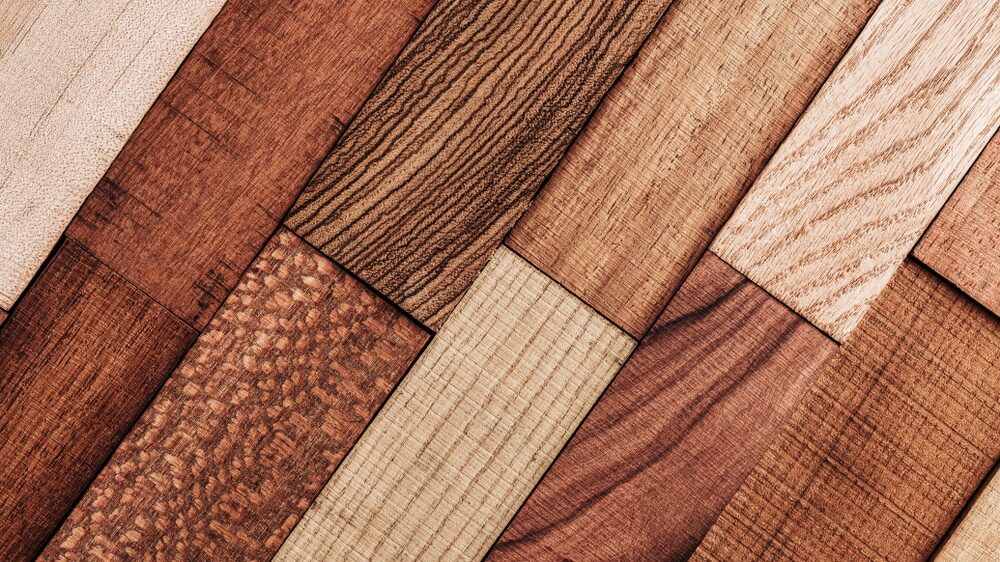
Parquet flooring, which dates back to the 16th century, is a type of wood flooring made from small blocks or strips of wood arranged in a geometric pattern. Herringbone and chevron are among the most popular patterns with intricate and eye-catching designs. The charm of these floors lies in their detail and the skills needed to create them. However, like any other type of flooring, they require regular maintenance and occasional restoration to maintain their beauty.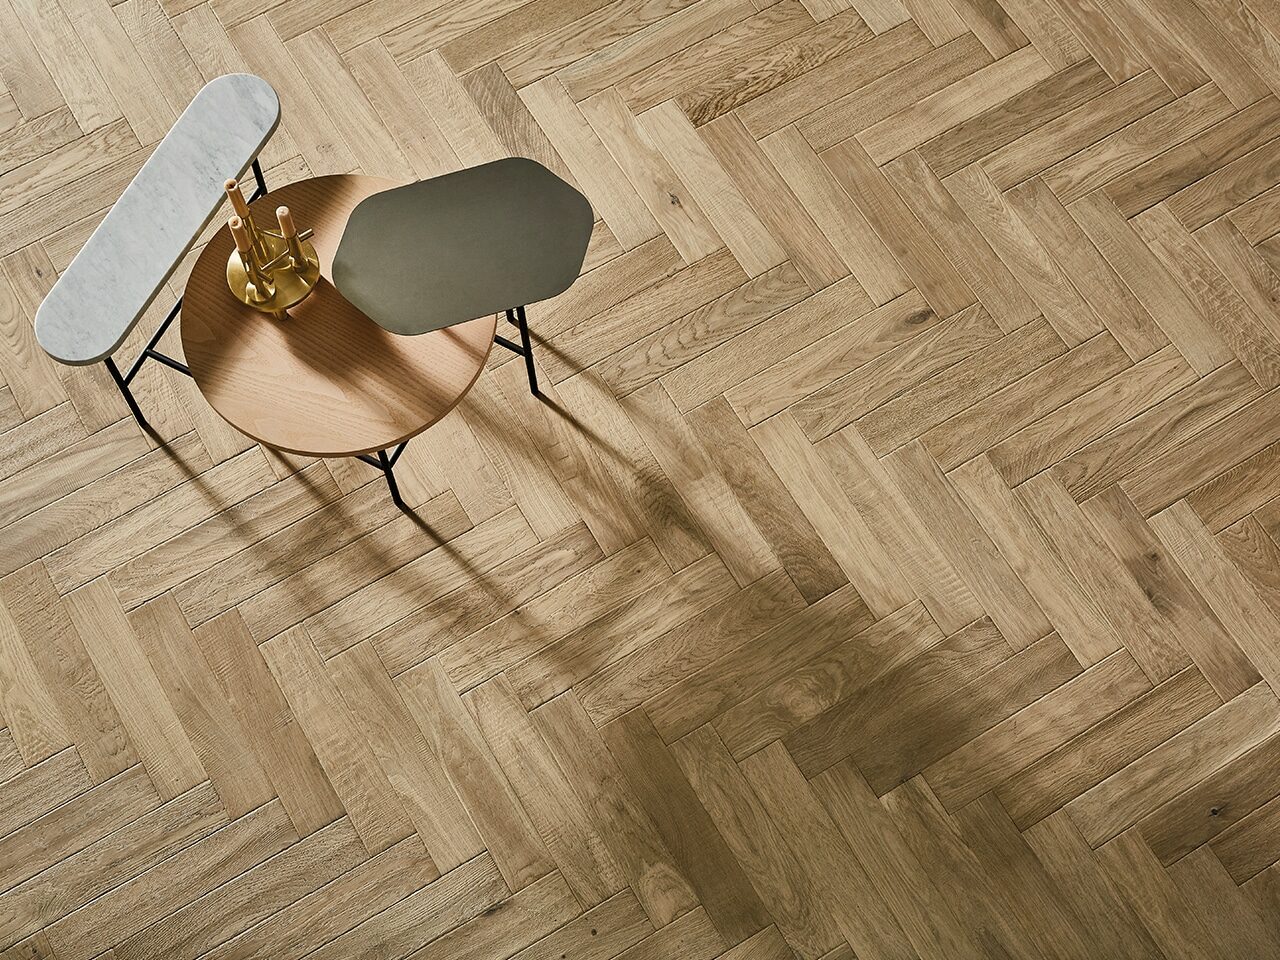
Identifying problems and potential solutions
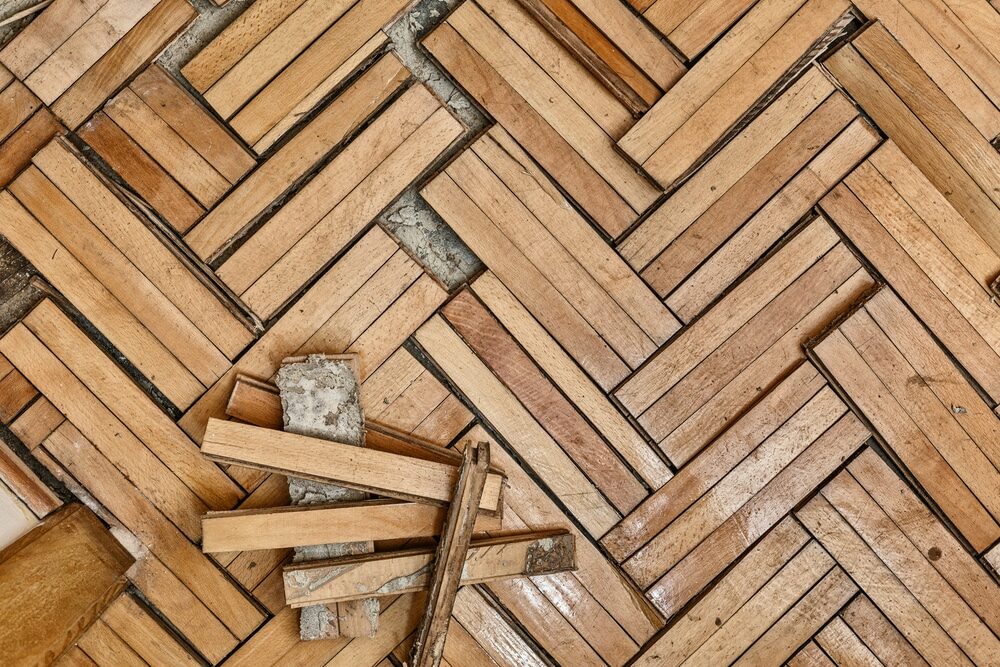
Before you begin the process of restoring your parquet floor, it’s essential to understand the common problems you might encounter:- Loose or unattached tiles: If a tile moves when walked on or produces a hollow sound when tapped, it has likely become separated from the subfloor.
- Damaged or Rotten Tiles: Chipped, cracked, or rotting tiles will need to be replaced.
- Uneven Surface: The floor’s surface can become uneven due to wear and tear.
- Dull Appearance: If the floor has lost its luster, it might require sanding and refinishing to restore its original shine.
Assessing Your Floor and Planning the Restoration
When dealing with an original pre-war parquet floor, you must proceed cautiously. These floors were typically laid tongue-in-groove, meaning the tiles were interlocked. Removing damaged boards is a delicate operation, as care must be taken to avoid damaging interconnected blocks. Before starting the parquet flooring restoration, examine your floor closely. Ensure all tiles are firmly attached to the underfloor, and note any needing replacement. When selecting replacement tiles, remember they will likely need to be in imperial measurements, and matching the type of wood is essential. Most parquet flooring of this era was made from oak, but that’s not certain. Check first before trying to match tiles. It’s worth noting that sourcing replacement tiles can be challenging, especially if you have a bespoke or unusual parquet style. Specialist builders’ yards, wood reclamation specialists, and parquet floor sanding companies can often assist. Whatever you do, resist the temptation to use tiles made from a different type of wood. Even if the colors almost match, the difference will be noticeable, detracting from the floor’s overall look.Preparing your floor for restoration
Original parquet would typically have been secured using bitumen, a substance no longer used in the UK today. If your parquet floor were laid using bitumen, you’d need to remove all traces before restoring it. This can be a slow and laborious process, but achieving a perfect result’s worth the effort. Once the bitumen is removed and the subfloor is stable and solid, you can start replacing damaged tiles. Carefully remove any damaged or rotten blocks, taking care not to disrupt the surrounding tiles. After removing the damaged tiles, thoroughly clean the space before installing the replacement tiles. Be aware that the original adhesive used to install parquet floors often contained asbestos. If you suspect that your floor was installed using asbestos-containing materials, it is essential to engage the services of a professional asbestos removal company before proceeding with the restoration.Restoring and Refinishing Your Parquet Floor
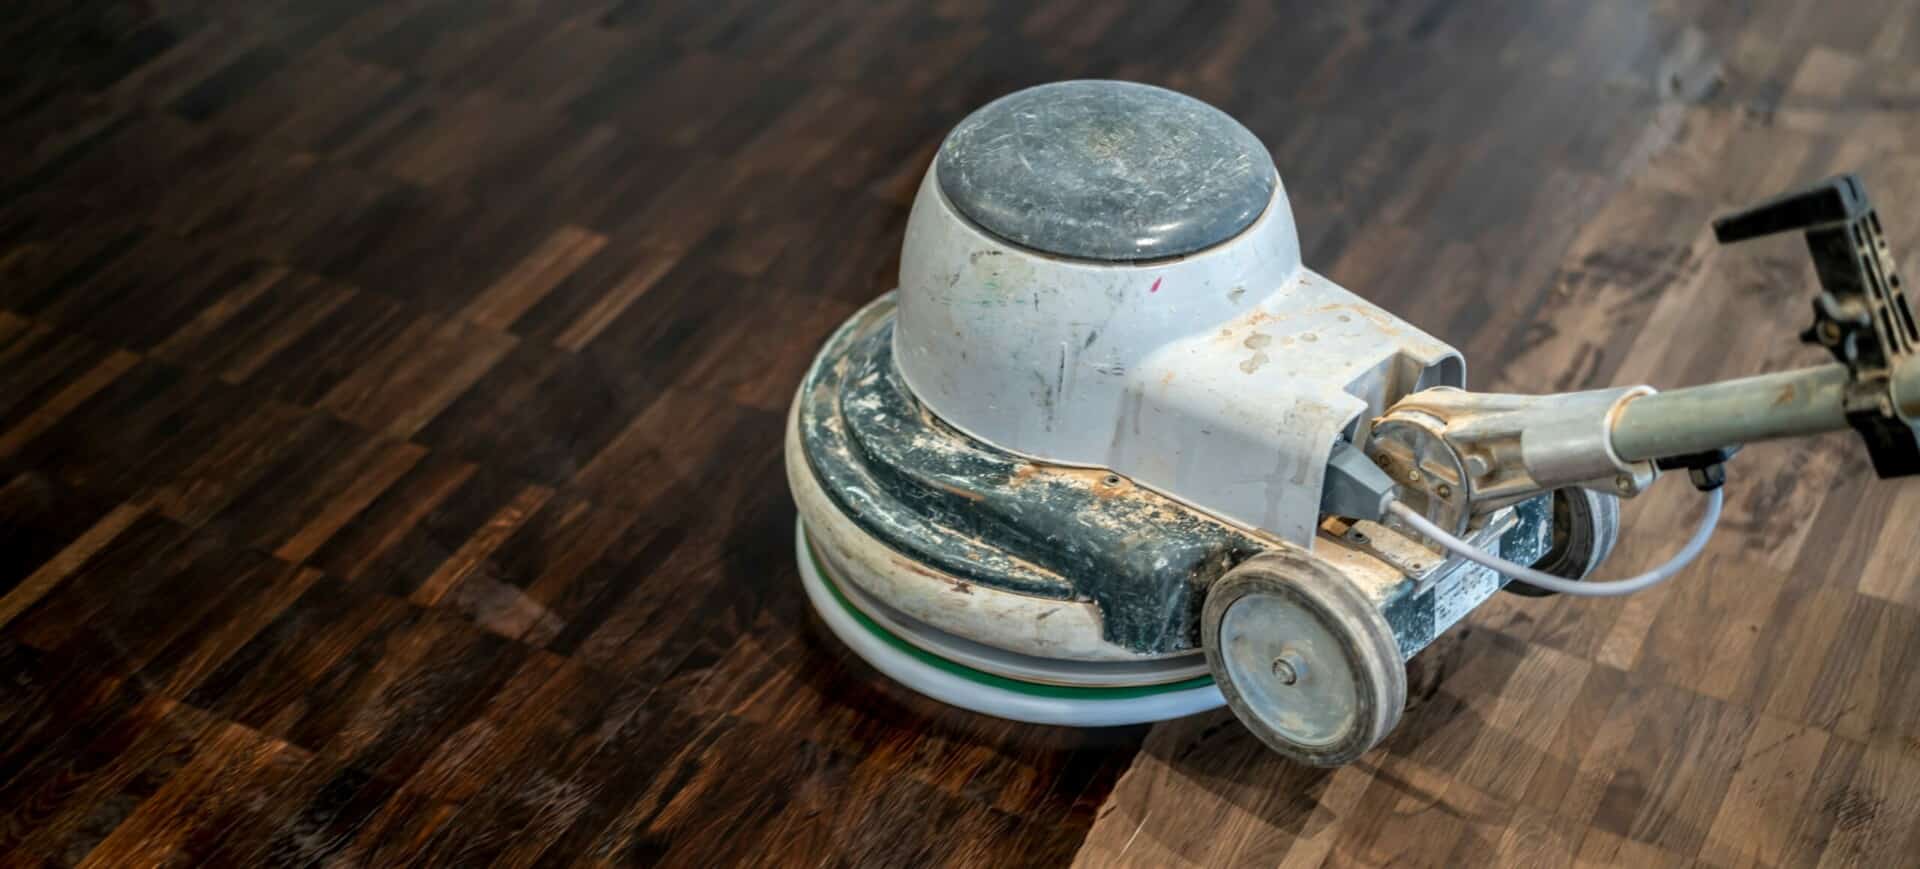
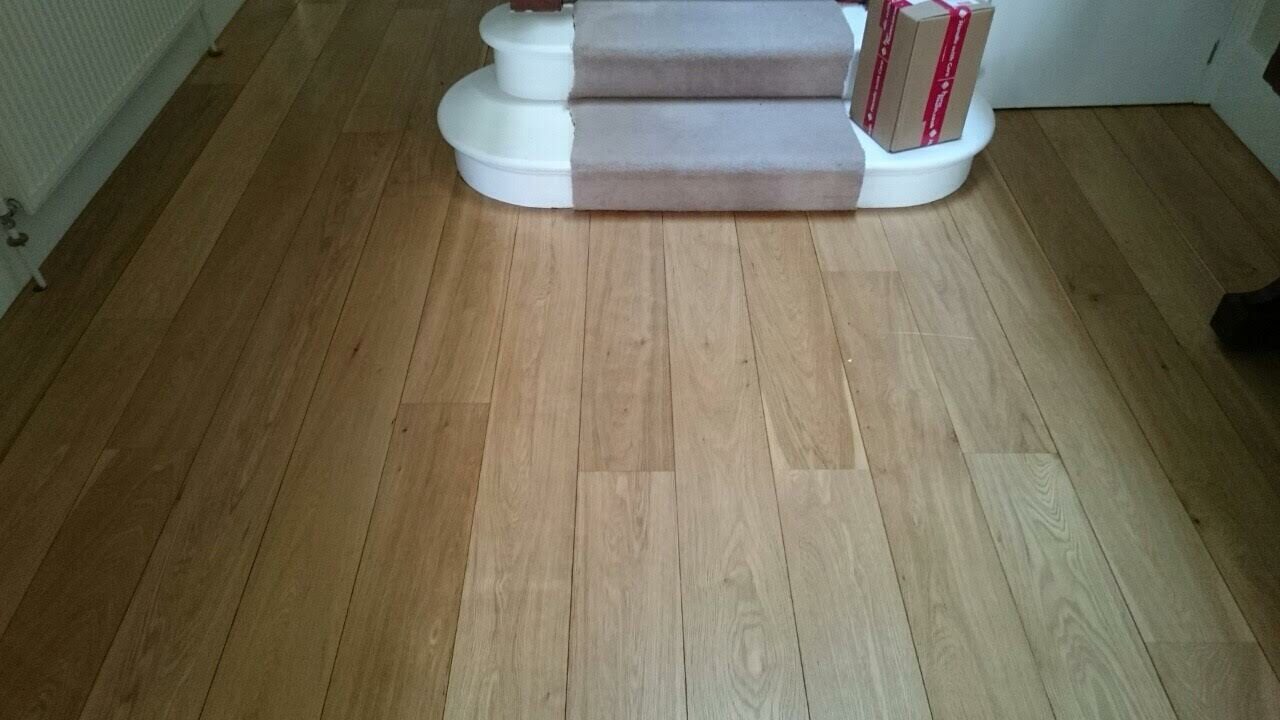
Once any replacement tiles have been fitted, the next stage is to sand the floor. Sanding achieves an even finish across the entire floor and prepares it for refinishing. You can hire a walk-through sanding machine to do this task or engage the services of a professional floor sanding company. However, parquet floor sanding is a task that requires a certain level of skill and experience. It’s too easy to gouge deep marks into the delicate tiles if the sander digs too deep or idle in one place. Additionally, a floor covered for many years may require more than one round of sanding. Use a finer grain of sandpaper with each pass if multiple sandings are needed. Excessive sanding can damage the tiles, so never sand more than three times. During sanding, dust will be generated. You can collect this dust and mix it with wood filler to create a parquet filler solution. This can be used to fill any gaps between the tiles. Apply the filler using a putty knife or the edge of a Stanley blade. Once thoroughly dries the filler (typically in about 30–40 minutes), lightly sand the area by hand. With sanding and gap filling completed, your floor is ready for refinishing. Depending on your preference, hardwood parquet flooring can be finished with an oil-based solution or a high-gloss lacquer. Apply the finish one tile at a time, working it into the wood and wiping away any excess. Always apply the finish with a clean, dry cloth, and avoid spills or puddles. Your floor will likely require two or three coats of finish to restore its original shine fully. After the final coat, consider buffing the floor to enhance the natural beauty of the wood.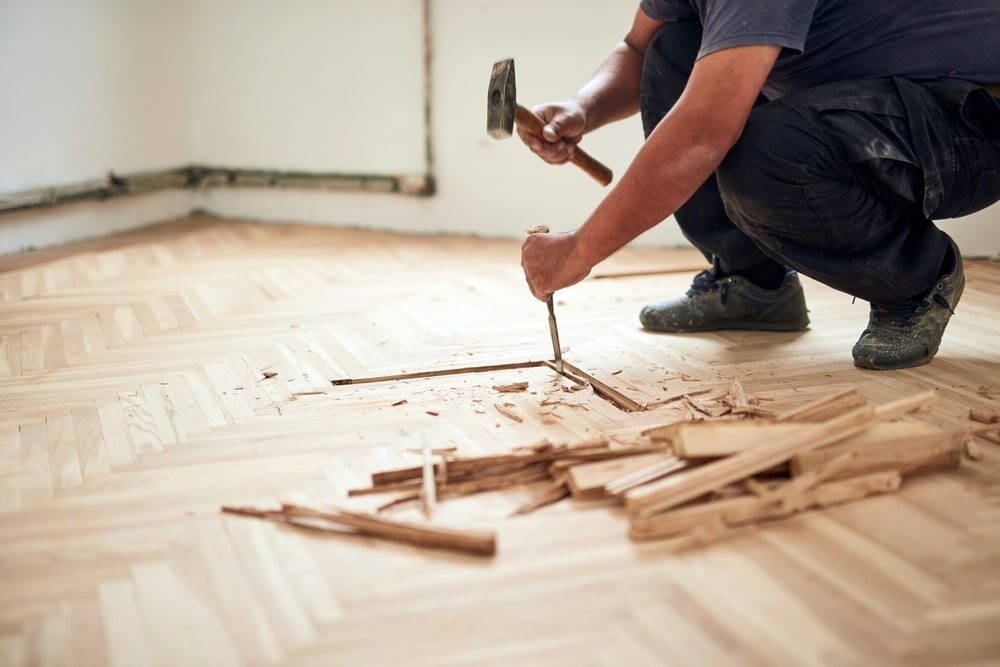
Maintaining Your Restored Parquet Floor
With your parquet floor restored to its original beauty, it’s essential to maintain it properly to ensure it stays looking great for years to come. Regularly sweep or vacuum the floor to remove dust and dirt. If the floor gets wet, wipe it dry as soon as possible to prevent water from seeping between the tiles. Avoid using harsh cleaning chemicals, which can damage the finish. Instead, opt for a pH-neutral cleaner specifically designed for hardwood floors.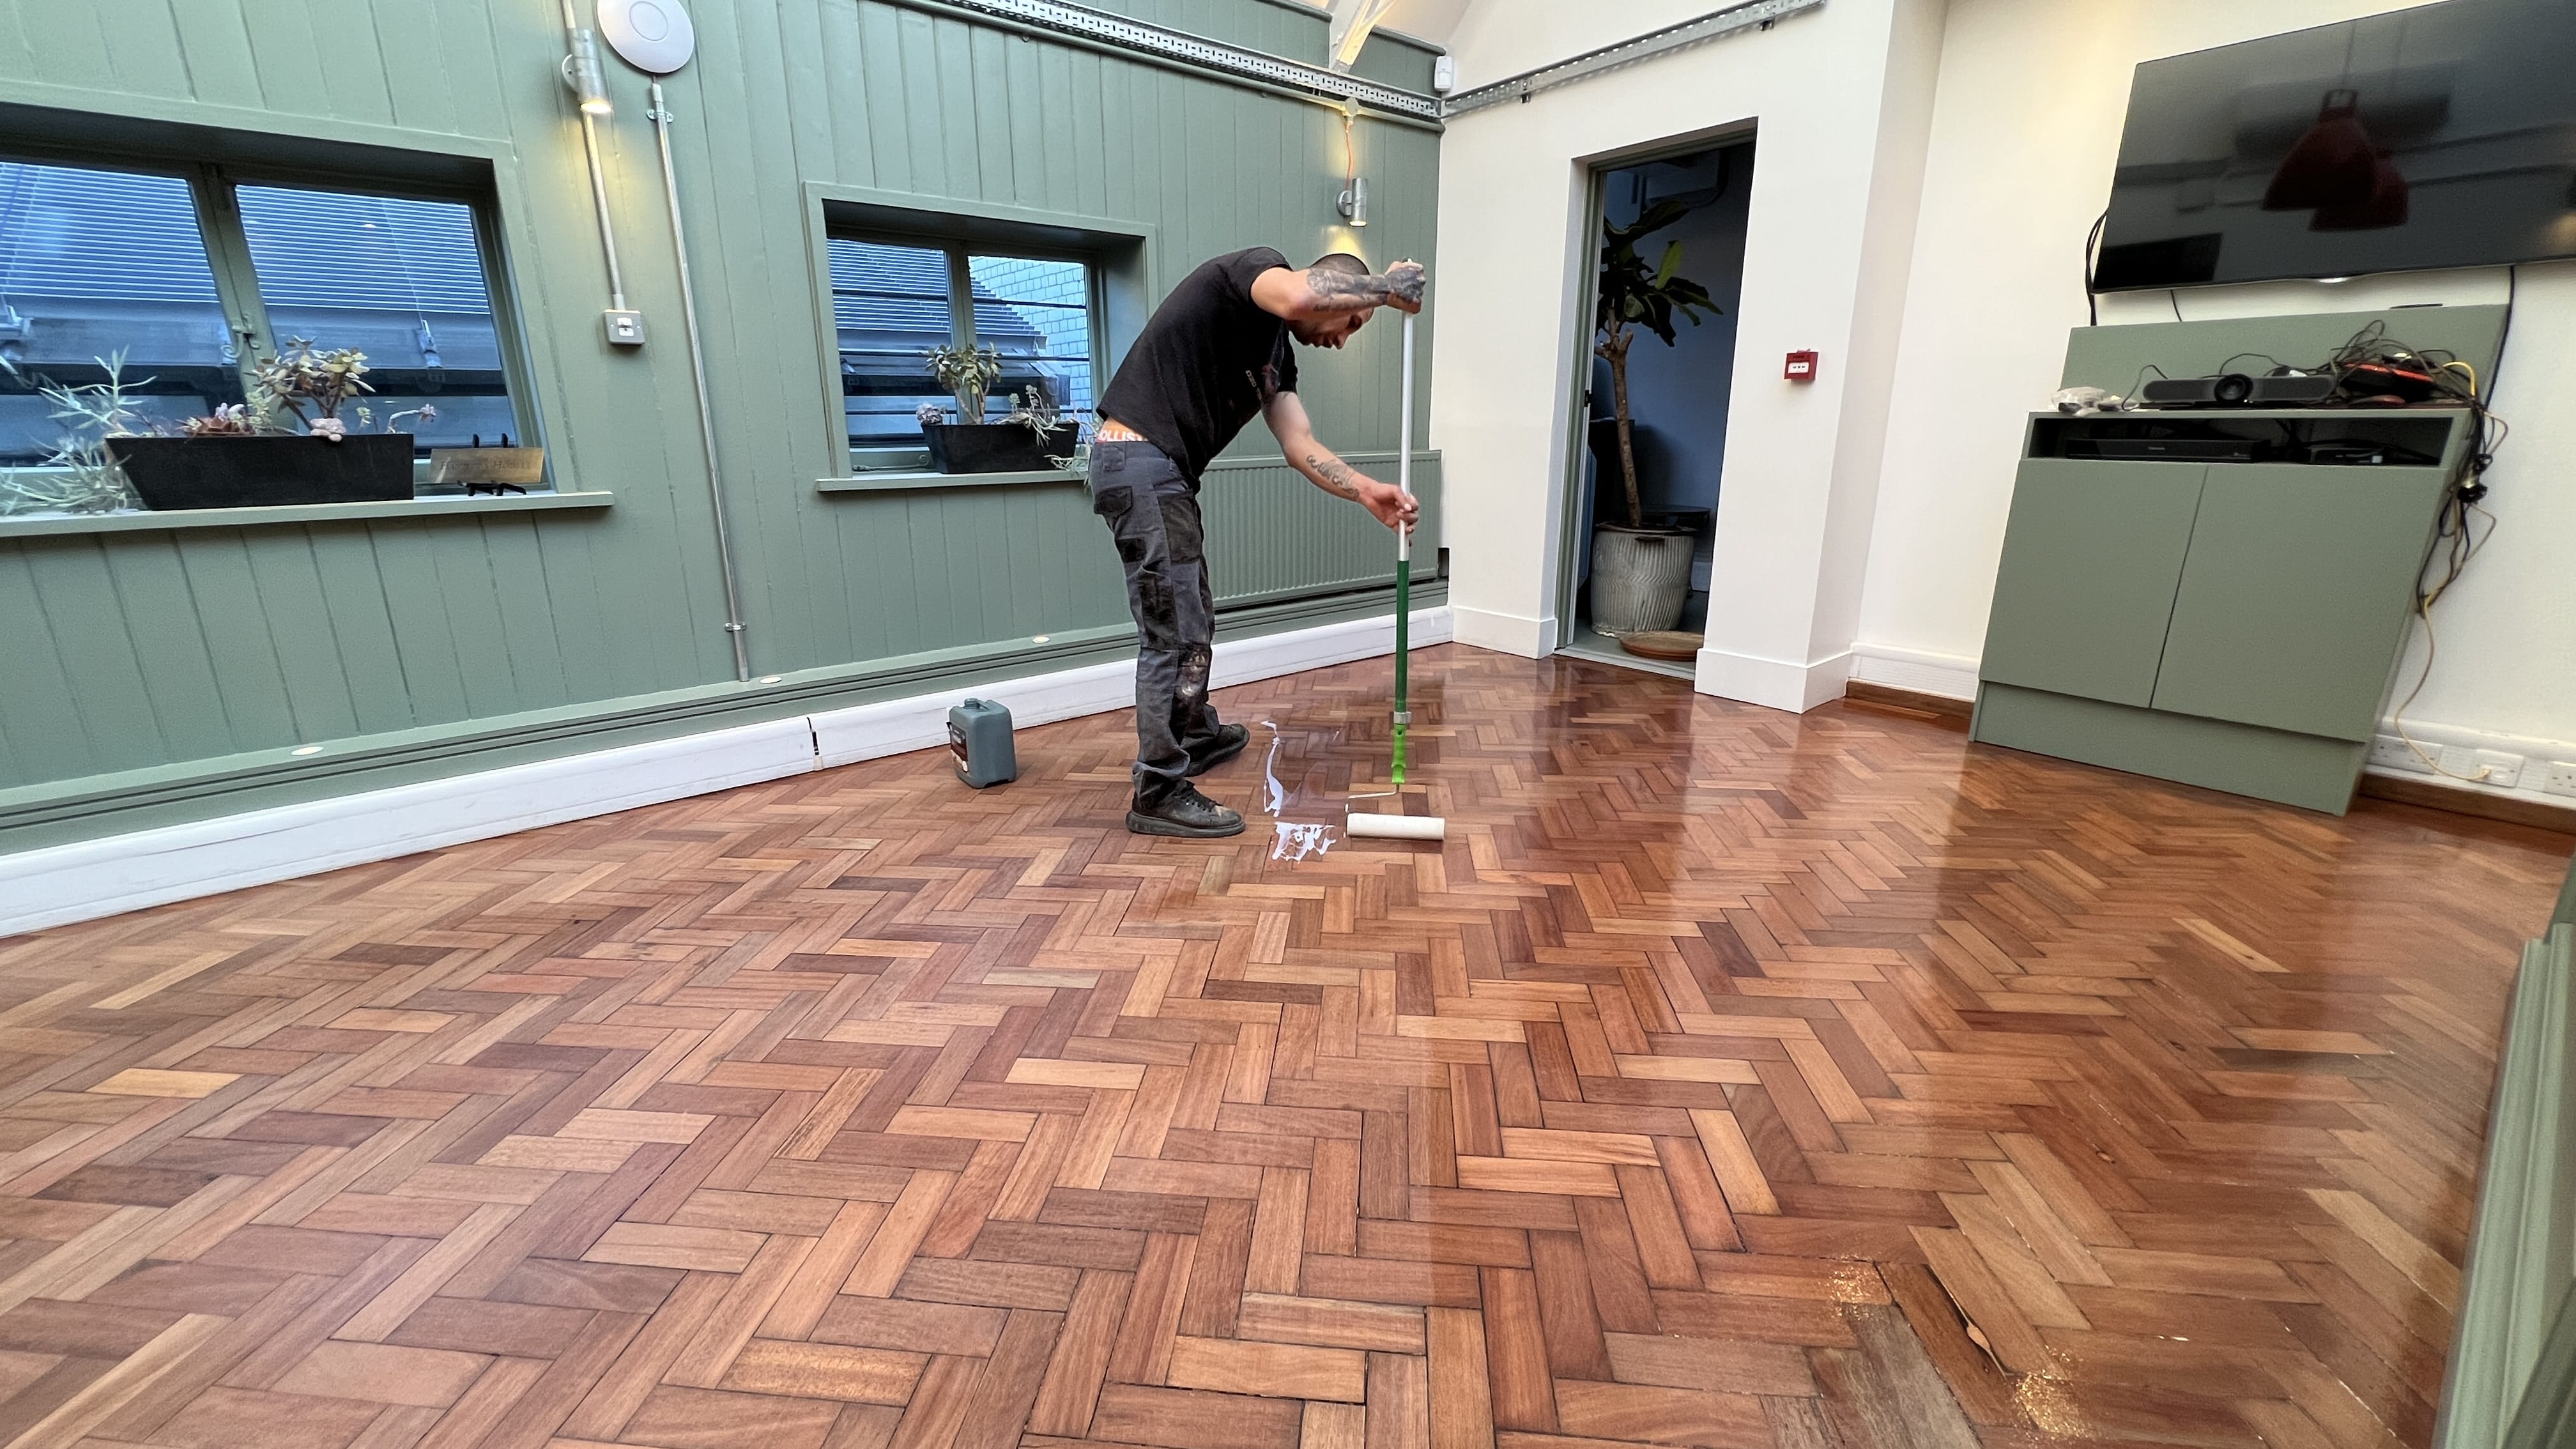
Conclusion
Restoring a parquet floor is no small task but a worthwhile investment. Not only will you bring out the hidden beauty of your home, but you’ll also preserve a piece of history and add value to your property. With time, patience, and the proper techniques, you can transform a worn-out parquet floor into a stunning showpiece that speaks of timeless elegance and sophistication.Some Useful Links:
- Floor Sanding Services
- School Floor Sanding
- Wood Floor Restorations
- Wood Floor Repairs
- Wood Floor Polishing
More from our Blog:
How to Colour a Solid Wood Floor: Complete Guide to a Stunning Transformation Hand-Scraped Wood Flooring: Discovering Its Unique Charm and Timeless Appeal Step-by-Step Guide to Wood Floor Restoration for Lasting Beauty Hardwood Floors Sanding – 10 Most Important Benefits How to Keep Your Dustless Wood Floor Sanding Under Control? Wood Floor Protection Techniques | Preserving Your Wooden Floors
Sanding
We provide virtually dust-free sanding with our continuous belt machinery with mobile extraction units, giving you a safer environment for your family.
Oiling
This organic finish not only adds beauty to your home but also has exceptional water-repellent characteristics, making it easier to clean and maintain.
Waxing
This natural floor finish offers the softest and most mellow appearance – and leaves your floor able to breath.
Buffing
Using soft buffing machines (and hand-polishing where required) will bring a wonderful sheen to your newly-finished floor.
Repairs
We offer a full assessment of your wooden floors to determine what repairs are needed to provide the perfect working surface for the later stages of sanding, staining and sealing.
Restoration
We offer a comprehensive restoration process designed to address floors that are improperly fitted or damaged over time through wear and tear.
Request a fixed price quote for your wood floor restoration now
Simply enter your postcode below to get started.
Services
Wood Floor Sanding Wood Floor Restoration Wood Floor Scratch Repair Squeaky Wood Floor Repair Parquet Floor Sanding Parquet Floor Restoration Commercial Floor Sanding Church Floor Sanding Community Centre Floor Sanding School Floor Sanding Gap Filling Gap Filling with ResinCopyright © Mr Sander®
Privacy & Cookies Terms & Conditions Complaints Procedure Cancellation Rights Sitemap

Get An Instant Price Estimate Before You Go…
Simply enter the rooms you need sanded and we’ll provide you with a price estimate instantly! Try our price calculator now.
Get a Price Estimate NowLocal Floor Sanding Experts
Over 500 5-Star Reviews
Safe, Dust Free Sanding
Operating Since 1994