London:
Nationwide:
25,000+
Floors Restored
27 Years Experience
Wood Flooring Association Certified
Step-by-Step Guide to Wood Floor Restoration for Lasting Beauty
Posted on May 26, 2023
Articles
Comprehensive Guide to Wood Floor Restoration: Repair, Sanding, and Finishing Techniques for Long-Lasting Beauty
Hardwood flooring provides undeniable charm and warmth to any home. Yet, over time, its luster may fade due to the wear and tear of everyday use. This post will guide you through a step-by-step process of wood floor restoration, from repairing damaged planks to sanding and finishing. Following these steps meticulously will ensure that your floor lasts longer and possibly save you more money in the long run.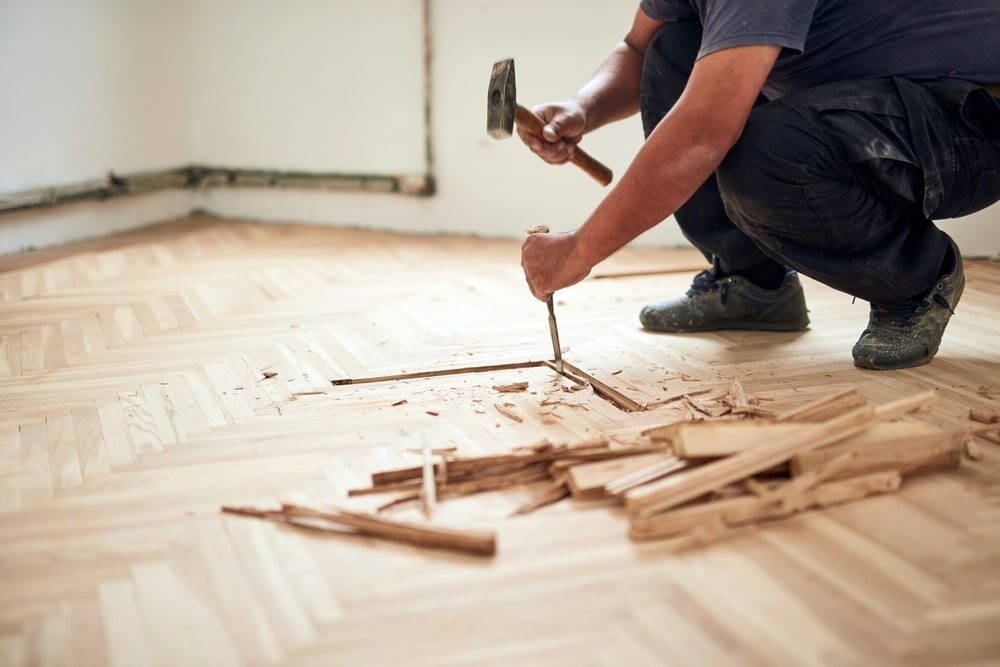
Step 1: Preparation and Examination
Any effective restorative process must begin with a thorough examination of the floor for any signs of damage. Before starting this, ensure that the room is cleared of all furniture, fixtures, and fittings. They should be carefully moved and stored in other parts of the house to prevent damage and provide unobstructed access to the entire floor area. Now, the detailed examination begins. This task might require you to get down on your hands and knees, and you might even need a magnifying glass for close inspection. Pay special attention to planks close to later-installed pipework, as they are often a common place for damage. Look for signs of gaps, loose boards, or chipped boards in these areas.Step 2: Repair and Replacement
After identifying damaged areas, the next step is repairing or replacing them as appropriate. Damaged or missing planks should be carefully replaced with matching wood. In cases where gaps exist, they can be filled using a mixture of wood dust resin, epoxy, or even papier mache. Apply the gap-filling mixture using a blade, ensuring to fill the gap between the floor completely. The surface should be evened off with the edge of the blade, removing all excess mixture before it hardens. After filling, loose boards should be properly secured to prevent future issues. Remember, the goal is to return the floor as close to its original condition as possible.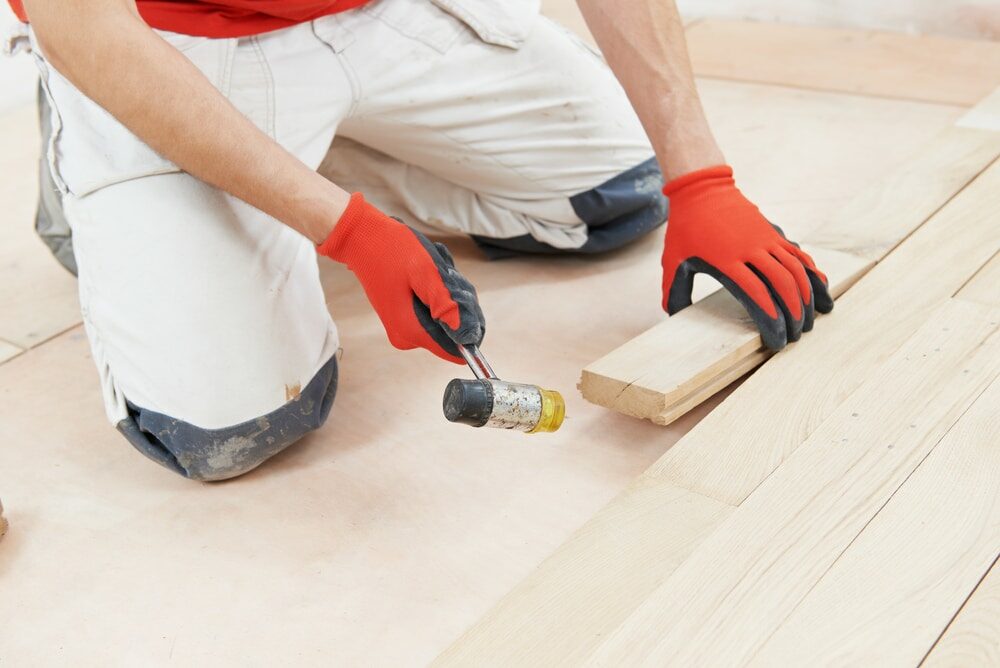
Step 3: Cleaning
Once repairs are done, remove all dust and dirt accumulated during the repair process. Use a vacuum cleaner with a nozzle attachment to clean corners and hard-to-reach areas. A dust-free floor is important to prepare it for sanding.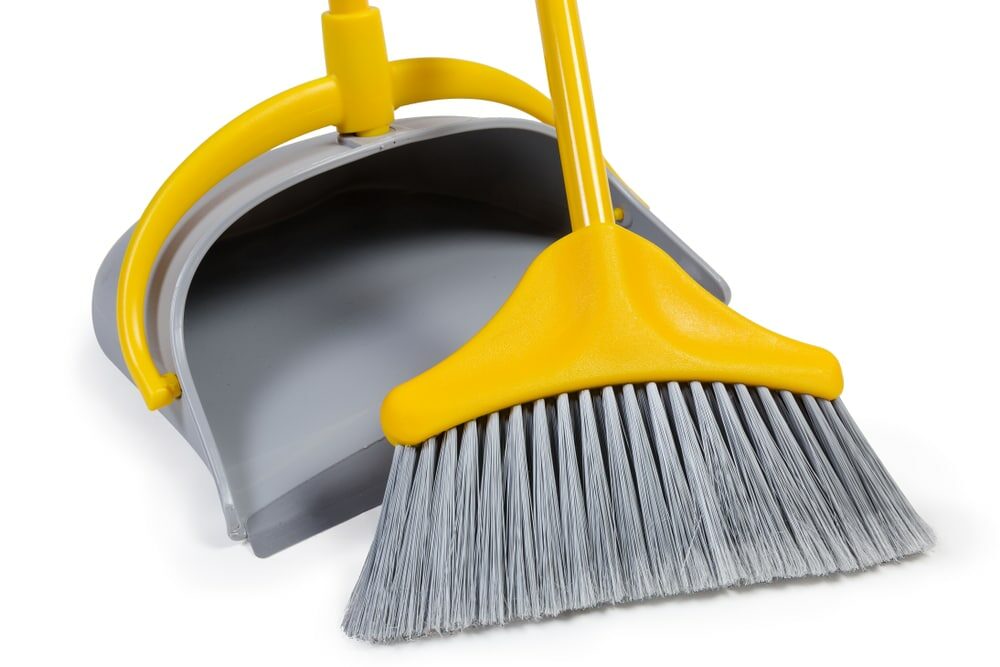
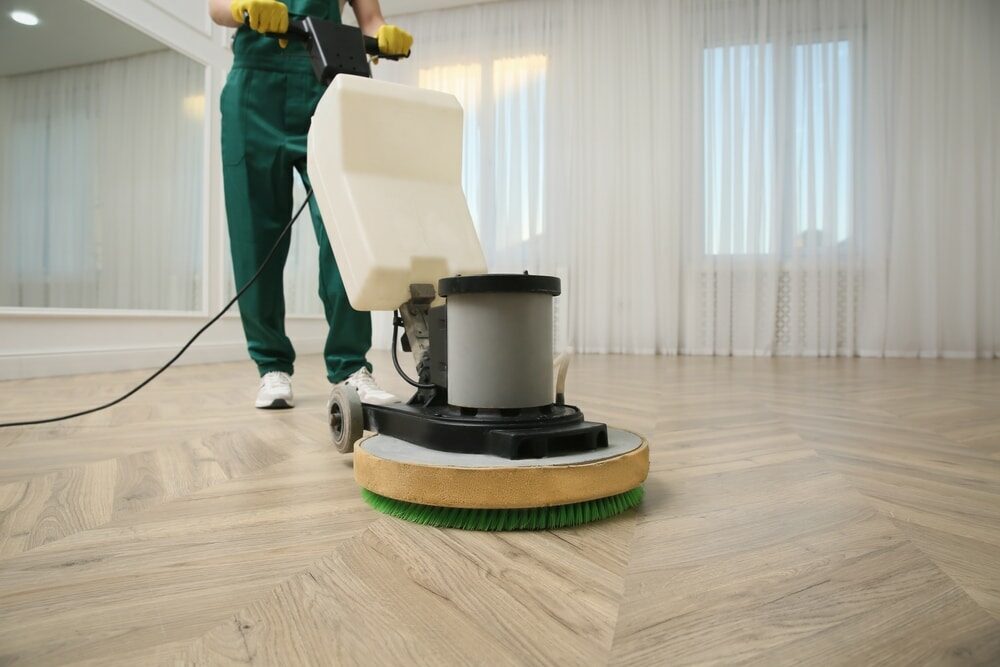
Step 4: Sanding
Sanding is an essential part of the floor restoration process. It smooths the surface and removes any remnants of the old finish, preparing the floor for new finishing. For medium- to large-sized rooms, a large sander operating with a belt or drum movement is recommended. These are usually available for rent. Be aware that you will have to use a hand-held sander for the perimeter and corners that the large sander cannot reach. Sanding, however, does require skill and understanding. Mishandling a sander can cause damage to the floorboards. It is essential to familiarize yourself with the machine before using it. Generally, walk the sander lengthwise along the planks, never across them. Start with a coarse grade of sandpaper, then move to finer grades with each subsequent sanding. Usually, a floor that has not been sanded for 10 years or more will require three rounds of sanding to achieve the desired smoothness.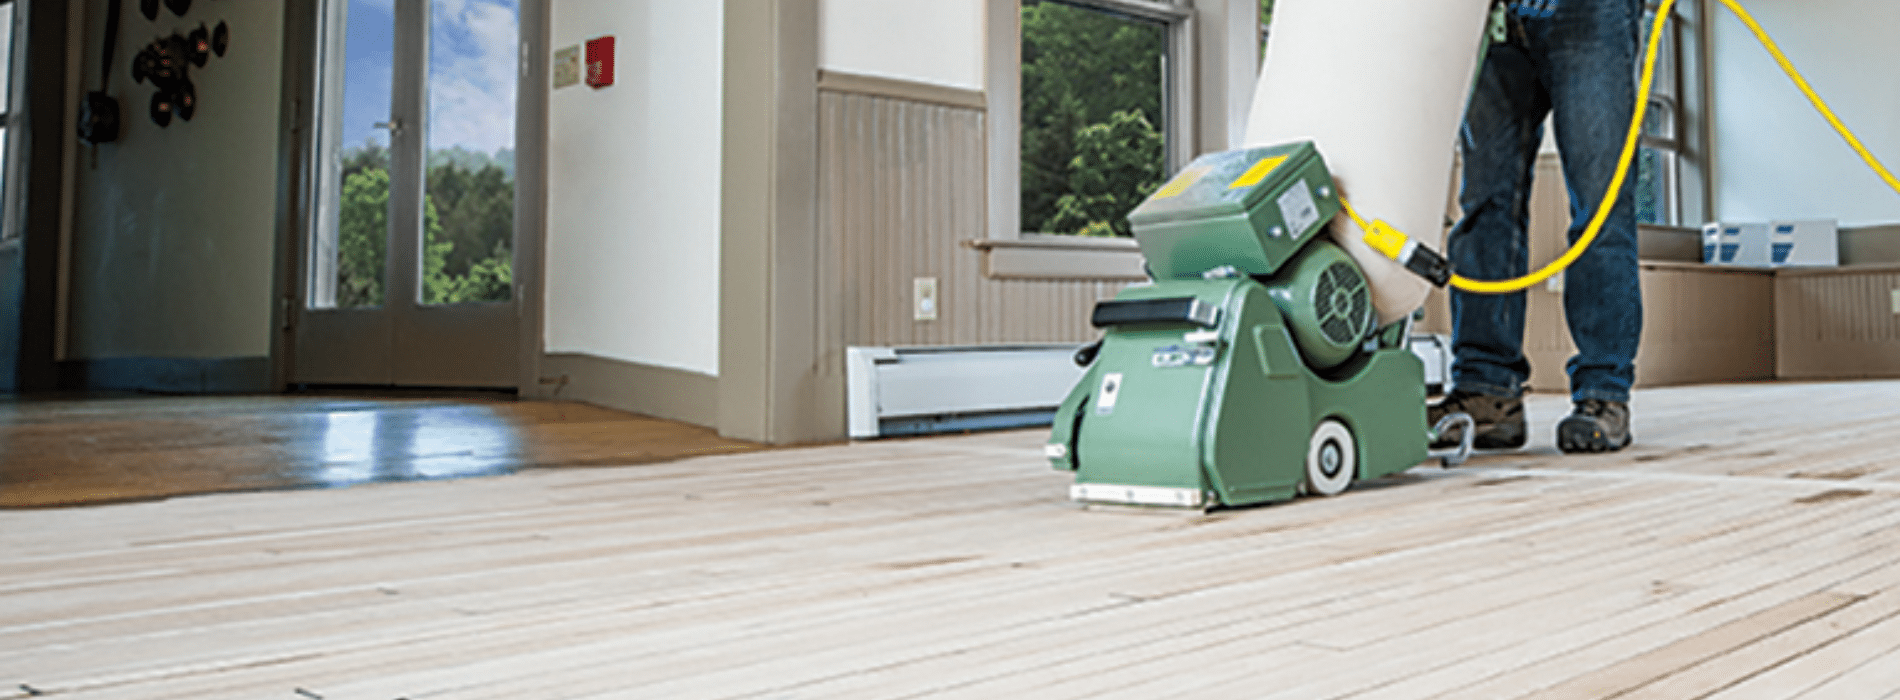
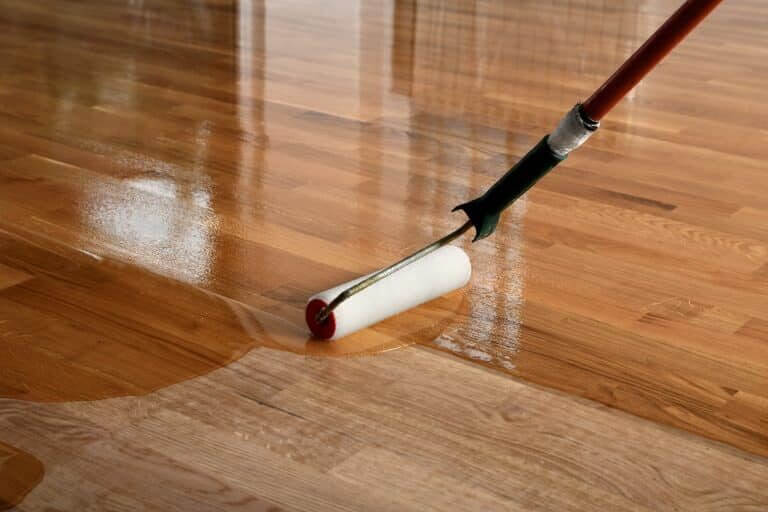
Step 5: Finishing
The finishing step is subjective and depends on your personal preference. If you choose to use varnish, it should be applied with a floor pad in small areas, always along the grain of the wood. Apply a first coat, remove excess varnish, and let it dry completely before applying a second one. For additional gloss, try lightly sanding the floor between varnish coats. However, after the final coat, let it dry for at least a day and a night before moving the furniture back into the room.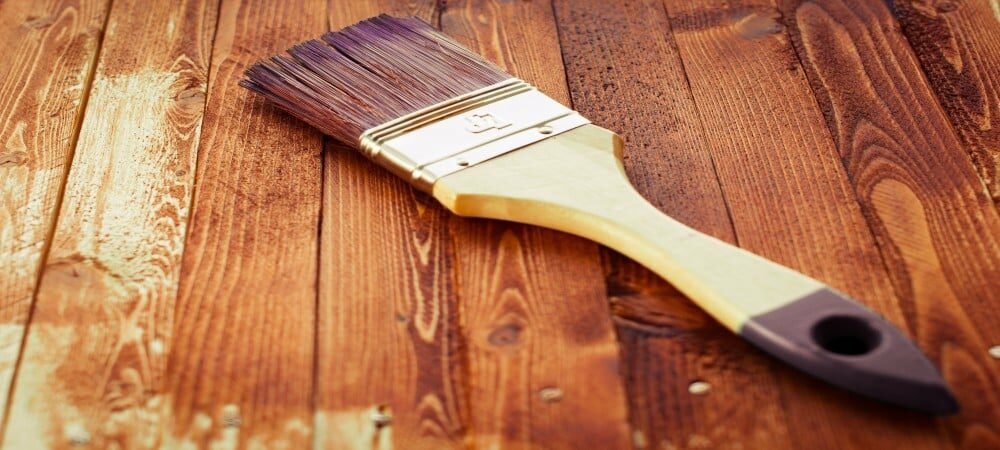
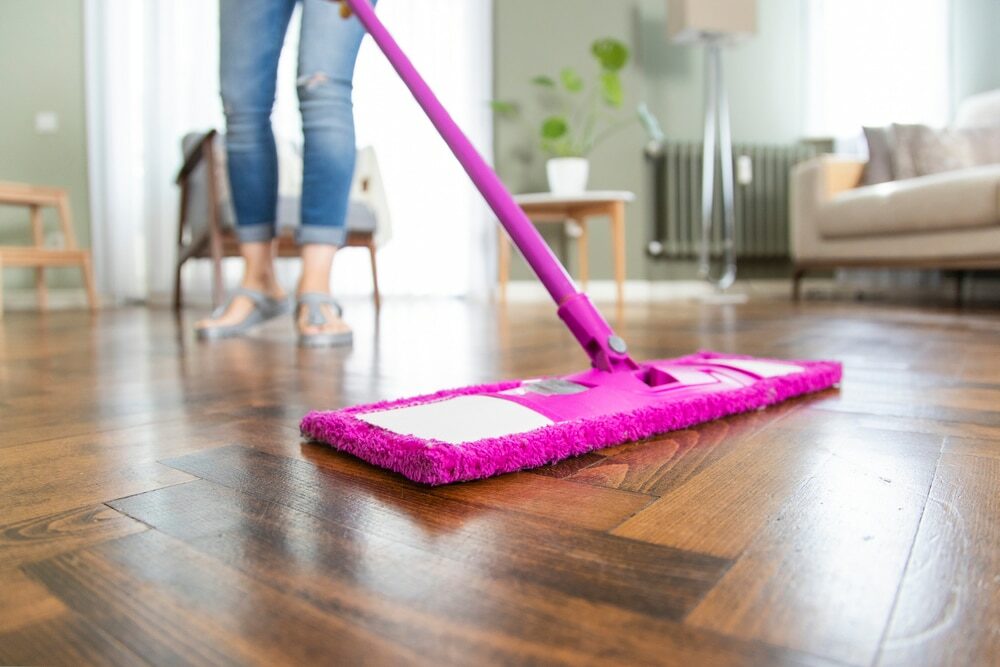
Maintenance
When the floor is fully restored, maintenance is the key to preserving its beauty and longevity. A simple care routine is enough to keep your floor looking beautiful for many years to come.- Regular Cleaning: Brush or vacuum the floor weekly to remove dust and debris. This will prevent scratches caused by tiny particles.
- Spot Cleaning: Immediately clean up spills and stains as they happen to prevent them from soaking into the wood and causing damage.
- Damp Mopping: Damp mop the floor once a month using a well-wrung mop to remove any accumulated dirt. Make sure to dry the floor afterward to prevent moisture damage.
- Protect the Floor: Use furniture pads under the legs of your furniture to avoid scratches. Also, consider using rugs in high-traffic areas to protect the floor from wear and tear.
- Regular Inspection: Regularly inspect your floor for signs of damage. Early detection can prevent the need for major repairs in the future.
Conclusion
Reviving your old wooden floor can be a rewarding project. The process can be a bit time-consuming and requires attention to detail, but the result is definitely worth the effort. By following these detailed steps of repair, cleaning, sanding, finishing, and maintenance, you can breathe new life into your hardwood floors and ensure they remain beautiful for many years to come. Remember, proper care and regular maintenance are the keys to keeping your floor in prime condition. In case the task seems too daunting, don’t hesitate to hire professionals who specialize in wood floor restoration. They have the expertise and equipment to deliver a flawless job, saving you time and ensuring the longevity of your hardwood floors. Regardless of the path you choose, a well-maintained wood floor adds character and value to your home, making it a worthwhile investment for both the present and the future. So go ahead, restore the charm of your hardwood floors and enjoy the cozy, timeless elegance they bring to your home.Some Useful Links:
- Floor Sanding Services
- School Floor Sanding
- Wood Floor Restorations
- Wood Floor Repairs
- Wood Floor Polishing
More from our Blog:
Hardwood Floors Sanding – 10 Most Important Benefits How to Keep Your Dustless Wood Floor Sanding Under Control? Wood Floor Protection Techniques | Preserving Your Wooden Floors Importance of Quality Wood Floor Sanding in London | Ultimate Guide Critical Factors in Choosing Floor Sanding Companies | Comprehensive Guide
Get more floor restoration advice…
Sanding
We provide virtually dust-free sanding with our continuous belt machinery with mobile extraction units, giving you a safer environment for your family.
Oiling
This organic finish not only adds beauty to your home but also has exceptional water-repellent characteristics, making it easier to clean and maintain.
Waxing
This natural floor finish offers the softest and most mellow appearance – and leaves your floor able to breath.
Buffing
Using soft buffing machines (and hand-polishing where required) will bring a wonderful sheen to your newly-finished floor.
Repairs
We offer a full assessment of your wooden floors to determine what repairs are needed to provide the perfect working surface for the later stages of sanding, staining and sealing.
Restoration
We offer a comprehensive restoration process designed to address floors that are improperly fitted or damaged over time through wear and tear.
Request a fixed price quote for your wood floor restoration now
Simply enter your postcode below to get started.
Services
Wood Floor Sanding Wood Floor Restoration Wood Floor Scratch Repair Squeaky Wood Floor Repair Parquet Floor Sanding Parquet Floor Restoration Commercial Floor Sanding School Floor Sanding Gap FillingCopyright © Mr Sander®
Privacy & Cookies Terms & Conditions Complaints Procedure Cancellation Rights Sitemap

Get An Instant Price Estimate Before You Go…
Simply enter the rooms you need sanded and we’ll provide you with a price estimate instantly! Try our price calculator now.
Get a Price Estimate NowLocal Floor Sanding Experts
Over 500 5-Star Reviews
Safe, Dust Free Sanding
Operating Since 1994