London:
Nationwide:
25,000+
Floors Restored
27 Years Experience
Wood Flooring Association Certified
The Best Way to Renovate Your Solid Wood Flooring
Posted on June 21, 2023
Articles
Solid Wood Flooring Renovation Guide: Restore Your Floors to Their Former Glory
Solid wood flooring is an investment in style, comfort, and durability. With proper care, it can last generations, but sometimes it needs a bit of rejuvenation. In this extensive guide, we will walk you through the best way to renovate your solid wood flooring, ensuring your floors continue to enhance the beauty of your home.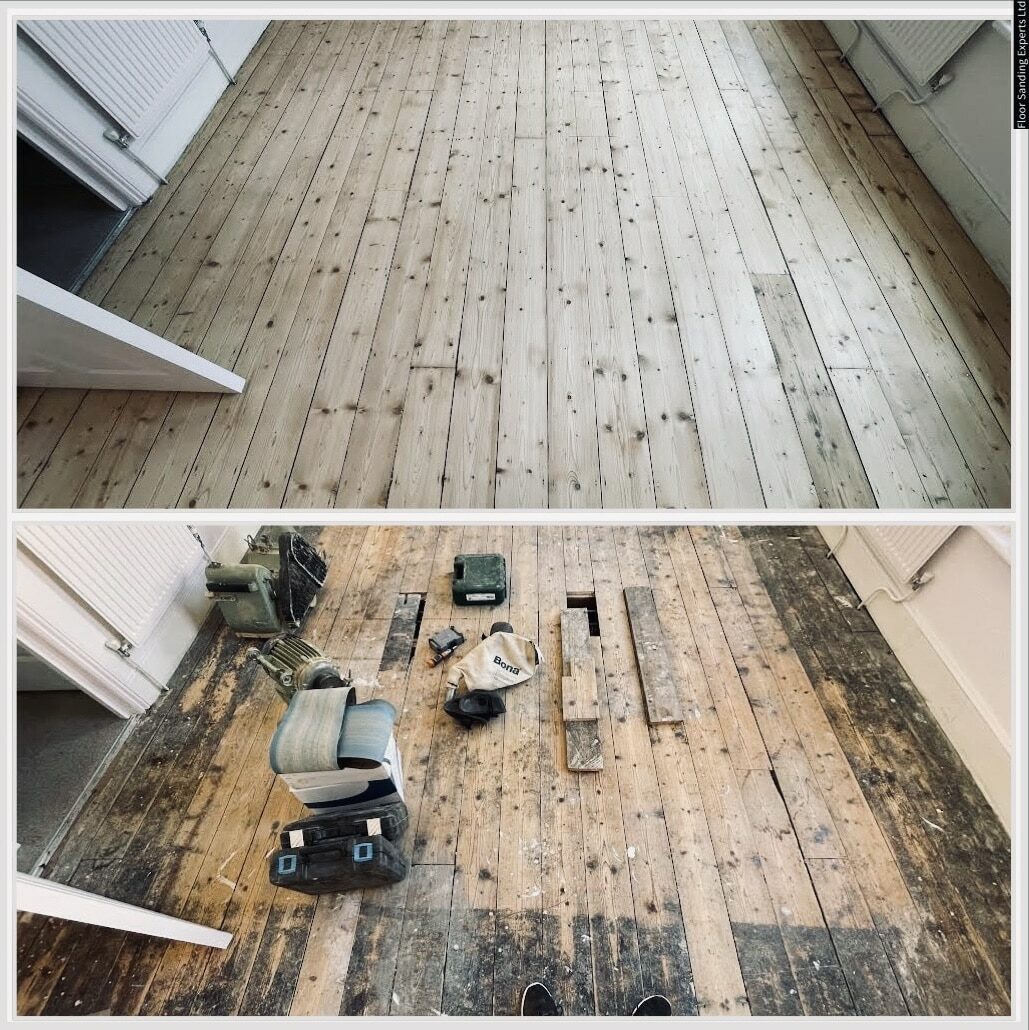
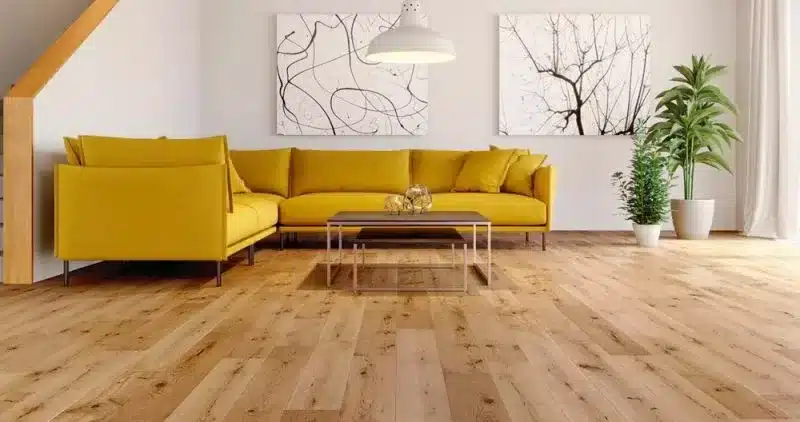
The Beauty of Solid Wood Flooring
Solid wood flooring, as the name suggests, is made from a single piece of wood. It is highly sought-after for its authenticity, aesthetic appeal, and durability. It can be sanded and refinished multiple times, which allows it to retain its charm for years.Why Renovate Your Solid Wood Flooring?
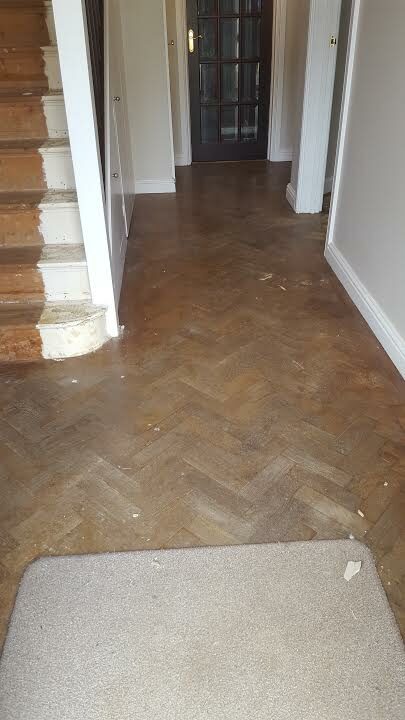
Every floor bears the brunt of daily life, leading to signs of wear and tear like scratches, dents, and fading over time. Renovating your solid wood floor helps maintain its beauty, extends its lifespan, and can modernize the aesthetic of your space.Preparation for Renovation
Before you start, assess your floor’s condition. Minor blemishes might only need a deep clean and polish, but deep scratches, warping, or discoloration call for a complete renovation. To prepare:- Clear the room of all furniture and rugs.
- Clean the floor thoroughly to remove any dust or debris.
- Cover doorways and air vents with plastic sheeting to prevent dust from spreading.
Essential Tools and Materials
For the renovation, you’ll need:- A drum or orbital sander
- Sandpaper (various grits)
- Wood filler
- Vacuum cleaner
- Protective gear (goggles, dust masks, and ear protection)
- Stain (if desired)
- Sealant
The Renovation Process
Step 1: Sanding
Sanding removes the old finish and any surface imperfections. Start with coarse-grit sandpaper and move towards finer grits. This process ensures a smooth surface ready for staining or sealing. Remember to always sand along the grain to avoid scratches.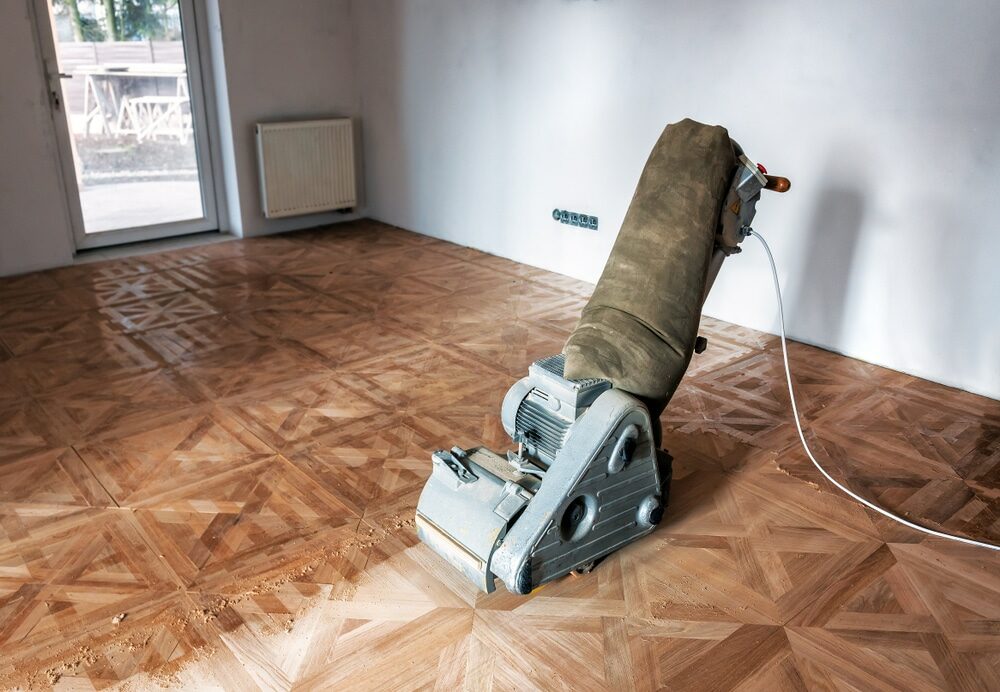
Step 2: Filling
Inspect your floor for gaps or holes. Fill these with matching wood filler, allowing it to dry before proceeding.Step 3: Final Sanding
After the filler dries, use your finest-grit sandpaper for the final sanding pass. This will smooth out the filled areas and prepare the floor for staining.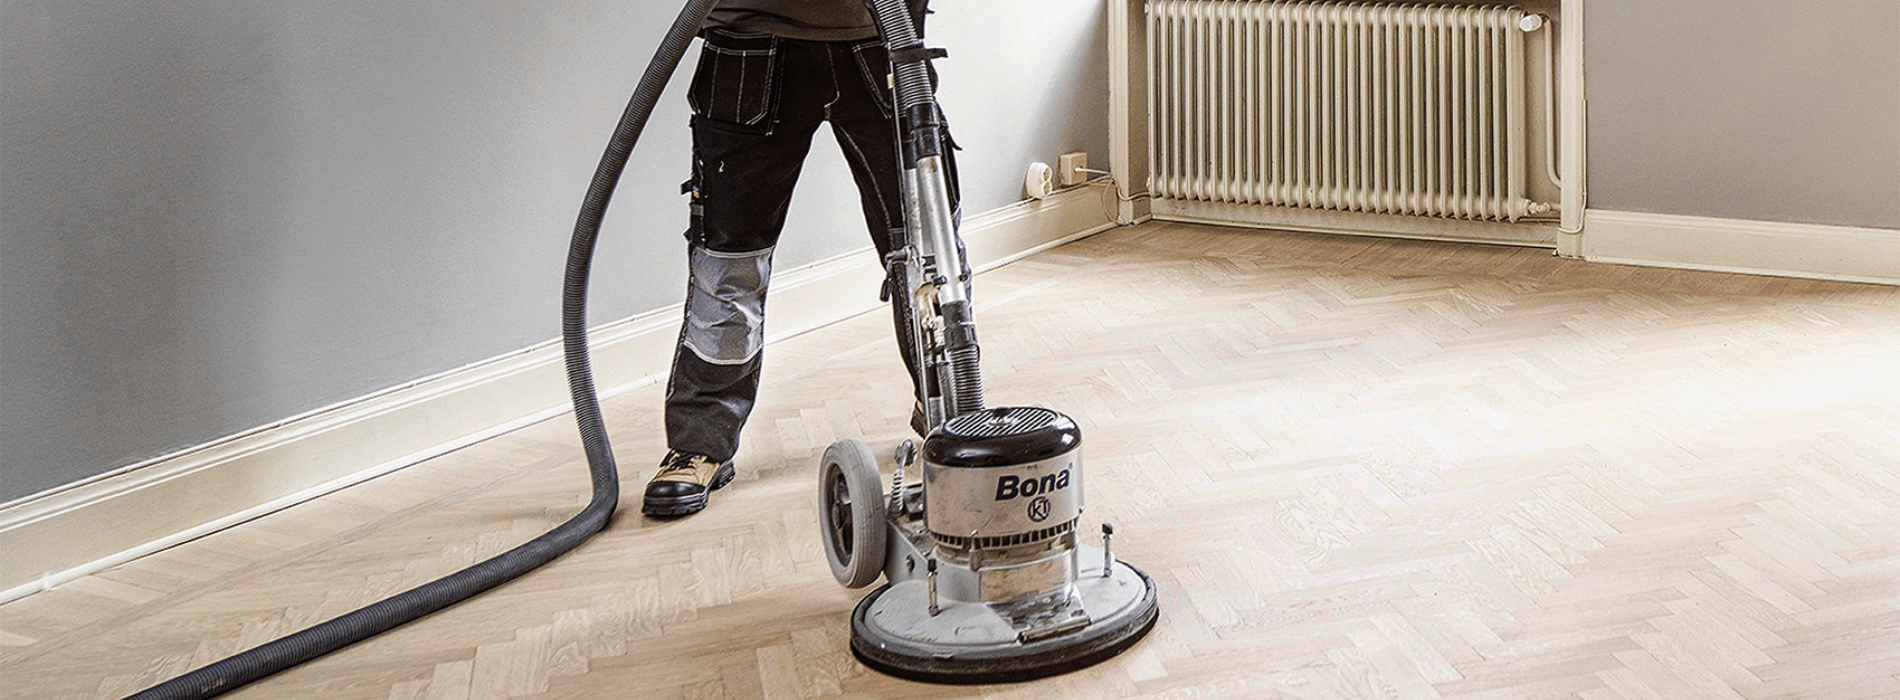
Step 4: Staining
If you’re changing the color of your floor, apply your chosen stain. Test it on a small, inconspicuous area first to ensure you’re happy with the color. Follow the manufacturer’s instructions and let the stain dry completely.Step 5: Sealing
Apply your chosen sealant, such as polyurethane or varnish, to protect your floor and provide a beautiful finish. Let each layer dry thoroughly before adding another one. Typically, three coats are recommended for the best result.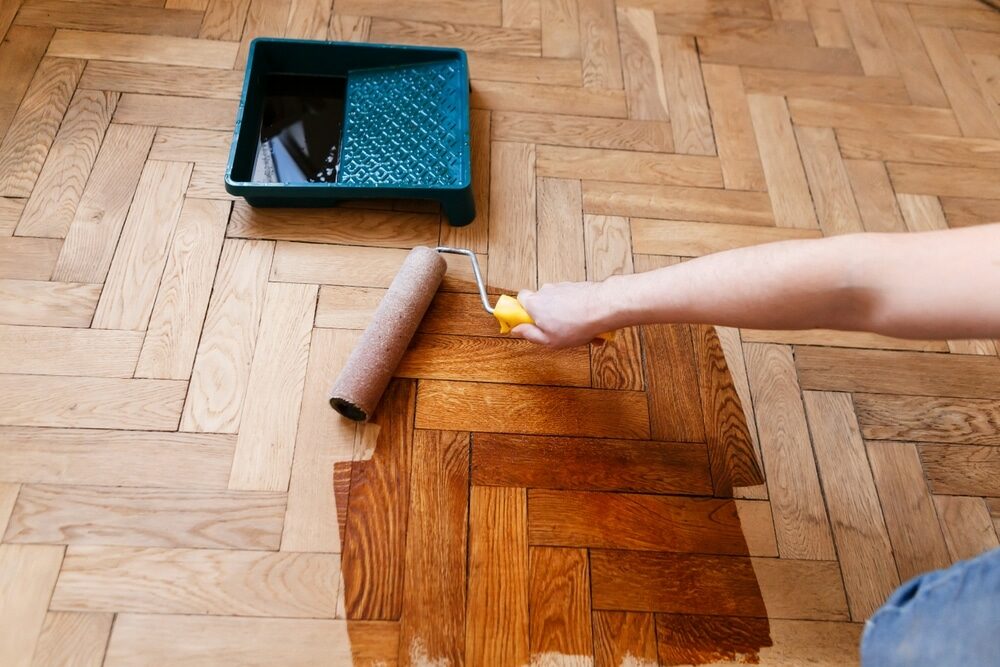
Aftercare for Your Renovated Solid Wood Floor
To keep your renovated floor looking its best, adopt a routine of regular sweeping or vacuuming to remove dust and debris. Use wood-friendly cleaners for a deeper clean, and promptly wipe up any spills to prevent staining or warping.Conclusion
Solid wood flooring adds a touch of elegance to any home, and renovating it can refresh its appearance and extend its lifespan. With the right tools, a bit of patience, and attention to detail, you can successfully renovate your solid wood floor. Remember, the aim of renovation is not just to repair but to restore and bring out the inherent beauty of your solid wood floor. A well-renovated wood floor not only adds to your home’s aesthetic appeal but also increases its market value. Happy renovating!Some Useful Links:
- Floor Sanding Services
- School Floor Sanding
- Wood Floor Restorations
- Wood Floor Repairs
- Wood Floor Polishing
More from our Blog:
DIY Floor Sanding: Enhance Your Property Value on a Budget Hardwood Floor Sanding: Essential for Long-lasting Beauty Buying Hardwood Flooring Online: Pros and Cons Hardwood Floor Installation: Nailing and Stapling Solving Hardwood Floor Problems: A Guide to Deciding Between Replacement and Salvage

Sanding
We provide virtually dust-free sanding with our continuous belt machinery with mobile extraction units, giving you a safer environment for your family.
Oiling
This organic finish not only adds beauty to your home but also has exceptional water-repellent characteristics, making it easier to clean and maintain.
Waxing
This natural floor finish offers the softest and most mellow appearance – and leaves your floor able to breath.
Buffing
Using soft buffing machines (and hand-polishing where required) will bring a wonderful sheen to your newly-finished floor.
Repairs
We offer a full assessment of your wooden floors to determine what repairs are needed to provide the perfect working surface for the later stages of sanding, staining and sealing.
Restoration
We offer a comprehensive restoration process designed to address floors that are improperly fitted or damaged over time through wear and tear.
Request a fixed price quote for your wood floor restoration now
Simply enter your postcode below to get started.
Services
Wood Floor Sanding Wood Floor Restoration Wood Floor Scratch Repair Squeaky Wood Floor Repair Parquet Floor Sanding Parquet Floor Restoration Commercial Floor Sanding Church Floor Sanding Community Centre Floor Sanding School Floor Sanding Gap Filling Gap Filling with ResinCopyright © Mr Sander®
Privacy & Cookies Terms & Conditions Complaints Procedure Cancellation Rights Sitemap

Get An Instant Price Estimate Before You Go…
Simply enter the rooms you need sanded and we’ll provide you with a price estimate instantly! Try our price calculator now.
Get a Price Estimate NowLocal Floor Sanding Experts
Over 500 5-Star Reviews
Safe, Dust Free Sanding
Operating Since 1994