London:
Nationwide:
25,000+
Floors Restored
27 Years Experience
Wood Flooring Association Certified
Tips to Transform Your Property with Wood Floor Restoration
Posted on April 13, 2023
Wood Floor Restorations Articles
Top Wood Floor Restoration Tips for a Stunning Property Transformation
Wooden floors are a timeless and versatile choice for any home, offering warmth, elegance, and durability. However, over time, these floors can become worn, damaged, or dull, which can detract from their natural beauty and the overall appeal of your property. With the right knowledge, tools, and techniques, you can restore your wood floors to their former glory, enhancing their appearance and prolonging their lifespan. In this comprehensive guide, we will explore the world of wood floor restoration, sharing valuable tips and insights that will help you transform your property and create a stunning, inviting living environment. With over 6,000 words of expert advice, you’ll be well-equipped to tackle your wood floor restoration project with confidence.
1. Wood floor restoration is crucial for several reasons.
a. Aesthetics: Restoring your wood floors can dramatically enhance the appearance of your home, creating a more inviting and visually appealing living space.
b. Durability: By addressing any damage or wear, wood floor restoration can extend the life of your floors and protect them from further deterioration.
c. Value: A well-maintained and restored wood floor can increase the value of your property, making it more attractive to potential buyers.
d. Health: Wood floor restoration can help eliminate allergens, dust, and dirt that may be trapped in the crevices of your floors, contributing to a cleaner and healthier living environment.
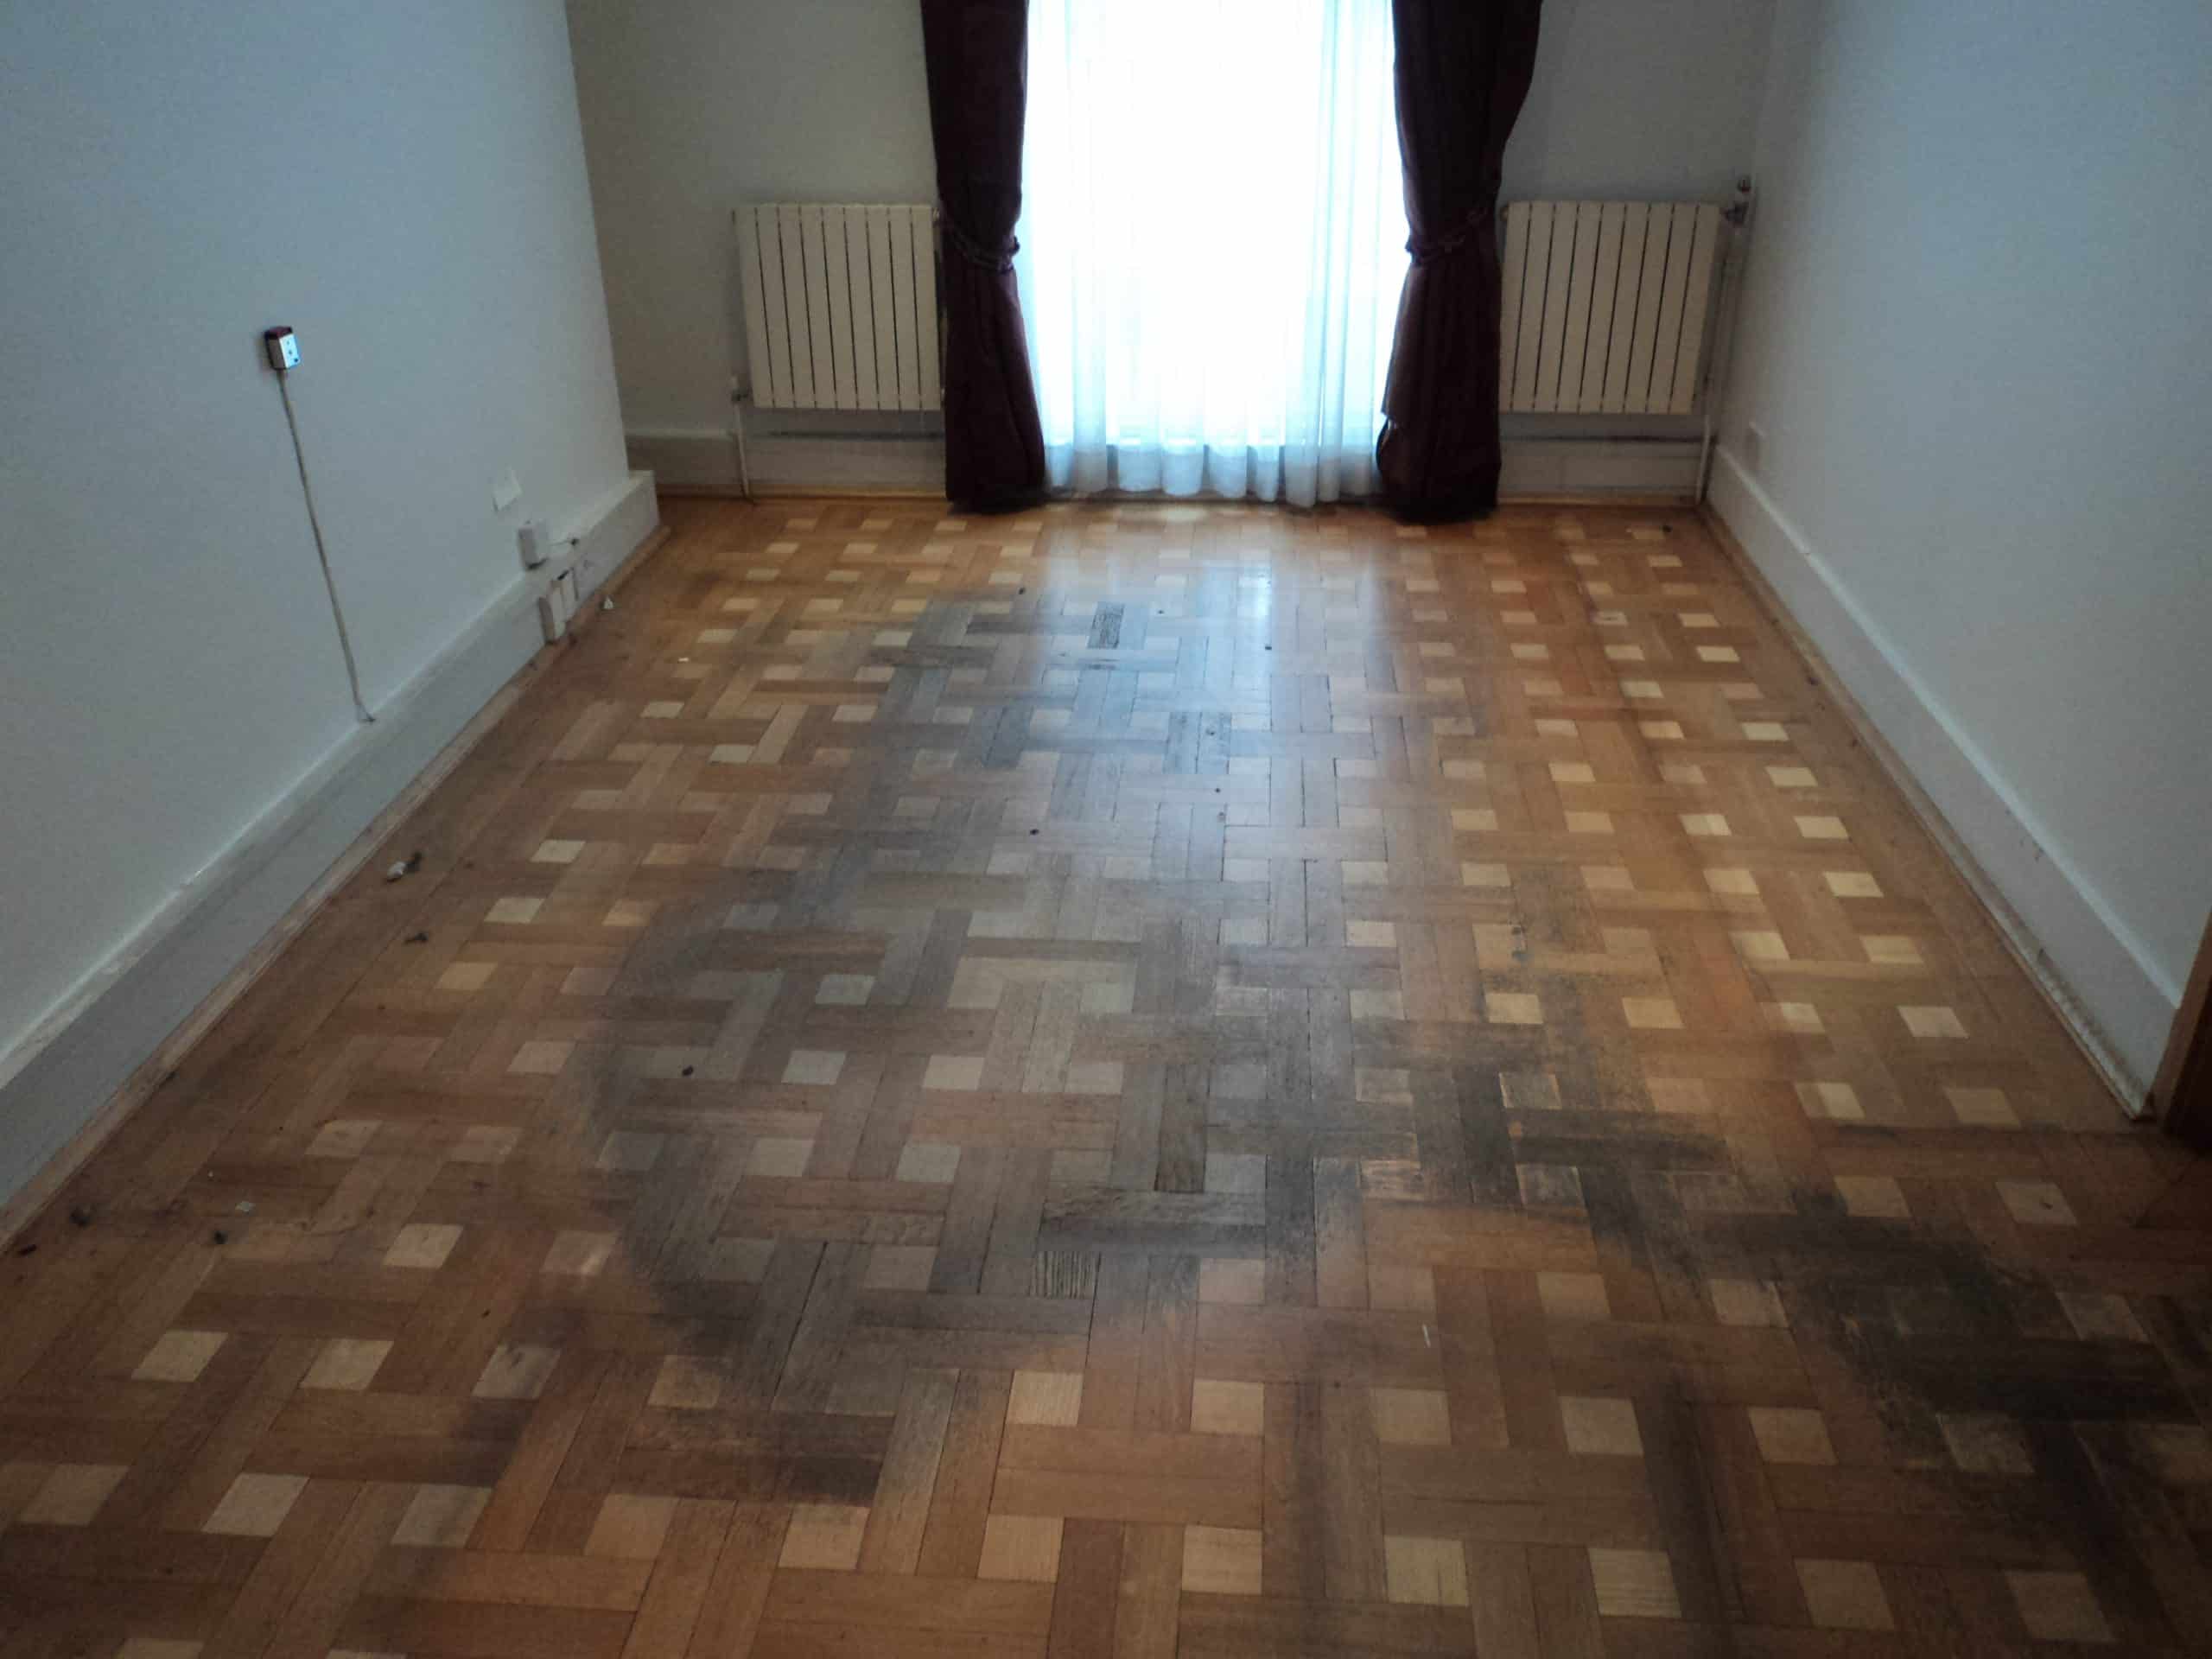
2. Assessing the Condition of Your Wood Floors
Before embarking on a wood floor restoration project, it is essential to evaluate the condition of your floors to determine the best course of action. Look for the following signs:
a. Surface damage: Scratches, dents, and gouges can indicate that your floors may benefit from sanding and refinishing.
b. Discoloration: Sunlight, spills, or general wear can cause your floors to become discoloured or uneven in appearance, suggesting the need for staining or refinishing.
c. Structural damage: warping, buckling, or cracked boards may require more extensive repairs or replacement.
3. Wood Floor Restoration Techniques
There are several techniques involved in wood floor restoration, including:
a. Sanding: This process involves removing the top layer of the wood floor to eliminate imperfections and create a smooth, even surface. Sanding is essential for preparing the floor for staining and refinishing.
b. Staining: Staining your wood floors allows you to change or enhance their colour, ensuring a consistent and attractive appearance. It is crucial to choose the right stain for your wood type and desired outcome.
c. Refinishing: The final step in the wood floor restoration process, refinishing involves applying a protective finish, such as polyurethane or oil, to seal and protect the wood, giving it a polished and durable surface.
4. Essential Tools and Equipment for Wood Floor Restoration
To achieve the best results in your wood floor restoration project, you will need the right tools, and equipment, including:

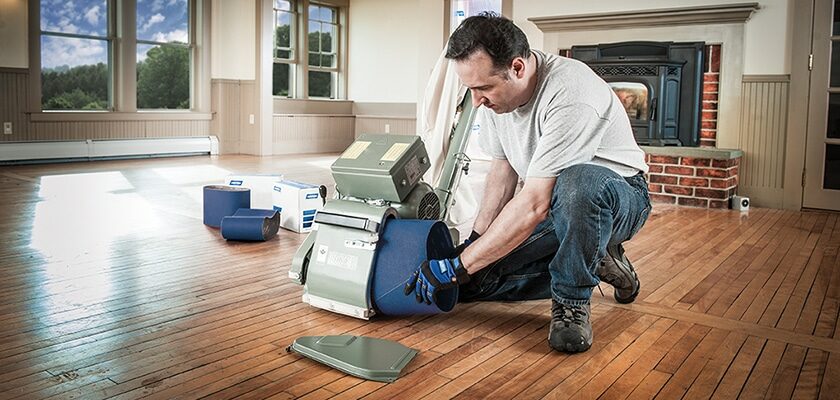
a. Drum sander: a powerful machine used for sanding large areas of the floor, effectively removing the top layer and any imperfections.
b. Edger: A smaller, handheld sander that is ideal for sanding edges and corners where the drum sander cannot reach.
c. Orbital Sander: A versatile sander that is useful for blending and smoothing out the areas where the drum sander and edger have been used, ensuring a consistent finish.
d. Sanding discs and belts: These abrasive materials come in various grit sizes, which are used progressively to achieve a smooth finish on the floor.
e. Staining Supplies: Brushes, rags, and gloves are necessary for the application of stain to your wood floors.
f. Finishing Supplies: Brushes, rollers, and applicators are needed for applying the protective finish to your floors.
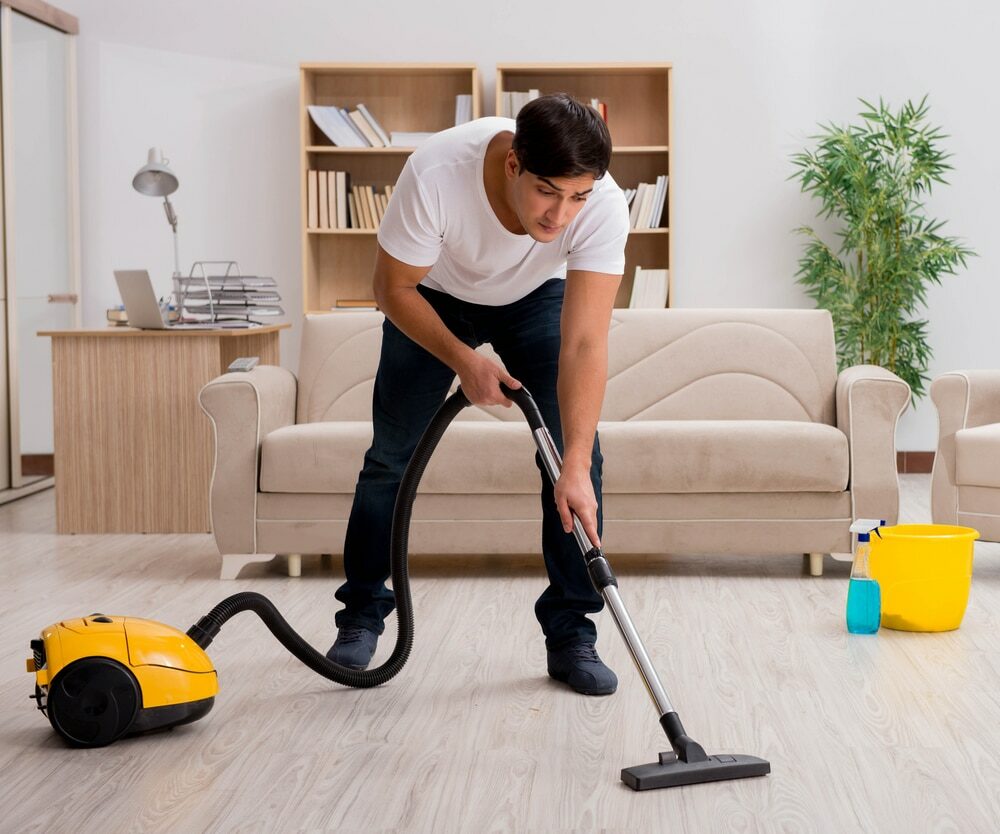
g. Vacuum Cleaner: A crucial tool for removing dust and debris from the floor during and after the restoration process, ensuring a clean surface for staining and refinishing.
h. Protective Gear: Dust masks, ear protection, and safety goggles are essential for your safety while working on your wood floor restoration project.
5. Step-by-Step Guide to Wood Floor Restoration
Follow these steps to successfully restore your wood floors:
a. Preparation: Clear the room of furniture, rugs, and any other items that may obstruct the restoration process. Seal off doorways and vents with plastic sheeting to prevent dust from spreading throughout the house.
b. Inspection: Examine the floor for any loose nails, staples, or other debris that could damage the sanding equipment or cause injury. Fill any significant gaps or cracks with a suitable wood filler.
c. Sanding: Begin by sanding the floor using the drum sander and a coarse-grit sandpaper. Move the sander in the direction of the wood grain to prevent cross-grain scratches. After covering the entire floor, switch to the edger to sand the edges and corners.
d. Progression: Repeat the sanding process with progressively finer grit sandpaper using the drum sander and edger. After the final pass with the drum sander, use the orbital sander to smooth out any marks left by the larger machines.
e. Cleanup: thoroughly vacuum the floor to remove any dust and debris. It may also be helpful to wipe down the floor with a tack cloth to ensure a completely clean surface.
f. Staining: If desired, apply your chosen wood stain according to the manufacturer’s instructions. Allow the stain to dry completely before moving on to the next step.
g. Refinishing: Apply your chosen protective finish, such as polyurethane or oil, following the manufacturer’s instructions. Allow the finish to dry completely before moving furniture back into the room.
6. Tips for a Successful Wood Floor Restoration Project
a. Take your time: Do not rush the restoration process, as this can lead to uneven results and potential damage to the floor.
b. Keep the sander moving: Avoid staying in one spot for too long to prevent creating divots or uneven spots in the floor.
c. Test your equipment and materials: Practice using the sanders, stains, and finishes on a piece of scrap wood or in an inconspicuous area of the room to get a feel for how they work and to ensure you are happy with the results.
d. Seek professional advice: If you are unsure about any aspect of the wood floor restoration process, consult with a professional who can provide guidance and recommendations.
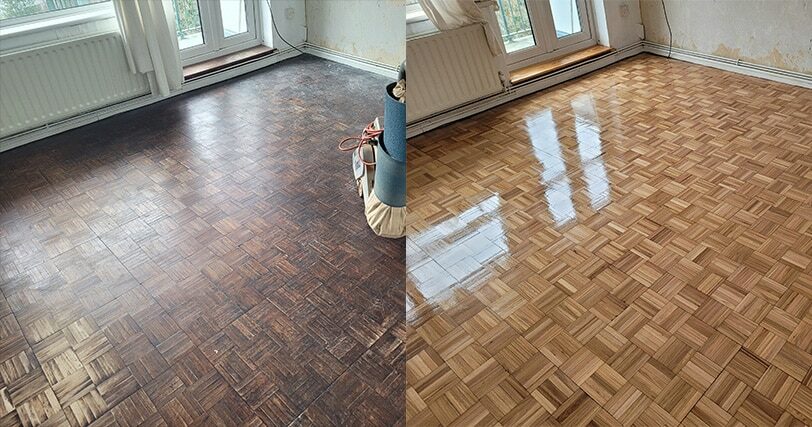
7. The Impact of Wood Floor Restoration on Property Value
Restoring your wood floors can have a significant impact on the value of your property. Well-maintained and attractive wood floors are a desirable feature for many potential buyers, as

They provide a sense of warmth, character, and quality craftsmanship. By investing in wood floor restoration, you can increase your home’s market appeal and potentially attract higher offers. In addition to enhancing your property’s value, restored wood floors can also contribute to a quicker sale. Many buyers prefer a move-in-ready home, and beautifully restored floors can create a positive first impression and reduce the need for immediate renovations.
8. Maintaining and Protecting Your Restored Wood Floors
After investing time and effort into restoring your wood floors, it is essential to take steps to maintain and protect them.
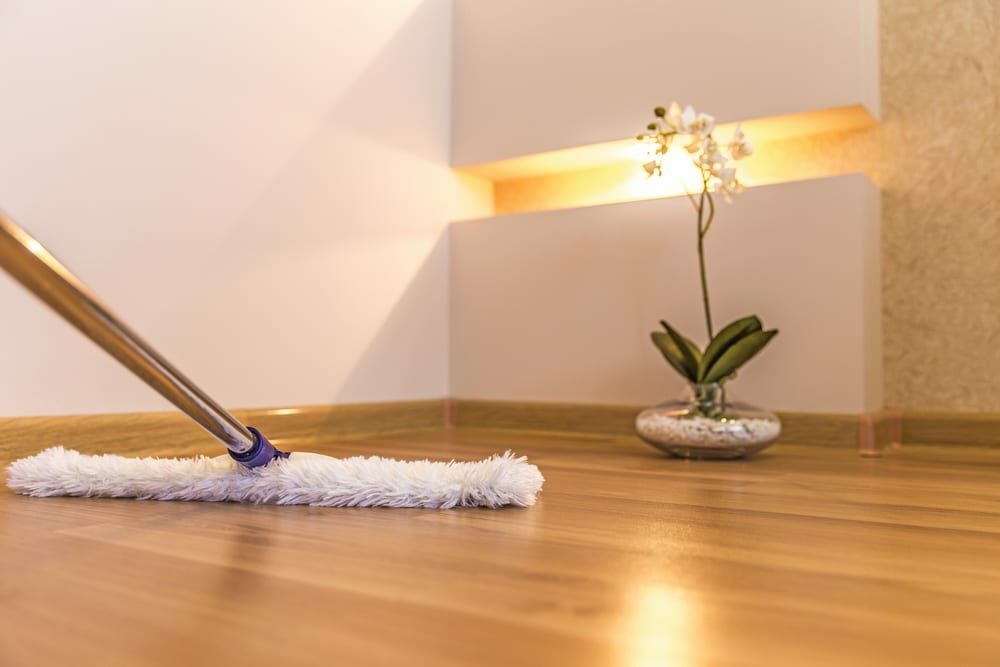
a. Regular cleaning: sweep or vacuum your floors regularly to remove dirt and dust that can cause scratches and wear.
b. Protective pads: Place felt or rubber pads under furniture legs to prevent scratches and dents.
c. Rugs and mats: Use area rugs and mats in high-traffic areas to protect your floors from wear and tear.
d. Avoid moisture: Wipe up spills immediately and avoid using excessive water when cleaning your floors to prevent water damage and warping.
e. Routine maintenance: Periodically assess the condition of your floors and address any minor damage or wear as needed to keep your floors looking their best.
9. Choosing the Right Professional for Your Wood Floor Restoration
If you decide to hire a professional for your wood floor restoration project, it is important to choose a qualified and experienced contractor. Consider the following factors when selecting a professional:
a. Experience: Look for a contractor with a proven track record of successfully restoring wood floors similar to yours.
b. Licencing and insurance: Ensure that the contractor is licenced and insured, which can provide peace of mind and protect you from potential liabilities.
c. References: Ask for references from previous clients and check online reviews to get a sense of the contractor’s work quality and customer satisfaction.
d. Written estimates: Obtain written estimates from multiple contractors, comparing costs, materials, and timelines to make an informed decision.
e. Communication: Choose a contractor who communicates clearly and effectively, answering your questions and addressing your concerns throughout the project.
Some Useful Links:
Conclusion
Wood floor restoration is a powerful way to transform your property, enhancing the appearance and value of your home while prolonging the life of your floors. By understanding the restoration process, investing in the right tools and techniques, and following expert tips and advice, you can achieve stunning results that will elevate your living space. Whether you choose to tackle the project yourself or hire a professional, being well-informed about wood floor restoration will help you make the best decisions for your home and ensure a successful outcome. By maintaining and protecting your restored wood floors, you can enjoy their beauty and durability for years to come, ultimately creating a more comfortable, inviting, and stylish living environment.
More from our Blog:
Enhance Your Interior Look with Floor Sanding | Best Guide
Step by Step Guide to Sanding, Staining & Finishing Wood Floors
Sanding and Sealing Hardwood Floors and Parquet