London:
Nationwide:
DIY Wood Floor Installation: Step-by-Step Guide for Homeowners
Posted on May 20, 2023
Articles
Enhance Your Home with DIY Wood Floor Installation: A Comprehensive Guide
Wood flooring offers timeless appeal, long-lasting durability, and the potential to add significant value to your home. While professional installation is often recommended, you may have the DIY spirit that’s itching for a new project. Fortunately, wood floor installation is a manageable task for a confident and handy DIYer, given you have the right tools, materials, and guidance. This comprehensive 4000-word guide will walk you through a step-by-step process for a successful DIY wood floor installation. However, patience and careful planning are critical aspects of this project.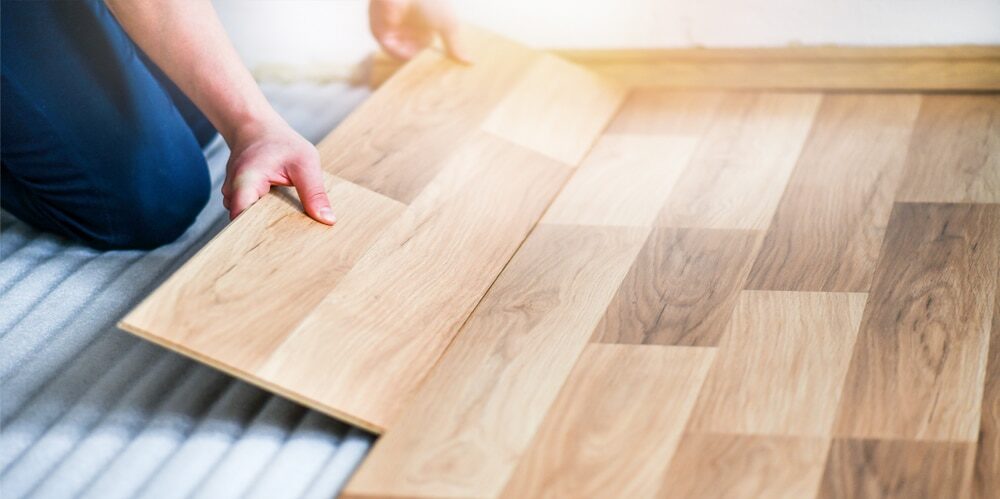
Materials and tools you’ll need
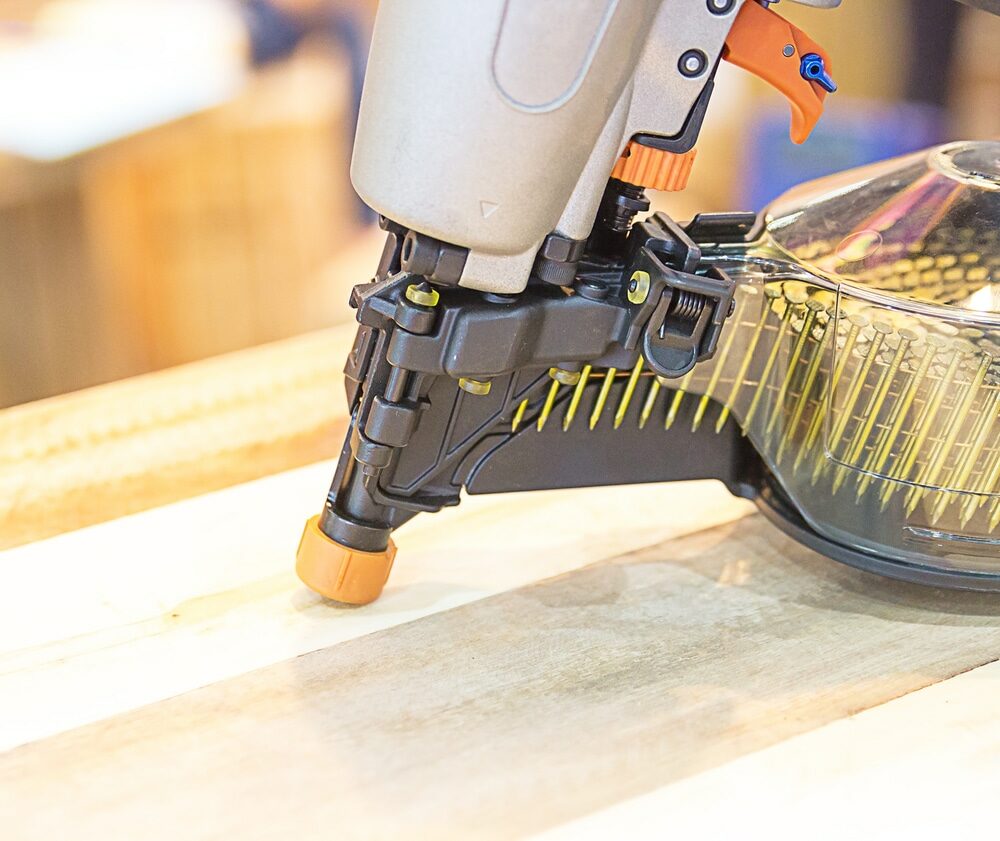
Before you begin, gather all the necessary materials and tools for the job:- Hardwood planks
- Nail gun or hammer
- Nails
- Wood adhesive (for engineered hardwood)
- Underlayment
- Moisture barrier (if necessary)
- Circular Saw
- Mitre Saw
- Tape measure
- Chalk line
- Pry bar
- Level
Preparation
Before you begin, remove all furniture from the room and any existing carpet, tile, or other flooring. Ensure the subfloor is clean, dry, and level. You may need a self-leveling compound or plywood sheets to create a flat, stable surface.Choosing Your Wood Flooring
Your choice of wood flooring will depend on your budget, style preference, and the room’s requirements. Hardwood is traditionally used for its durability and natural beauty, while engineered hardwood provides the same aesthetic with better resistance to moisture and temperature fluctuations.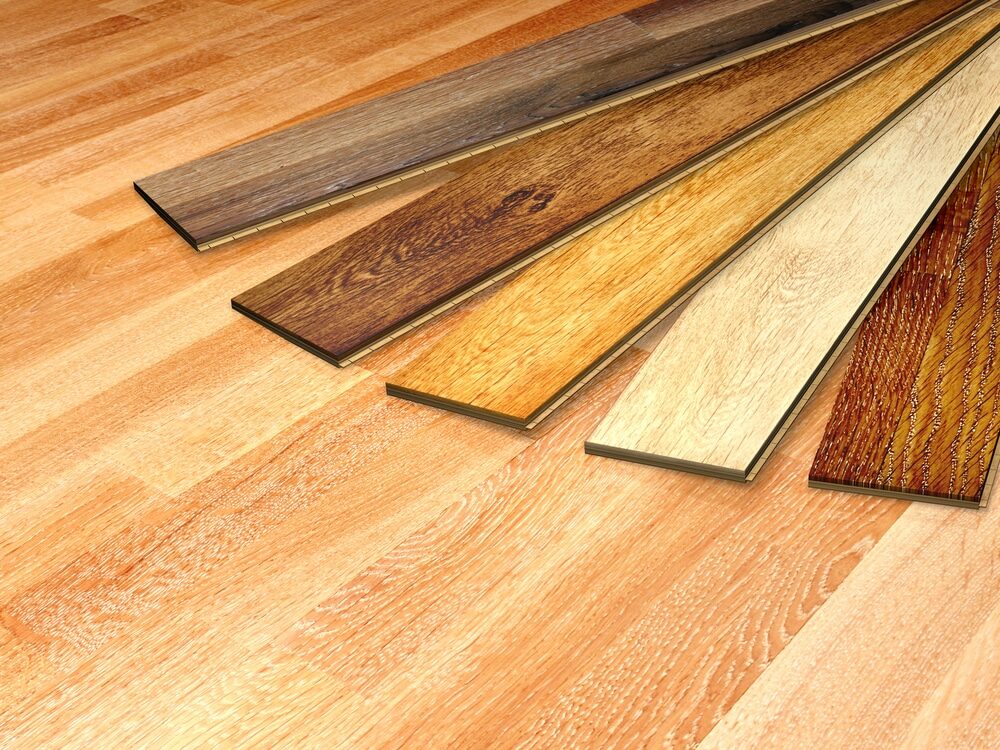
Acclimatize the flooring
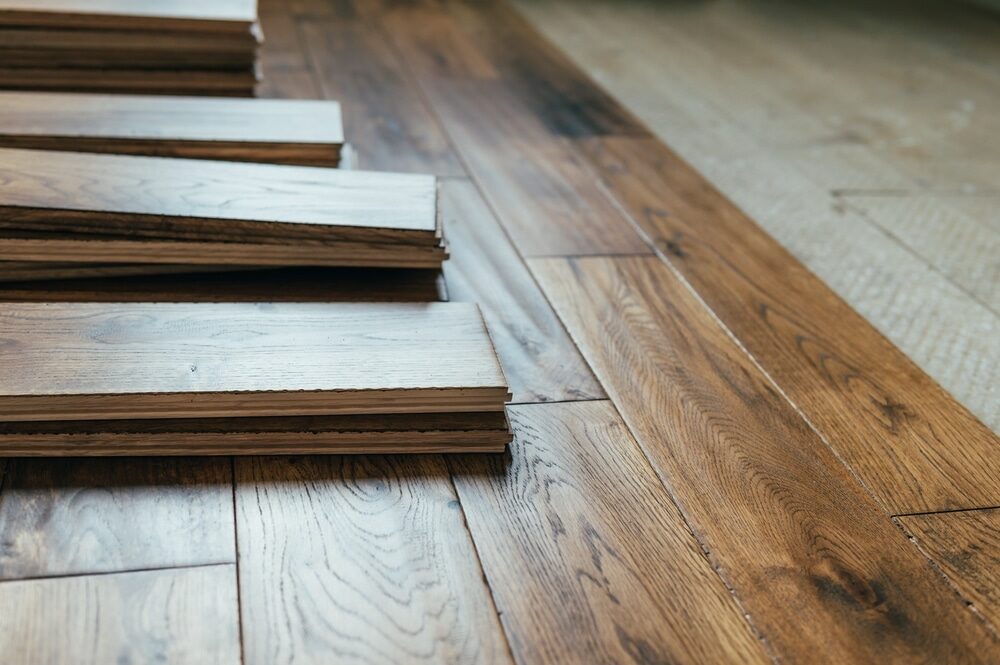
Wood flooring needs to acclimate to your home’s environment before installation to prevent expansion or contraction post-installation. Stack the planks in the room they’ll be installed in for at least 48–72 hours.Plan your layout
Measure the room and plan your layout to determine how many planks you’ll need and how they’ll fit together. The planks should run perpendicular to the floor joists for maximum stability. You should start from the longest, most visible straight wall and work towards the opposite wall.The installation process
Install the underlayment.
Roll out the underlayment across the entire floor. This layer provides a cushion, reduces noise, and is a moisture barrier. Trim the underlayment to fit and tape the seams as the manufacturer directs.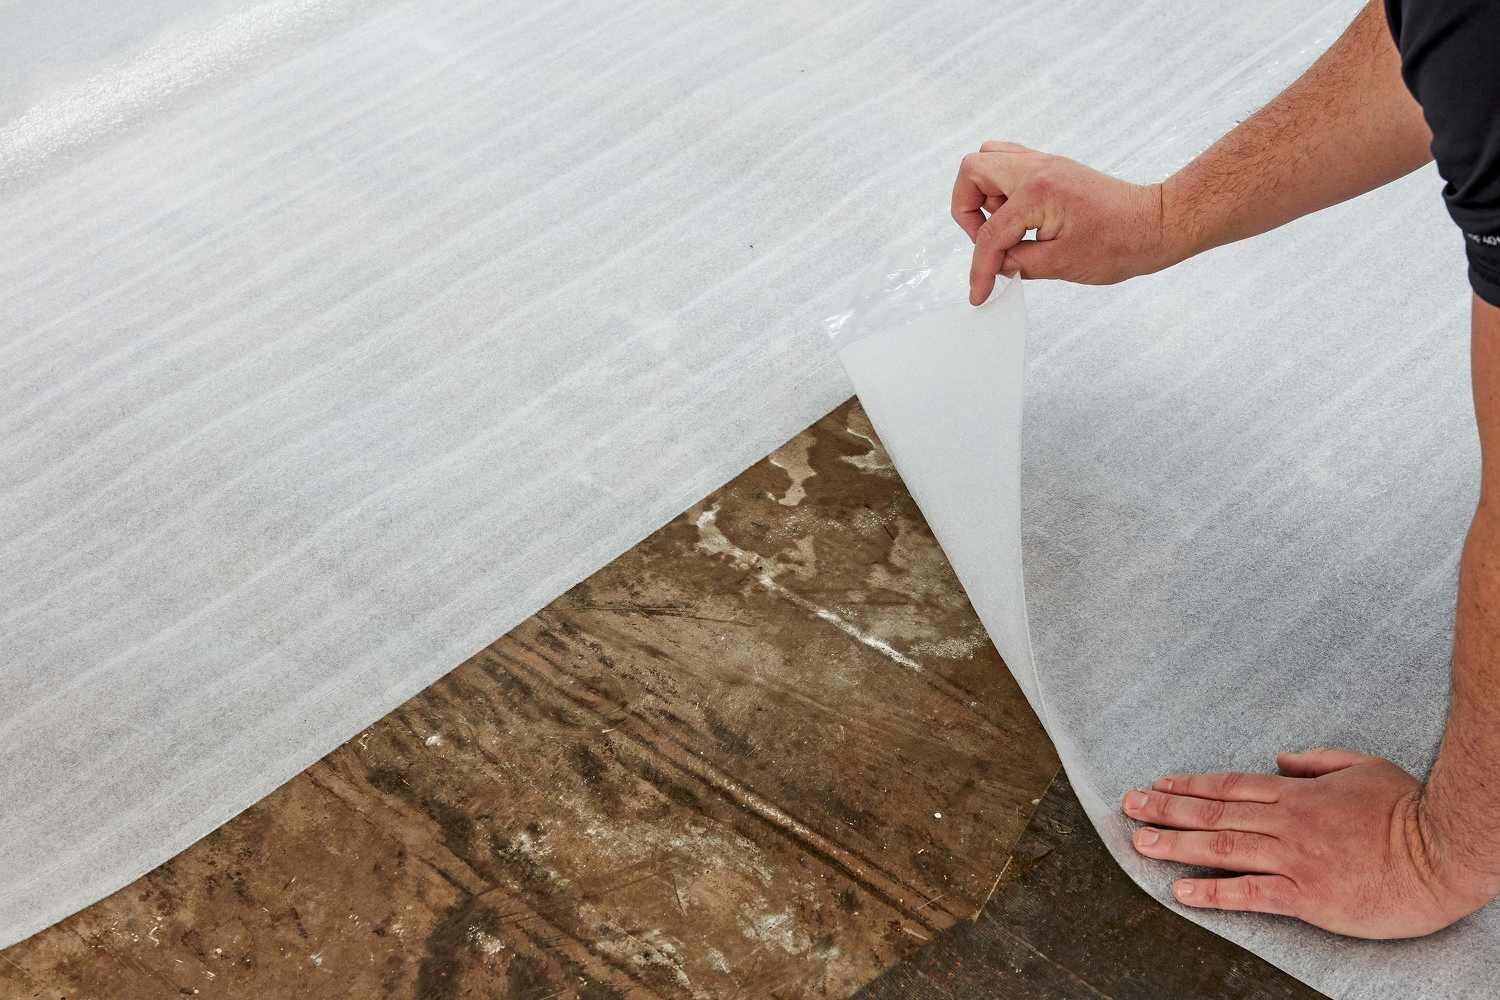
Laying the First Row
Starting from one corner, lay out the first row of planks with the tongue side facing the wall. There should be an expansion gap between the planks and the wall, typically about 3/8 to 1/2 inch. This allows for the natural expansion and contraction of the wood.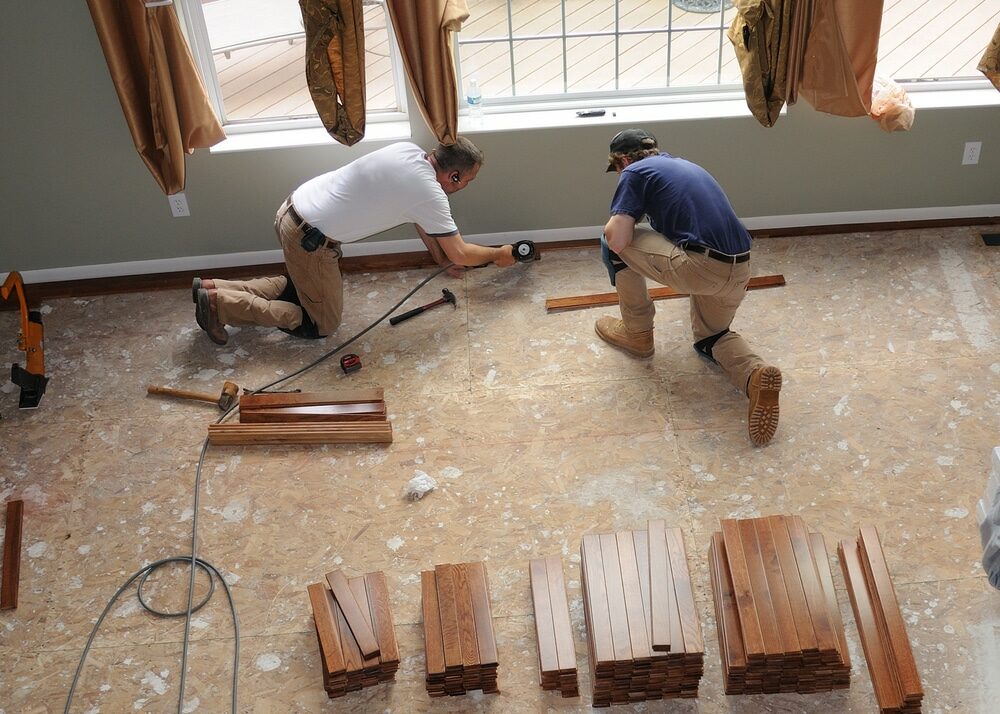
Securing the planks
You’ll use a flooring nailer or a hammer and finishing nails for solid hardwood. For engineered wood, you may use a flooring stapler or adhesive in addition to nails. You may need to face-nail the planks for the first row, as the nail gun might not fit against the wall. Once the first row is secure, you can use the nail gun to secure the remaining rows through the tongue of each plank, a method known as blind nailing.Continuing the installation
As you move on to the following rows, ensure the end joints of the planks in adjacent rows are staggered. This enhances the floor’s stability and gives it a more natural look. Use a miter saw to cut planks at the end of rows or around obstacles. Remember to maintain the expansion gap around the room’s perimeter. Using a pry bar and mallet might be necessary to fit the last row of planks snugly against the wall.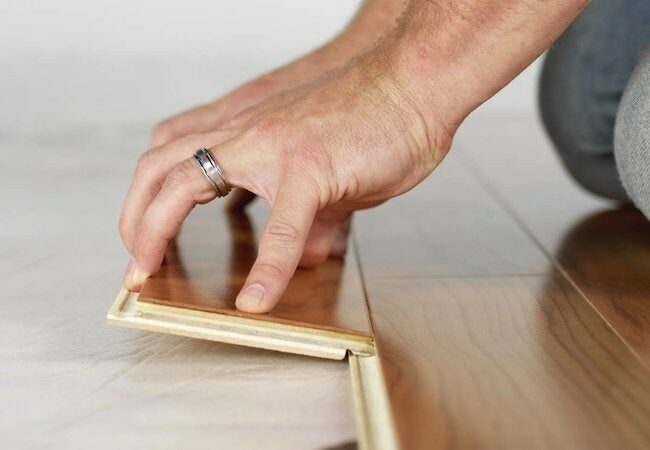
The finishing touches
Once all the planks have been installed, remove any excess adhesive and clean the floor thoroughly. Install baseboard and shoe molding around the room’s edge to cover the expansion gap and provide a finished look. For pre-finished hardwood, your floor is ready to use. If you’ve installed unfinished hardwood, you must sand the floor smoothly, clean up the dust, and apply your chosen finish according to the manufacturer’s instructions.Post-Installation Care
Congratulations! You’ve just installed your wood floor! Now, knowing how to care for your new floor is crucial to preserve its looks and longevity. Use floor protectors under furniture legs, keep the floor clean and dry, and avoid wearing shoes with stiff soles or sharp heels on the floor. Periodically, you may need to reapply a finish to keep your floor looking its best. If you’ve installed solid hardwood, the floor can be sanded and refinished several times if it starts to show wear.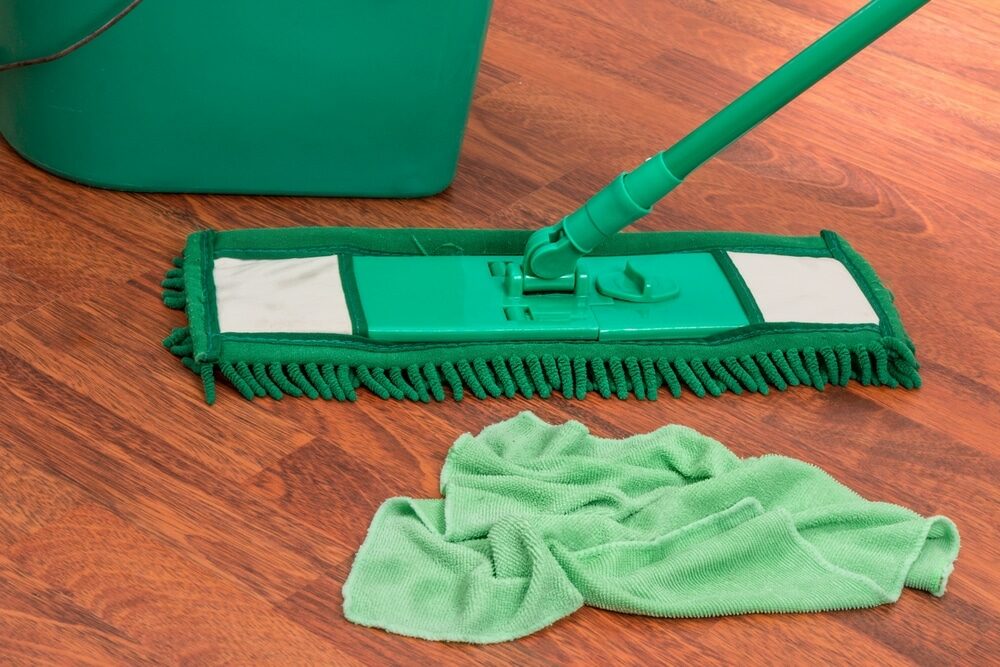
Conclusion
Installing your wood flooring can be a rewarding project that adds beauty and value to your home. This guide provides a comprehensive overview of the steps involved, but remember, every installation will be slightly different based on the room layout, type of wood flooring, and specific conditions of your home. Take the time to plan and prepare carefully, be patient and meticulous during the installation, and you’ll be rewarded with a beautiful new floor that you can take pride in having installed yourself.Some Useful Links:
- Stairs Sanding & Refinishing
- Floor Sanding Services
- School Floor Sanding
- Wood Floor Restorations
- Wood Floor Repairs
- Wood Floor Polishing
More from our Blog:
Wood Floors | How to Maintain Your Wooden Flooring Top Hardwood Floor Innovations 2023 | Future of Sustainable Interior Design Wooden Stairs and Banisters Sanding: Mr Sander®, London Matching Wood Floor Restoration to Your Personality: An In-depth Guide Critical Rules for Preparing Your Wood Floor for Sanding Floor Sanding Services in London: Choosing Experts for Your Wooden Floors
Get more floor restoration advice…
Sanding
We provide virtually dust-free sanding with our continuous belt machinery with mobile extraction units, giving you a safer environment for your family.
Oiling
This organic finish not only adds beauty to your home but also has exceptional water-repellent characteristics, making it easier to clean and maintain.
Waxing
This natural floor finish offers the softest and most mellow appearance – and leaves your floor able to breath.
Buffing
Using soft buffing machines (and hand-polishing where required) will bring a wonderful sheen to your newly-finished floor.
Repairs
We offer a full assessment of your wooden floors to determine what repairs are needed to provide the perfect working surface for the later stages of sanding, staining and sealing.
Restoration
We offer a comprehensive restoration process designed to address floors that are improperly fitted or damaged over time through wear and tear.
Request a fixed price quote for your wood floor restoration now
Simply enter your postcode below to get started.
Services
Wood Floor Sanding Wood Floor Restoration Wood Floor Scratch Repair Squeaky Wood Floor Repair Parquet Floor Sanding Parquet Floor Restoration Commercial Floor Sanding Church Floor Sanding Community Centre Floor Sanding School Floor Sanding Gap Filling Gap Filling with ResinCopyright © Mr Sander®
Privacy & Cookies Terms & Conditions Complaints Procedure Cancellation Rights Sitemap