London:
Nationwide:
25,000+
Floors Restored
27 Years Experience
Wood Flooring Association Certified
10 Things You Must Do to Look after Your Floorboard Sanding | Experts Guide
Posted on April 26, 2023
Blog
The Ultimate Guide to Wood Floorboard Sanding: 10 Essential Tips for Success
Wooden floorboards have a timeless charm that can give any space an air of sophistication and warmth. However, to maintain their beauty, it is essential to look after them properly. One of the crucial steps in maintaining wooden floors is sanding, which can restore their original appearance and extend their lifespan. In this blog post, we will discuss ten essential things you must do to look after your wood floorboard sanding, ensuring your floors remain in tip-top condition for years to come.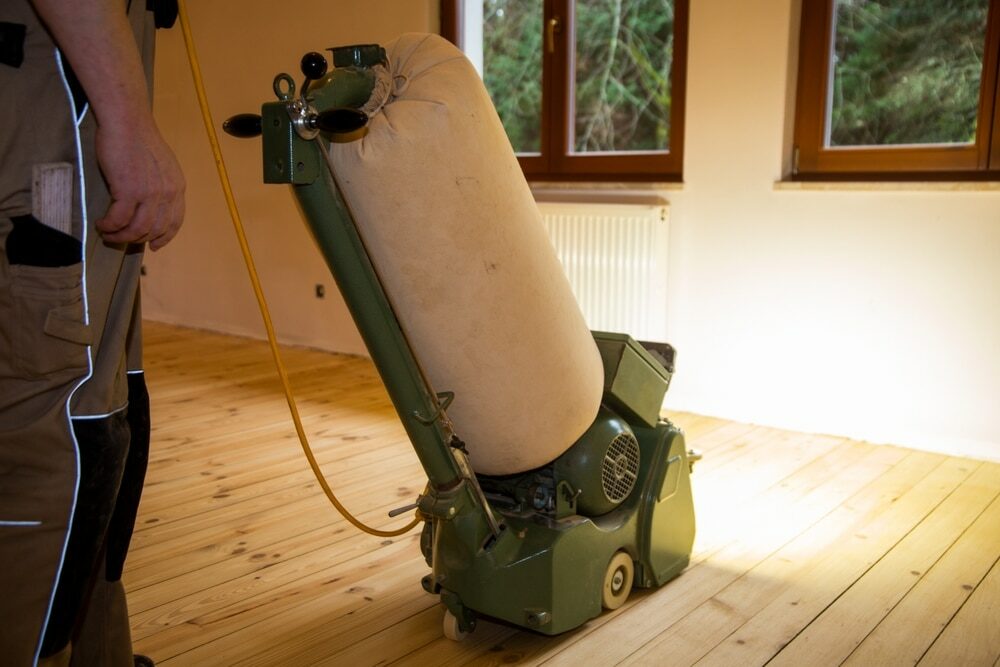
1. Choose the right sanding equipment.
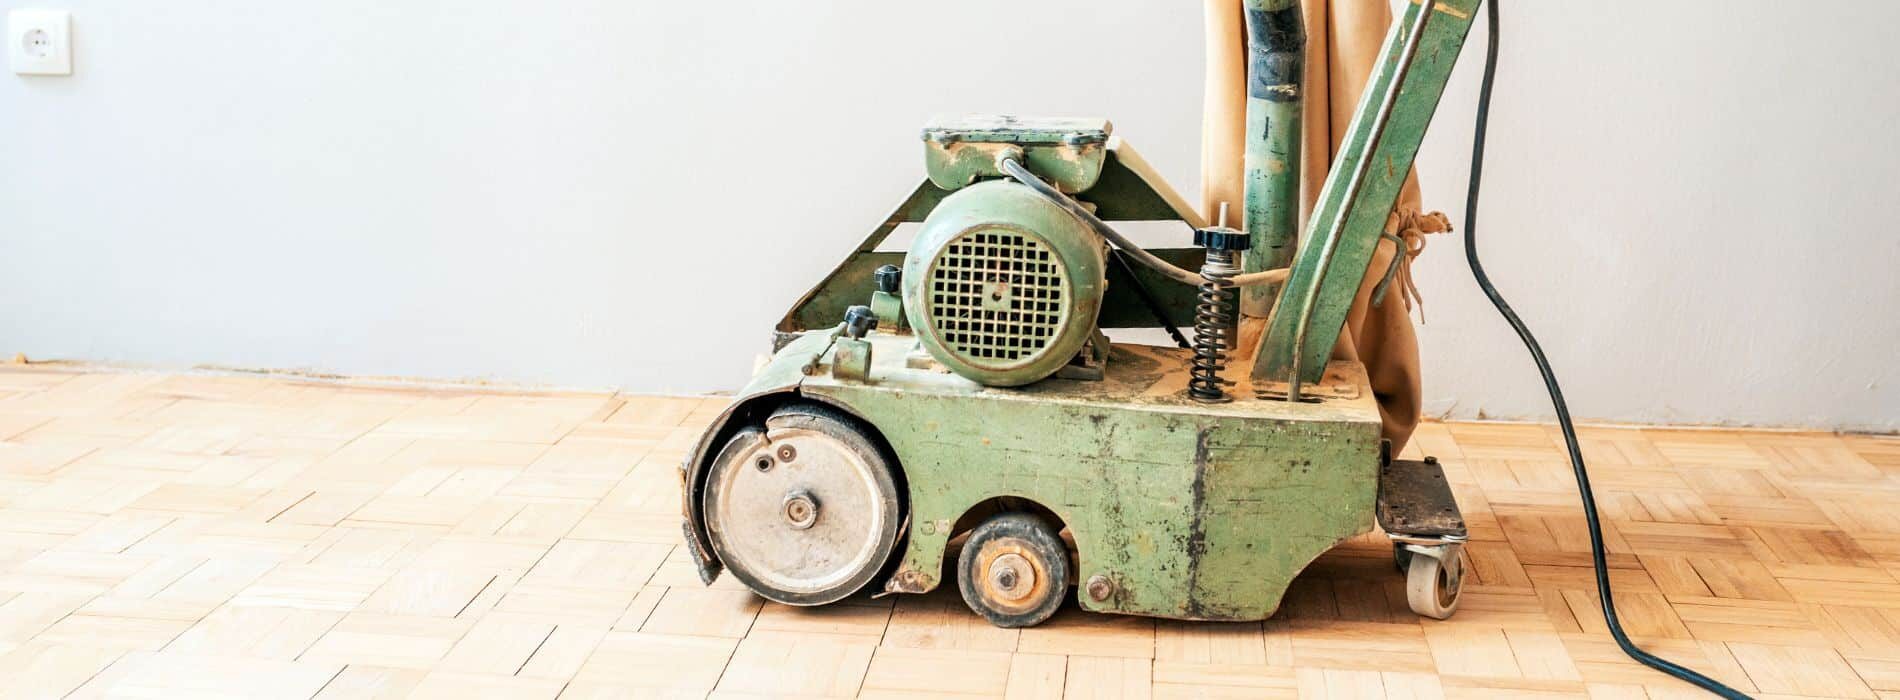
To get the best results from your wood floorboard sanding, it’s crucial to use the right equipment. A drum sander and an edging sander are the most commonly used tools for this task. A drum sander covers large areas, while an edging sander works on smaller spaces and edges. Make sure to use high-quality sanding machines with variable speed settings and dust extraction features to minimise mess and achieve a smooth finish.
2. Select the appropriate sandpaper grit:
Choosing the correct sandpaper grit is essential for successful wood floorboard sanding. Start with a coarse grit (40 or 60) to remove old finishes, stains, and scratches. Gradually move to medium grit (80) to smooth out the wood and prepare it for the final stage. Finish with a fine grit (100 to 120) to achieve a smooth and even surface. Using the right grit sequence will help avoid swirl marks and ensure a professional-looking result.
3. Prepare the floor:
Before starting the sanding process, it’s essential to prepare your wood floorboards. Remove any furniture, rugs, and other items from the room. Thoroughly clean the floor using a vacuum cleaner and a damp cloth to remove any dirt, debris, or nails that may damage the sanding equipment. Fill any gaps or cracks in the floorboards with a suitable wood filler and allow it to dry completely.
4. Sand with the grain:
To avoid cross-grain scratches and achieve a uniform finish, always sand in the direction of the wood grain. Start with the drum sander for large areas and move methodically across the room, overlapping each pass slightly. Once the main area is complete, use the edging sander to work on the perimeter and any tight spaces.
5. Keep the sanding machines moving.
It’s crucial not to let the sanding machines sit in one spot for too long, as this can cause uneven results or damage to your wood floorboards. Keep the machines moving at a steady pace, applying even pressure throughout the sanding process. This will ensure consistent results and prevent any gouges or dips in the floor.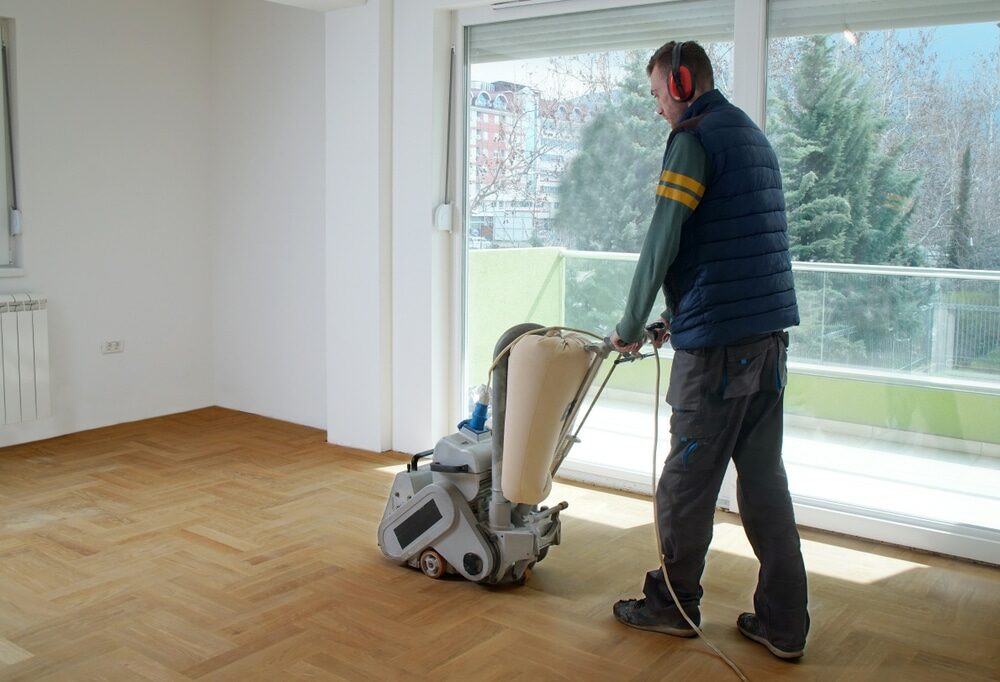
6. Vacuum between sanding stages:
To achieve a smooth and even finish, it’s essential to remove any dust and debris between each sanding stage. Vacuum the floor thoroughly after each pass with the sanders, paying particular attention to corners and edges. This will help prevent dust particles from becoming trapped under the final finish and ensure a flawless result.7. Apply a wood conditioner.
After completing the sanding process, it’s advisable to apply a wood conditioner to your floorboards. This product helps to even out the wood’s porosity, ensuring a consistent and uniform absorption of the stain or finish. Apply the wood conditioner according to the manufacturer’s instructions and let it dry before proceeding with staining or finishing.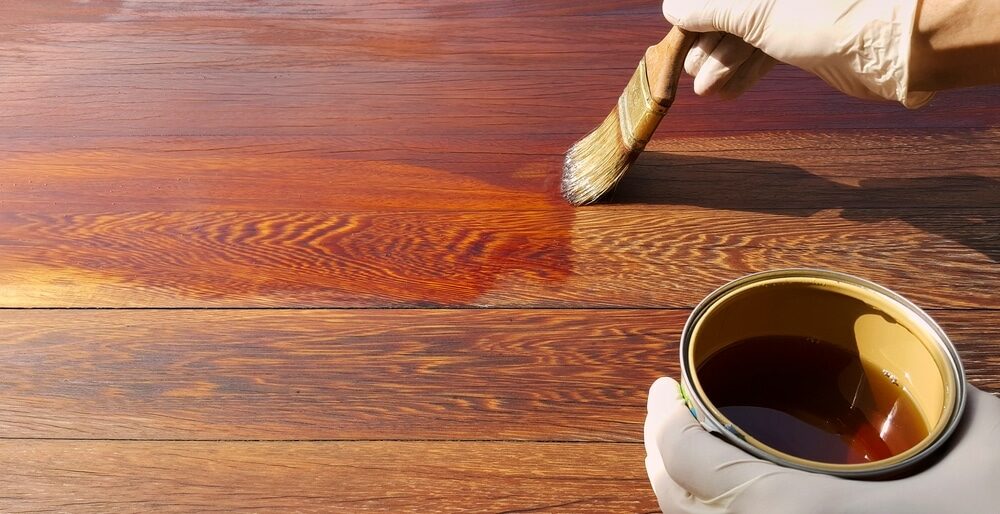
8. Choose the right stain and finish.
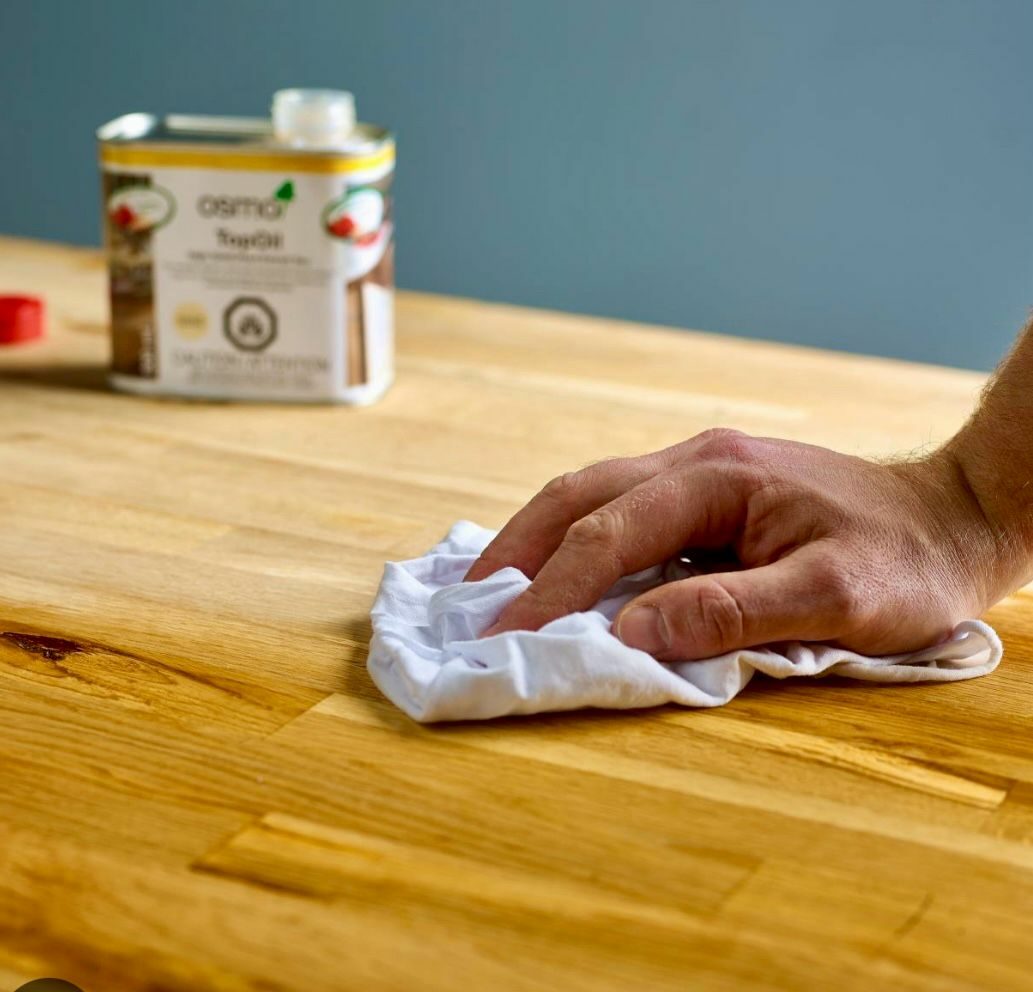
Selecting the appropriate stain and finish for your wood floorboards is crucial for achieving a beautiful and long-lasting result. Oil-based stains offer deeper penetration and longer-lasting colour, while water-based stains dry more quickly and have lower VOC levels. When it comes to finishes, polyurethane, varnish, and hardwax oils are popular choices for their durability and protection. Consider factors such as the desired colour, sheen, and environmental impact when making your selection.9. Apply the stain and finish correctly.
Applying the stain and finish correctly is essential for a professional-looking result. First, apply the stain evenly using a brush or applicator pad, working with the grain of the wood. Allow the stain to penetrate for the recommended time before wiping off any excess with a clean cloth. Let the stain dry completely before applying the finish. When applying the finish, use a high-quality brush, roller, or floor applicator, depending on the product’s recommendations. Apply thin, even coats, and allow each coat to dry according to the manufacturer’s instructions. Lightly sand the floor between coats with a fine-grit sandpaper (220 to 240) to ensure proper adhesion and a smooth surface. Generally, two to three coats of finish are required for optimal protection.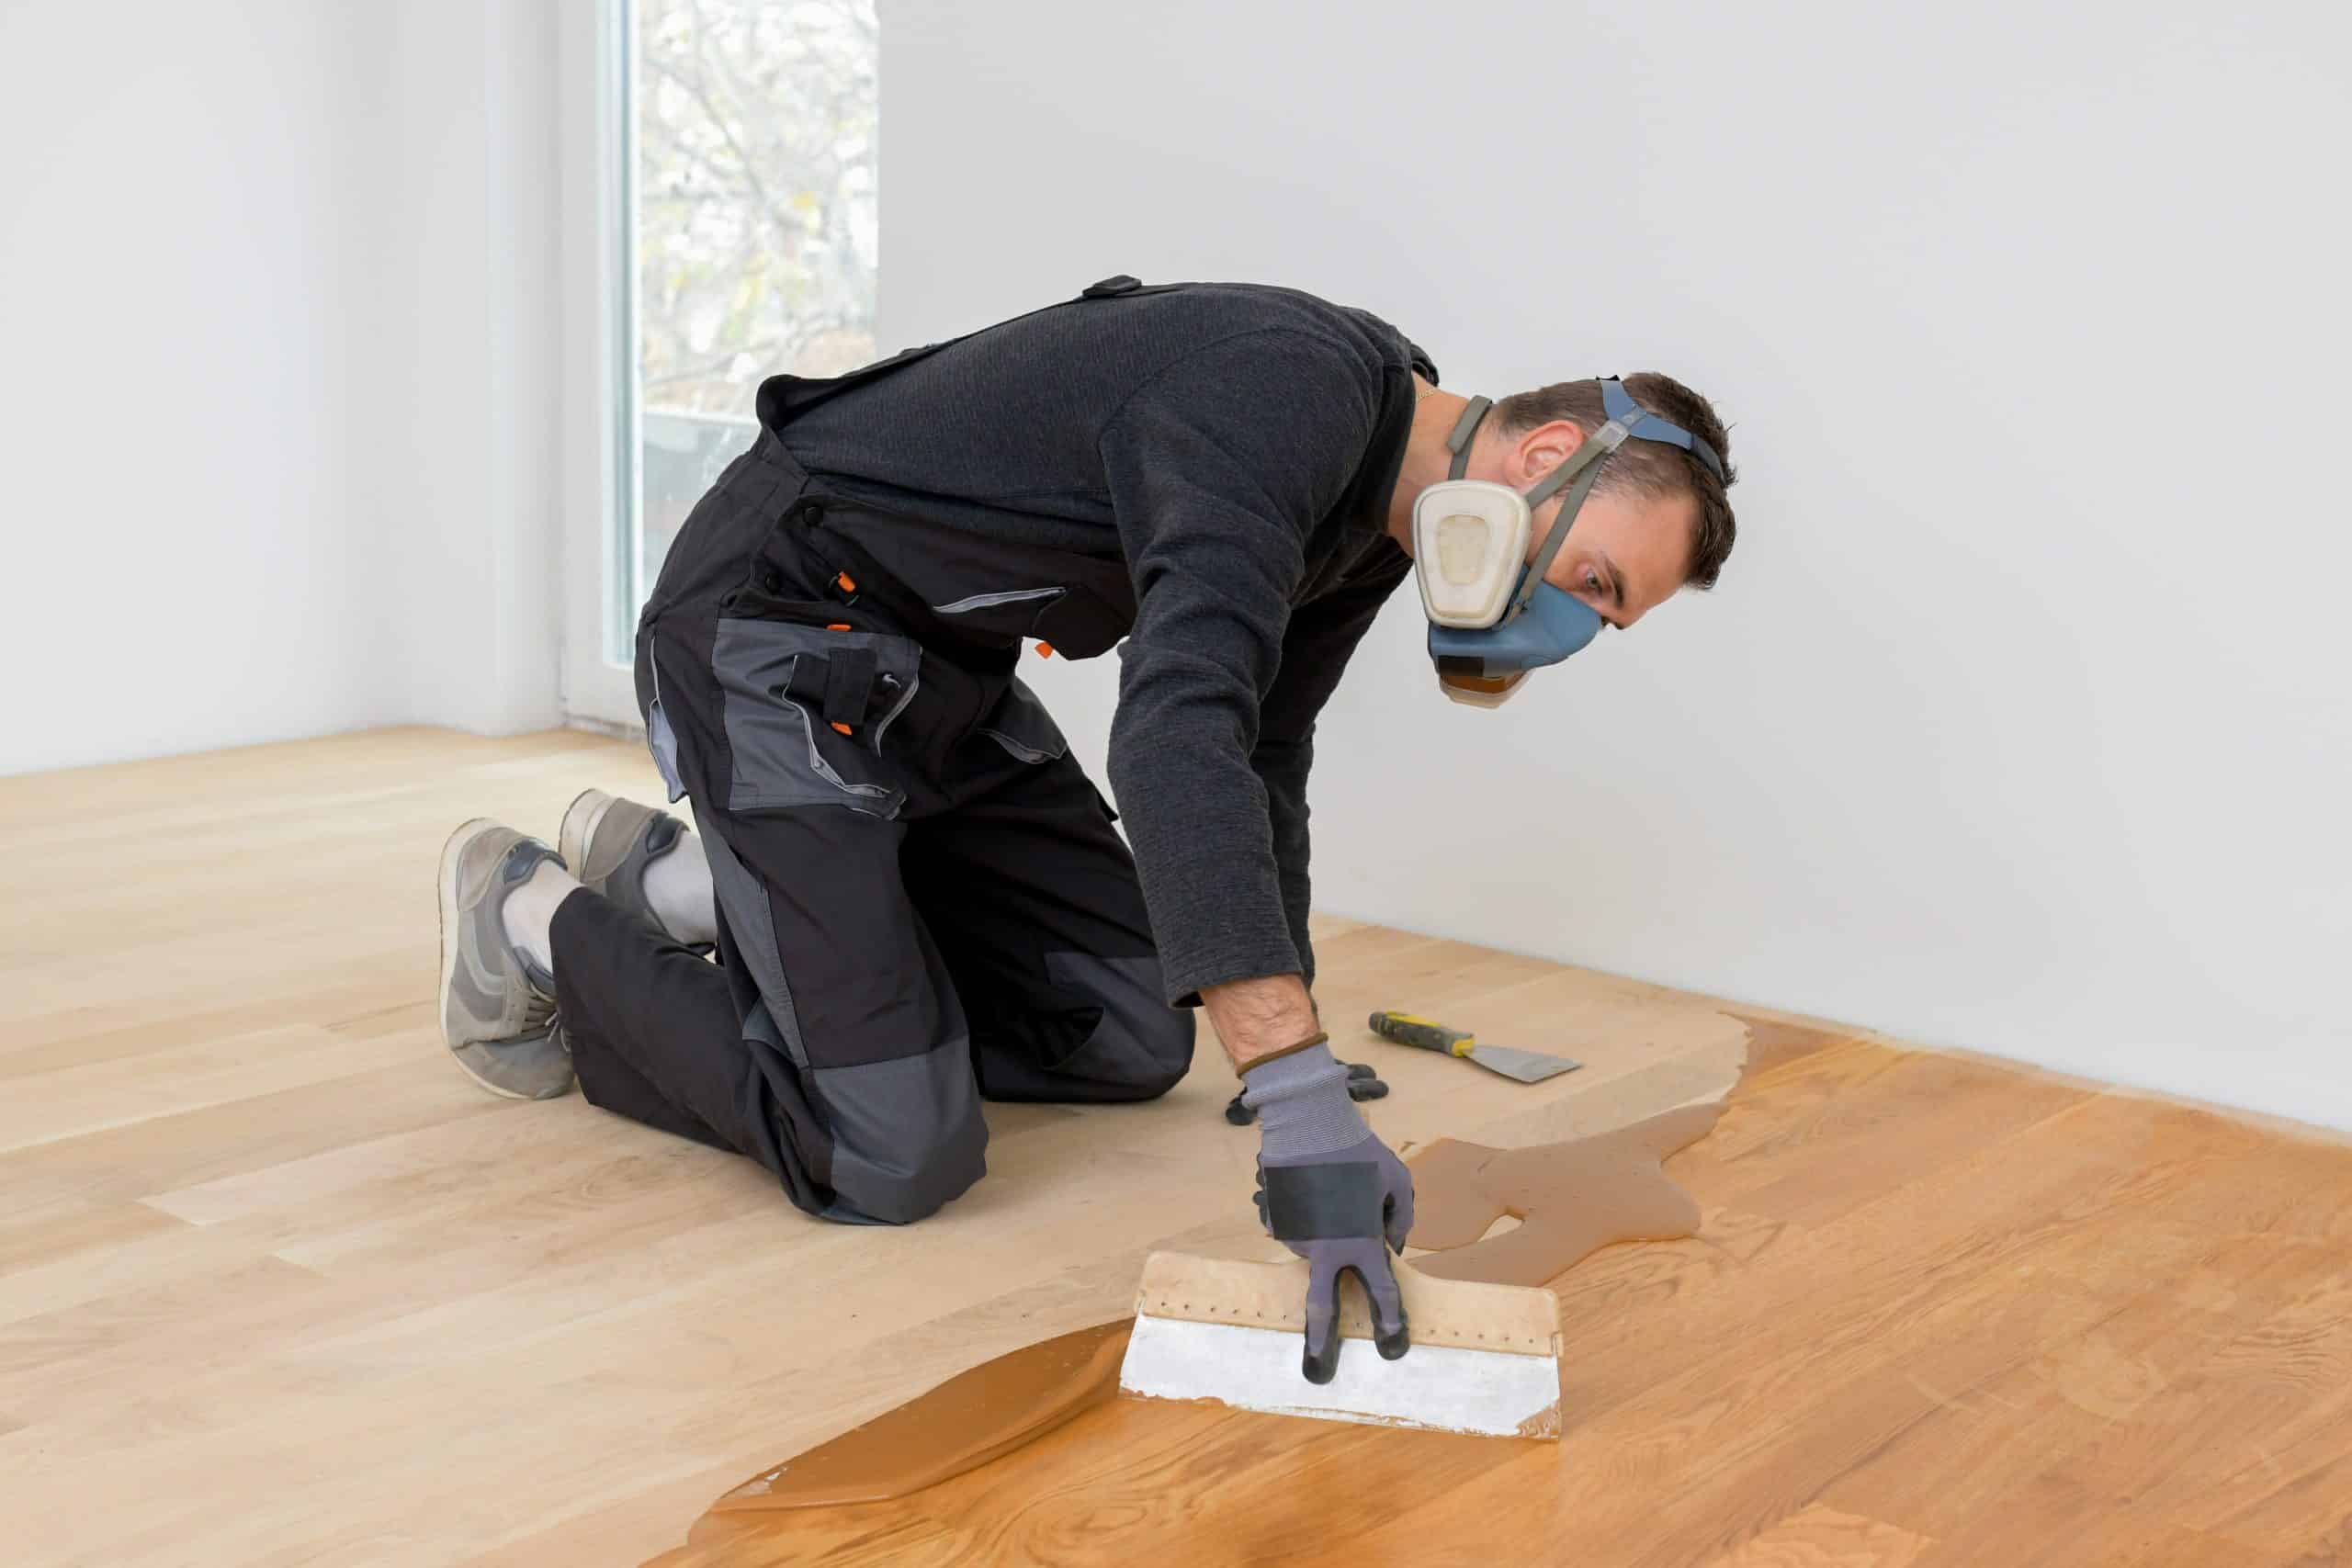
10. Maintain your wood floorboards:
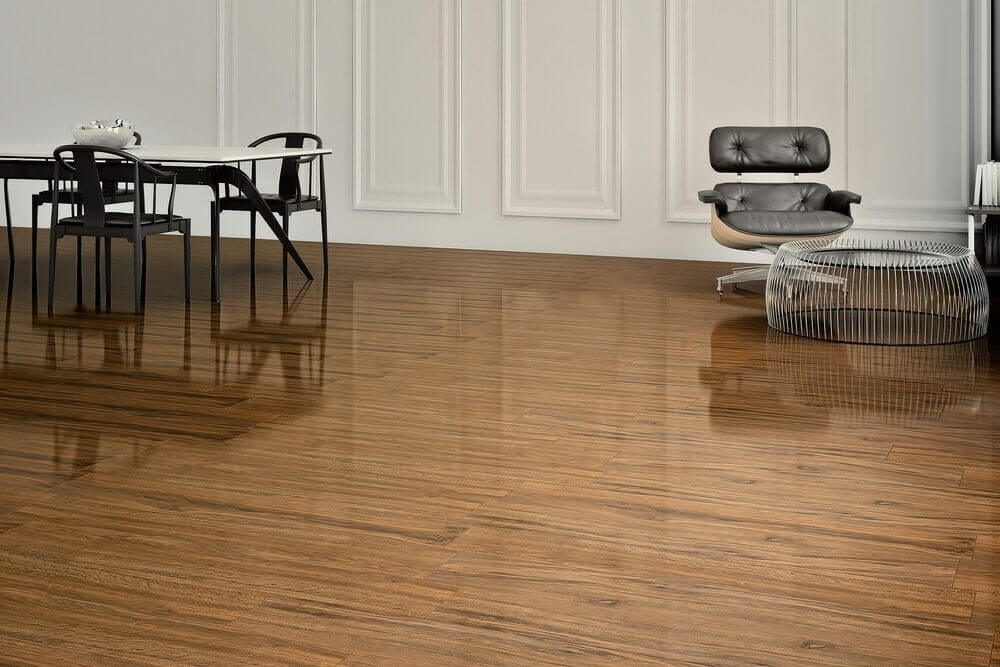
After completing the sanding, staining, and finishing processes, it’s essential to maintain your wood floorboards properly to ensure their longevity. Sweep or vacuum the floor regularly to remove dirt and debris. Clean spills promptly with a damp cloth, and avoid using excessive water or harsh chemicals that may damage the finish. Use furniture pads to protect the floor from scratches, and consider using area rugs in high-traffic zones. Periodically inspect the floor for signs of wear, and recoat or refinish as needed to keep your wood floorboards looking their best.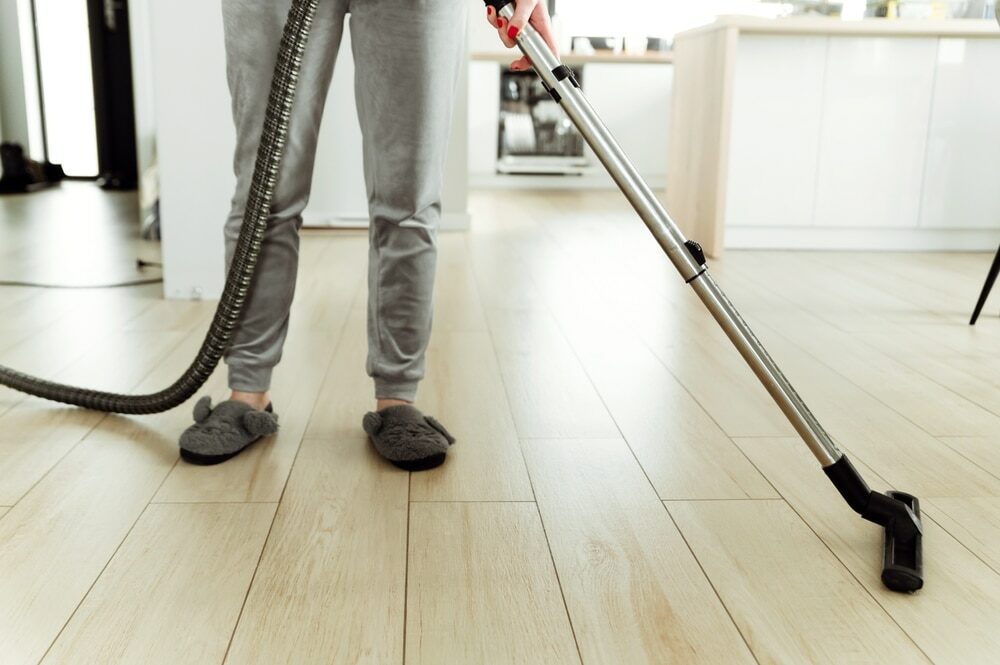
Some Useful Links:
Conclusion: Wood floorboard sanding can dramatically improve the appearance and longevity of your wooden floors. By following these ten essential tips, you’ll be well on your way to achieving professional-quality results and enjoying your beautiful, restored wood floorboards for years to come. Remember that proper maintenance is key to preserving the beauty and durability of your floors, so make it a priority to care for them regularly.
Sanding
We provide virtually dust-free sanding with our continuous belt machinery with mobile extraction units, giving you a safer environment for your family.
Oiling
This organic finish not only adds beauty to your home but also has exceptional water-repellent characteristics, making it easier to clean and maintain.
Waxing
This natural floor finish offers the softest and most mellow appearance – and leaves your floor able to breath.
Buffing
Using soft buffing machines (and hand-polishing where required) will bring a wonderful sheen to your newly-finished floor.
Repairs
We offer a full assessment of your wooden floors to determine what repairs are needed to provide the perfect working surface for the later stages of sanding, staining and sealing.
Restoration
We offer a comprehensive restoration process designed to address floors that are improperly fitted or damaged over time through wear and tear.
Request a fixed price quote for your wood floor restoration now
Simply enter your postcode below to get started.
Services
Wood Floor Sanding Wood Floor Restoration Wood Floor Scratch Repair Squeaky Wood Floor Repair Parquet Floor Sanding Parquet Floor Restoration Commercial Floor Sanding Church Floor Sanding Community Centre Floor Sanding School Floor Sanding Gap Filling Gap Filling with ResinCopyright © Mr Sander®
Privacy & Cookies Terms & Conditions Complaints Procedure Cancellation Rights Sitemap

Get An Instant Price Estimate Before You Go…
Simply enter the rooms you need sanded and we’ll provide you with a price estimate instantly! Try our price calculator now.
Get a Price Estimate NowLocal Floor Sanding Experts
Over 500 5-Star Reviews
Safe, Dust Free Sanding
Operating Since 1994