London:
Nationwide:
5 Essential Tips for Caring for Wood Floor Sanding: The Best Guide
Posted on April 26, 2023
Blog
The Ultimate Guide to Wood Floor Sanding: Top 5 Tips and Best Practices
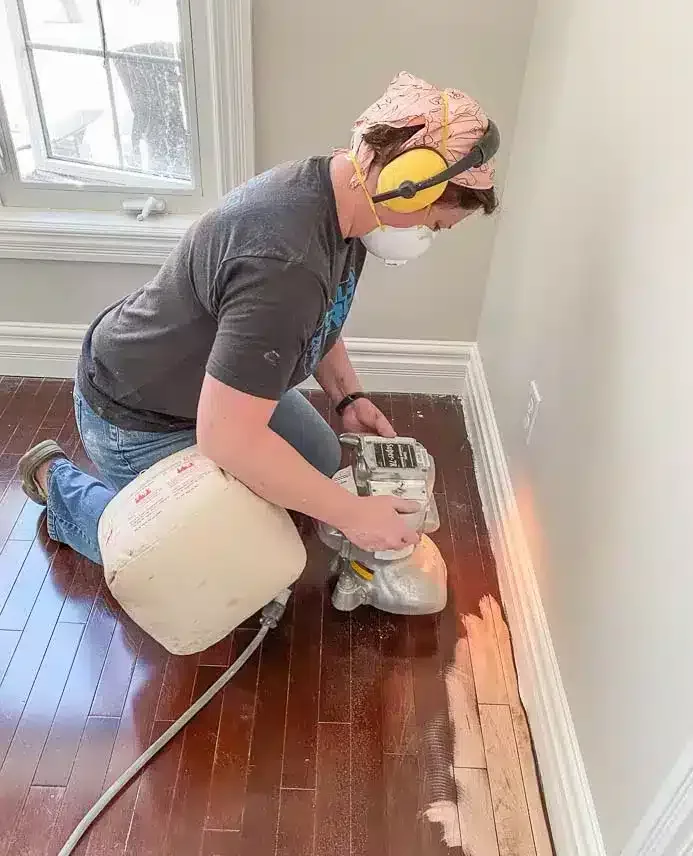
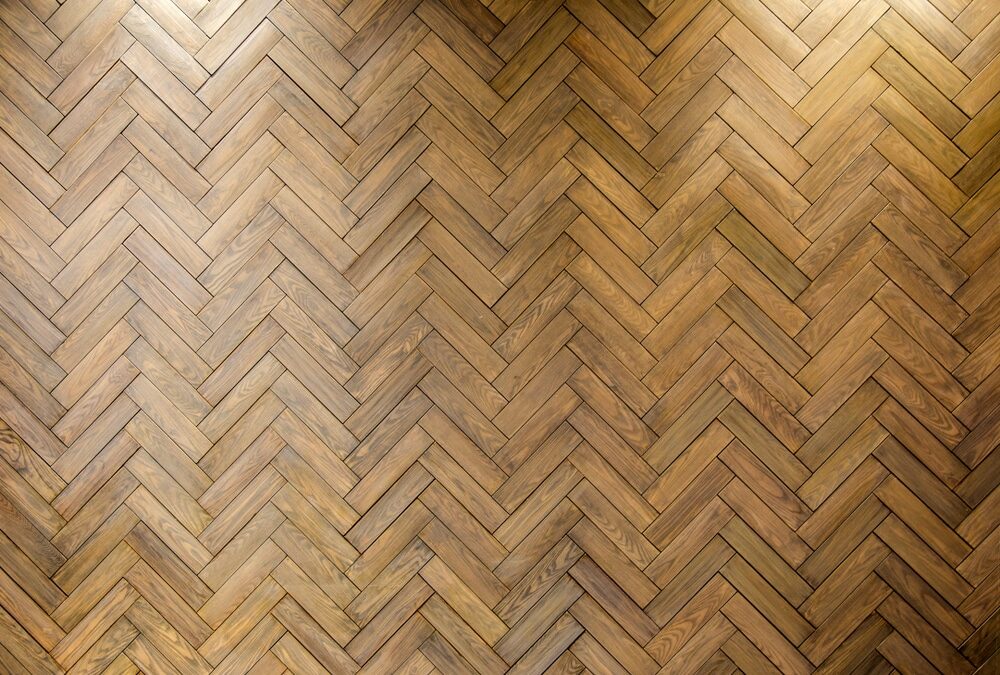
Wooden floors are a classic and timeless choice for any home. Their natural beauty and durability make them a popular option for homeowners looking to add warmth and elegance to their living spaces. However, like any other surface, wood floors require proper care and maintenance to maintain their appearance and longevity. One essential aspect of wood floor care is sanding, a process that helps restore the floor’s original beauty and remove any scratches, dents, or imperfections. In this blog post, we will explore five essential tips to help you care for wood floor sanding, ensuring that your floors remain stunning and well-preserved for years to come.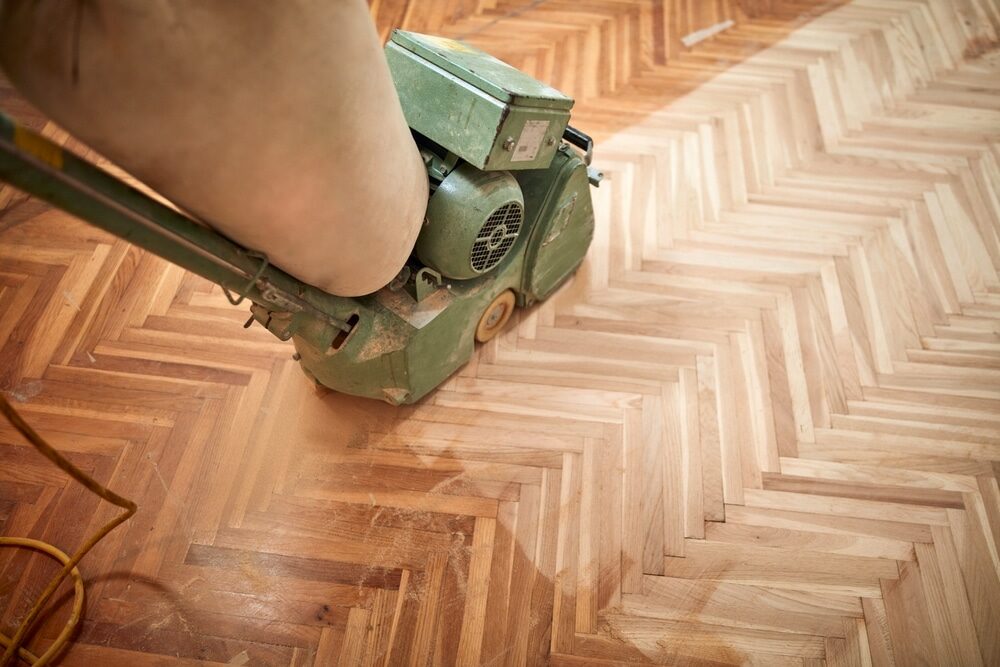
1. Choose the right sanding equipment.
The first step in caring for wood floor sanding is selecting the right equipment. There are various types of sanders available on the market, and each serves a specific purpose. The three most common types of sanders include: A. Drum Sander: This powerful tool is best suited for large, open areas and removing heavy layers of old finish or deep scratches. However, it can be challenging to manoeuvre and may cause damage to your floor if not used properly. B. Orbital Sander: This sander is easier to handle and ideal for smaller spaces, edges, and corners. It is less aggressive than a drum sander and provides a smoother finish, making it perfect for light sanding tasks and final touch-ups. C. Edger: This handheld sander is designed to reach tight spaces and edges that other sanders may miss. It is a versatile tool that can be used alongside other sanders to achieve a consistent finish across your entire floor. When choosing a sander, consider your floor’s size, the severity of the damage, and your experience level. If you’re unsure which sander is right for your needs, consult a professional for advice.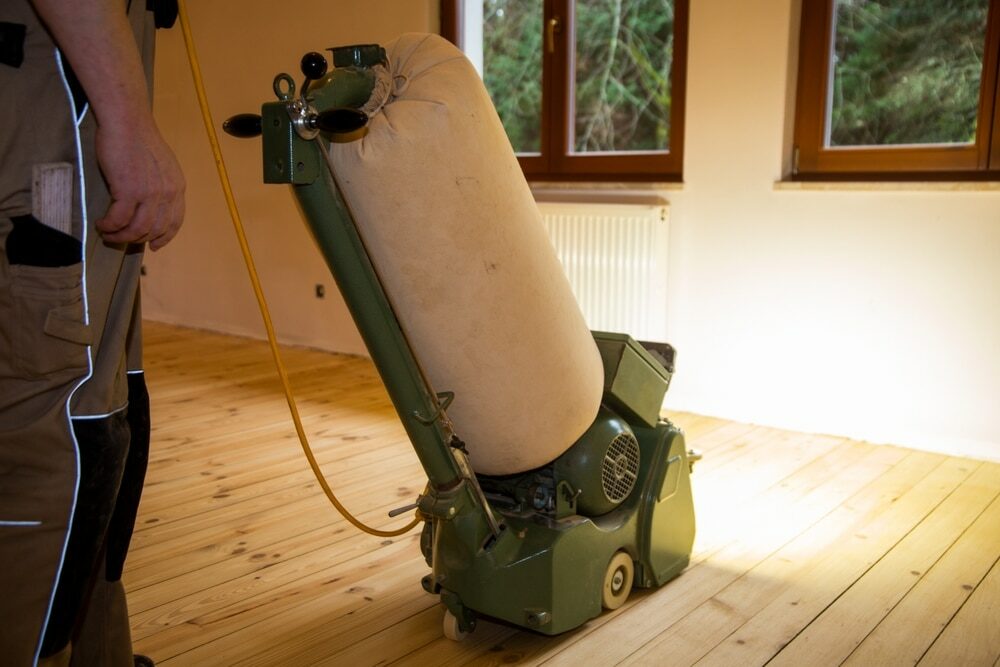
2. Prepare the area for sanding.
Before beginning the sanding process, it’s crucial to prepare the area properly. This ensures that your floors are protected and that you achieve the best possible results. Here are some steps to help you prepare your space: A. Remove all furniture, rugs, and other items from the room to create an open workspace. B. Sweep or vacuum the floor to remove any dust, dirt, or debris. C. Cover doorways, vents, and windows with plastic sheeting or drop cloths to prevent dust from spreading throughout your home. D. Inspect the floor for any nails, staples, or other fasteners that may cause damage to your sander. Remove them or hammer them flush with the floor surface. E. Fill any large gaps, cracks, or holes with wood filler and allow it to dry according to the manufacturer’s instructions.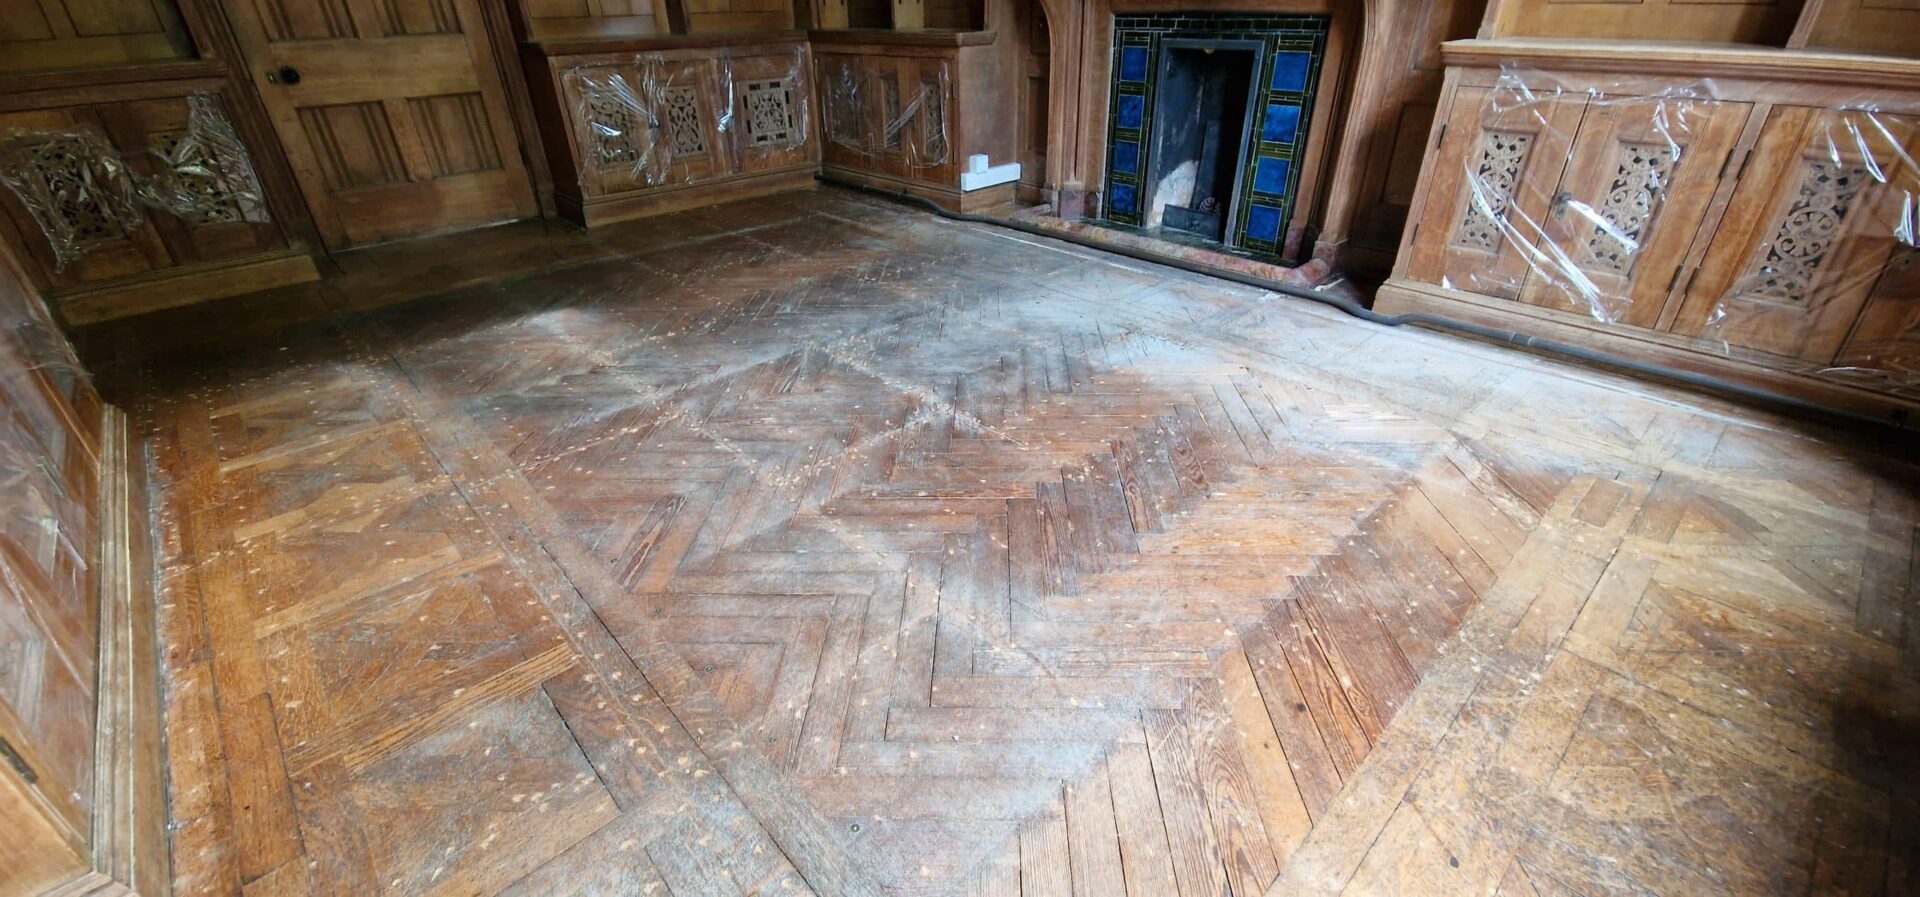
3. Sand the floor methodically.
When it comes to sanding, a methodical approach is essential to achieving a smooth, even finish. Follow these steps for the best results: Begin by sanding the main area of the floor using a drum or orbital sander. Move the sander back and forth along the wood grain, overlapping each pass by about one-third of the sander’s width. B. Start with coarse-grit sandpaper (e.g., 40–60 grit) to remove the old finish and any deep scratches or dents. Gradually progress to medium-grit sandpaper (e.g., 80–100 grit) to smooth out the floor and remove any remaining imperfections. C. Use an edger or a smaller orbital sander to sand the edges and corners of the room, ensuring that they match the level of the main floor area. D. Finish by sanding the entire floor with a fine-grit sandpaper (e.g., 120–150 grit) to achieve a smooth, even surface. Be sure to vacuum or sweep up any dust between grit changes to prevent scratches and achieve a consistent finish.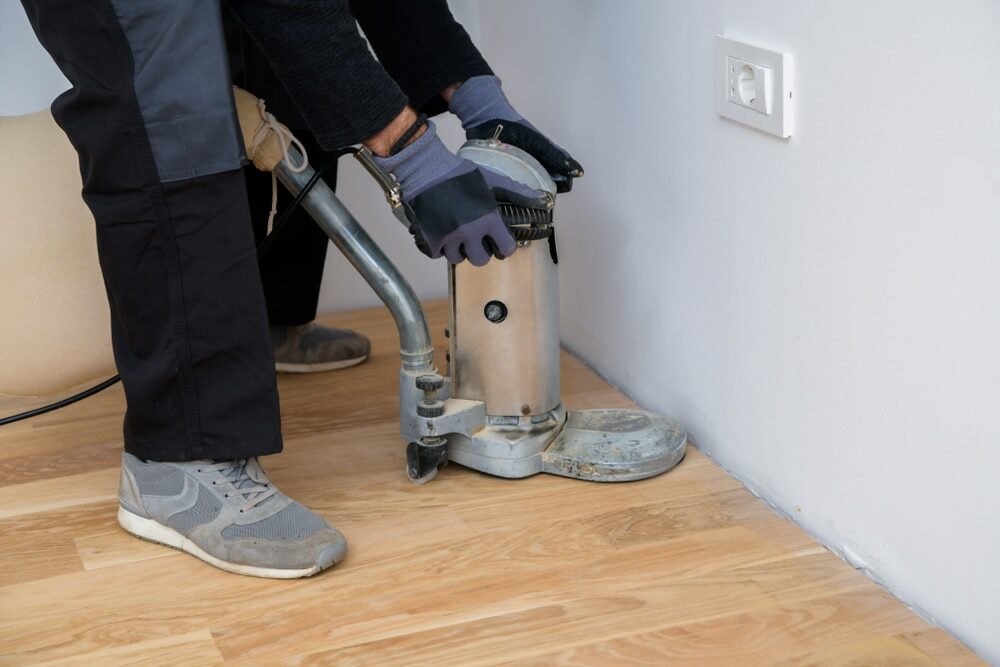
4. Apply the Right Finish
Once the sanding process is complete, it’s essential to apply a suitable finish to protect your floors and enhance their appearance. There are various finishes available, each with its own advantages and drawbacks: A. Oil-based polyurethane: This durable finish provides excellent protection against scratches, spills, and wear. It takes longer to dry than water-based finishes and may have a stronger odour, but it offers a warm, amber tone that many homeowners find appealing. B. Water-based polyurethane: This low-odour finish dries quickly and offers excellent durability. It is clear and does not alter the wood’s natural colour, making it a popular choice for those seeking a more natural look. C. Hardwax oil: This eco-friendly finish penetrates the wood’s pores, providing a natural-looking, matte finish that is water and stain-resistant. It requires more frequent maintenance than polyurethane finishes but is easier to repair and touch-up. When selecting a finish, consider factors such as durability, drying time, odour, and appearance. Ensure that you follow the manufacturer’s instructions for application, as this will affect the final result and longevity of the finish.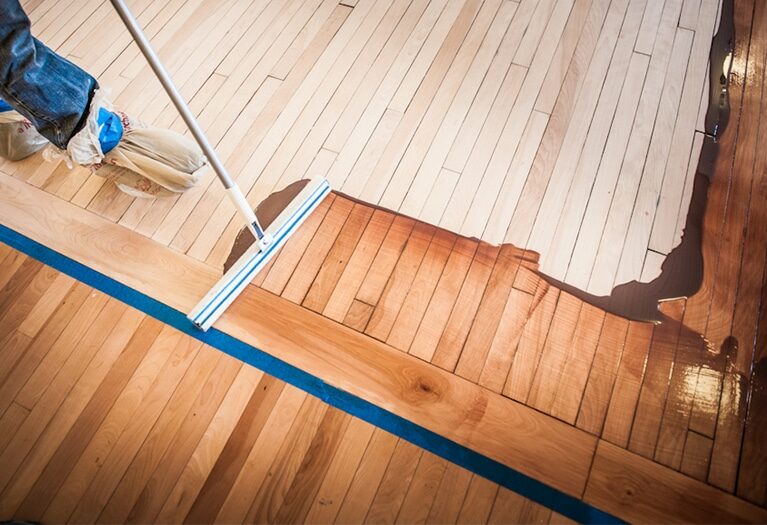
5. Maintain your floors post-sanding.
Proper maintenance is crucial to preserving the beauty and longevity of your newly sanded wood floors. Here are some tips for keeping your floors in top condition: A. Sweep or vacuum your floors regularly to remove dirt and debris that may cause scratches. B. Place rugs or mats in high-traffic areas and at entryways to protect your floors from wear and dirt. C. Use furniture pads under chair legs and other heavy objects to prevent dents and scratches. D. Clean spills immediately to prevent stains and damage to the finish. E. Follow a regular maintenance schedule based on the type of finish you have chosen. This may involve periodic cleaning with specialised products or reapplying the finish as needed.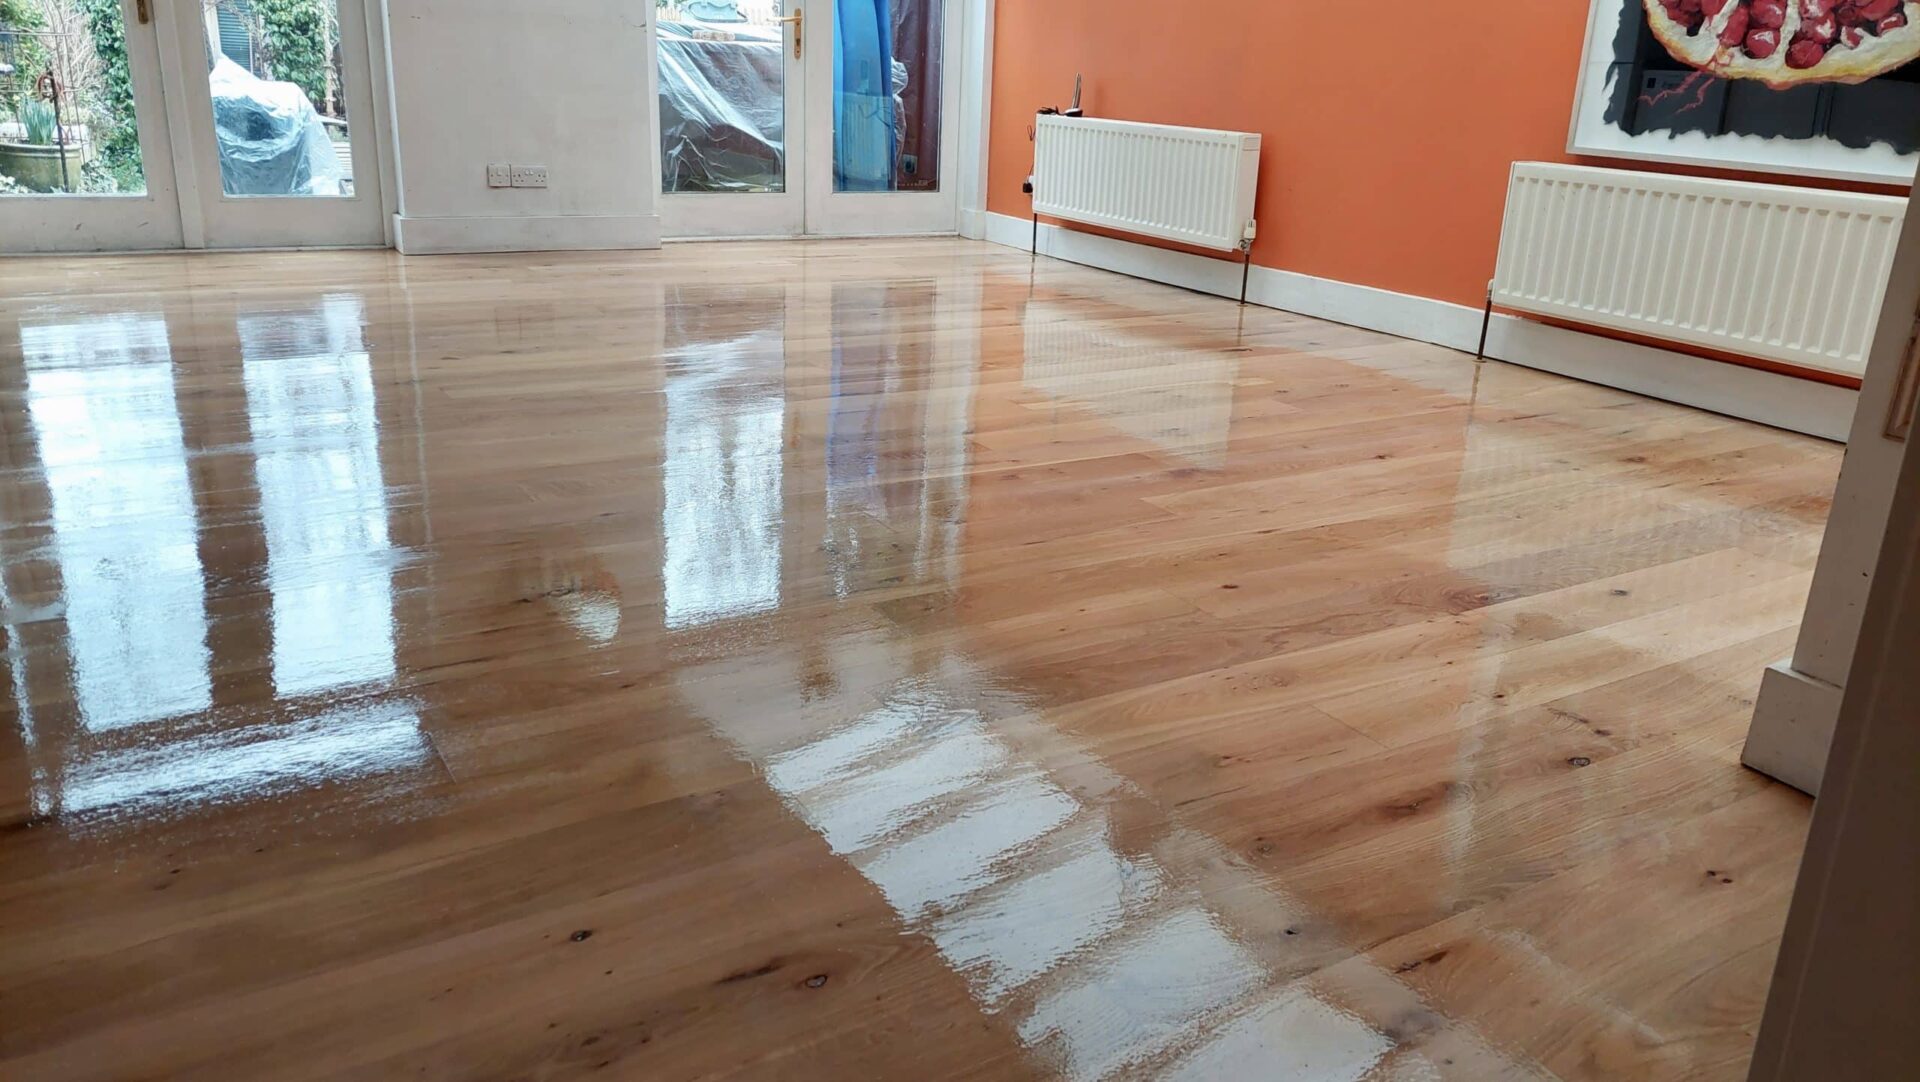
Some Useful Links:
Conclusion Wood floor sanding is an essential aspect of maintaining the beauty and longevity of your floors. By choosing the right equipment, preparing the area correctly, sanding methodically, applying a suitable finish, and practising proper maintenance, you can enjoy stunning and well-preserved wooden floors for years to come. Remember that if you’re unsure about any aspect of the sanding process, it’s always best to consult a professional for advice and assistance.Sanding
We provide virtually dust-free sanding with our continuous belt machinery with mobile extraction units, giving you a safer environment for your family.
Oiling
This organic finish not only adds beauty to your home but also has exceptional water-repellent characteristics, making it easier to clean and maintain.
Waxing
This natural floor finish offers the softest and most mellow appearance – and leaves your floor able to breath.
Buffing
Using soft buffing machines (and hand-polishing where required) will bring a wonderful sheen to your newly-finished floor.
Repairs
We offer a full assessment of your wooden floors to determine what repairs are needed to provide the perfect working surface for the later stages of sanding, staining and sealing.
Restoration
We offer a comprehensive restoration process designed to address floors that are improperly fitted or damaged over time through wear and tear.
Request a fixed price quote for your wood floor restoration now
Simply enter your postcode below to get started.
Services
Wood Floor Sanding Wood Floor Restoration Wood Floor Scratch Repair Squeaky Wood Floor Repair Parquet Floor Sanding Parquet Floor Restoration Commercial Floor Sanding Church Floor Sanding Community Centre Floor Sanding School Floor Sanding Gap Filling Gap Filling with ResinCopyright © Mr Sander®
Privacy & Cookies Terms & Conditions Complaints Procedure Cancellation Rights Sitemap
