London:
Nationwide:
25,000+
Floors Restored
27 Years Experience
Wood Flooring Association Certified
Easy and Efficient Ways to Fill Gaps in Your Original Wood Floorboards
Posted on May 25, 2023
Blog
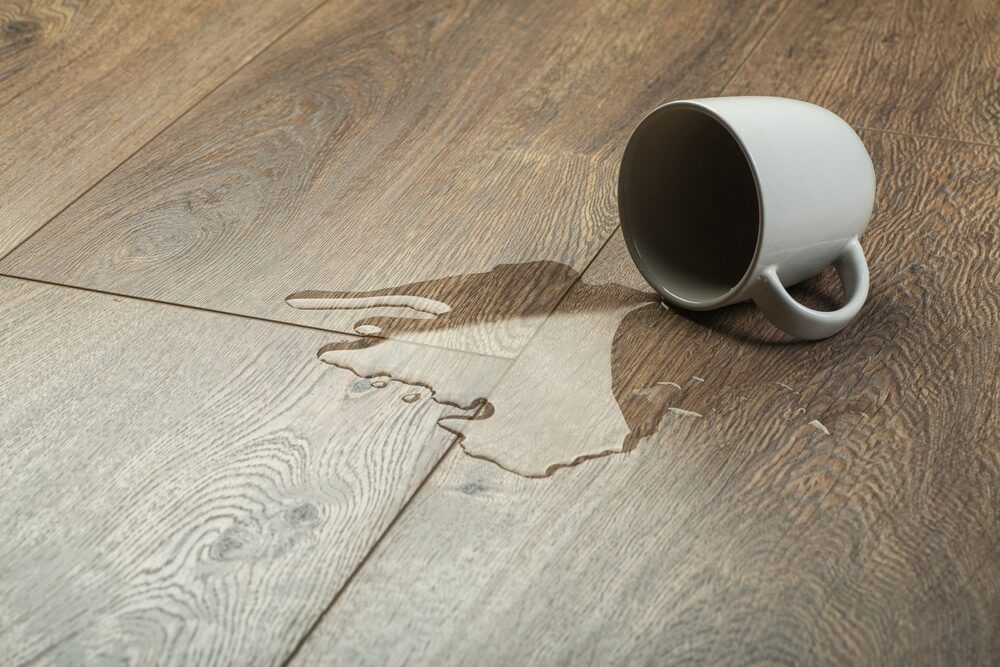
An easy and efficient way to fill the gaps between original wood floorboards
Wood flooring is a timeless and beautiful choice for any home, giving any room a classic, warm, and inviting feel. However, like any natural material, wood is prone to changes over time, and one common issue is the development of gaps between the floorboards. These gaps can be a cosmetic issue, disrupting the seamless look of the floor, but they can also allow drafts and noise to filter through, making rooms less comfortable and cozy. This comprehensive guide will cover easy and efficient ways to fill the gaps between your original wood floorboards, bringing back their former glory while enhancing their functionality.
1. Introduction: Why Do Gaps Appear?
Before diving into the wood floorboards gap-filling process, it’s essential to understand why gaps appear between your wooden floorboards in the first place. Wood is a natural material that responds to changes in humidity and temperature. Wood absorbs moisture and expands in humid conditions, while in dry conditions, it releases moisture and contracts. This constant expansion and contraction can lead to gaps over time.
2. Assessing Your Floor: When Should You Fill the Gaps?
While it’s normal for wood floors to have some gaps, especially if the house is old, not all gaps need filling. Before deciding to fill the gaps, consider your floor’s age and condition, the gaps’ width, and the seasonal variation in your home’s humidity levels.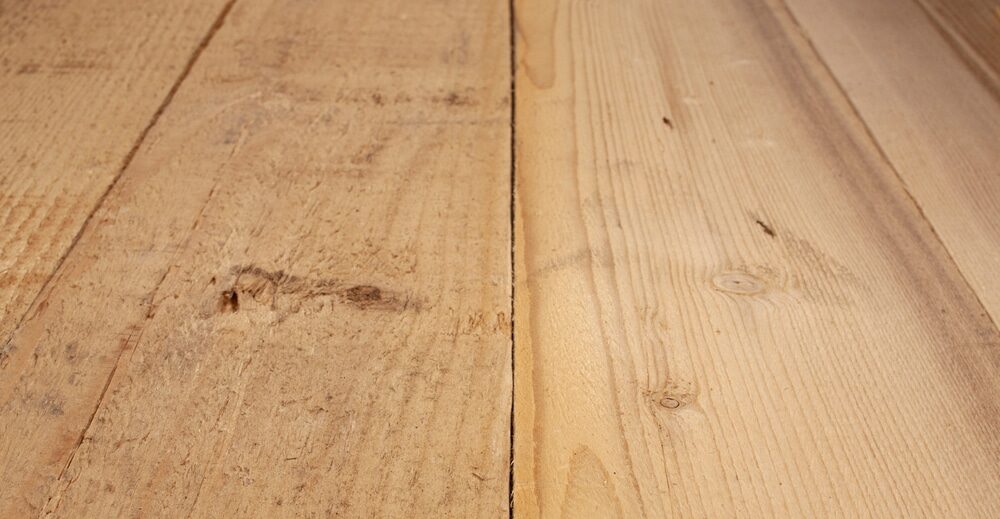
3. Preparing Your Floor: Cleanliness is Key
Before starting the wood floorboards gap-filling process, you must thoroughly clean your floor. This step ensures the gap-filling material adheres appropriately and produces a more professional finish.3.1 Vacuuming
Start by vacuuming your floor to remove any loose dirt, dust, and debris from the surface and the gaps.3.2 Deep Cleaning
After vacuuming, deep clean the floor using a wood floor cleaner to remove any stubborn dirt or residue. Ensure the floor is completely dry before proceeding to the next step.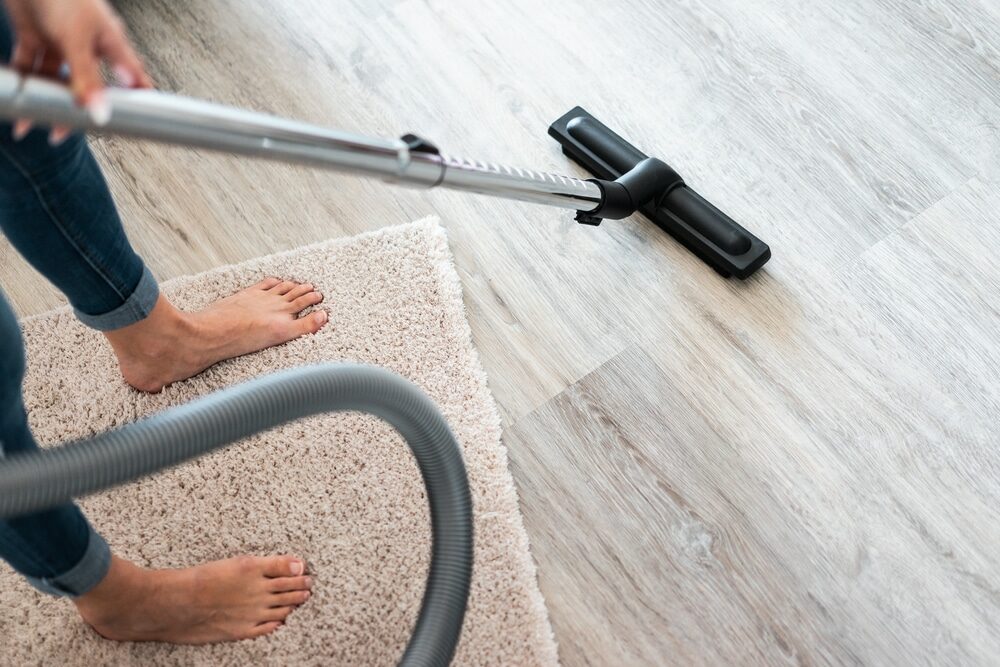
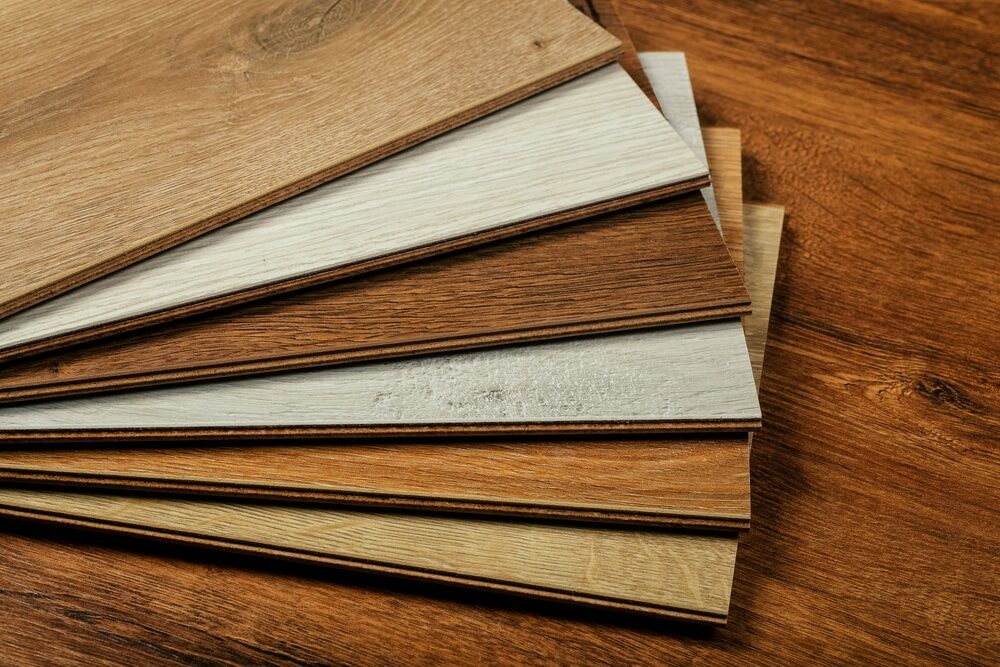
4. Choosing Your Gap-Filling Material: Matching Your Floor
Several materials are available for filling gaps in wood floors, and the best choice depends on your specific situation.4.1 Wood Strips
Wood strips are an excellent choice for more significant gaps in older floors. They provide a secure, long-lasting solution and blend in seamlessly with the rest of the floor.4.2 Wood Filler
For smaller gaps, wood filler is an easy and efficient solution. It’s available in various shades to match different wood types, and it’s flexible enough to cope with the natural movement of the wood.4.3 Resin and Sawdust Mixture
A mixture of resin and sawdust from your floorboards is another efficient way to fill gaps. This mixture ensures an exact colour match and provides a durable, flexible fill.5. Filling the Gaps: A Step-by-Step Process
After selecting your gap-filling material, you’re ready to fill the gaps. This section will guide you through each step.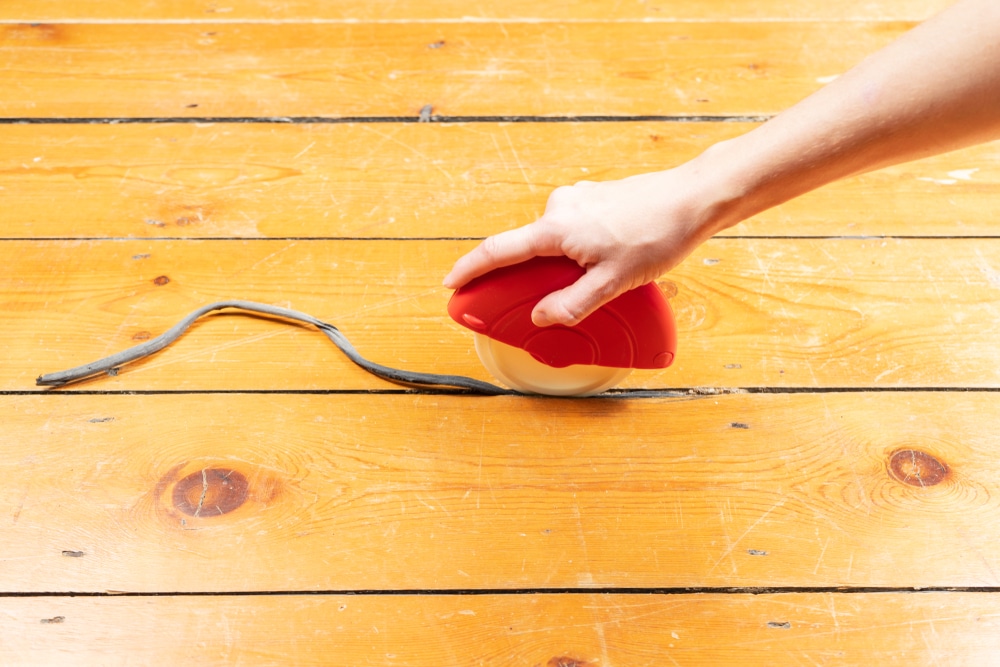
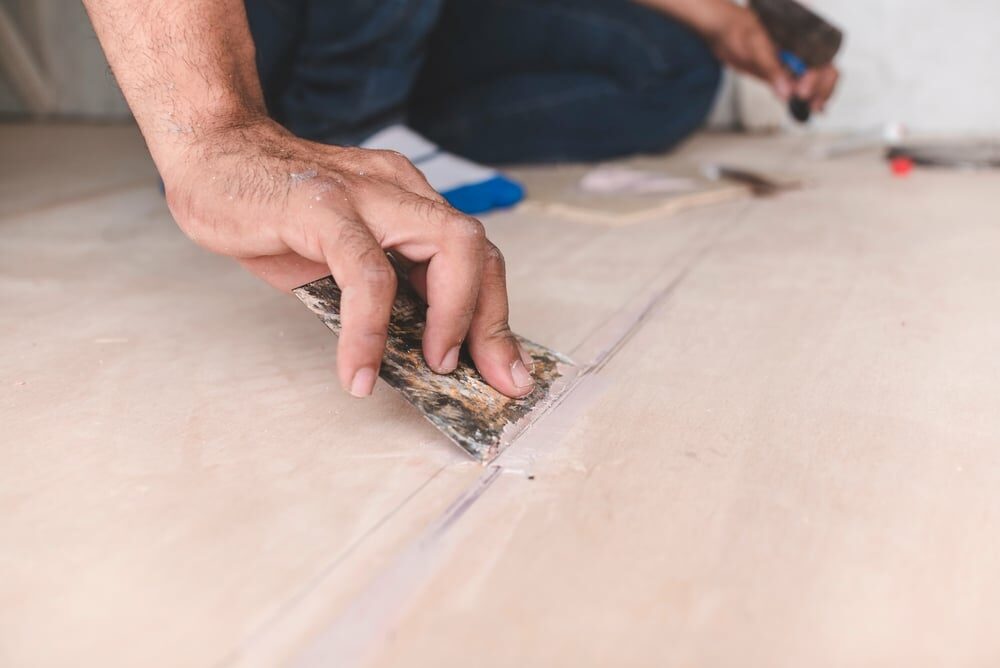
5.1 Filling Gaps with Wood Strips
- Cutting the Strips: Measure the gap and cut a wood strip to the correct size.
- Applying Adhesive: Apply wood adhesive to the sides of the gap.
- Inserting the strip: Gently tap the wood strip into the gap until it’s flush with the floor surface.
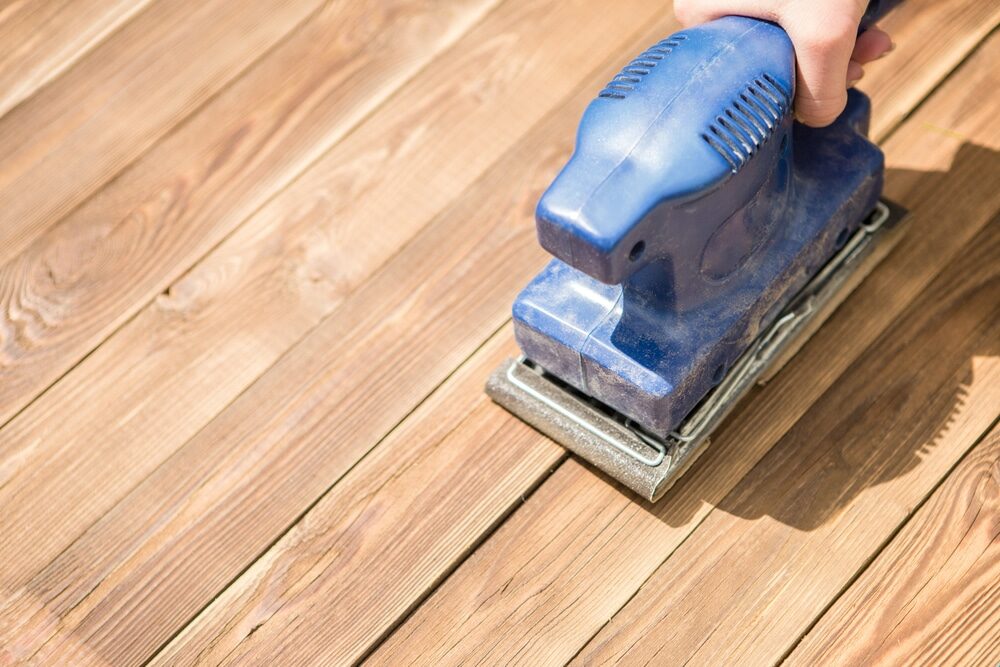
- Sanding: Once the adhesive has dried, sand the area until smooth.
5.2 Filling Gaps with Wood Filler
- Applying the Filler: Press the wood filler into the gap using a putty knife until it is filled. Overfill the gap slightly to allow the filler to shrink as it dries.
- Smoothing the Surface: Scrape off the excess filler with your putty knife, smoothing it with the floor’s surface.
- Drying: Allow the filler to dry according to the manufacturer’s instructions.
- Sanding: Once dry, sand the area until smooth.
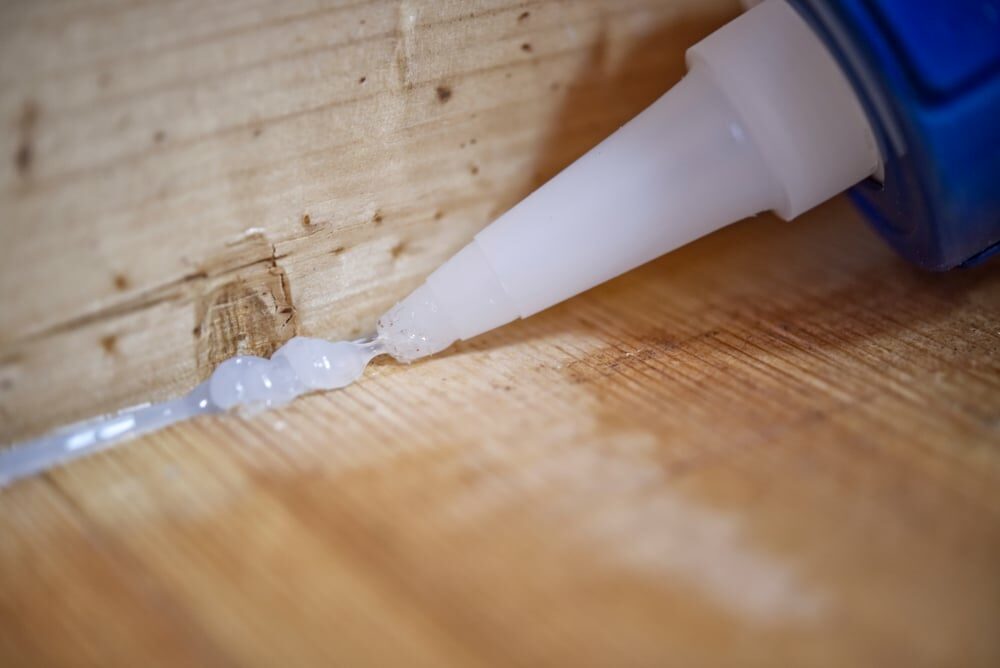
5.3 Filling Gaps with a Resin and Sawdust Mixture
- Creating the Mixture: Combine the resin with the sawdust to create a paste that matches the colour of your floor.
- Applying the Mixture: Press the mixture into the gap using a putty knife, overfilling slightly.
- Smoothing and Drying: Smooth the surface and allow the mixture to dry per the resin manufacturer’s instructions.
- Sanding: Once dry, sand the area until it is flush with the rest of the floor.
6. Finishing Touches: Sealing Your Floor
After filling and sanding the gaps, you might consider sealing your floor. This step can protect the wood, enhance its natural beauty, and make cleaning easier.6.1 Choosing a Sealant
Many different types of sealants are available, and the best choice depends on your specific needs and preferences. These can range from polyurethane, which provides a durable and protective coat, to oil-based sealants, which penetrate the wood and provide a natural-looking finish.6.2 Applying the Sealant
Before applying the sealant, make sure your floor is clean and dust-free. Apply the sealant according to the manufacturer’s instructions, ensuring a smooth and even coat.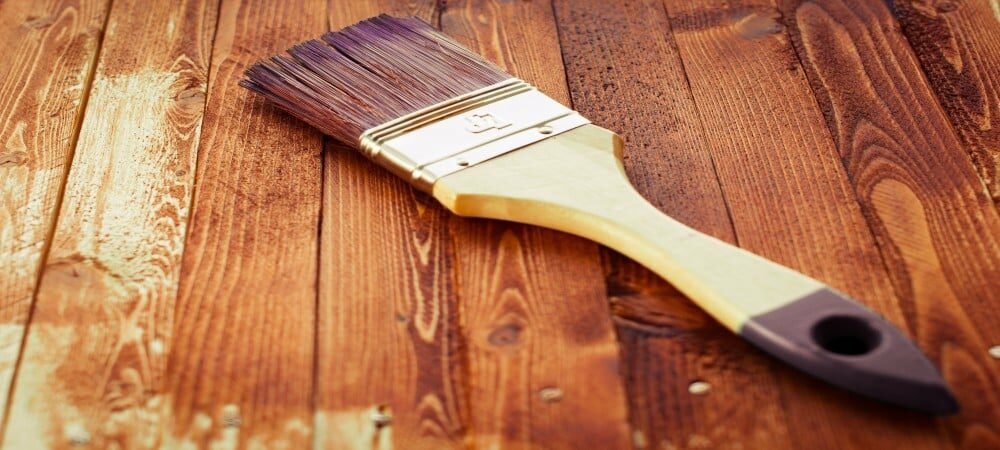
Conclusion: Enjoy Your Restored Wooden Floor
Filling the gaps in your wooden floorboards can dramatically improve the look and feel of your home. It makes your floor look more uniform and appealing, reduces drafts, improves insulation, and makes your floor more comfortable to walk on. Remember that the keys to an efficient gap-filling process are understanding the cause of the gaps, choosing the suitable filling material, and adequately preparing and finishing your floor. With this guide, you can quickly and efficiently restore the beauty and function of your original wood floorboards.Some Useful Links:
- Floor Sanding Services
- School Floor Sanding
- Wood Floor Restorations
- Wood Floor Repairs
- Wood Floor Polishing
More from our Blog:
Why Stripping and Sanding your wooden staircase shows results that are well worth. Addressing Wood Flooring Heating Issues: A Comprehensive Guide Eco-Friendly Wooden Flooring: FSC Certified, Bamboo, and Reclaimed Wood Options Ultimate Guide to Bamboo Wood Flooring Care and Maintenance Cork Wood Flooring: An Eco-Friendly Option for Today’s Home

Sanding
We provide virtually dust-free sanding with our continuous belt machinery with mobile extraction units, giving you a safer environment for your family.
Oiling
This organic finish not only adds beauty to your home but also has exceptional water-repellent characteristics, making it easier to clean and maintain.
Waxing
This natural floor finish offers the softest and most mellow appearance – and leaves your floor able to breath.
Buffing
Using soft buffing machines (and hand-polishing where required) will bring a wonderful sheen to your newly-finished floor.
Repairs
We offer a full assessment of your wooden floors to determine what repairs are needed to provide the perfect working surface for the later stages of sanding, staining and sealing.
Restoration
We offer a comprehensive restoration process designed to address floors that are improperly fitted or damaged over time through wear and tear.
Request a fixed price quote for your wood floor restoration now
Simply enter your postcode below to get started.
Services
Wood Floor Sanding Wood Floor Restoration Wood Floor Scratch Repair Squeaky Wood Floor Repair Parquet Floor Sanding Parquet Floor Restoration Commercial Floor Sanding Church Floor Sanding Community Centre Floor Sanding School Floor Sanding Gap Filling Gap Filling with ResinCopyright © Mr Sander®
Privacy & Cookies Terms & Conditions Complaints Procedure Cancellation Rights Sitemap

Get An Instant Price Estimate Before You Go…
Simply enter the rooms you need sanded and we’ll provide you with a price estimate instantly! Try our price calculator now.
Get a Price Estimate NowLocal Floor Sanding Experts
Over 500 5-Star Reviews
Safe, Dust Free Sanding
Operating Since 1994