London:
Nationwide:
25,000+
Floors Restored
27 Years Experience
Wood Flooring Association Certified
How to Educate Yourself With Basics Of Wooden Floor Sanding?
Posted on April 25, 2023
Blog
Mastering the Basics of Wooden Floor Sanding: A Comprehensive Guide
Wooden floors have an undeniable charm and timeless appeal, but they also require proper maintenance to ensure their longevity and preserve their natural beauty. One of the most critical aspects of maintaining a wooden floor is sanding, a process that involves removing the top surface layer to expose fresh, undamaged wood. In this blog post, we will educate you on the basics of wooden floor sanding, including the tools required, preparation, and step-by-step instructions on how to execute this home improvement task.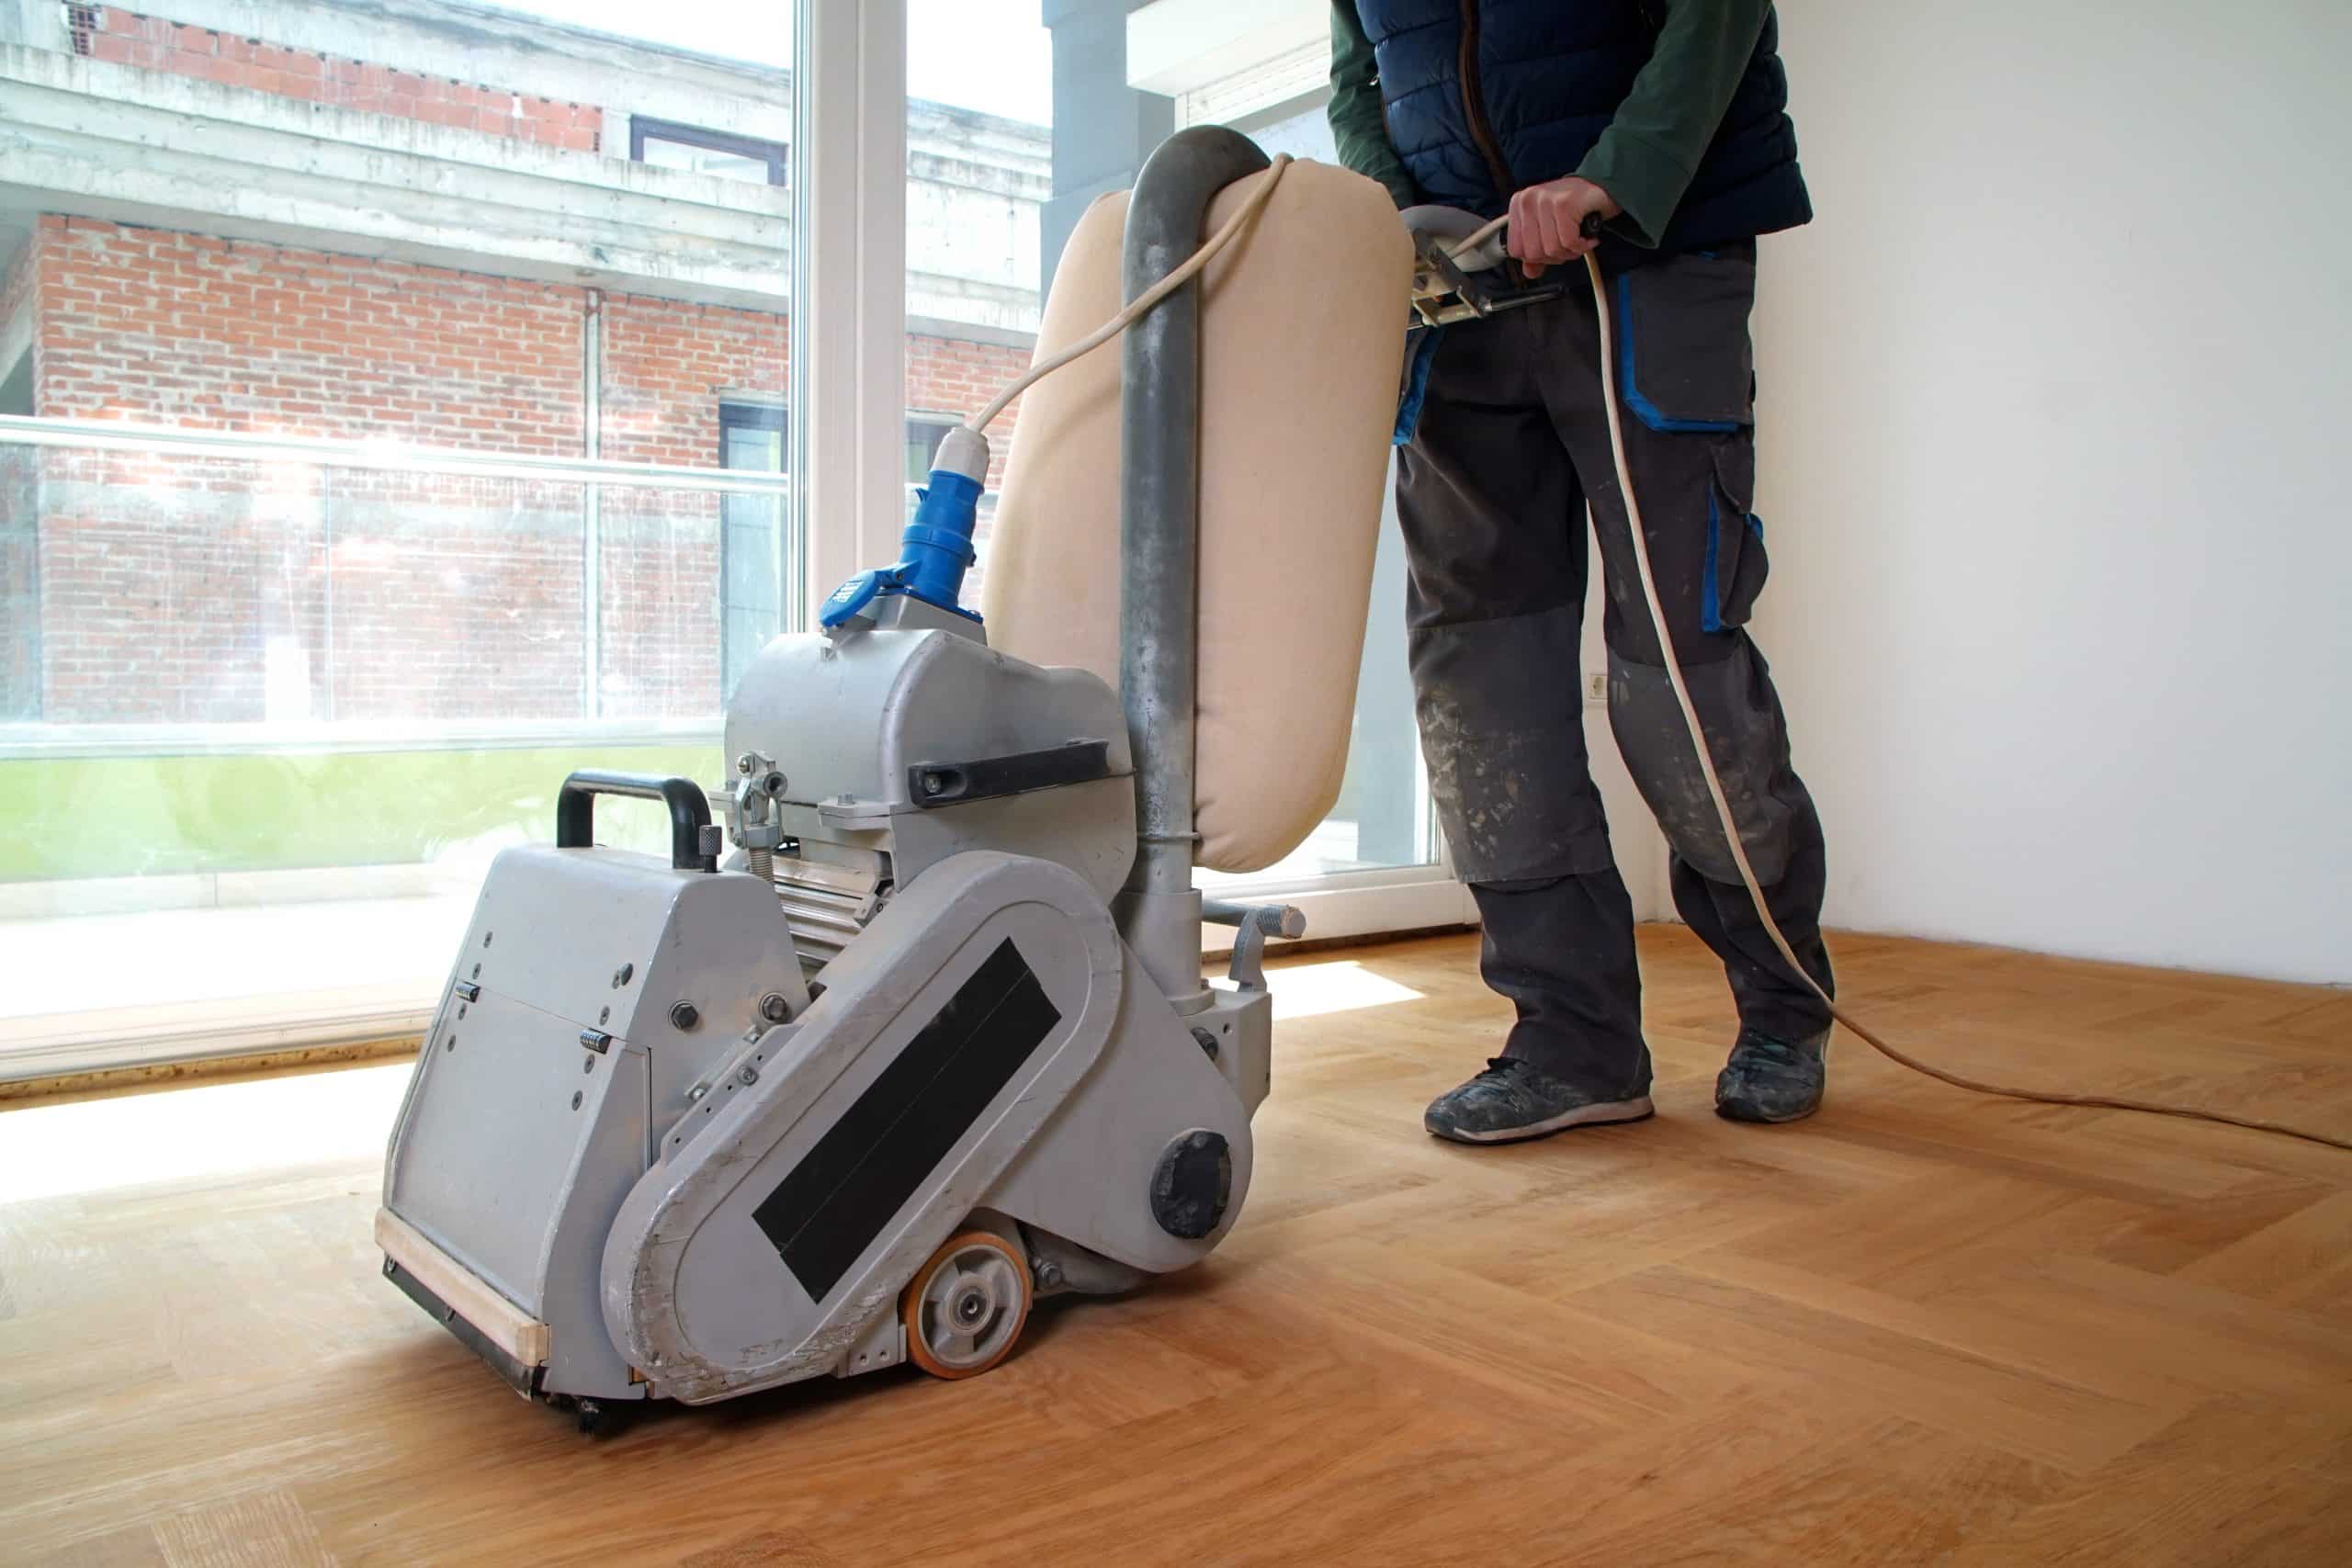
I. Understanding the Importance of Floor Sanding
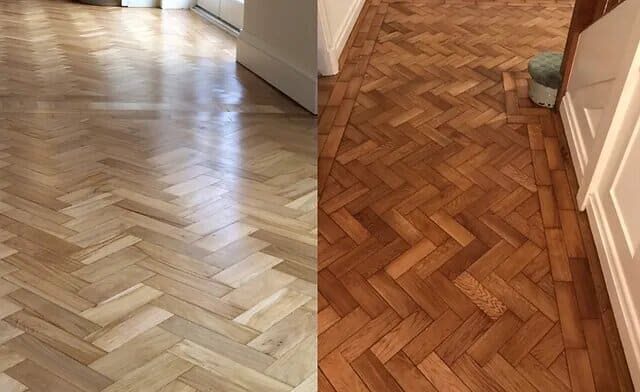
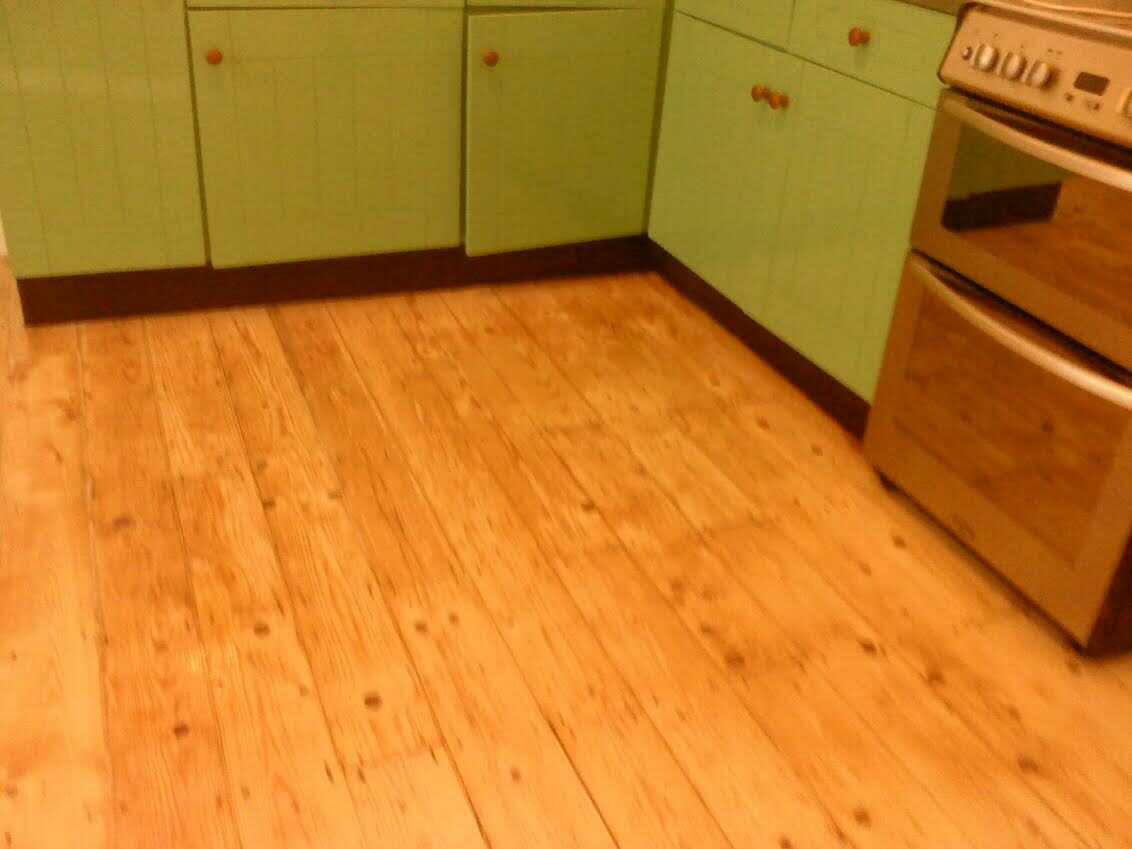
- Enhancing the appearance: Sanding removes scratches, dents, and other imperfections, resulting in a smooth, even surface. This improves the overall appearance of your wooden floor, making it more aesthetically pleasing and increasing the value of your home.
- Refinishing: Sanding is a crucial step in the refinishing process, which involves applying a new protective coating to the floor. This not only enhances the floor’s appearance but also provides a protective barrier against wear and tear.
- Prolonging the lifespan: By removing the damaged top layer, sanding helps preserve the structural integrity of your wooden floor, extending its lifespan and preventing costly repairs or replacements in the future.
II. Essential Tools and Materials for Floor Sanding
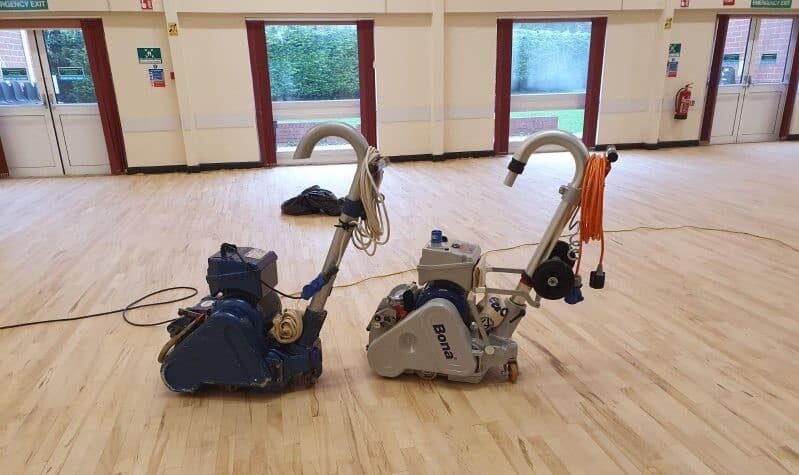
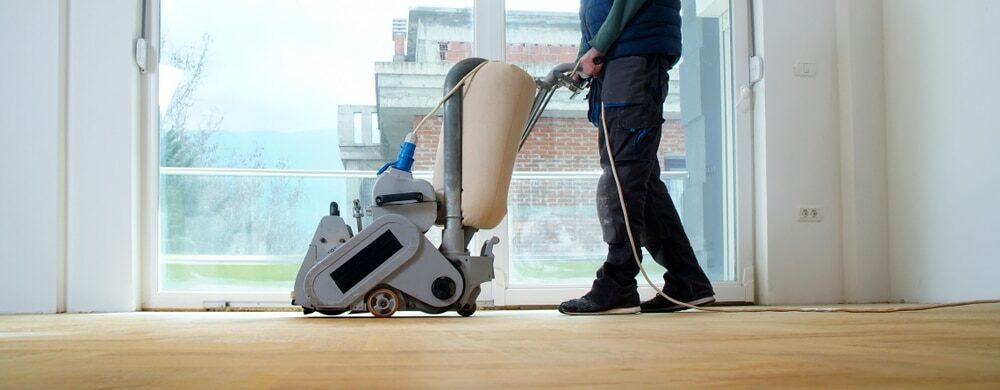
- Drum sander or orbital sander: These are the primary tools used for floor sanding. Drum sanders are powerful and effective for large areas, while orbital sanders are suitable for smaller spaces and more intricate work.
- Sandpaper: Choose sandpaper with varying grit sizes, ranging from coarse (30–40 grit) to fine (100–120 grit). Coarser grits are ideal for removing deep scratches, while finer grits are used for the final sanding stages to achieve a smooth finish.
- Edge sander: This is a handheld tool used for sanding the edges of the floor, where larger sanders may not reach.
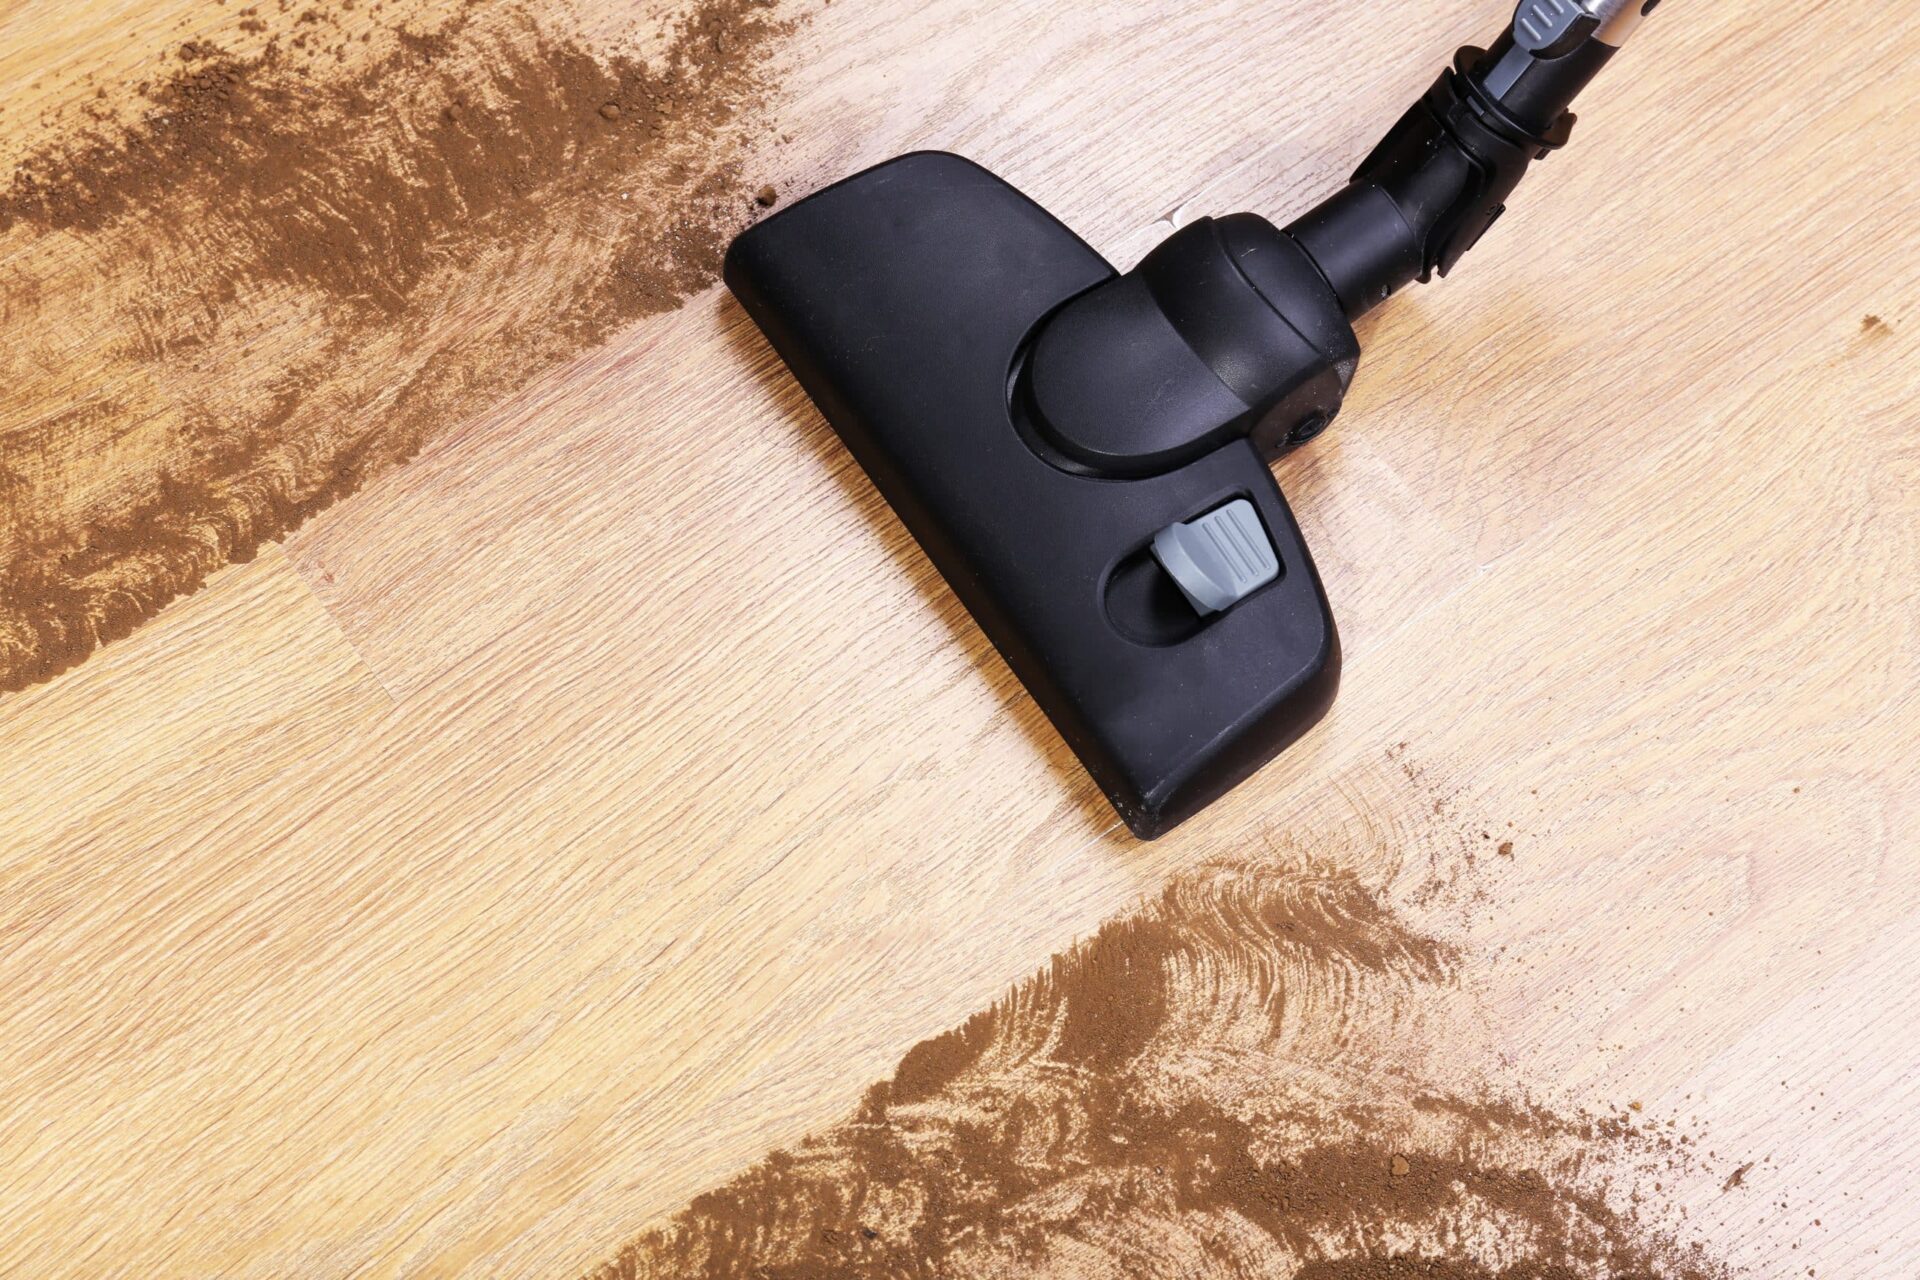
- Vacuum cleaner: A vacuum cleaner with a HEPA filter is essential for cleaning up dust and debris after sanding.
- Protective gear: Ensure you have safety goggles, dust masks, and ear protection to minimise exposure to dust and noise.
- Other materials: You will need painter’s tape, plastic sheeting, a broom, and a dustpan to prepare and clean the area.
III. Preparing the Area for Sanding
- Clear the room: Remove all furniture, rugs, and other items from the room to create a spacious work area.
- Inspect the floor: check for any protruding nails or loose floorboards and fix them before sanding. It’s also essential to identify any gaps that need to be filled.
- Clean the floor: sweep or vacuum the floor to remove any dirt, dust, or debris.
- Protect the room: Use painter’s tape and plastic sheeting to seal off doorways, vents, and other openings to prevent dust from spreading throughout the house.
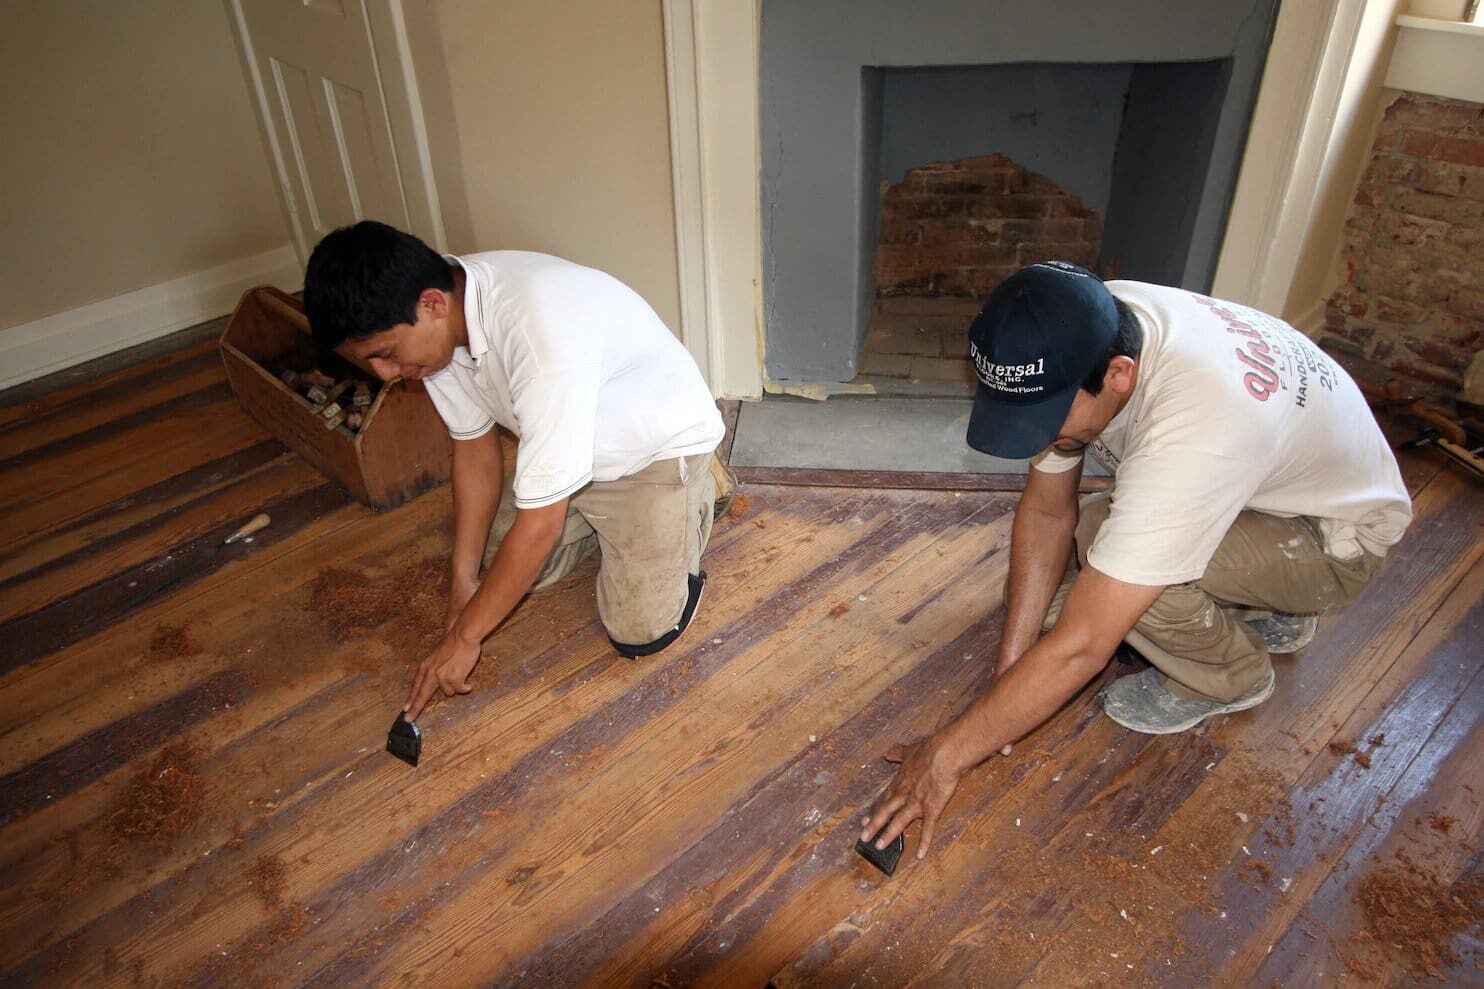
IV. The Sanding Process
- Start with coarse sandpaper: Install the coarsest sandpaper on your drum or orbital sander. Begin sanding in the direction of the wood grain, working systematically across the room. Apply consistent pressure and move the sander steadily to avoid creating uneven surfaces or gouges.
- Sand the edges: Use the edge sander with coarse sandpaper to reach areas close to walls and other obstacles. Be cautious not to damage baseboards or mouldings.
- Repeat with finer grits: After completing the initial sanding, switch to a finer grit sandpaper and repeat the process. Continue this progression until you have sanded the floor with the finest grit, achieving a smooth and even surface. It’s essential to vacuum the floor between each grit change to remove dust and debris.
- Hand-sanding for detail work: For areas that are difficult to reach with power sanders, use a hand-sanding block with the appropriate grit sandpaper. This is particularly useful for corners, stairs, and other intricate areas.
- Final inspection: Carefully inspect the floor for any remaining imperfections, such as swirl marks or uneven spots. Address these issues with fine-grit sandpaper or a sanding sponge before proceeding to the next step.
V. Cleaning and Preparing for Finishing
- Thorough vacuuming: Use a vacuum cleaner with a HEPA filter to remove all dust and debris from the floor, walls, and other surfaces. This step is crucial, as any remaining dust can affect the quality of the finish.
- Tack cloth: After vacuuming, use a slightly damp tack cloth to wipe down the entire floor. This helps capture any residual dust particles that the vacuum may have missed.
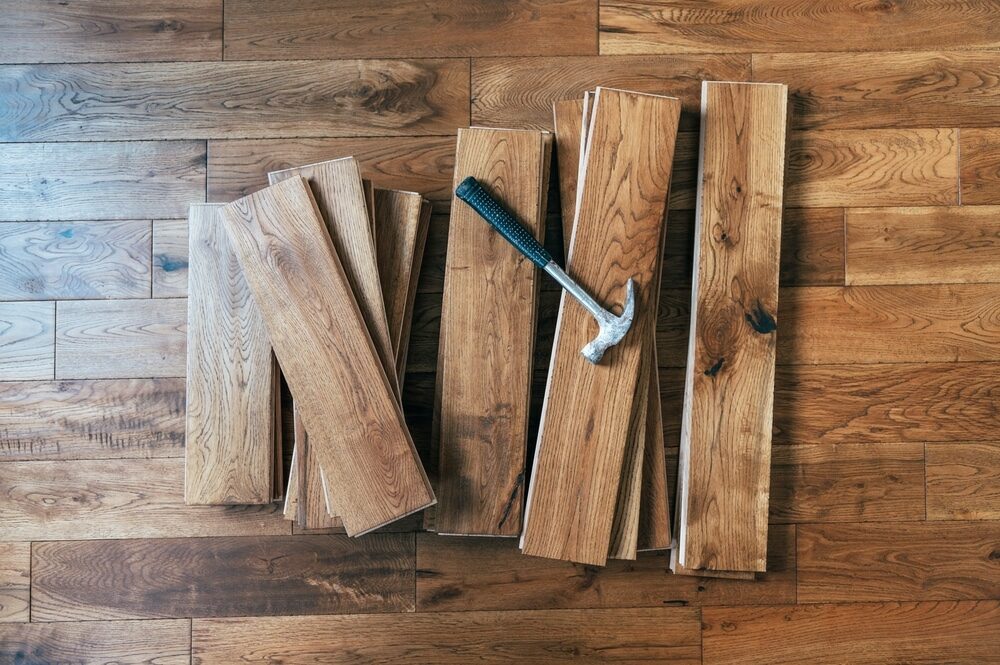
- Filling gaps: If you identified gaps in the floor during the initial inspection, now is the time to fill them with a suitable wood filler. Apply the filler according to the manufacturer’s instructions and allow it to dry before proceeding.
- Final inspection: Re-inspect the floor to ensure it is clean, smooth, and ready for the finishing process.
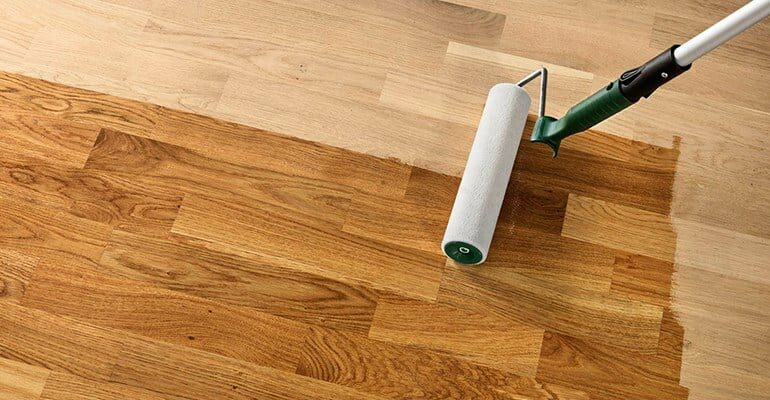
VI. Applying the Finish
- Choose the right finish: There are various types of finishes available, such as polyurethane, oil-based finishes, and water-based finishes. Each type has its pros and cons, so research and select the one that best suits your needs and preferences.
- Test the finish: Before applying the finish to the entire floor, test a small, inconspicuous area to ensure you are satisfied with the colour and sheen.
- Apply the finish: Following the manufacturer’s instructions, apply the finish using a brush, roller, or applicator pad. Work in small sections and maintain a wet edge to avoid lap marks. Always apply the finish in the direction of the wood grain.
- Allow time to dry: The drying time for each finish may vary, so refer to the manufacturer’s recommendations. Generally, it takes 24 to 48 hours for the finish to dry thoroughly. Avoid walking on the floor or placing furniture until the finish is completely dry.
- Additional coats: Depending on the type of finish you chose, you may need to apply multiple coats. Be sure to follow the manufacturer’s guidelines and sand lightly between coats using a fine-grit sandpaper or sanding sponge to ensure proper adhesion.
Some Useful Links:
Conclusion Educating yourself on the basics of wooden floor sanding is essential for maintaining the beauty and longevity of your wooden floors. With the right tools, materials, and proper technique, you can successfully sand and refinish your floors, restoring their natural charm and adding value to your home. Remember to always prioritise safety and follow the manufacturer’s instructions for the best results.More from our Blog:
The Art and Science of Wood Floor Restoration: The Experts Guide Step By Step Guide to Dustless Floor Sanding | Revive Your Floors Choosing the Perfect Bedroom Wood Flooring in the UK | The Comprehensive Guide Discover the Advantages of Wooden Floors At Your Home
Sanding
We provide virtually dust-free sanding with our continuous belt machinery with mobile extraction units, giving you a safer environment for your family.
Oiling
This organic finish not only adds beauty to your home but also has exceptional water-repellent characteristics, making it easier to clean and maintain.
Waxing
This natural floor finish offers the softest and most mellow appearance – and leaves your floor able to breath.
Buffing
Using soft buffing machines (and hand-polishing where required) will bring a wonderful sheen to your newly-finished floor.
Repairs
We offer a full assessment of your wooden floors to determine what repairs are needed to provide the perfect working surface for the later stages of sanding, staining and sealing.
Restoration
We offer a comprehensive restoration process designed to address floors that are improperly fitted or damaged over time through wear and tear.
Request a fixed price quote for your wood floor restoration now
Simply enter your postcode below to get started.
Services
Wood Floor Sanding Wood Floor Restoration Wood Floor Scratch Repair Squeaky Wood Floor Repair Parquet Floor Sanding Parquet Floor Restoration Commercial Floor Sanding School Floor Sanding Gap FillingCopyright © Mr Sander®
Privacy & Cookies Terms & Conditions Complaints Procedure Cancellation Rights Sitemap

Get An Instant Price Estimate Before You Go…
Simply enter the rooms you need sanded and we’ll provide you with a price estimate instantly! Try our price calculator now.
Get a Price Estimate NowLocal Floor Sanding Experts
Over 500 5-Star Reviews
Safe, Dust Free Sanding
Operating Since 1994