London:
Nationwide:
25,000+
Floors Restored
27 Years Experience
Wood Flooring Association Certified
Drum Sander is best for your Wood Floor Home Repair
Posted on June 23, 2023
Floor Sanding Blogs
Mastering Floor Restoration: An Essential Guide to Drum Sanders for Wood Floors
When it comes to restoring the beauty of your wooden floors, a drum sander is your most powerful ally. Its robust, efficient sanding capabilities make it an essential tool for any serious wood floor renovation project. This comprehensive guide will provide an overview of drum sanders, including what they are, how they work, and how to use them effectively.What is a Drum Sander?
A drum sander is a large, powerful sanding machine designed to refinish wood floors. The tool gets its name from its main component, a rotating cylindrical drum wrapped in sandpaper. As the drum spins, it sands the wooden surface to strip away the old finish and smooth out any imperfections.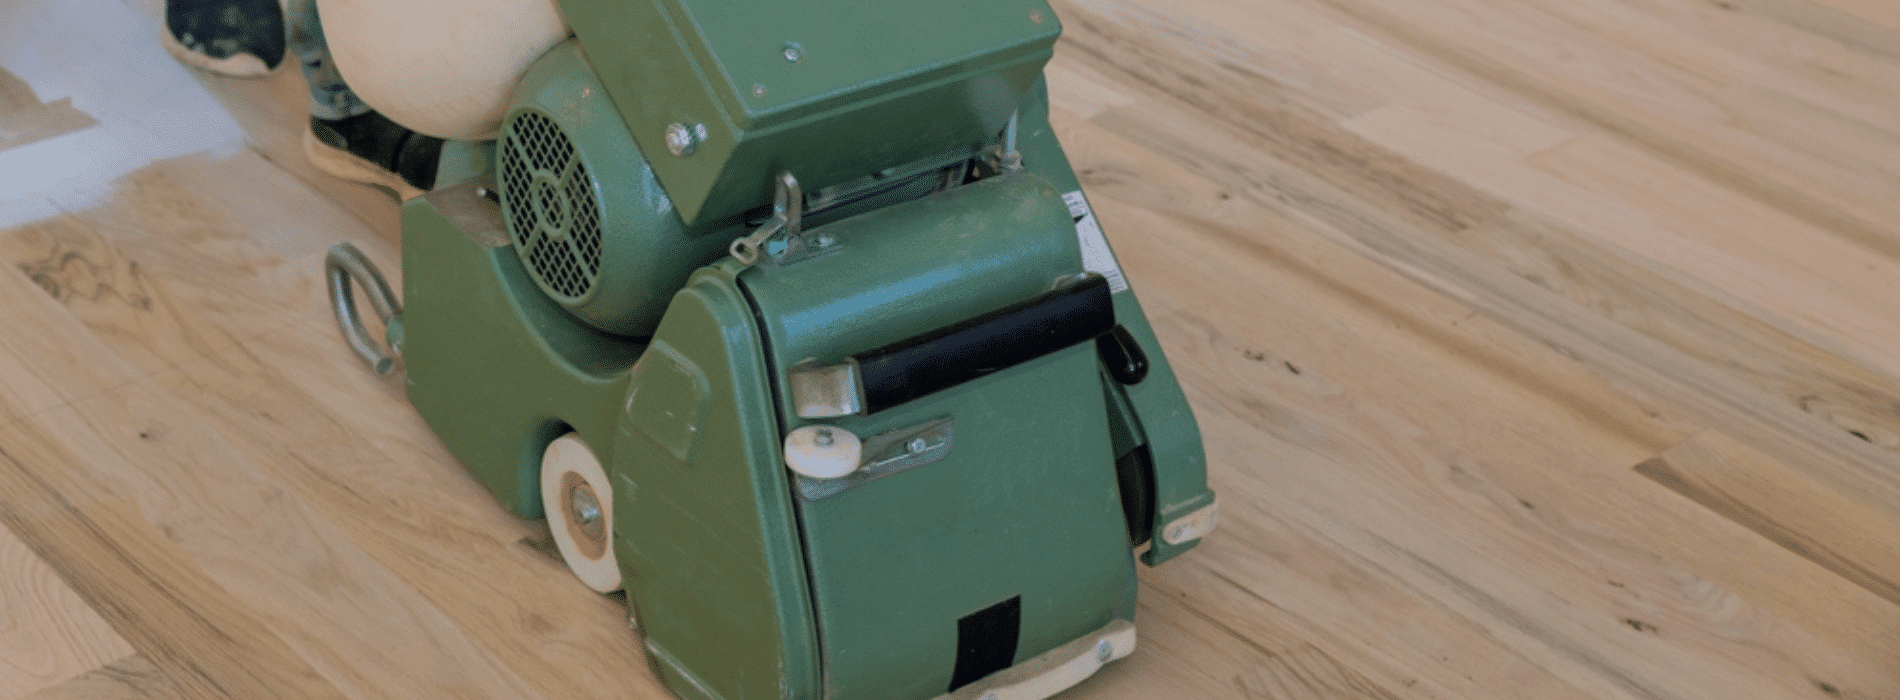
Why Choose a Drum Sander?
While there are other types of sanders available, drum sanders are particularly well-suited for wood floor refinishing due to their power and efficiency. They can remove old finishes, deep scratches, and dents much more quickly and effectively than other types of sanders. However, their power also demands a certain level of skill and control to avoid damaging the floor.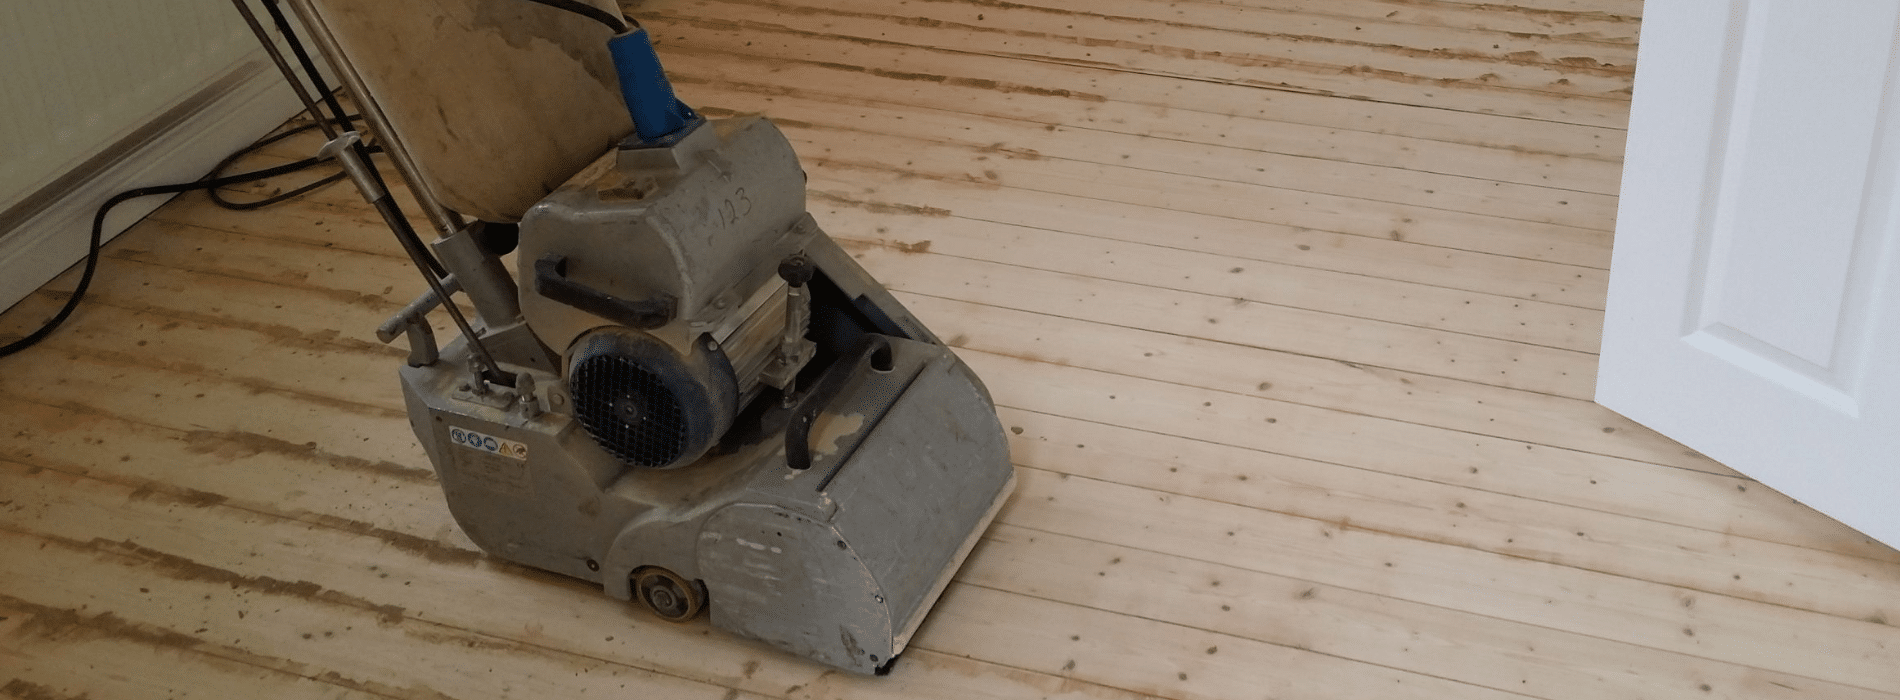
Rent or Buy?
Drum sanders are a significant investment. If you’re a professional who regularly refinishes wood floors, buying a drum sander might be a wise decision. However, for most homeowners embarking on a one-time project, renting a drum sander from a home improvement store is a more economical option.How to Use a Drum Sander
Step 1: Preparation
Begin by clearing the room of furniture and other items. Put on protective gear, including safety glasses, ear protection, and a dust mask.Step 2: Load the Sandpaper
Wrap the sandpaper around the drum and secure it according to the manufacturer’s instructions. Start with coarse-grit sandpaper to remove the old finish, then gradually switch to finer grits to smooth the wood surface.Step 3: Sanding
Turn on the sander and slowly move it forward along the wood grain. Never go across the grain, as it can cause scratches that are hard to remove. Maintain a steady pace to avoid sanding too much in one spot.Step 4: Repeat
After the first pass, vacuum or sweep up the dust. Load finer-grit sandpaper onto the drum and repeat the process.Step 5: Clean Up
Once you’ve achieved a smooth surface, clean the room thoroughly to remove all dust before applying the new finish.Tips for Using a Drum Sander
- Practise Makes perfect. If you’ve never used a drum sander before, consider practising on some scrap wood or an inconspicuous area of your floor.
- Keep It Moving: To avoid creating dips or gouges in your floor, never let the sander stay in one place while it’s running.
- Follow the Grain: Always sand along the grain of the wood, not against it, to avoid scratching the floor.
- Gradually Change Grits: Start with coarse-grit sandpaper and gradually move to finer grits. This stepwise approach will help you achieve a smoother finish.
Conclusion
A drum sander can be a game-changer when it comes to wood floor renovation. It’s a powerful tool that, when used correctly, can breathe new life into your old and worn-out floors. Always remember that with the power of a drum sander comes the responsibility of handling it correctly. Take the time to understand how it works and respect its capabilities, and you’ll be well on your way to a beautifully refinished floor. Remember, restoring a wooden floor is not just about improving its appearance; it’s about preserving the character and history of your home. With a drum sander in your toolkit, you can undertake this task with confidence, knowing you have the right tool for the job.Some Useful Links:
- Floor Sanding Services
- School Floor Sanding
- Wood Floor Restorations
- Wood Floor Repairs
- Wood Floor Polishing
More from our Blog:
Wood Floor Stripping and Sanding: The Basics The Best Way to Renovate Your Solid Wood Flooring DIY Floor Sanding: Enhance Your Property Value on a Budget Hardwood Floor Sanding: Essential for Long-lasting Beauty Buying Hardwood Flooring Online: Pros and Cons
Sanding
We provide virtually dust-free sanding with our continuous belt machinery with mobile extraction units, giving you a safer environment for your family.
Oiling
This organic finish not only adds beauty to your home but also has exceptional water-repellent characteristics, making it easier to clean and maintain.
Waxing
This natural floor finish offers the softest and most mellow appearance – and leaves your floor able to breath.
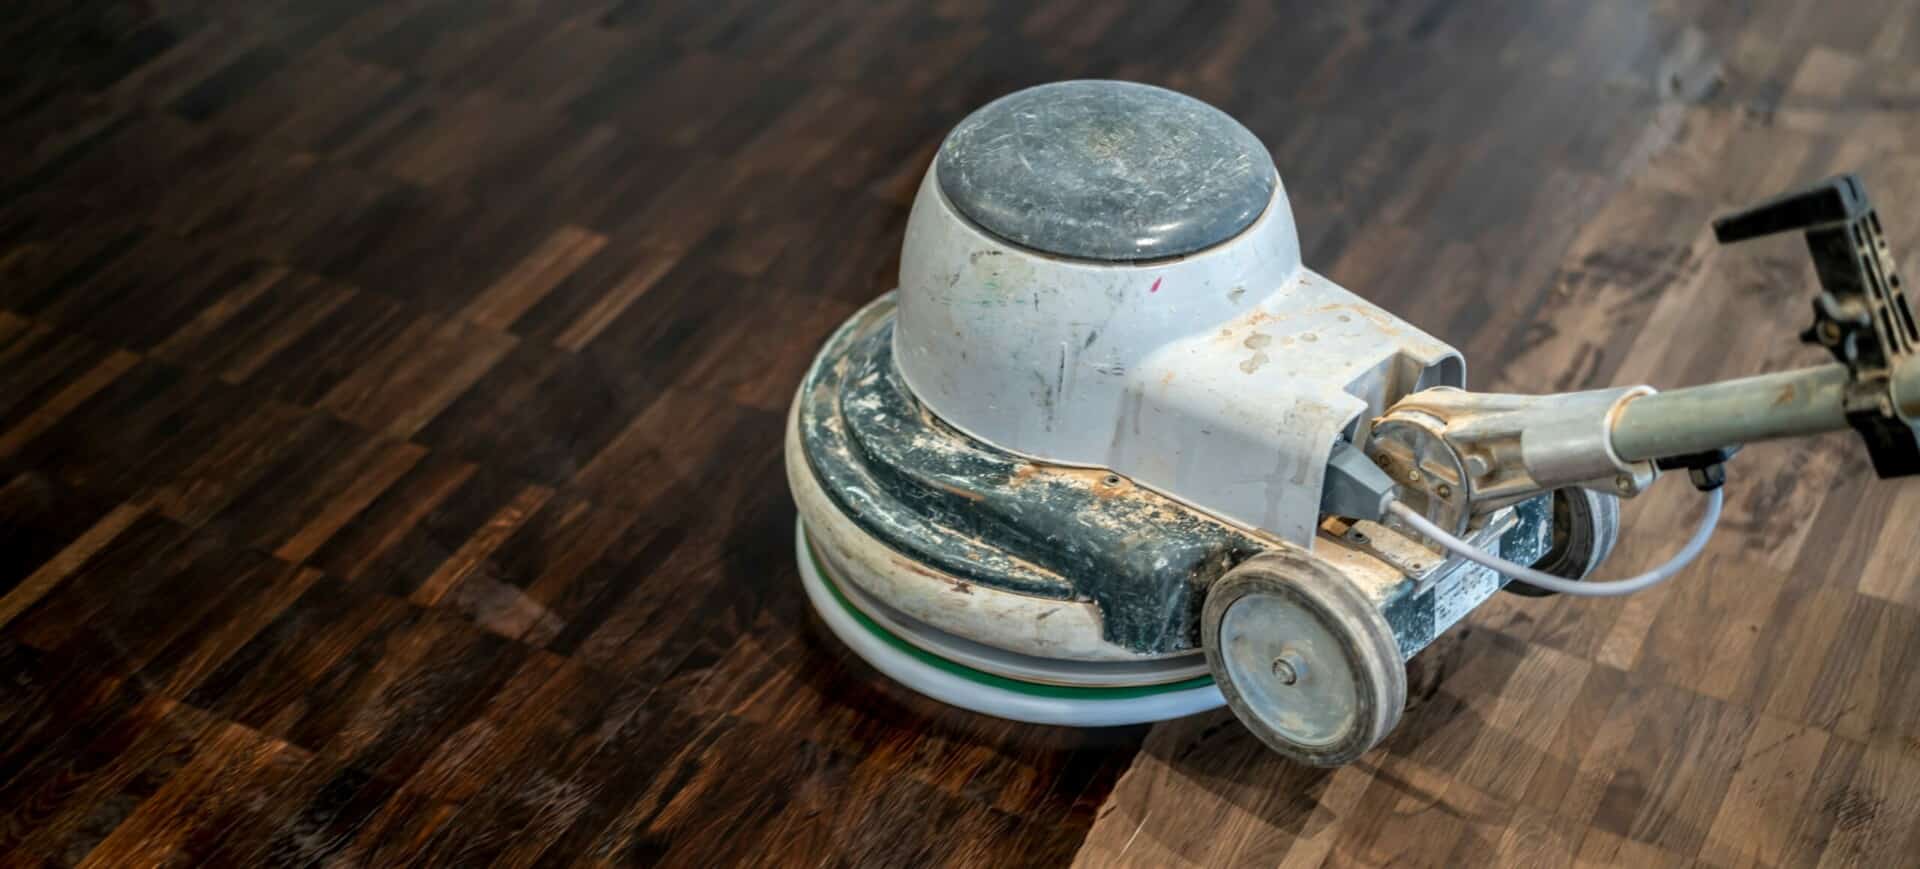
Buffing
Using soft buffing machines (and hand-polishing where required) will bring a wonderful sheen to your newly-finished floor.
Repairs
We offer a full assessment of your wooden floors to determine what repairs are needed to provide the perfect working surface for the later stages of sanding, staining and sealing.
Restoration
We offer a comprehensive restoration process designed to address floors that are improperly fitted or damaged over time through wear and tear.
Request a fixed price quote for your wood floor restoration now
Simply enter your postcode below to get started.
Services
Wood Floor Sanding Wood Floor Restoration Wood Floor Scratch Repair Squeaky Wood Floor Repair Parquet Floor Sanding Parquet Floor Restoration Commercial Floor Sanding Church Floor Sanding Community Centre Floor Sanding School Floor Sanding Gap Filling Gap Filling with ResinCopyright © Mr Sander®
Privacy & Cookies Terms & Conditions Complaints Procedure Cancellation Rights Sitemap

Get An Instant Price Estimate Before You Go…
Simply enter the rooms you need sanded and we’ll provide you with a price estimate instantly! Try our price calculator now.
Get a Price Estimate NowLocal Floor Sanding Experts
Over 500 5-Star Reviews
Safe, Dust Free Sanding
Operating Since 1994