London:
Nationwide:
25,000+
Floors Restored
27 Years Experience
Wood Flooring Association Certified
DIY Hardwood Floor Sanding: A Comprehensive How-to Guide
Posted on June 7, 2023
Floor Sanding Blogs
Sanding a Hardwood Floor – Our Journey, Lessons Learnt, and What You Need to Know
Hardwood floors are a gorgeous, durable addition to any home. However, these floors can become scratched, stained, and lackluster over time, needing some TLC to restore their original beauty. Sanding is a crucial part of this rejuvenation process. We recently undertook a hardwood floor sanding project, and it was quite a journey. In this post, we will share our experience, lessons, and the crucial tips you need to know about sanding a hardwood floor.
 Step 1: Understanding the Basics
Before you start any sanding project, it’s essential to understand what the process entails. Sanding removes the worn-out top layer of the wood and creates a smooth surface, ready for a fresh coat of finish. The key lies in using progressively finer-grit sandpaper and being patient. Our first lesson is that sanding isn’t a sprint but a marathon.
 Step 2: Choosing the Right Tools
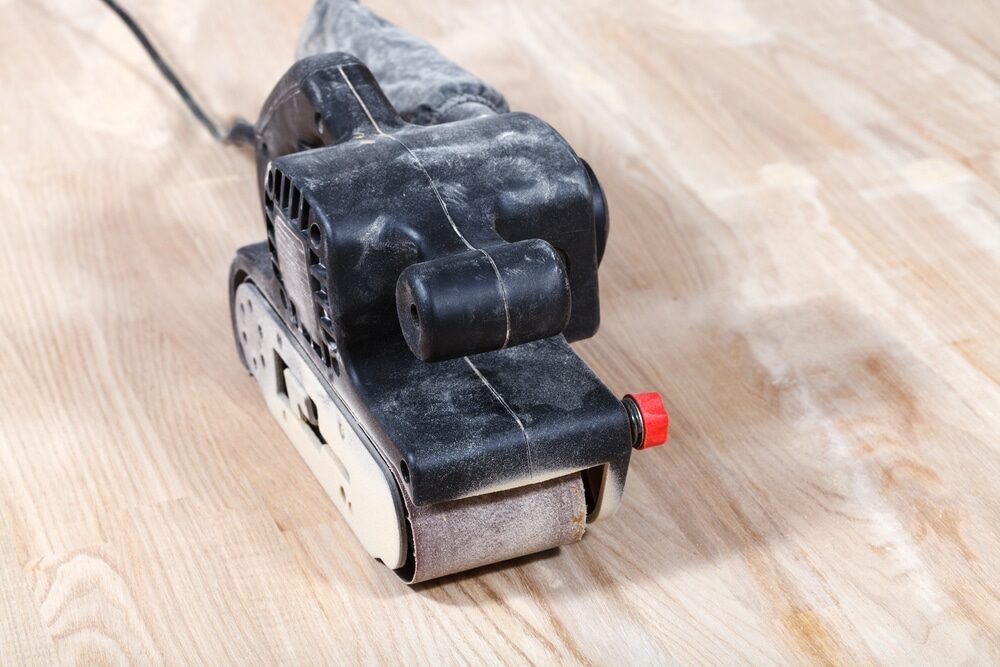
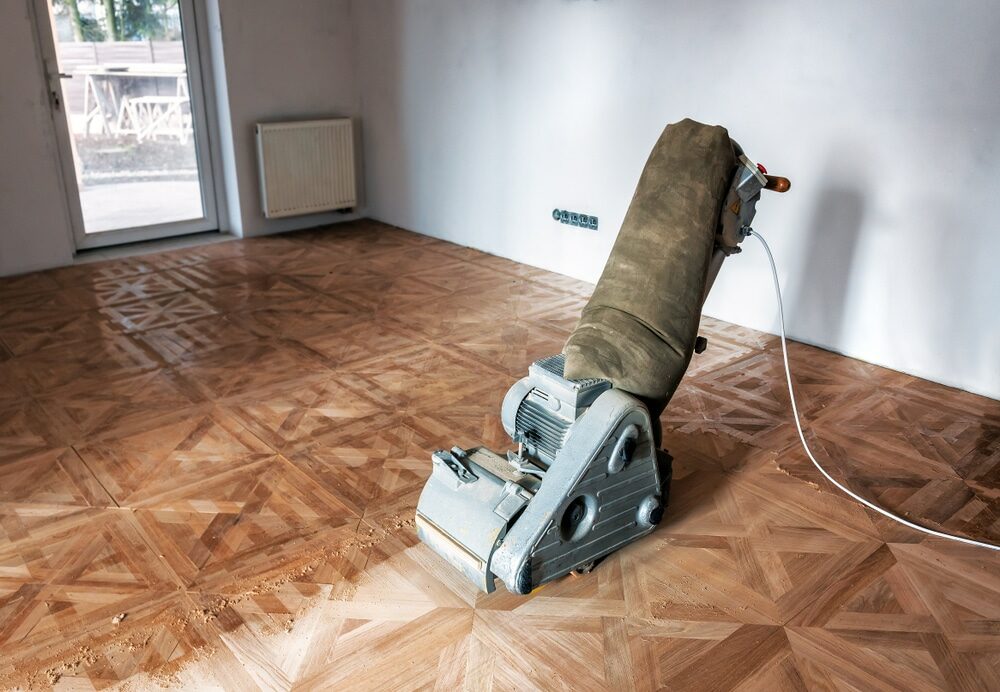
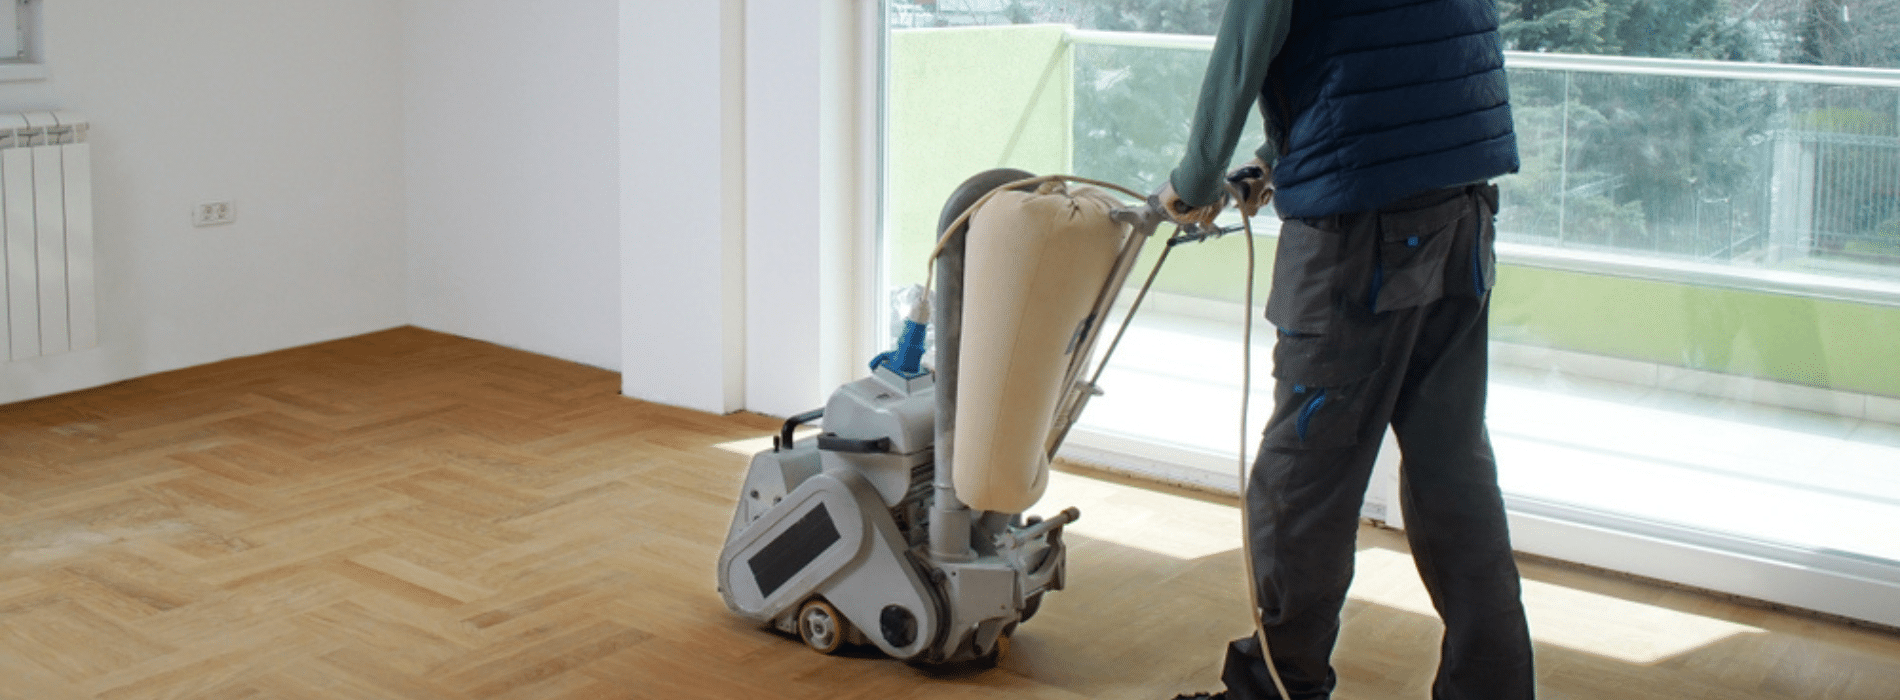
Choosing the right tools for your sanding project is crucial for achieving the best results. We rented a drum sander and an edge sander from a local tool rental store for our project. The drum sander is excellent for sanding large, open areas, while the edge sander is perfect for reaching edges and corners that the drum sander can’t.
Step 3: PreparationPreparation is critical to a successful sanding project. We began by removing all the furniture from the Room. We then cleaned the floor thoroughly to remove any dirt and dust that might scratch the floor during sanding. Also, we used a wood filler to fill any gaps or cracks in the floor.
Step 4: The Sanding ProcessStarting the sanding process was nerve-wracking, but we quickly got the hang of it. We started with coarse-grit sandpaper (36 grit) on the drum sander, moving back and forth along the wood grain. It’s important not to let the sander linger in one spot, as it can create dents.
We used the edge sander for the Room’s edges, starting with coarse-grit paper. The edge sander can be a bit tricky to control, so it requires some practice.
After the first pass, we vacuumed and wiped the floor before moving on to the next grit. We repeated this process with 60-grit, 80-grit, and 100-grit sandpaper. Remember always to vacuum and wipe down the floor before changing grits.
 Step 5: Final Touches
After the last sanding pass, we were finally ready for the finishing touches. We vacuumed and wiped the floor before applying a wood conditioner. This step prepares the wood to accept the stain evenly.
Next, we applied the stain, carefully following the manufacturer’s instructions. After 24 hours, when the stain was fully dry, we applied three coats of polyurethane finish, sanding lightly between each coat for a smooth, shiny surface.
Lessons Learned and Tips for a Successful Sanding Project
- Safety First: Always use protective equipment, including safety glasses, ear protection, and a dust mask, when sanding. This equipment protects you from wood dust and noise from the sander.
- Take Your Time: Sanding is a slow process. Don’t rush it; otherwise, you might have an uneven floor or visible sanding marks.
- Always sand along the grain. Sanding across or against the grain can scratch the wood. Always sand parallel to the wood grain.
- Change sandpaper frequently. Don’t try to overuse your sandpaper. Once it becomes dull or clogged, it’s time to change it.
- Proper preparation: Spend time prepping the Room and the floor before sanding. This includes cleaning, making necessary repairs, and adequately securing loose floorboards.
- Practice makes perfect. Using a drum sander or edge sander may seem daunting initially, but with some practice, you’ll get the hang of it. Consider practicing on an inconspicuous area or a piece of scrap wood first.
- Keep the Room Ventilated: When applying the stain and polyurethane, ensure the Room is well-ventilated to allow fumes to dissipate and facilitate faster drying.
Conclusion
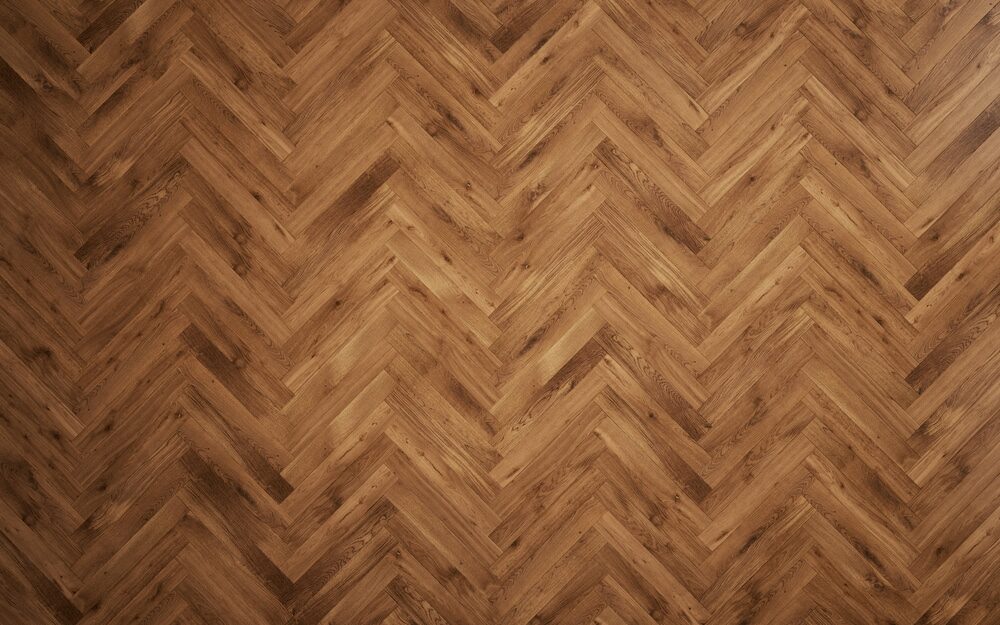
Our hardwood floor sanding project was an adventure. It was demanding, time-consuming, and even frustrating at times. However, the result was more than worth it. Our once tired-looking hardwood floor was transformed into a beautiful, gleaming surface that added warmth and character to our home.
If you’re contemplating a DIY hardwood floor sanding project, we hope our journey and the lessons we learned along the way will guide you. It’s a significant undertaking, but with the right tools, preparation, and patience, you can breathe new life into your hardwood floors, restoring their beauty and extending their lifespan. After all, there’s nothing quite like the sense of achievement that comes from completing a DIY project and seeing the transformation right before you. Happy sanding!
Some Useful Links:
- Floor Sanding Services
- School Floor Sanding
- Wood Floor Restorations
- Wood Floor Repairs
- Wood Floor Polishing
More from our Blog:
Mastering Wood Stripping & Sanding: Your Comprehensive Guide The top 6 places to buy Wood flooring in the UK | Mr Sander® Step-by-Step Guide to Sanding Your Wood Floor | Restore Your Floor’s Beauty Unraveling the Art of Fine Wood Floor Sanding | Detailed Guide Sanding Wood Floors: Demystifying Common Queries


Sanding
We provide virtually dust-free sanding with our continuous belt machinery with mobile extraction units, giving you a safer environment for your family.
Oiling
This organic finish not only adds beauty to your home but also has exceptional water-repellent characteristics, making it easier to clean and maintain.
Waxing
This natural floor finish offers the softest and most mellow appearance – and leaves your floor able to breath.
Buffing
Using soft buffing machines (and hand-polishing where required) will bring a wonderful sheen to your newly-finished floor.
Repairs
We offer a full assessment of your wooden floors to determine what repairs are needed to provide the perfect working surface for the later stages of sanding, staining and sealing.
Restoration
We offer a comprehensive restoration process designed to address floors that are improperly fitted or damaged over time through wear and tear.
Request a fixed price quote for your wood floor restoration now
Simply enter your postcode below to get started.
Services
Wood Floor Sanding Wood Floor Restoration Wood Floor Scratch Repair Squeaky Wood Floor Repair Parquet Floor Sanding Parquet Floor Restoration Commercial Floor Sanding Church Floor Sanding Community Centre Floor Sanding School Floor Sanding Gap Filling Gap Filling with ResinCopyright © Mr Sander®
Privacy & Cookies Terms & Conditions Complaints Procedure Cancellation Rights Sitemap

Get An Instant Price Estimate Before You Go…
Simply enter the rooms you need sanded and we’ll provide you with a price estimate instantly! Try our price calculator now.
Get a Price Estimate NowLocal Floor Sanding Experts
Over 500 5-Star Reviews
Safe, Dust Free Sanding
Operating Since 1994