London:
Nationwide:
25,000+
Floors Restored
27 Years Experience
Wood Flooring Association Certified
Mastering the Art of Laying a Hardwood Floor: A Comprehensive DIY Guide
Posted on May 12, 2023
Blog
Step-by-Step Guide to Laying a Hardwood Floor: DIY Essentials
Hardwood flooring has long been a popular choice for homeowners due to its durability, aesthetic appeal, and timeless charm. If you’re considering adding this feature to your home, understanding the installation process can be incredibly beneficial, even if you plan to hire professionals. So, let’s embark on a detailed journey of how to lay a hardwood floor.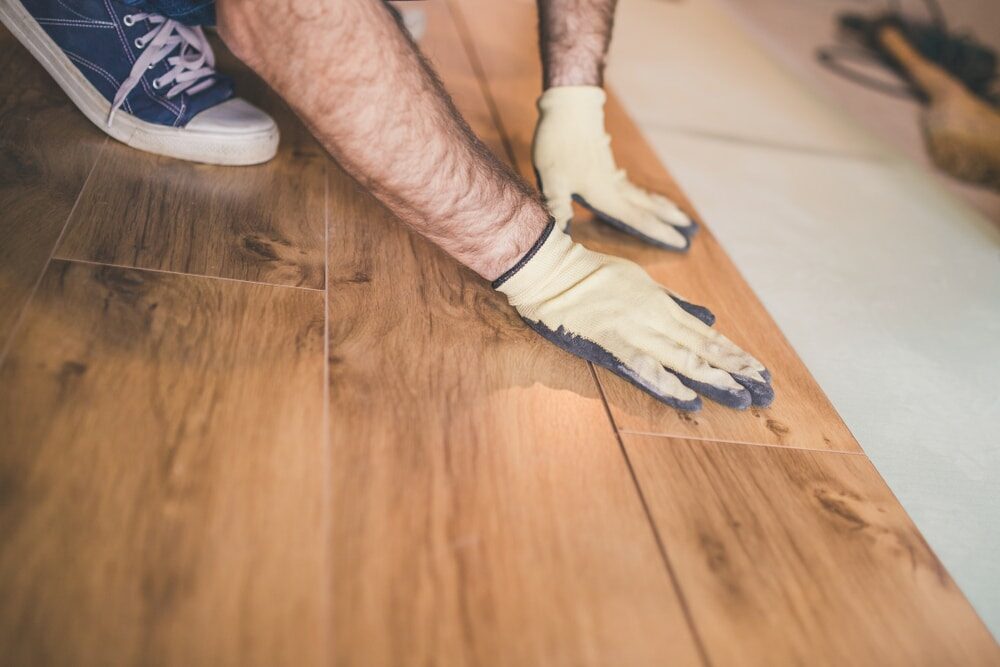
Preparation: Tools, Materials, and Planning
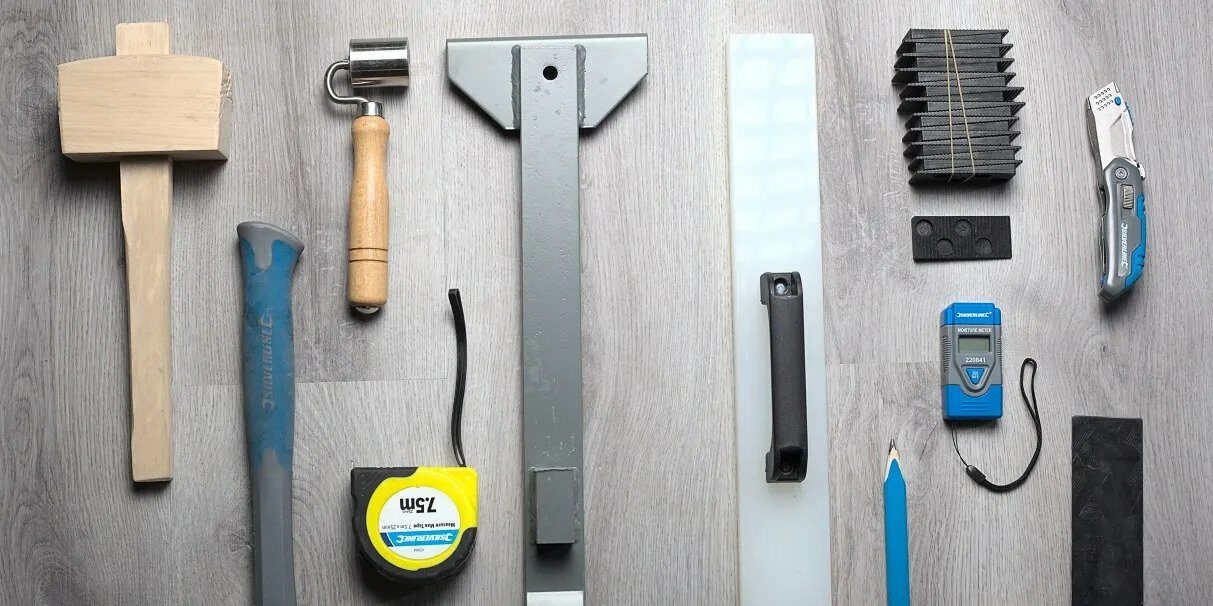
Before you begin, gather all the necessary tools and materials. This includes the hardwood planks, nails or staples (depending on your chosen method), a mallet, pry bar, tape measure, chalk line, circular saw or mitre saw, nail gun or stapler, safety glasses, knee pads, and a moisture metre.- Measure the room: Start by measuring the room to determine the amount of wood flooring required. Always order a little extra to account for mistakes or future repairs.
- Acclimatise the wood: Wood is a natural material that expands and contracts with changes in humidity. Allow the wood flooring to acclimatise to the room’s conditions by leaving it in the room for at least 48 hours before installation.
- Check the subfloor: The subfloor should be clean, flat, and dry. Use a moisture metre to check the moisture levels and ensure they are within acceptable ranges. If not, address any moisture problems before proceeding.
- Plan your layout: Determine the direction you want the boards to run. Typically, boards are installed perpendicular to the floor joists and parallel to the longest wall for visual appeal and stability.
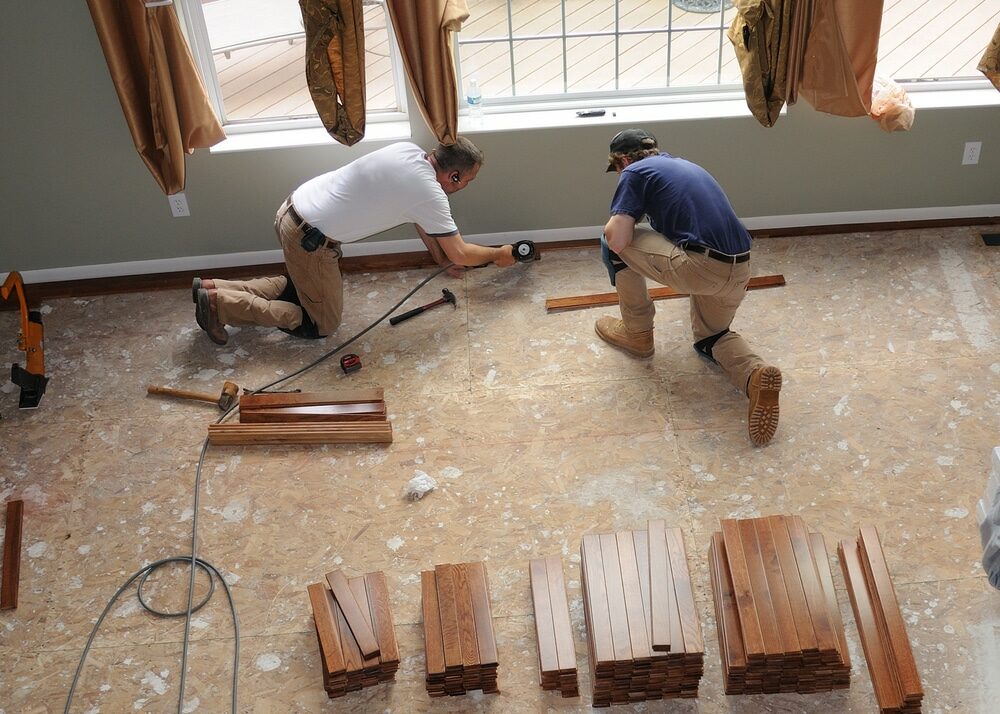
Installation Process: Step by Step
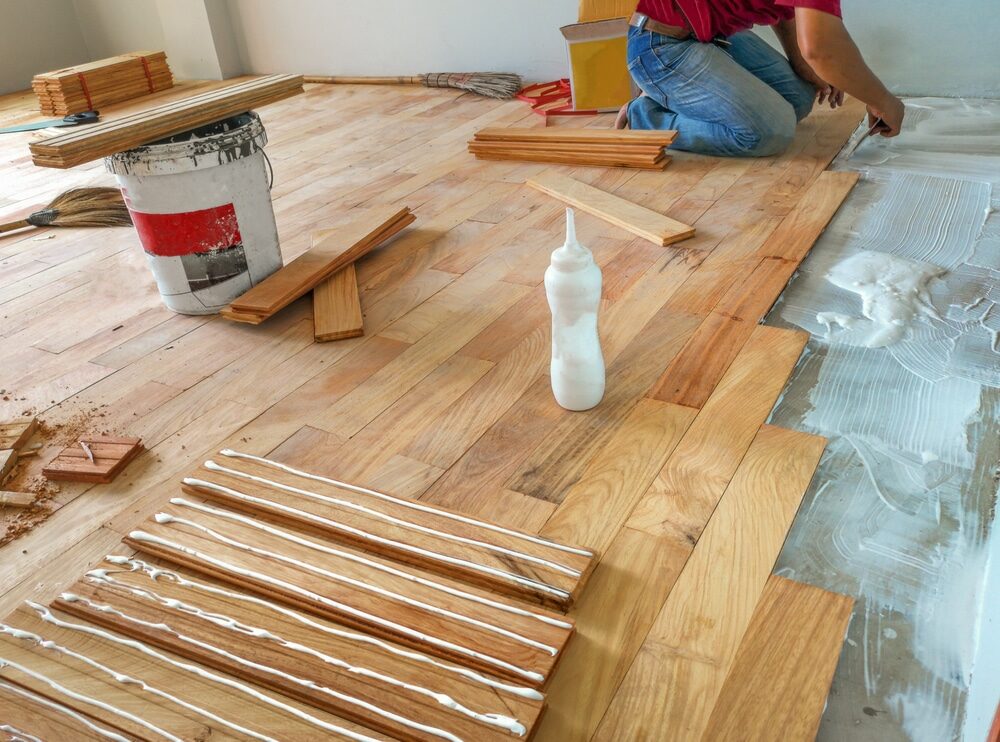
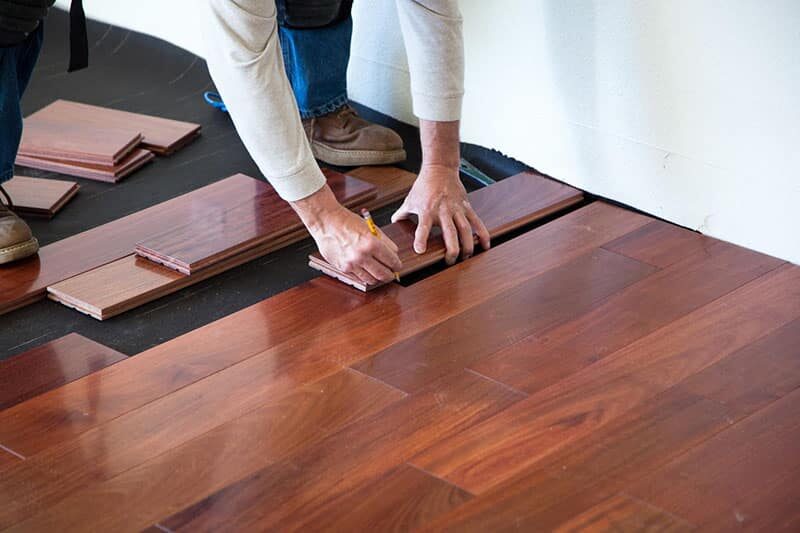
- Install the First Row: Start at the longest, straightest wall. Place the first board in the corner with the groove side facing the wall, leaving a gap of about 1/2 inch to allow for expansion. Secure the board with nails or staples, making sure they are at a 45-degree angle and go through the tongue of the board.
- Continue Laying Boards: Align the next board’s groove with the previous board’s tongue, making sure the end joints are staggered by at least 6 inches from one row to the next. Use a mallet to gently tap the boards together, then secure them with nails or staples.
- Cut Boards as Needed: Measure and cut the last board in each row to fit, ensuring you maintain the expansion gap at the wall.
- Start the Next Rows: Use the cut-off piece from the previous row to start the next row, provided it’s at least 8 inches long. This will help stagger the end joints for a more attractive and stable floor.
- Install the remaining rows: Continue installing the boards, ensuring each is snug against its neighbour and that the end joints are staggered. Remember to maintain the expansion gap around the perimeter of the room.
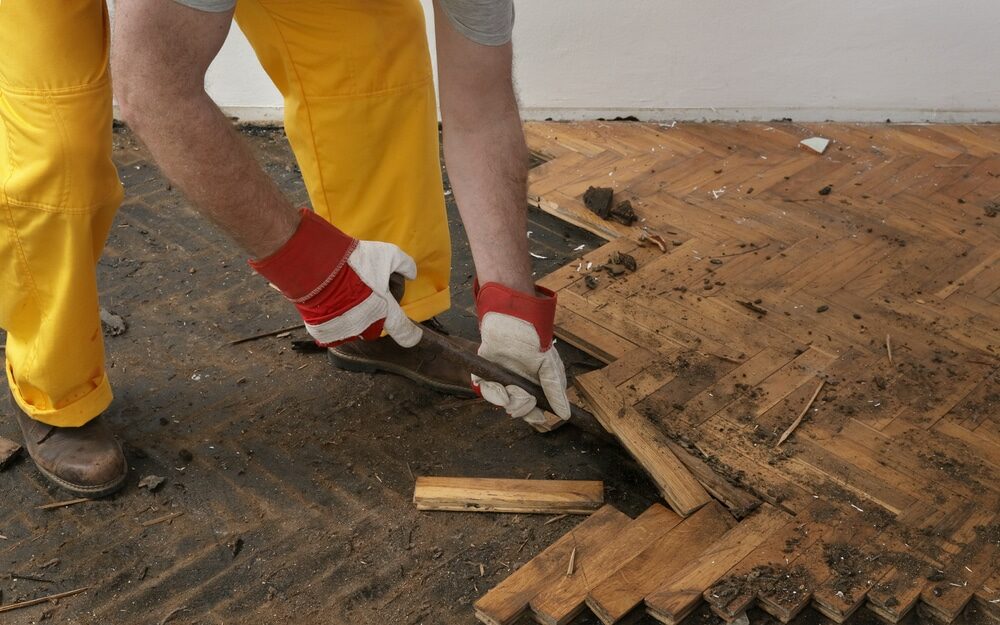
- Install the Final Row: You may need to rip the boards lengthwise to fit the final row while maintaining the expansion gap. Use a pry bar to snug the boards together and secure them.
Finishing Up
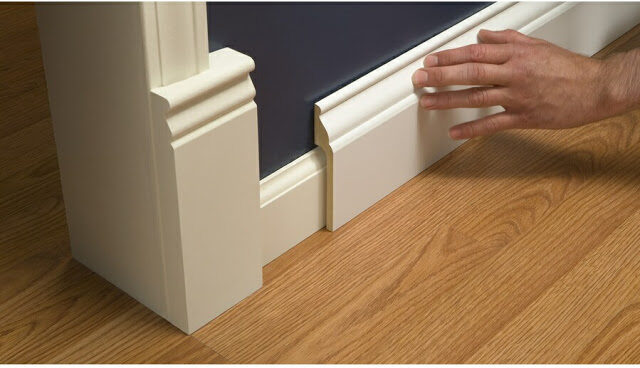
- Install Trim and Mouldings: Once all the boards are installed, install baseboard trim or quarter-round mouldings to cover the expansion gap.
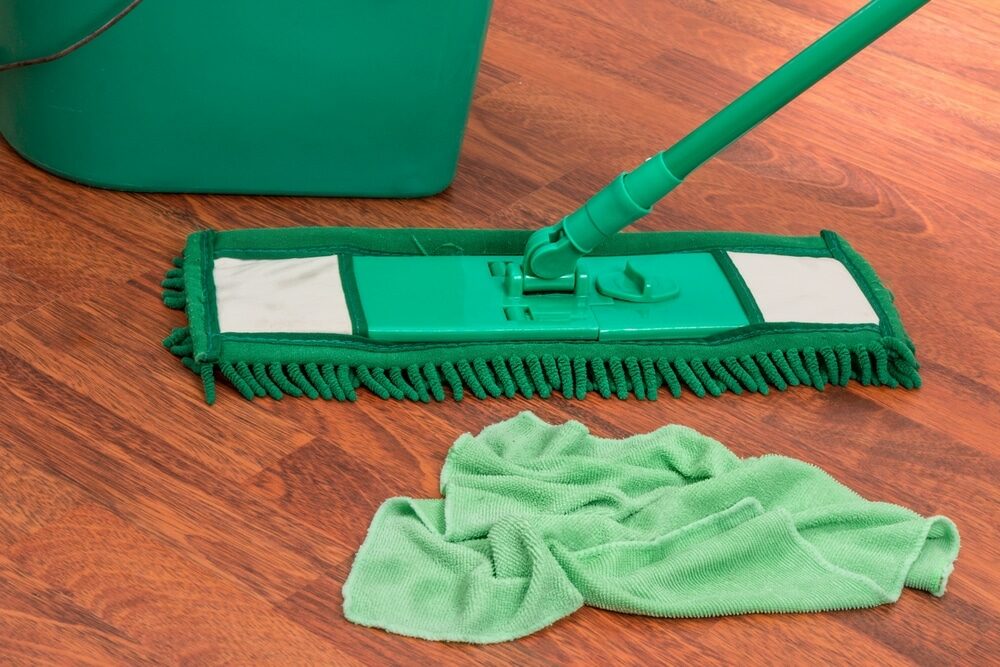
- Clean the Floor: Clean the floor thoroughly to remove any dust or debris.
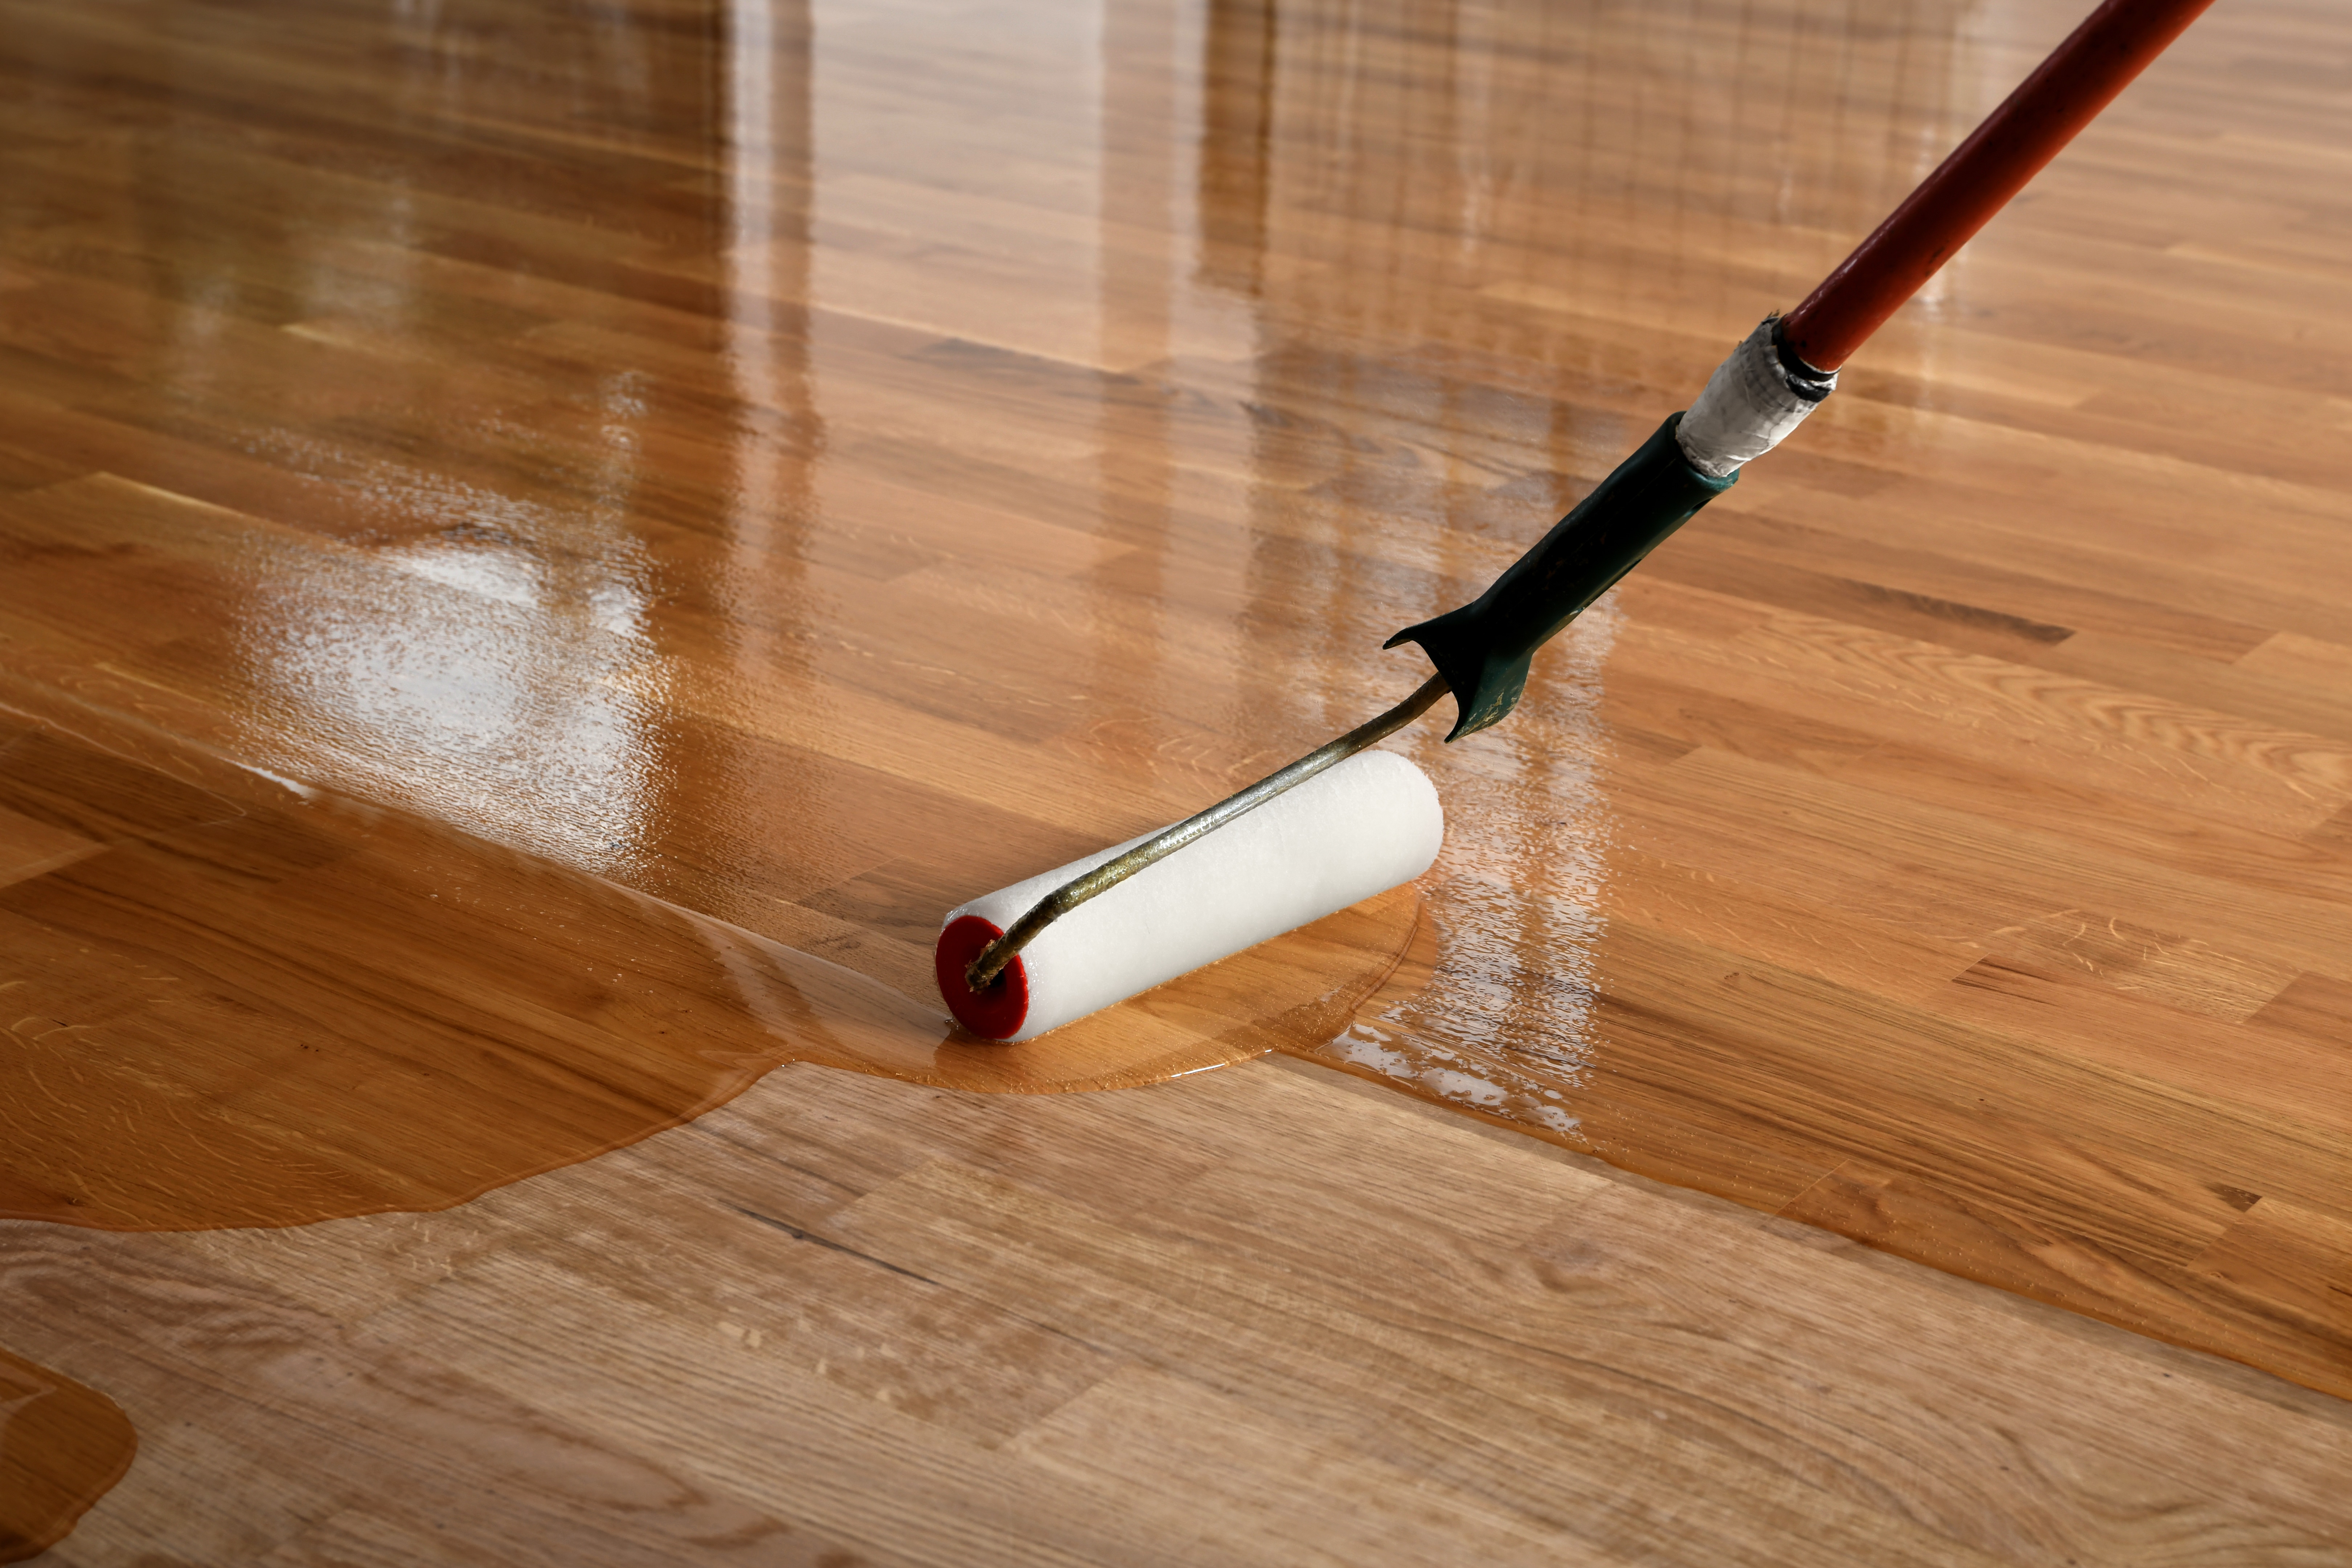
- Apply Finish: If your hardwood flooring is unfinished, apply a finish to protect it and enhance its appearance.
Some Useful Links:
- Wood Floor Restorations
- Wood Floor Repairs
- Wood Floor Polishing
- Floor Sanding Services
- School Floor Sanding
Conclusion
While laying a hardwood floor can be a DIY project for those who are handy, it’s a labour-intensive process that requires patience, precision, and attention to detail. If you’re unsure, it’s best to hire professionals. However, understanding the process can help you better appreciate the craftsmanship that goes into creating your beautiful new floor.More from our Blog:
Embracing the Charm of Wood Flooring: Why Choose Wood Floors? Hardwood Floors & Allergies: A Detailed Look at the Health Benefits Mastering Hardwood Floor Care: Effective Cleaning and Polishing Techniques Expert Tips on Hardwood Floor Maintenance: Keep Your Floor Looking Great Update Your Home’s Look With Floor Sanding: Revitalize Your Interiors
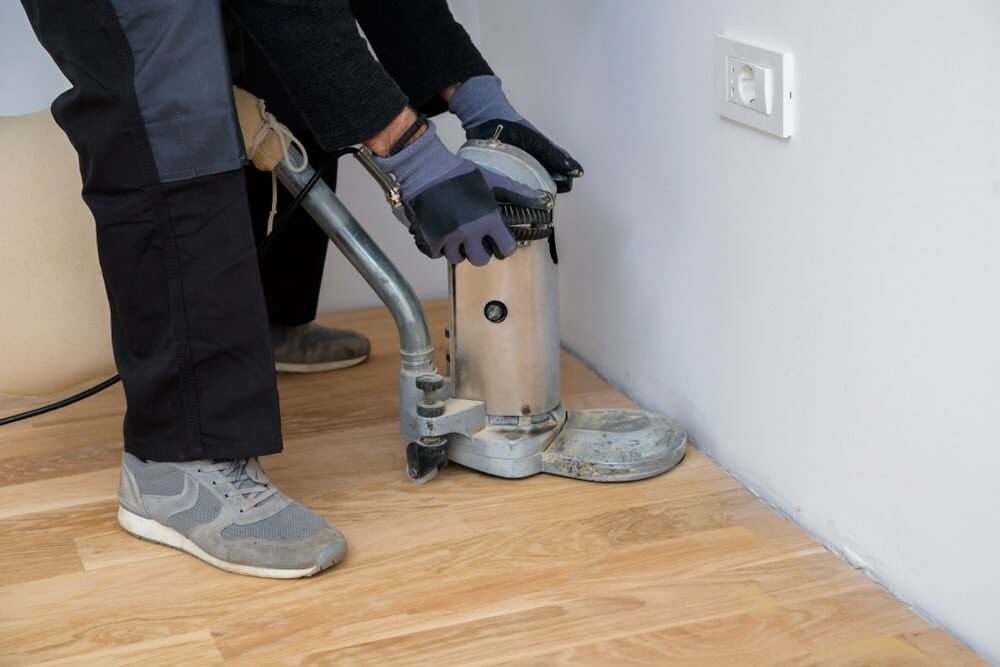

Sanding
We provide virtually dust-free sanding with our continuous belt machinery with mobile extraction units, giving you a safer environment for your family.
Oiling
This organic finish not only adds beauty to your home but also has exceptional water-repellent characteristics, making it easier to clean and maintain.
Waxing
This natural floor finish offers the softest and most mellow appearance – and leaves your floor able to breath.
Buffing
Using soft buffing machines (and hand-polishing where required) will bring a wonderful sheen to your newly-finished floor.
Repairs
We offer a full assessment of your wooden floors to determine what repairs are needed to provide the perfect working surface for the later stages of sanding, staining and sealing.
Restoration
We offer a comprehensive restoration process designed to address floors that are improperly fitted or damaged over time through wear and tear.
Request a fixed price quote for your wood floor restoration now
Simply enter your postcode below to get started.
Services
Wood Floor Sanding Wood Floor Restoration Wood Floor Scratch Repair Squeaky Wood Floor Repair Parquet Floor Sanding Parquet Floor Restoration Commercial Floor Sanding Church Floor Sanding Community Centre Floor Sanding School Floor Sanding Gap Filling Gap Filling with ResinCopyright © Mr Sander®
Privacy & Cookies Terms & Conditions Complaints Procedure Cancellation Rights Sitemap

Get An Instant Price Estimate Before You Go…
Simply enter the rooms you need sanded and we’ll provide you with a price estimate instantly! Try our price calculator now.
Get a Price Estimate NowLocal Floor Sanding Experts
Over 500 5-Star Reviews
Safe, Dust Free Sanding
Operating Since 1994