London:
Nationwide:
25,000+
Floors Restored
27 Years Experience
Wood Flooring Association Certified
How to Look after Your Hardwood Floor Sanding? The Best Guide
Posted on April 23, 2023
Blog
The Comprehensive Guide to Hardwood Floor Sanding and Maintenance
Hardwood floors are a timeless and elegant choice for any home, bringing a touch of warmth and sophistication to your living space. However, to maintain their natural beauty and prolong their lifespan, it’s essential to take proper care of them. One of the most crucial aspects of hardwood floor maintenance is sanding. This blog post will guide you through the process of looking after your hardwood floor sanding, from the basics to the most intricate details. We will explore why sanding is essential, the different types of sanding, and how to maintain your newly sanded floors. So, let’s dive in and ensure your hardwood floors remain in top-notch condition for years to come.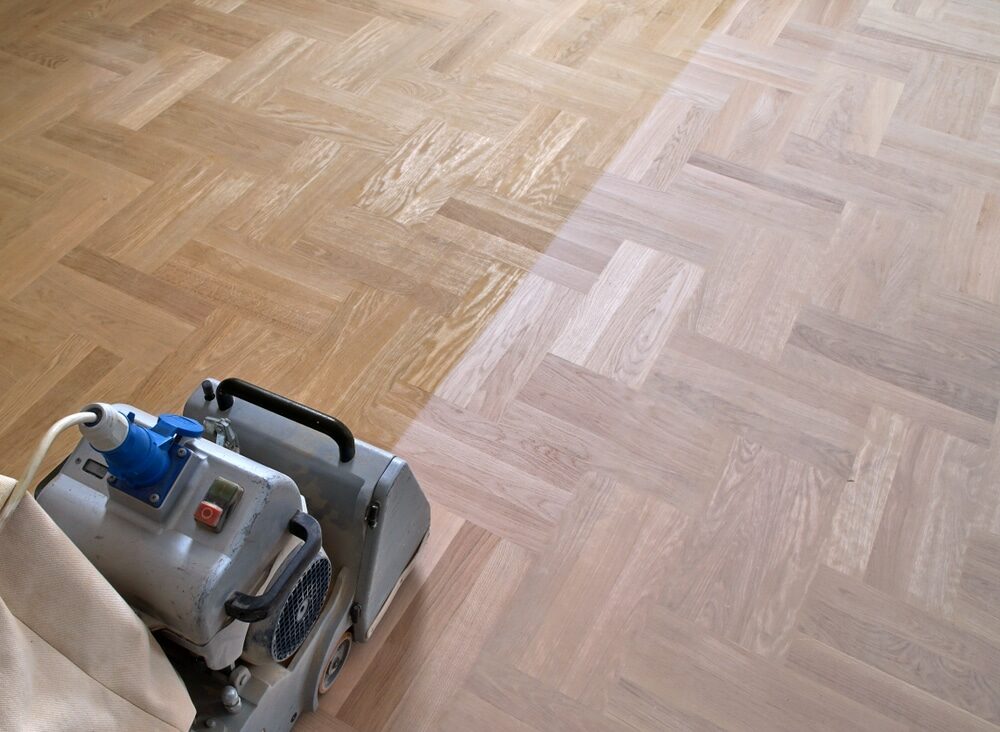
Why is sanding your hardwood floor important?
Sanding is a vital aspect of hardwood floor maintenance that cannot be ignored. Over time, your hardwood floors can become worn, scratched, and damaged due to daily wear and tear. Sanding removes the damaged top layer and restores the original lustre, making your floor look brand new. Other benefits of sanding include:- Increased durability: Sanding removes imperfections and enhances the floor’s ability to withstand pressure and wear, prolonging its lifespan.
- Better aesthetics: A well-sanded floor is more visually appealing, making your living space more inviting and comfortable.
- Improved safety: Sanding eliminates splinters and rough patches, reducing the risk of injuries caused by walking on damaged floors.
- Enhanced refinishing: Sanding prepares your floor for a new finish, allowing the coating to adhere better and last longer.
Types of Hardwood Floor Sanding
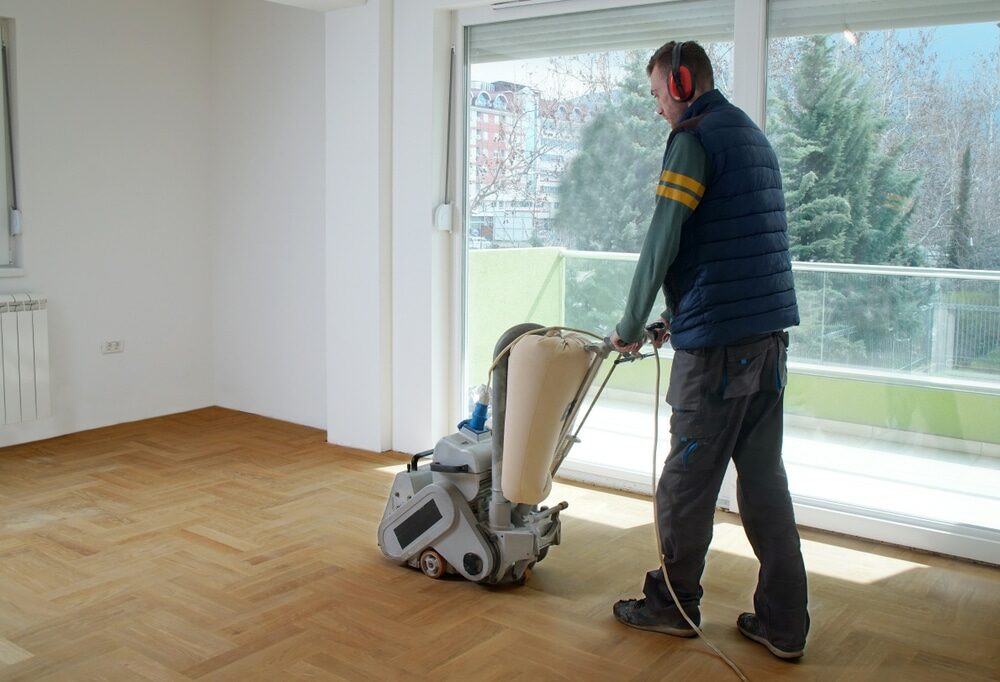
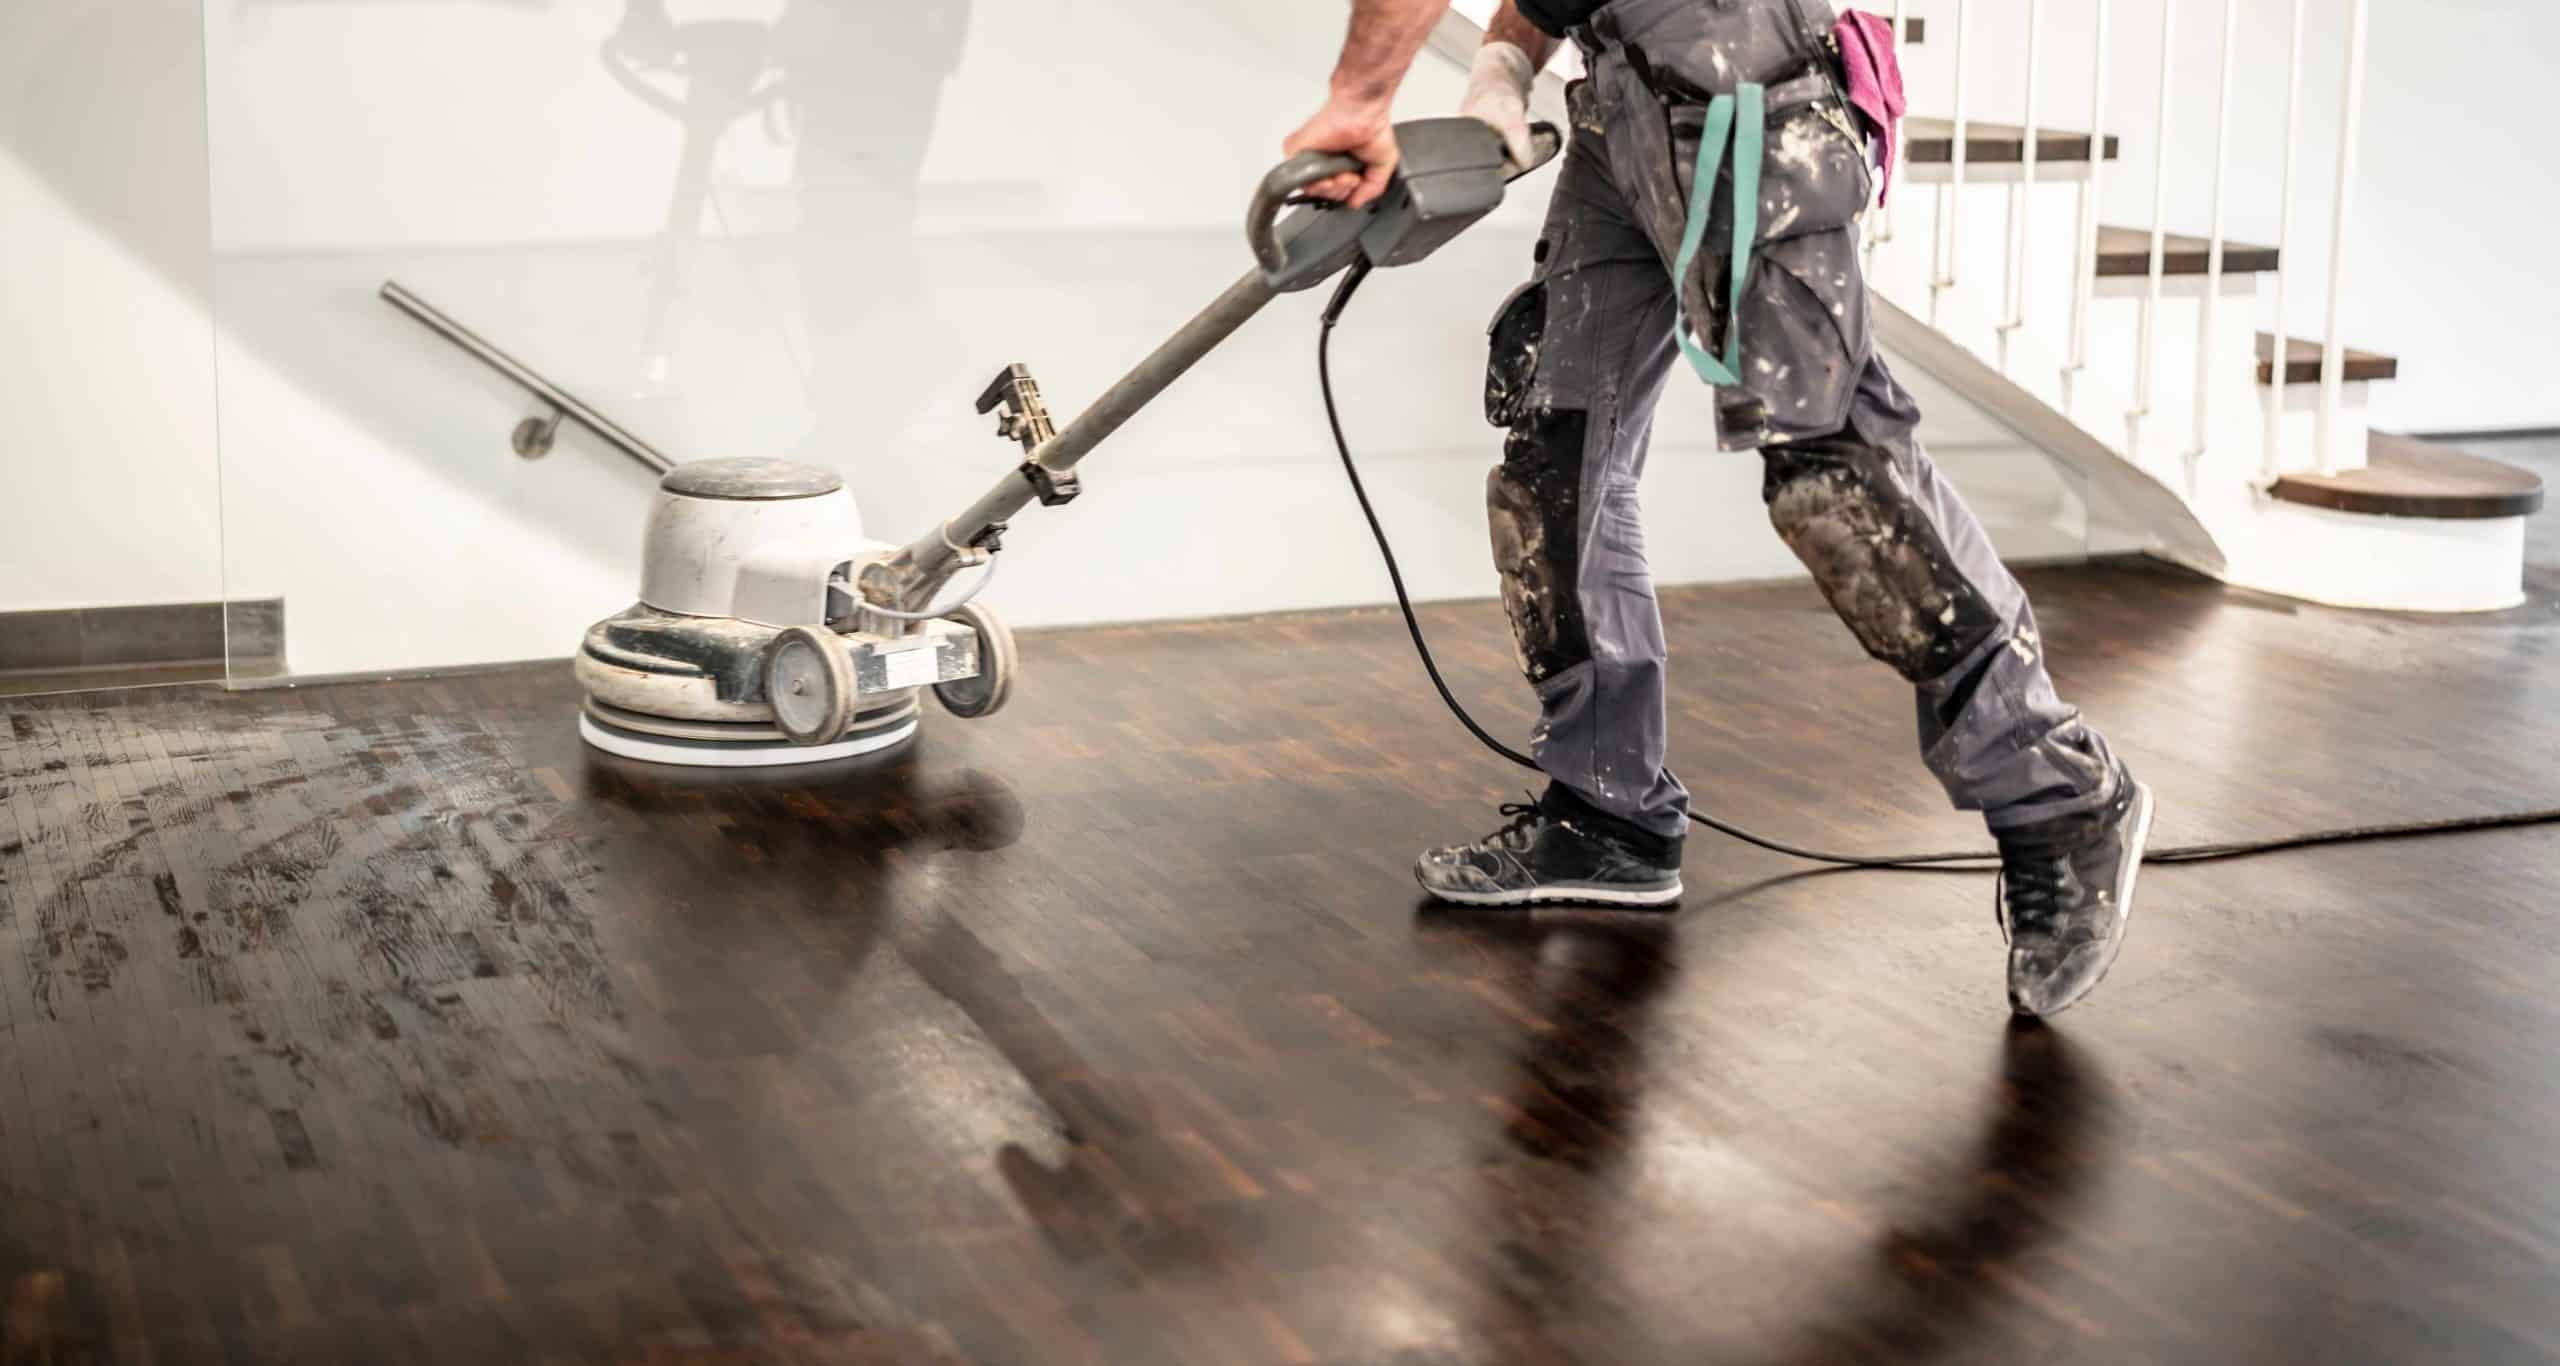
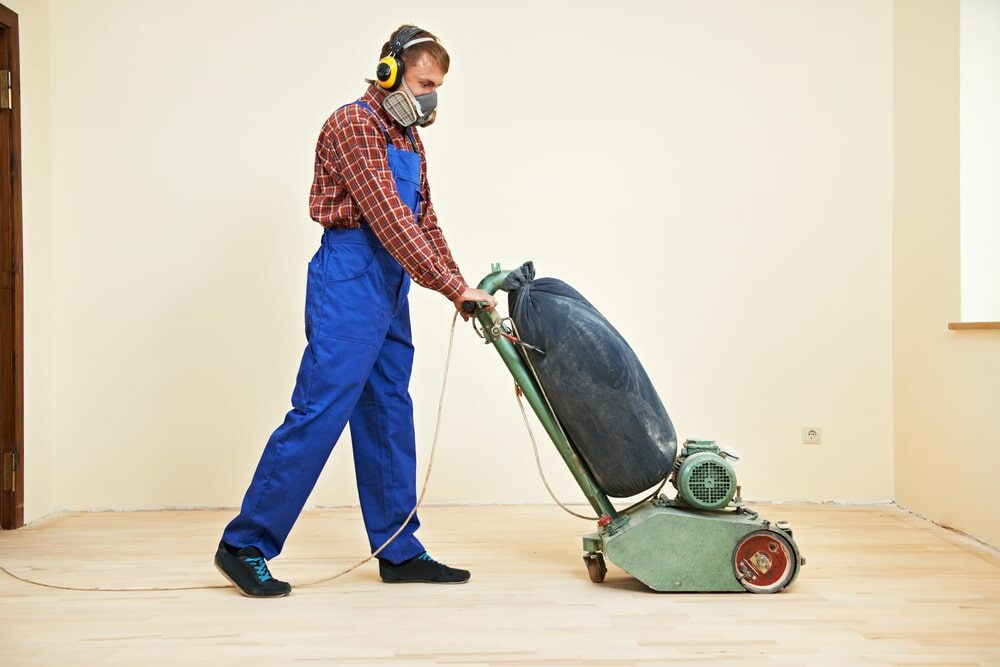
Before diving into the process, it’s essential to understand the different types of hardwood floor sanding. Generally, there are three primary sanding methods:- Drum sanding: This method involves using a drum sander, a large, powerful machine that sands the wood using abrasive belts. Drum sanding is suitable for floors with significant damage or unevenness.
- Orbital sanding: An orbital sander uses a vibrating motion to gently remove the top layer of wood. It is ideal for floors with minimal damage or those that require light sanding.
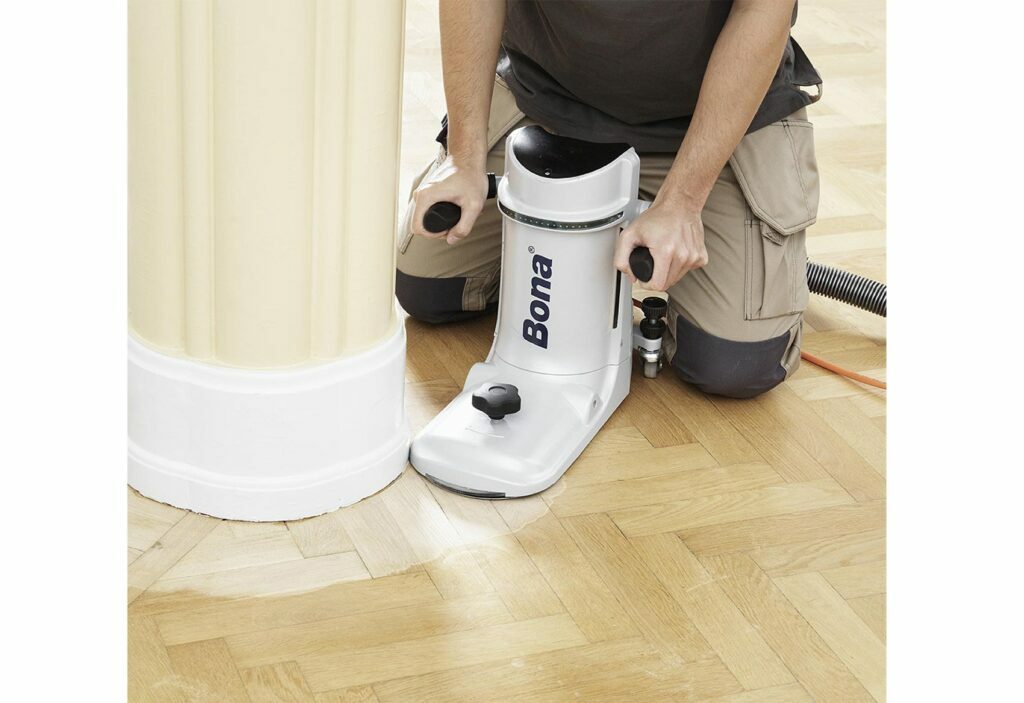
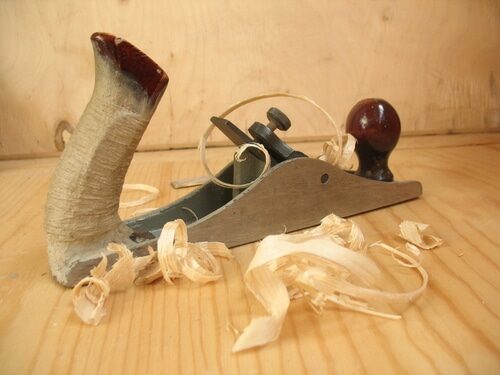
- Hand sanding: Hand sanding involves using sandpaper or a sanding block to remove imperfections manually. This method is best for small areas or delicate projects where precision is vital.
How to Look After Your Hardwood Floor Sanding
Now that you understand why sanding is essential and the different types, let’s explore how to look after your hardwood floor sanding. Step 1: Prepare the floor Before starting the sanding process, it’s crucial to prepare the floor:- Clear the room: Remove all furniture, rugs, and other items from the room to prevent damage and make the sanding process easier.
- Clean the floor: sweep or vacuum the floor to remove any dirt or debris. This will help prevent scratches and ensure a smooth sanding process.
- Repair any damage. Fix any loose boards, protruding nails, or other issues to ensure an even sanding surface.
- Tape off baseboards: Use painter’s tape to protect your baseboards from the sander, ensuring they remain clean and undamaged.
Step 2: Choose the Right Equipment and Sandpaper
Selecting the appropriate sanding equipment and sandpaper is crucial for a successful sanding project. As mentioned earlier, you can choose between drum sanders, orbital sanders, and hand sanding, depending on your floor’s condition and your specific needs. When selecting sandpaper, start with a coarser grit (typically between 36 and 60 grit) and progress to finer grits (80 to 100 grit) as you continue the sanding process. This approach will help remove the damaged layer and create a smooth surface for refinishing.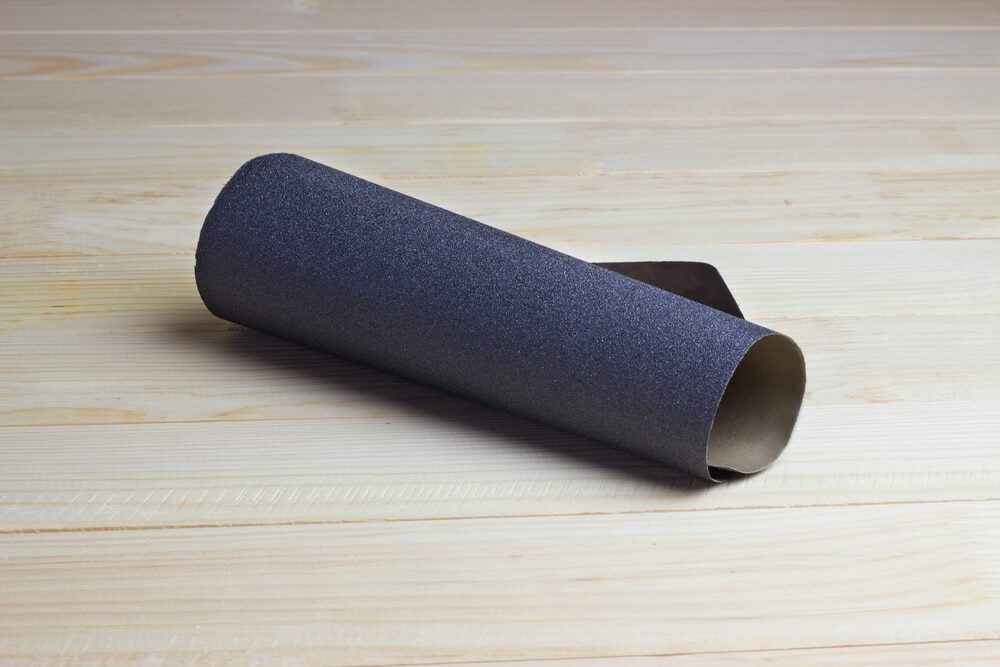
Step 3: Sand the floor
Once you’ve prepared the floor and chosen the right equipment, it’s time to begin the sanding process.- Start with the coarsest grit: Using the appropriate sander and coarsest grit sandpaper, begin sanding the floor in the direction of the wood grain. Make sure to keep the sander moving continuously to avoid creating uneven surfaces or depressions.
- Vacuum between grits: After completing the first pass with the coarsest grit, vacuum the floor to remove any dust and debris before moving on to the next grit.
- Progress to finer grits: Continue sanding the floor with progressively finer grits, vacuuming between each pass. This process will remove any remaining imperfections and create a smooth, even surface.
- Finish with a buffer: After completing the sanding pr ocess, use a floor buffer with a fine-grit sanding screen to polish the floor and create a uniform finish.
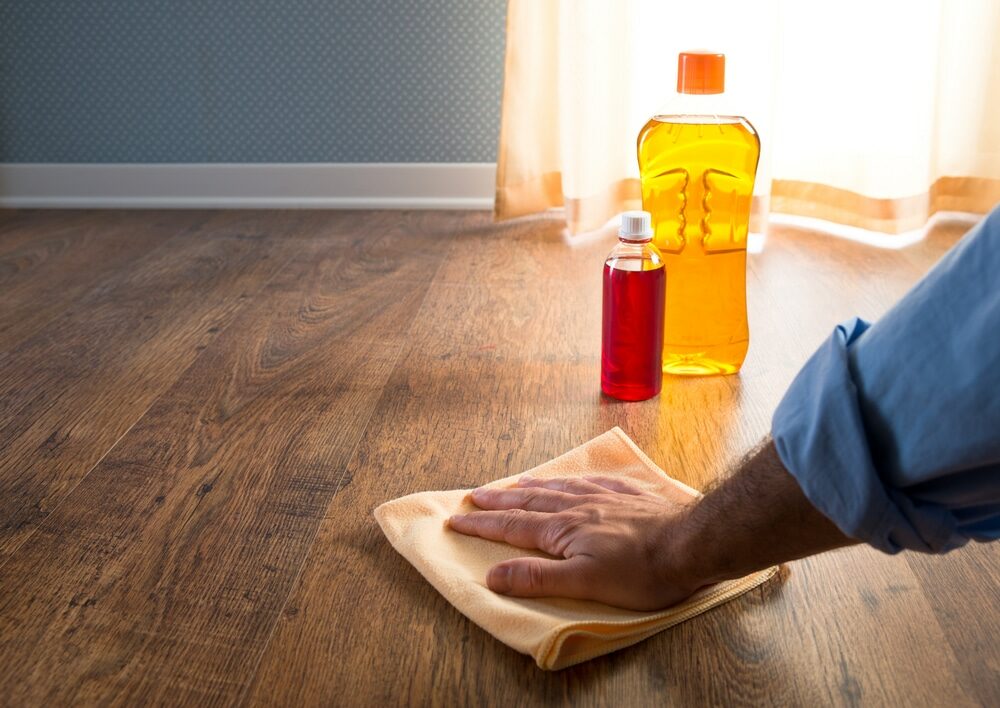
Step 4: Clean and Prep the Floor for Finishing
After sanding, it’s essential to thoroughly clean the floor and prepare it for finishing.- Vacuum the floor: Use a vacuum with a soft brush attachment to remove all dust and debris from the floor, ensuring a clean surface for refinishing.
- Wipe with a damp cloth: Gently wipe the floor with a damp cloth to remove any remaining dust. Make sure the cloth is only slightly damp, as excessive moisture can damage the wood.
- Allow the floor to dry. Give the floor ample time to dry before applying any finish. This will help prevent moisture-related issues, such as warping or staining.
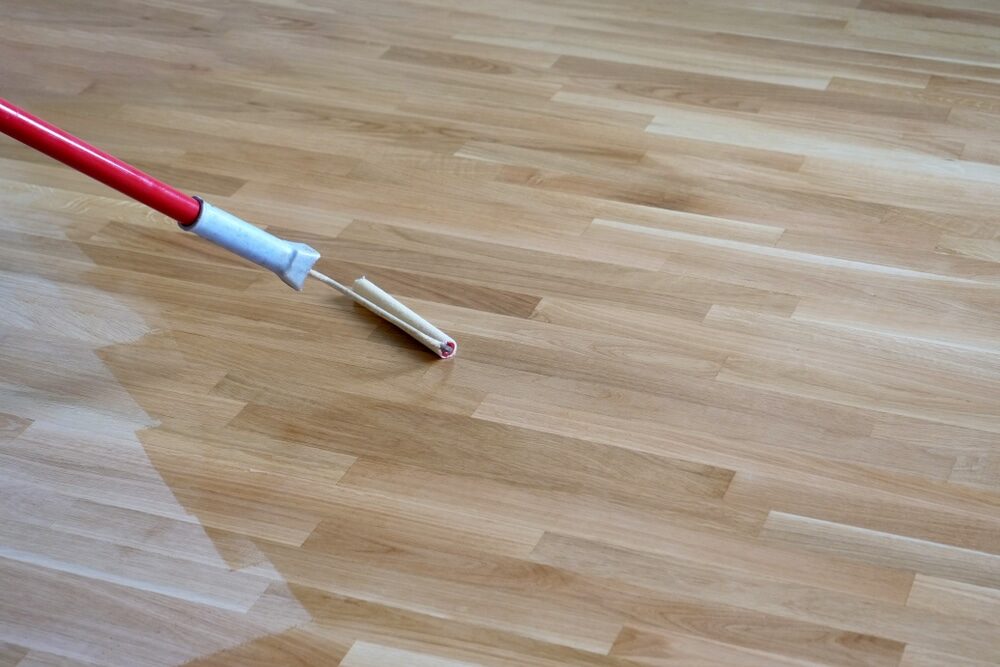
Step 5: Apply the Finish
With the floor sanded and prepped, you’re now ready to apply the finish. Choose a finish that complements your hardwood type and aesthetic preferences, such as oil-based polyurethane, water-based polyurethane, or natural oil. Follow the manufacturer’s instructions to ensure proper application and drying times.How to Maintain Your Newly Sanded Hardwood Floor
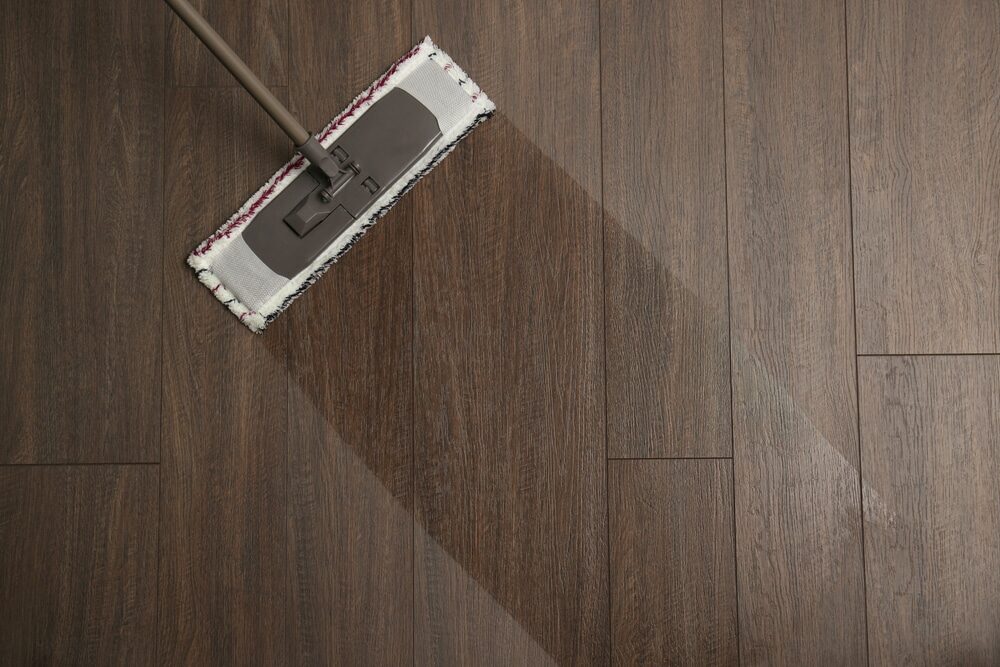
After sanding and refinishing your hardwood floor, it’s essential to maintain it properly to ensure its longevity and beauty.- Regular cleaning: Sweep or vacuum your floor regularly to remove dirt and debris that can cause scratches and damage over time.
- Use appropriate cleaning products. Use hardwood floor-specific cleaners to maintain the finish and avoid damaging the wood.
- Utilise area rugs and mats: Place rugs or mats in high-traffic areas to protect your floor from wear and tear.
- Protect your furniture: Use felt pads or furniture coasters under your furniture legs to prevent scratches and dents.
- Control humidity: Maintain a consistent indoor humidity level (between 40 and 60%) to prevent warping or shrinking of your hardwood floor.
- Refinish as needed: Depending on your floor’s wear and your chosen finish, you may need to refinish your floor every few years to maintain its appearance and durability.
Some Useful Links:
Conclusion
Looking after your hardwood floor sanding is crucial to maintaining the beauty, longevity, and safety of your floors. By understanding the importance of sanding, choosing the right sanding method, and following proper maintenance practises, you can keep your hardwood floors in top condition for years to come. With the right care and attention, your hardwood floors will continue to be a stunning feature in your home, providing warmth, elegance, and timeless appeal.More from our Blog:
Top Ten Things You May Not Know About Dust Free Floor Sanding Sanding Wooden Floors – Increase the Value of Your Home How to Care for Your Wooden Floors after the Sanding and Sealing?

Sanding
We provide virtually dust-free sanding with our continuous belt machinery with mobile extraction units, giving you a safer environment for your family.
Oiling
This organic finish not only adds beauty to your home but also has exceptional water-repellent characteristics, making it easier to clean and maintain.
Waxing
This natural floor finish offers the softest and most mellow appearance – and leaves your floor able to breath.
Buffing
Using soft buffing machines (and hand-polishing where required) will bring a wonderful sheen to your newly-finished floor.
Repairs
We offer a full assessment of your wooden floors to determine what repairs are needed to provide the perfect working surface for the later stages of sanding, staining and sealing.
Restoration
We offer a comprehensive restoration process designed to address floors that are improperly fitted or damaged over time through wear and tear.
Request a fixed price quote for your wood floor restoration now
Simply enter your postcode below to get started.
Services
Wood Floor Sanding Wood Floor Restoration Wood Floor Scratch Repair Squeaky Wood Floor Repair Parquet Floor Sanding Parquet Floor Restoration Commercial Floor Sanding Church Floor Sanding Community Centre Floor Sanding School Floor Sanding Gap Filling Gap Filling with ResinCopyright © Mr Sander®
Privacy & Cookies Terms & Conditions Complaints Procedure Cancellation Rights Sitemap

Get An Instant Price Estimate Before You Go…
Simply enter the rooms you need sanded and we’ll provide you with a price estimate instantly! Try our price calculator now.
Get a Price Estimate NowLocal Floor Sanding Experts
Over 500 5-Star Reviews
Safe, Dust Free Sanding
Operating Since 1994