London:
Nationwide:
25,000+
Floors Restored
27 Years Experience
Wood Flooring Association Certified
How to Sand a Hand Scraped Floor | Mr Sander®
Posted on May 23, 2023
Blog
A Comprehensive Manual on Sanding Hand Scraped Wood Floors
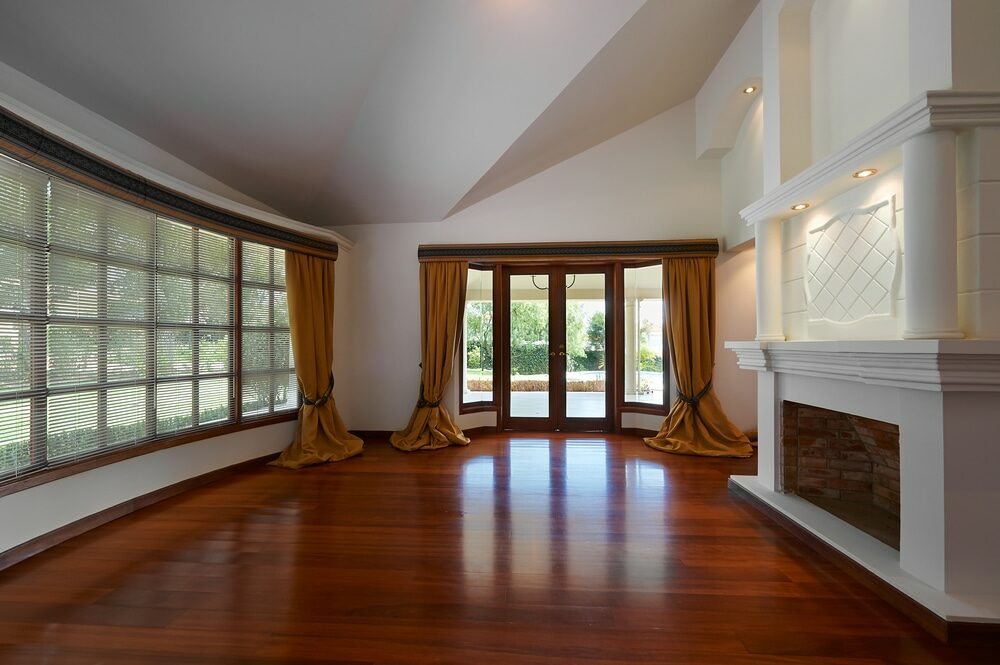
Hand-scraped wood floors have an alluring charm that elevates the aesthetics of a home. They offer a rustic, old-world appeal with their distinctive textures and unique grain patterns. However, like all wood floors, hand-scraped floors may require occasional sanding and refinishing to maintain their beauty. This process can be a bit more complex due to their textured surface, but with the right approach and tools, it’s entirely feasible. This guide will walk you through the step-by-step process of sanding a hand-scraped wood floor, helping you preserve the allure of your floors for many years to come.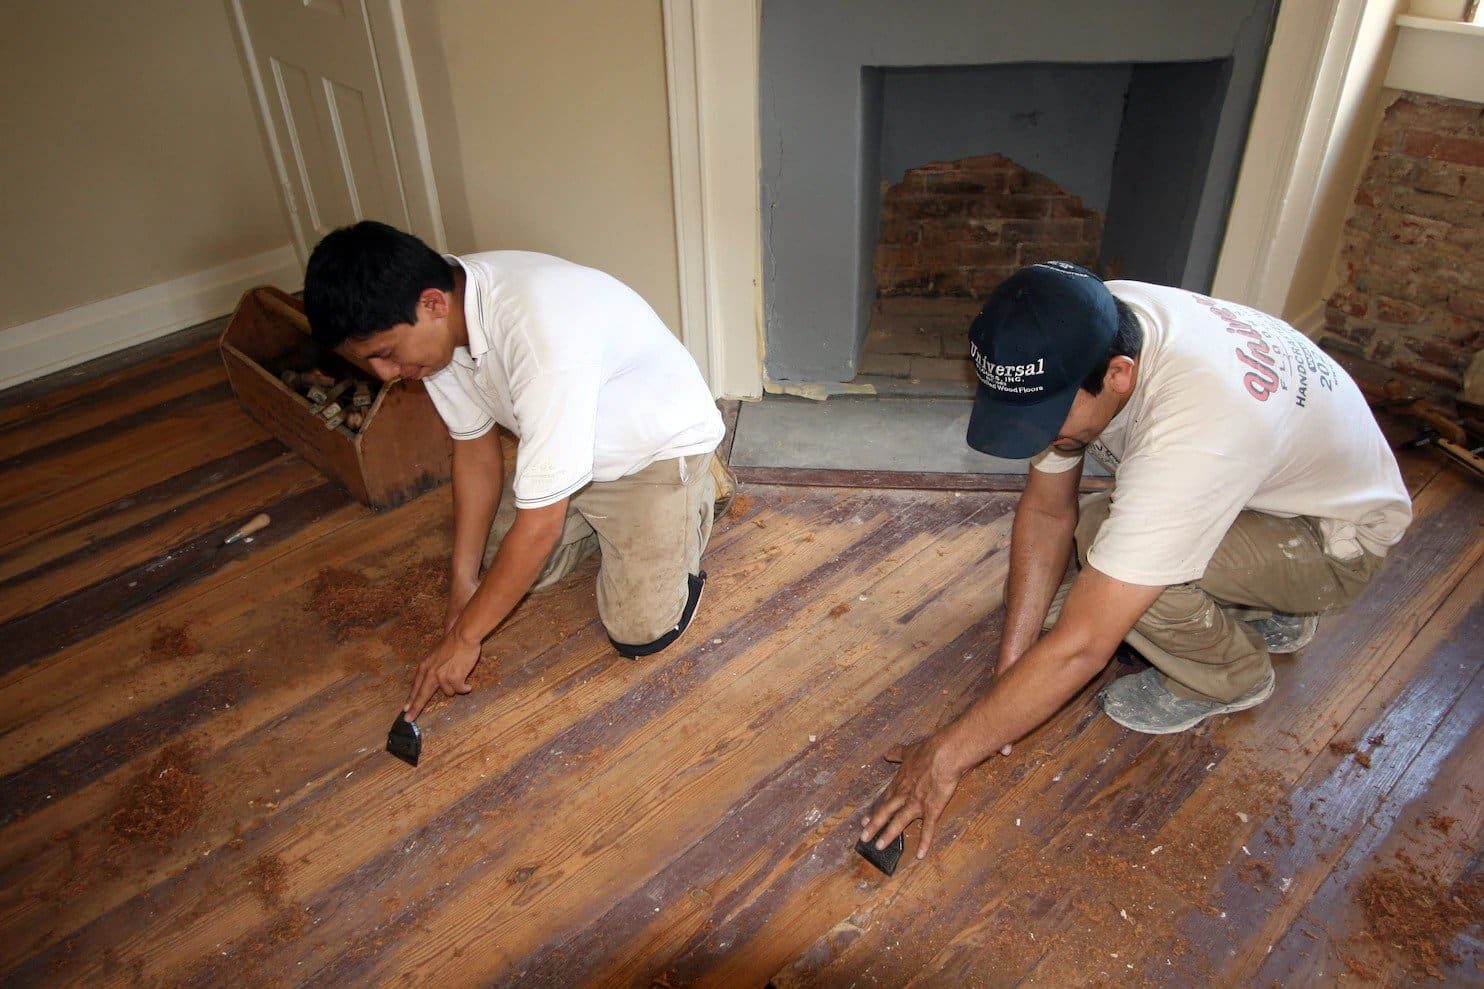
I. Understanding Hand-Scraped Wood Floors
Hand-scraped wood floors are known for their textured, antique-like finish. This texture results from a process where the wood is manually scraped to create subtle grooves and imperfections, emulating the look of floors crafted by hand in earlier centuries. Due to this unique texture, hand-scraped floors require a specific approach when it comes to sanding and refinishing.II. Preparing for the Sanding Process
- Assess the Floor: Begin by assessing the condition of your floor. If the scratches or damage are superficial and limited to the finish, you may only need to apply a fresh coat of finish rather than sanding. However, if the damage is deeper and involves the wood itself, sanding will be necessary.
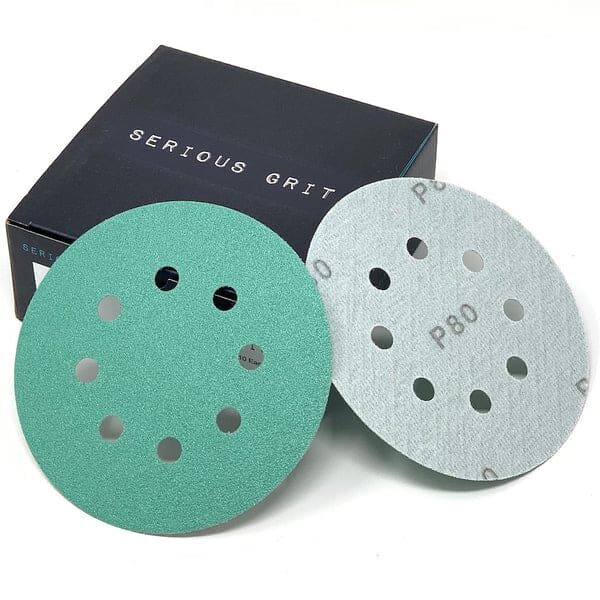
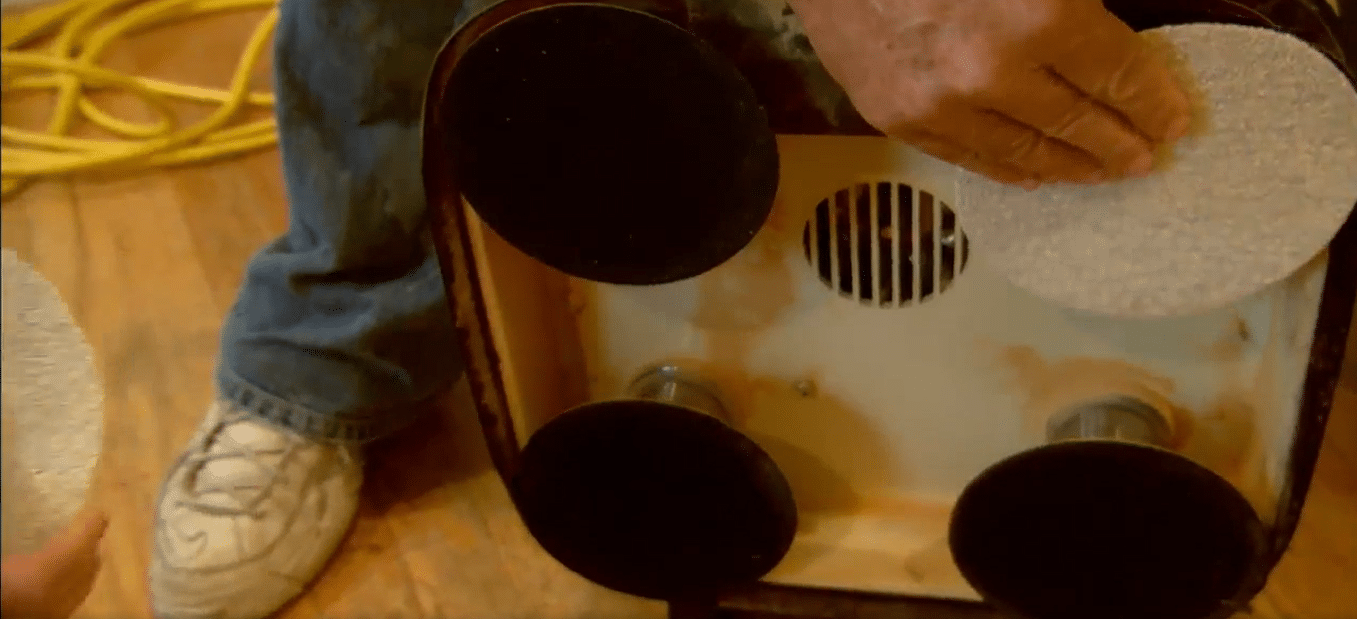
- Gather Supplies: For hand-scraped floors, it’s best to use an orbital sander, which is gentler and offers more control than a drum sander. You’ll also need sanding discs in various grits, a vacuum for dust collection, protective gear like gloves and goggles, and materials for masking and protecting areas not being sanded.
- Prepare the area: Remove all furniture and rugs from the room. Mask doorways and vents with plastic sheeting to prevent dust from spreading to other parts of the house. If you’re working on a section of an open floor plan, you may need to create a temporary plastic wall to contain the dust.
III. The Sanding Process
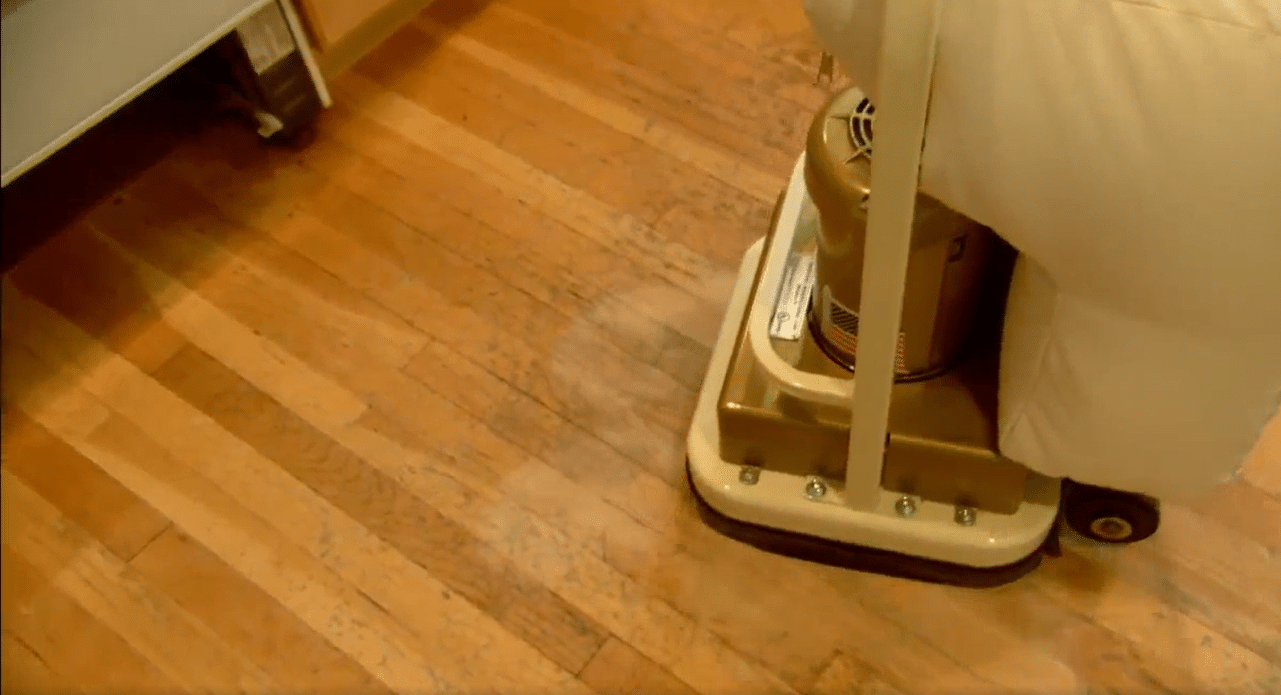
Sanding a hand-scraped wood floor requires a delicate balance. The goal is to remove damage and wear while preserving the hand-scraped texture. Here’s how to do it:- First Sanding Pass: Rough Grit: Start with a rough-grit sanding disc, such as 60-grit, on your orbital sander. This grit will help remove the old finish and any significant damage. Move the sander in the direction of the wood grain and keep it moving to prevent creating a flat spot. Follow the contours of the hand-scraped pattern as closely as possible.
- Vacuum: After the initial pass, vacuum the floor to remove dust and debris. This step is crucial, as any particles left on the floor can scratch the wood during subsequent sanding passes.
- Additional Sanding Passes: Repeat the sanding process using progressively finer grits (80-grit, 100-grit, and 120-grit). These additional passes will smooth the wood without erasing the hand-scraped texture. Remember to vacuum after each pass.
IV. Post-Sanding Steps
After you’ve sanded the floor, you’ll need to apply a new finish to protect the wood and enhance its beauty.- Cleaning: Give the room a thorough cleaning to remove any remaining dust. Vacuum the floor and wipe it down with a damp (not wet) cloth.
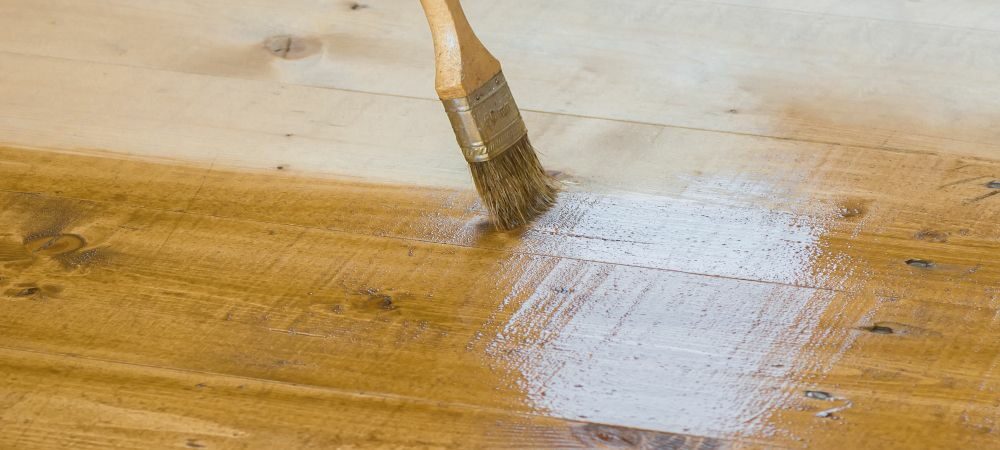
- Staining: If desired, apply a wood stain to alter the colour of the floor or enhance its natural hue. Use a rag or brush to apply the stain, following the wood grain and the contours of the hand-scraped texture. Wipe away the excess stain and let it dry according to the manufacturer’s instructions.
- Applying Finish: Choose a finish that suits your needs and preferences. Oil-based finishes offer a warm, rich look, while water-based finishes provide a clear, natural appearance and are less prone to yellowing over time. Apply the finish using a brush or applicator pad, moving with the grain of the wood and the hand-scraped pattern. Ensure that you cover all areas uniformly and avoid pooling or thick spots. Allow the finish to dry completely before applying additional coats, if necessary.
- Curing: Allow the finish to cure for several days before returning furniture and rugs to the room. This curing time will vary based on the type of finish used, so refer to the manufacturer’s instructions for specifics.
V. Tips for Sanding Hand-Scraped Wood Floors
Sanding a hand-scraped wood floor is a careful balancing act. Here are some tips to help you navigate this process:- Patience: Go slow and steady. Rushing through the process may lead to mistakes and uneven sanding, which can mar the beauty of the hand-scraped texture.
- Orbital Sander: Use an orbital sander instead of a drum sander. The latter can flatten out the hand-scraped texture, while an orbital sander allows you to follow the unique contours of the wood more closely.
- Technique: As much as possible, try to move the sander in line with the grain and the scraping pattern. This helps maintain the hand-scraped look and reduces the risk of cross-grain scratches.
- Safety: Always wear appropriate safety gear, including goggles, a dust mask, and ear protection. Ensure your workspace is well-ventilated to mitigate dust and fumes.
VI. Maintaining Your Hand-Scraped Wood Floor
To keep your freshly sanded and refinished hand-scraped floor looking its best, regular maintenance is key. Sweep or vacuum regularly to remove dust and grit that could scratch the finish. Wipe up spills promptly to prevent water damage. Consider using area rugs in high-traffic zones to minimise wear, but be sure to avoid rubber-backed or non-breathable rugs that can discolour the wood. Regularly inspect the floor for signs of wear or damage, and address any issues promptly to prevent them from worsening.
Conclusion
Hand-scraped wood floors offer a distinctive and timeless appeal, making them a prized feature in many homes. Although the process of sanding these floors may seem daunting, it’s entirely possible with the right approach, tools, and a bit of patience. The key lies in understanding the unique character of hand-scraped wood and using techniques that highlight rather than erase this character. Remember, your hand-scraped floor is more than just a surface. It’s a piece of history, an ode to the craftsmanship of a bygone era. By mastering the art of sanding, you’re not just restoring your floor—you’re preserving a piece of history and ensuring that its story continues to unfold in your home. So roll up your sleeves and embrace the process. Yes, there may be dust, sweat, and maybe even a few tears. But when you see your restored hand-scraped floor—its texture accentuated, its grain gleaming under the new finish—you’ll know that every effort was worth it. Because you didn’t just sand a floor, you breathed new life into a masterpiece. And that’s something to take pride in.Some Useful Links:
- Floor Sanding Services
- School Floor Sanding
- Wood Floor Restorations
- Wood Floor Repairs
- Wood Floor Polishing
More from our Blog:
Embracing Cleanliness with Dust-Free Wood Floor Sanding Systems Wood Floor Renovation with the help of Latest Technology Maximize Hardwood Floor Lifespan: Comprehensive Maintenance Guide Do You Want A Quote for Your Floor Sanding Project? Wooden Floor Oiling Vs. Lacquering Vs. Waxing: Choosing the Perfect Finish


Sanding
We provide virtually dust-free sanding with our continuous belt machinery with mobile extraction units, giving you a safer environment for your family.
Oiling
This organic finish not only adds beauty to your home but also has exceptional water-repellent characteristics, making it easier to clean and maintain.
Waxing
This natural floor finish offers the softest and most mellow appearance – and leaves your floor able to breath.
Buffing
Using soft buffing machines (and hand-polishing where required) will bring a wonderful sheen to your newly-finished floor.
Repairs
We offer a full assessment of your wooden floors to determine what repairs are needed to provide the perfect working surface for the later stages of sanding, staining and sealing.
Restoration
We offer a comprehensive restoration process designed to address floors that are improperly fitted or damaged over time through wear and tear.
Request a fixed price quote for your wood floor restoration now
Simply enter your postcode below to get started.
Services
Wood Floor Sanding Wood Floor Restoration Wood Floor Scratch Repair Squeaky Wood Floor Repair Parquet Floor Sanding Parquet Floor Restoration Commercial Floor Sanding Church Floor Sanding Community Centre Floor Sanding School Floor Sanding Gap Filling Gap Filling with ResinCopyright © Mr Sander®
Privacy & Cookies Terms & Conditions Complaints Procedure Cancellation Rights Sitemap

Get An Instant Price Estimate Before You Go…
Simply enter the rooms you need sanded and we’ll provide you with a price estimate instantly! Try our price calculator now.
Get a Price Estimate NowLocal Floor Sanding Experts
Over 500 5-Star Reviews
Safe, Dust Free Sanding
Operating Since 1994