London:

Nationwide:

Floor Polishing Service
25,000+
Floors Restored
Residential Sanding Service
27 Years Experience
Floor Renovation Service
Wood Flooring Association Certified

Learn the Different Steps for Sanding Floorboards | The Best Guide

Posted on April 23, 2023

Blog

Master the Art of Sanding Wood Floorboards: A Comprehensive Step-by-Step Guide

Sanding wood floorboards is a vital step in the process of refinishing or restoring a wooden floor. This task can transform an old, dull-looking floor into a smooth, attractive surface. It is essential to know and understand the different steps involved in sanding wood floorboards to achieve professional results. This blog post will guide you through the process, explaining each step in detail to help you achieve a beautifully refinished wooden floor. Steps for Sanding wood Floorboards with Bona Belt 10 inch
  1. Assess the condition of the floor.

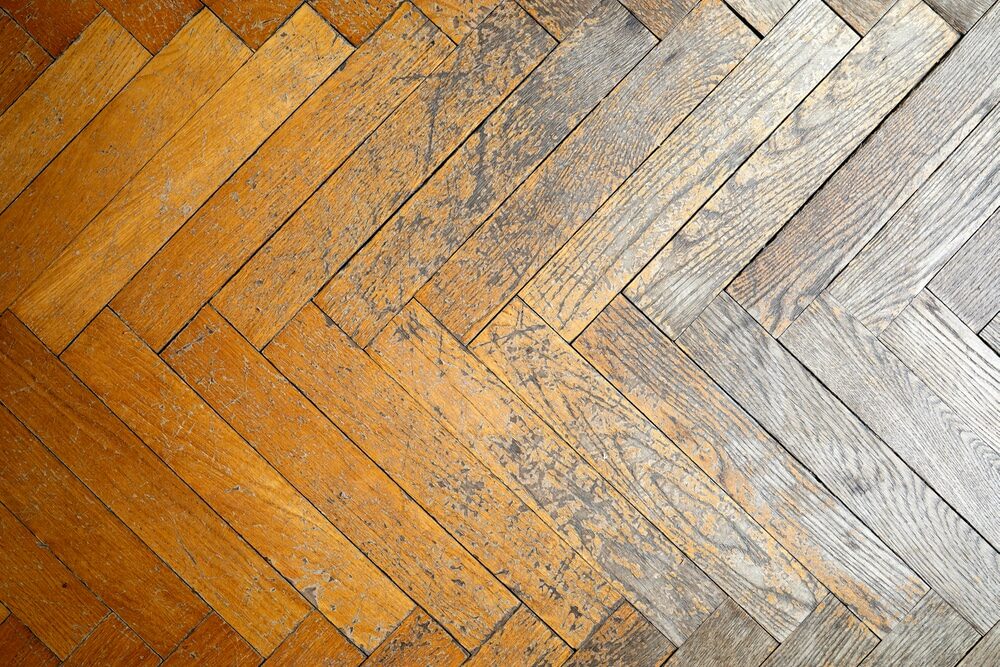
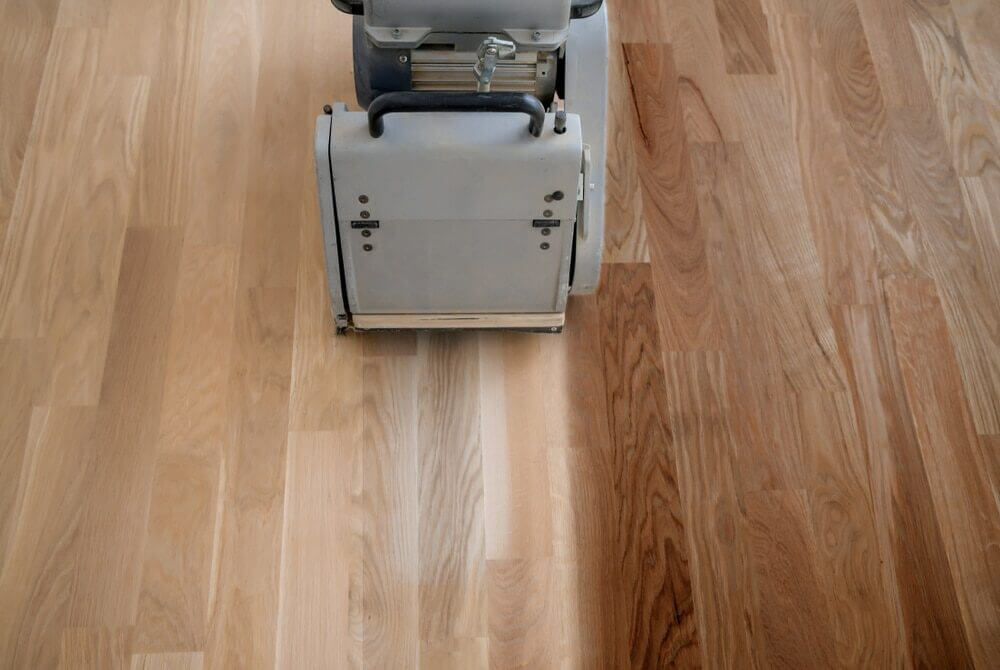
Before you start sanding, it is crucial to assess the condition of your wooden floor. Look for any loose boards, protruding nails, or uneven areas that might need fixing. It is also a good idea to determine the type of finish currently on your floor, as some finishes may require specific removal techniques. Make a list of any repairs needed and address them before proceeding to the next step. Very worn solid hardwood parquet flooring.
  1. Gather the necessary tools and materials.

To successfully sand your wood floorboards, you will need the following tools and materials:
  • Drum or orbital sander
  • Edge sander
  • Handheld sanding block
  • Coarse, medium, and fine sandpaper (24, 60, 80, 100, and 120 grit)
  • Wood filler
  • Hammer and nail set
  • Pry bar
  • Vacuum cleaner or broom
  • Safety goggles, ear protection, and a dust mask
  1. Prepare the room.

Before you begin sanding, prepare the room by removing all furniture, curtains, and other items. Cover any vents, light switches, and electrical outlets with plastic or painter’s tape to prevent dust from entering. Make sure the room is well-ventilated, and wear protective gear, such as safety goggles, ear protection, and a dust mask, to safeguard yourself from dust and debris. Remove furniture and dust sensitive items such as electronics.
  1. Repair the floor

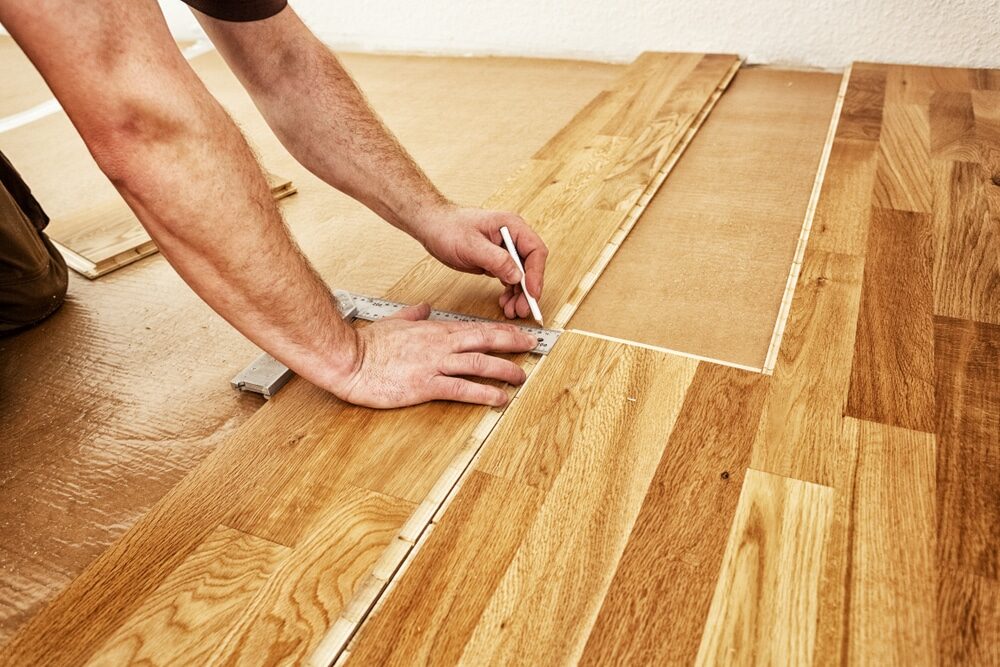
Now is the time to address any issues you identified during the initial assessment of your floor. Secure any loose floorboards with nails, making sure to countersink the nails with a nail set. Use a pry bar to remove any protruding nails and replace them with new ones, again countersinking them below the surface. Fill any gaps or holes with wood filler, following the manufacturer’s instructions for application and drying time. Repair engineered 3 strip hardwood floor
  1. Begin Sanding

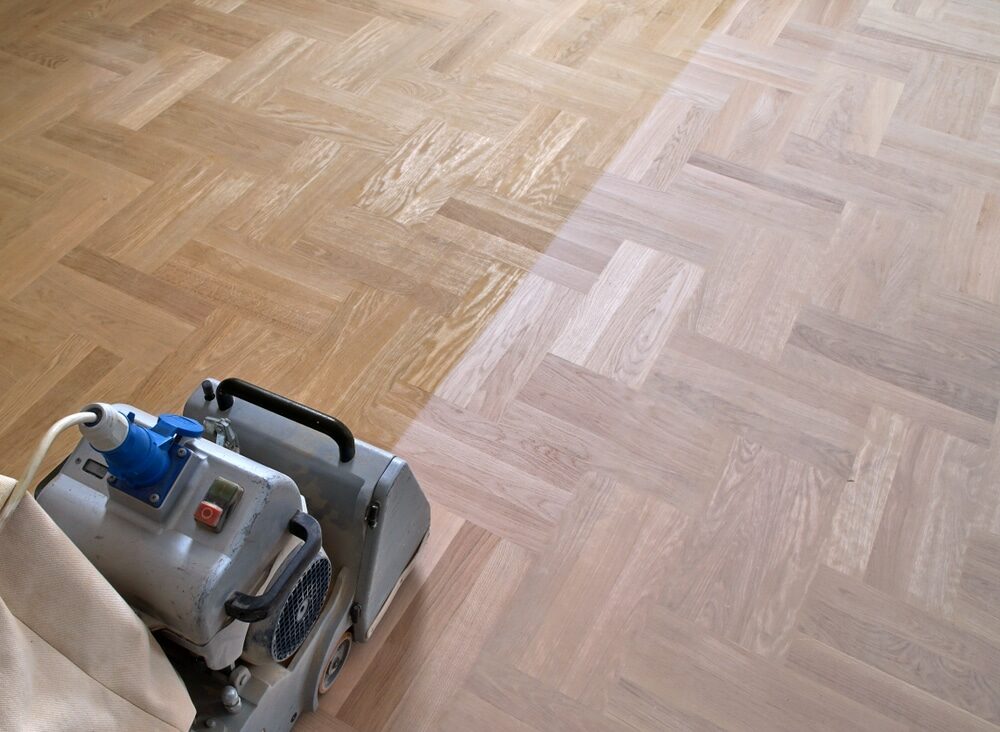
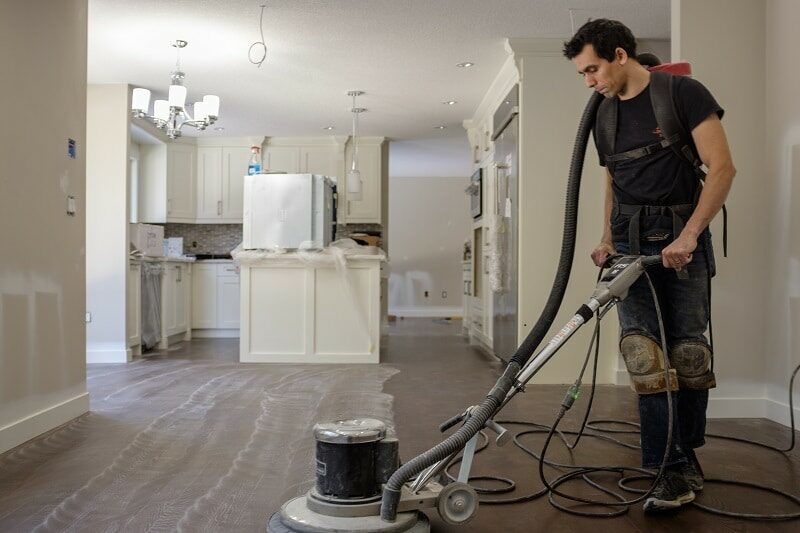
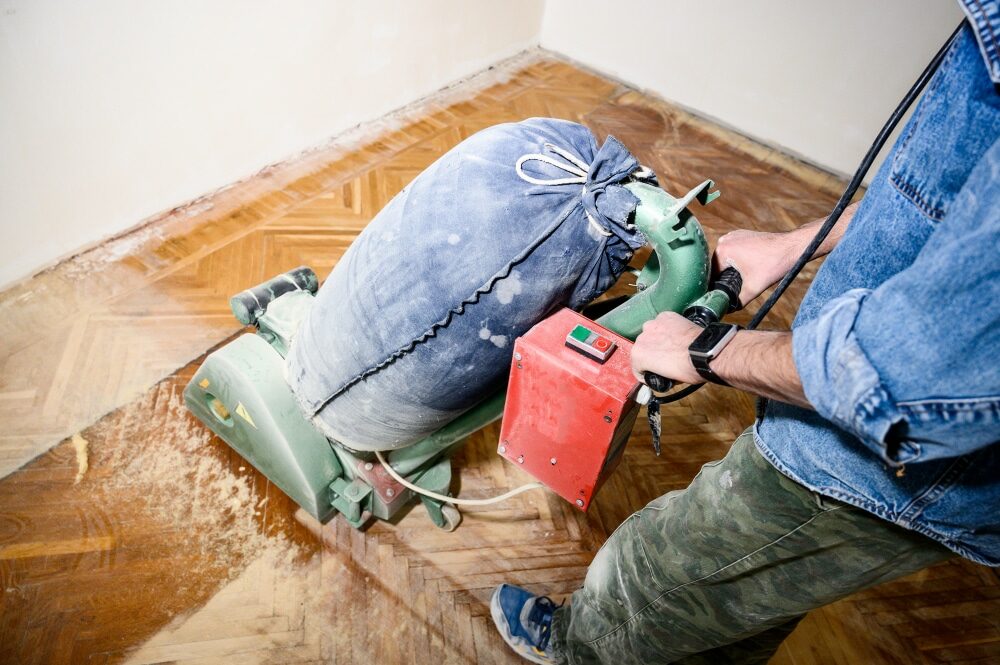
Start by choosing the appropriate sandpaper grit based on the condition of your floor. If your floor has deep scratches or a thick layer of old finish, start with a coarse grit (24 or 36 grit). If the floor is in better condition, you can begin with a medium grit (60 grit). Attach the chosen sandpaper to the drum or orbital sander, following the manufacturer’s instructions. Begin sanding in the direction of the wood grain, working your way across the room. Keep the sander moving at all times to avoid creating divots or uneven areas in the wood. When using a drum sander, start with a slow, steady pace and gradually increase speed as you become more comfortable with the machine. Hardwood Floor sanding using 10 inch belt sander.
  1. Edge Sanding

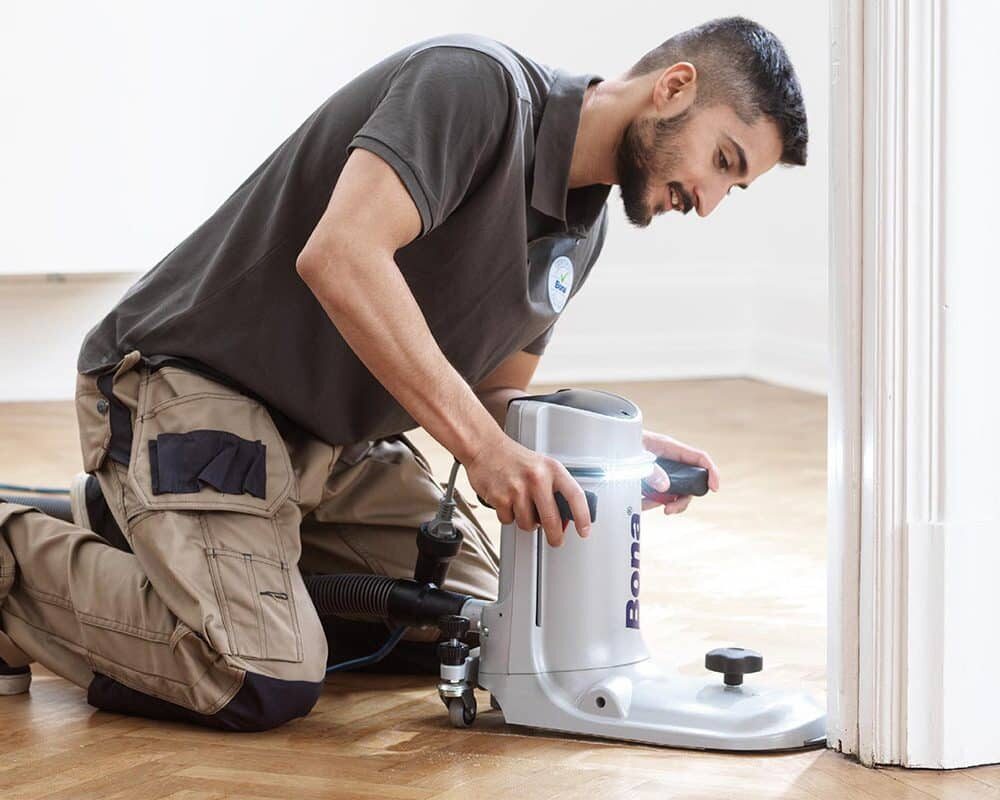
Once the main floor area has been sanded, switch to the edge sander to tackle the perimeter of the room. Use the same grit as you did with the drum or orbital sander and sand along the edges of the floor, blending the edge-sanded area with the rest of the floor. This step ensures a smooth, even finish across the entire floor surface. Edging with Bona Sander 180mm
  1. Repeat sanding with finer grits.

After completing the initial sanding, switch to a finer grit sandpaper (80 grit) and sand the entire floor again. This step helps to remove any remaining scratches or imperfections. Make sure to use the same technique as before, sanding in the direction of the wood grain and keeping the sander moving at all times. Repeat the edge sanding process with the finer grit as well.
Continue this process by sanding the floor with progressively finer grits of sandpaper (100 and then 120 grit). Each pass with finer grit will help create a smoother and more polished finish. Remember to sand the edges of the floor with the corresponding grit for each pass to maintain a consistent finish throughout.
  1. Hand Sanding

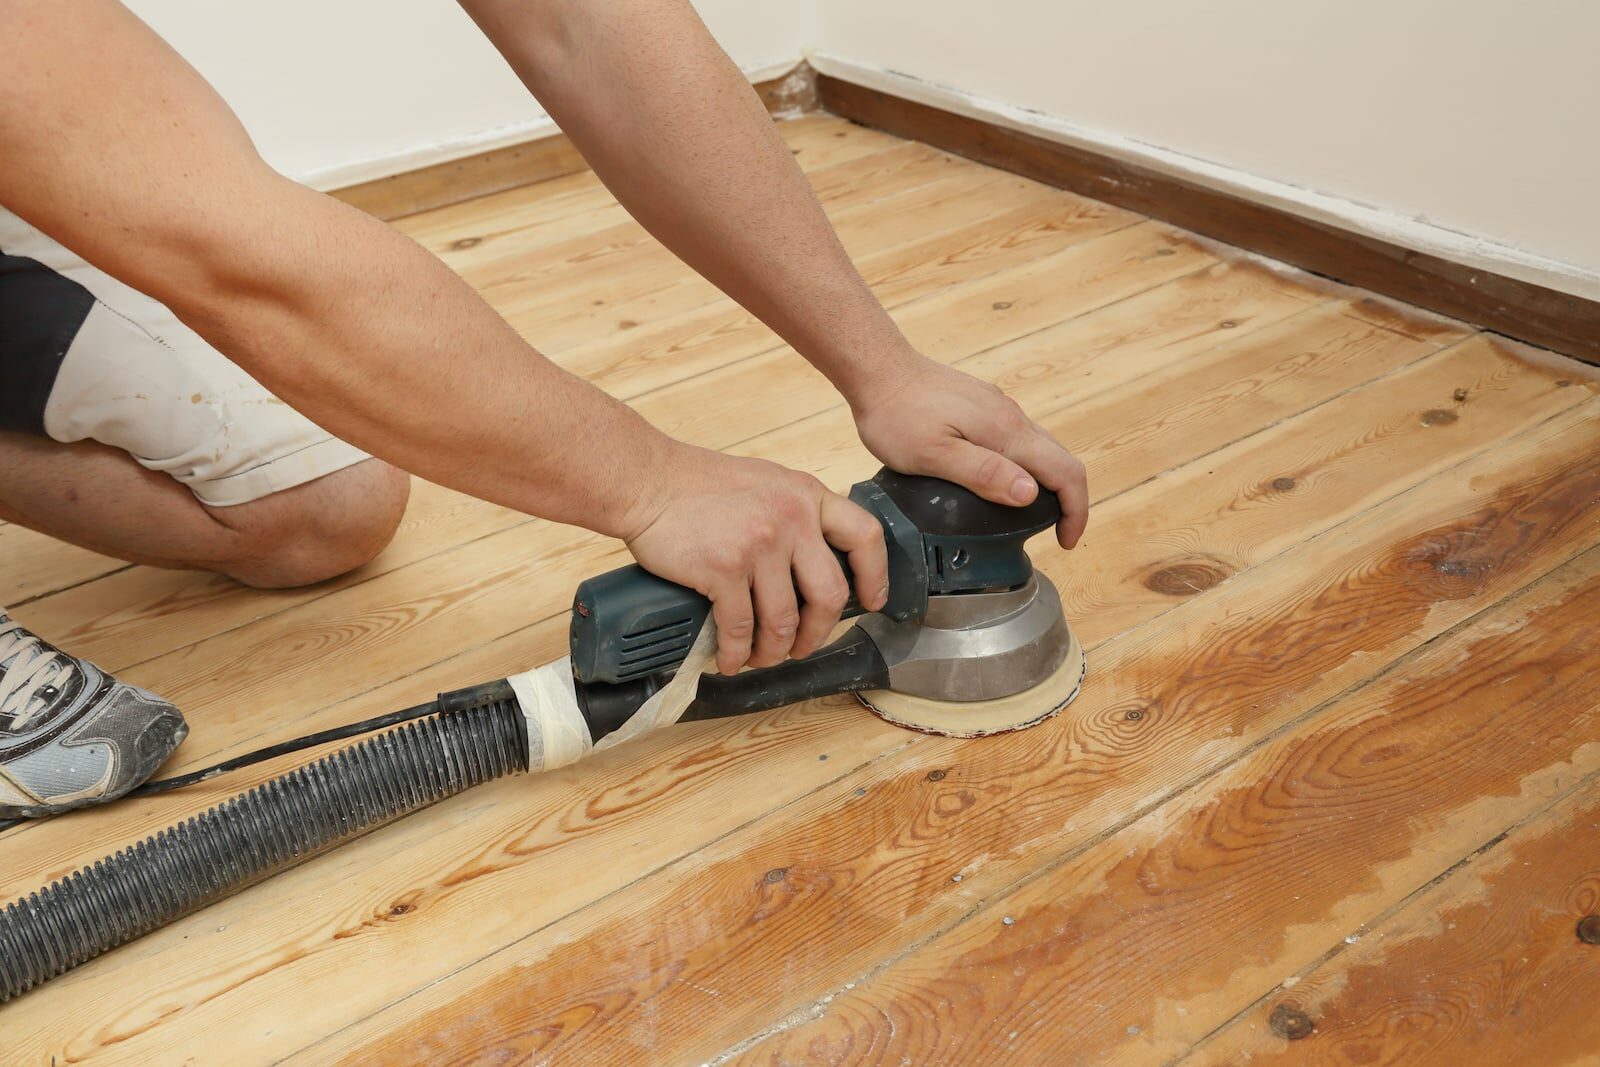
For corners, stairs, and other hard-to-reach areas that the drum, orbital, and edge sanders cannot reach, use a handheld sanding block with the same grit progression as the other sanders. This step ensures that all areas of the floor receive the same level of attention and finish. Hand sanding with Makita Orbital sander
  1. Cleaning and inspection

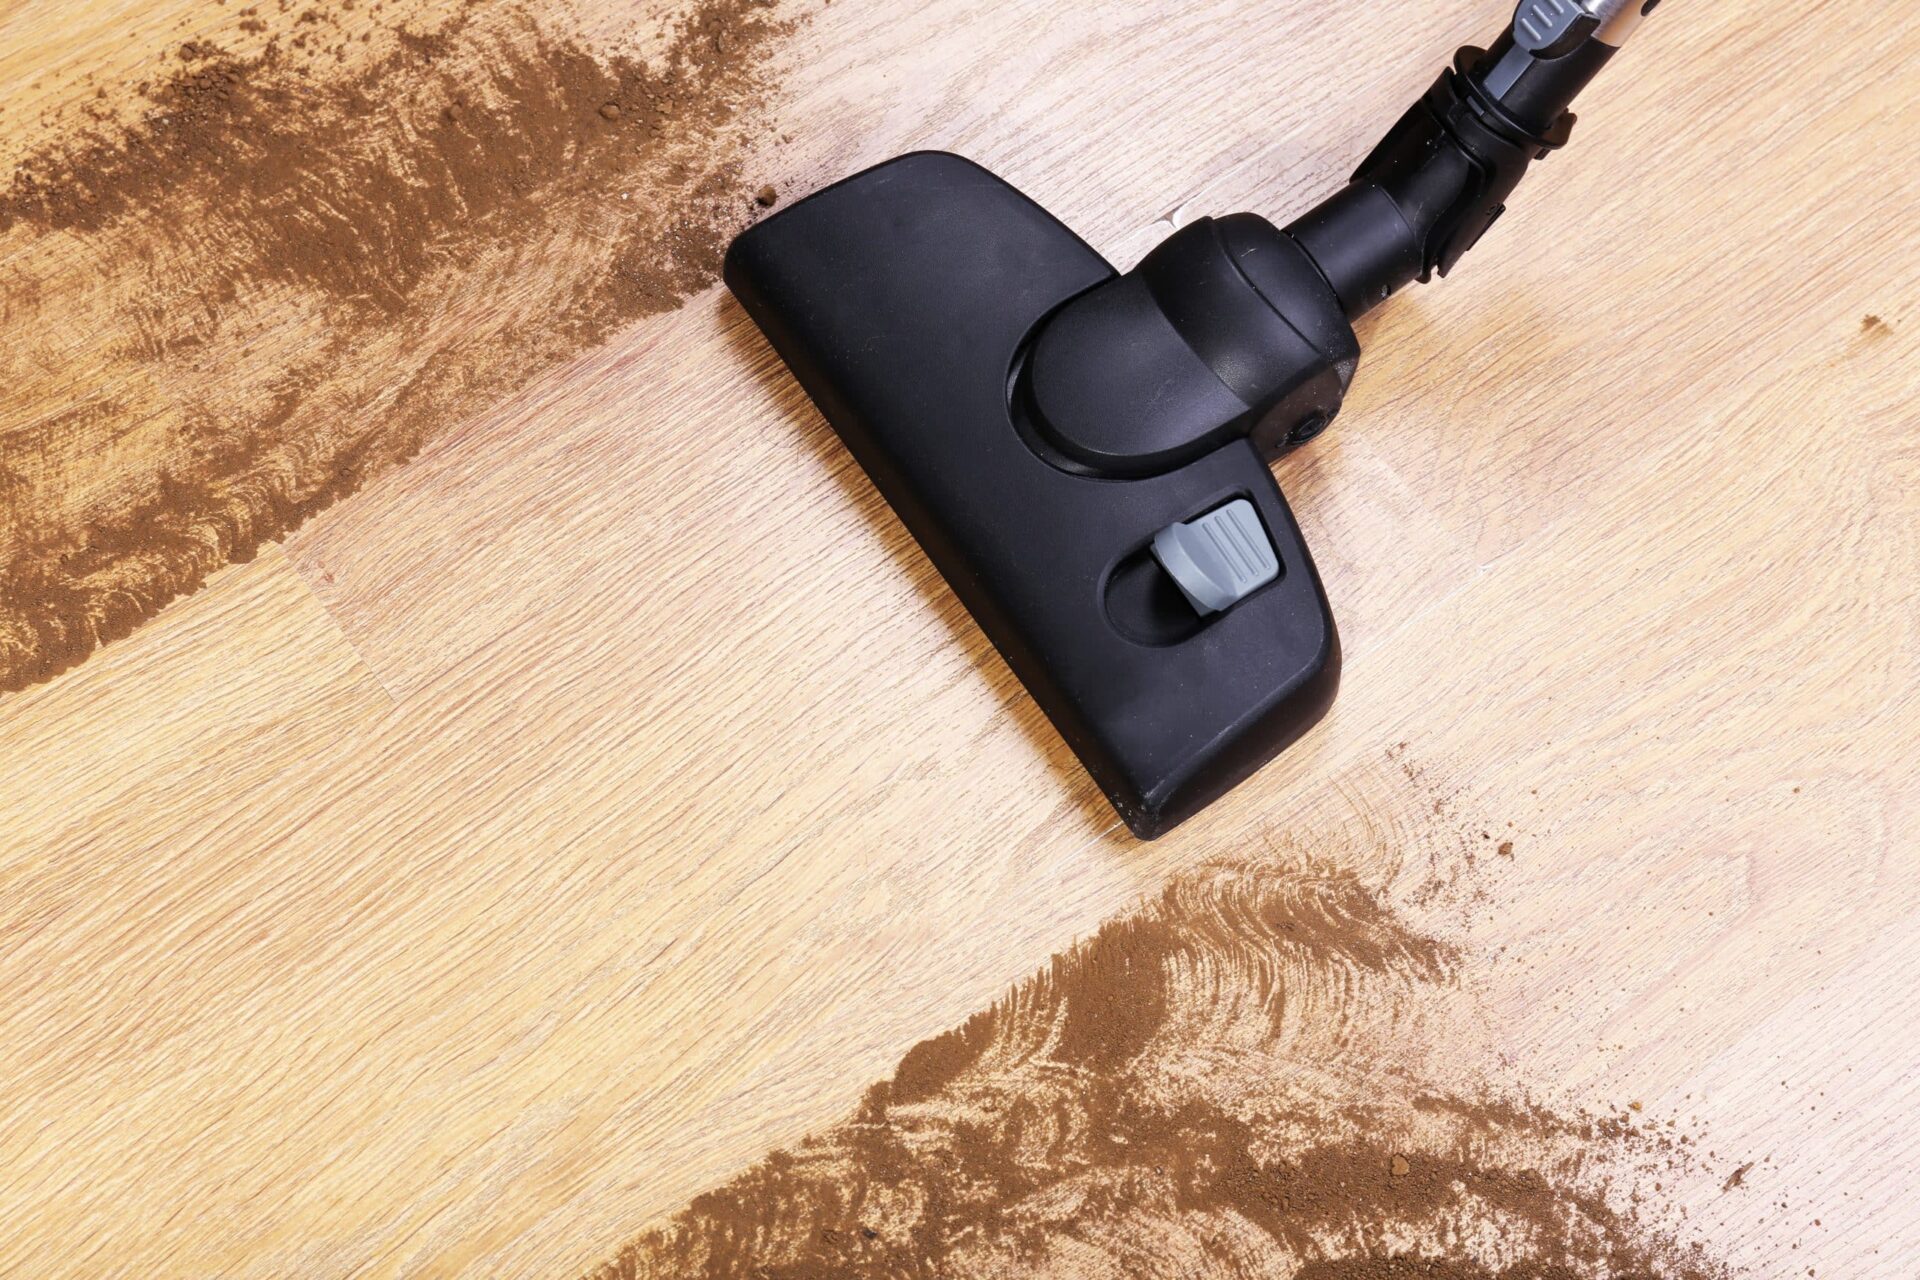
After completing the sanding process, thoroughly clean the floor with a vacuum cleaner or broom to remove all dust and debris. Inspect the floor for any remaining imperfections or missed spots. If necessary, hand sand any areas that need additional smoothing or touch-ups. Vacuum sawdust from wood floor
  1. Final Preparation

Before applying a new finish, it is essential to ensure that the floor is entirely clean and free of dust. Use a tack cloth or a damp cloth to remove any remaining fine dust particles. Allow the floor to dry completely before moving on to the next step.
  1. Applying the finish

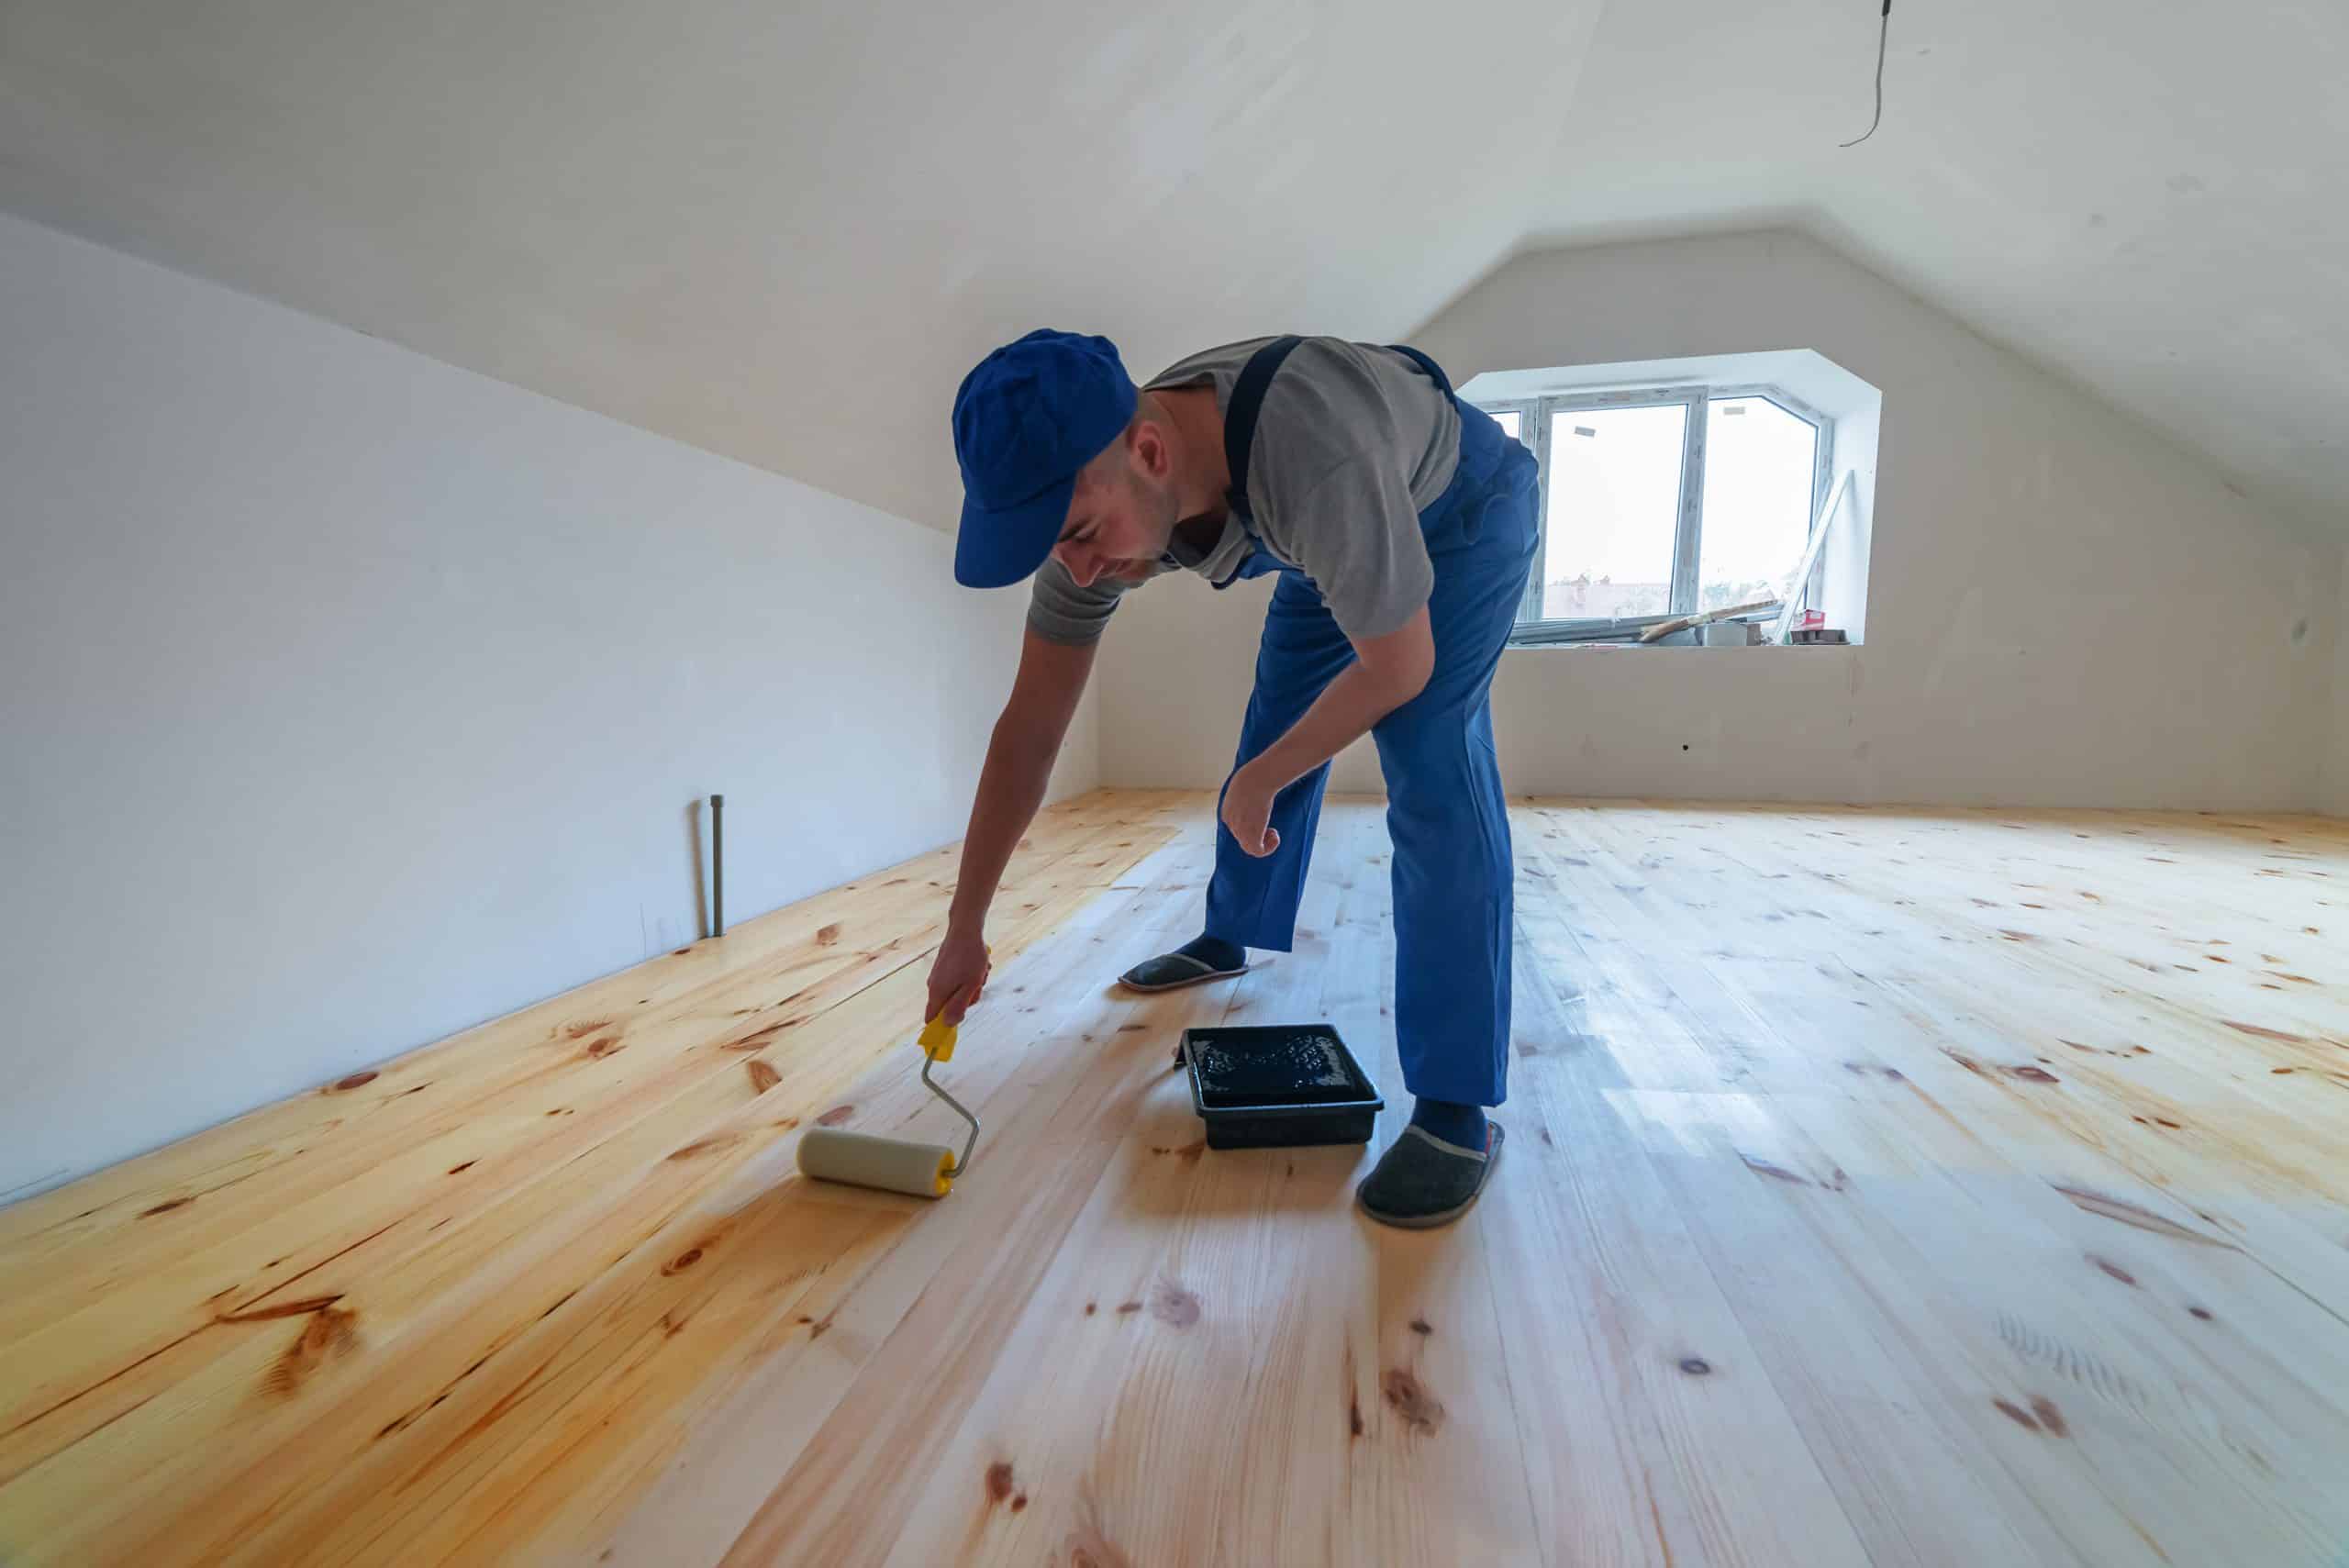
Now that your wood floorboards are sanded and prepped, you can apply a new finish to protect and enhance the wood’s natural beauty. Choose from a variety of finishes, such as polyurethane, varnish, or oil-based products, and follow the manufacturer’s instructions for application and drying times. Apply the finish evenly, working with the wood grain, and allow it to dry according to the recommended time. Application of wood flooring seal.

Final Thoughts

Sanding wood floorboards is a labour-intensive but rewarding process that can breathe new life into your wooden floors. By following the steps outlined in this blog post, you can achieve professional results and enjoy the satisfaction of a beautifully refinished wooden floor. In summary, the key steps in sanding wood floorboards are:
  1. Assess the condition of the floor.
  2. Gather the necessary tools and materials.
  3. Prepare the room.
  4. Repair the floor.
  5. Begin sanding
  6. Edge sanding
  7. Repeat sanding with finer grits.
  8. Hand sanding
  9. Cleaning and inspection
  10. Final preparation
  11. Applying the finish
With patience, attention to detail, and the right tools, you can transform your worn, dull floorboards into a stunning and revitalised surface that adds warmth and character to your home.

Some Useful Links:

More from our Blog:

10 Great Reasons for Choosing Wood Floor Sanding Companies | The Ultimate Guide 2023 Hardwood Flooring Trends: Unveiling the Latest Styles Sanding Wooden Floors – Increase the Value of Your Home  
Four cheerful customers holding up signs with the Mr. Sander logo and the text 'We give Mr. Sander 5 stars', showing their satisfaction with the service provided.
Floor Sanding Service

Sanding

We provide virtually dust-free sanding with our continuous belt machinery with mobile extraction units, giving you a safer environment for your family.

Floor Oiling Service

Oiling

This organic finish not only adds beauty to your home but also has exceptional water-repellent characteristics, making it easier to clean and maintain.

Floor Waxing Service

Waxing

This natural floor finish offers the softest and most mellow appearance – and leaves your floor able to breath.

Floor Buffing Service

Buffing

Using soft buffing machines (and hand-polishing where required) will bring a wonderful sheen to your newly-finished floor.

Wood Floor Repairs

Repairs

We offer a full assessment of your wooden floors to determine what repairs are needed to provide the perfect working surface for the later stages of sanding, staining and sealing. 

Floor Restoration Service

Restoration

We offer a comprehensive restoration process designed to address floors that are improperly fitted or damaged over time through wear and tear.

Request a fixed price quote for your wood floor restoration now

Simply enter your postcode below to get started.