London:
Nationwide:
25,000+
Floors Restored
27 Years Experience
Wood Flooring Association Certified
How to Make Every Sanding a Positive Experience
Posted on April 11, 2023
Blog

1. Understanding the Sanding Process
The first step in making every sanding project a positive experience is to understand the process itself. This includes knowing the purpose of sanding, the different techniques available, and the stages involved in achieving a smooth, even finish.Purpose of sanding
Sanding serves several purposes, including:- Removing old finishes, stains, and imperfections from the wood surface
- levelling uneven areas and smoothing out rough patches
- Preparing the wood for the application of new finishes, sealers, or stains
Sanding Techniques
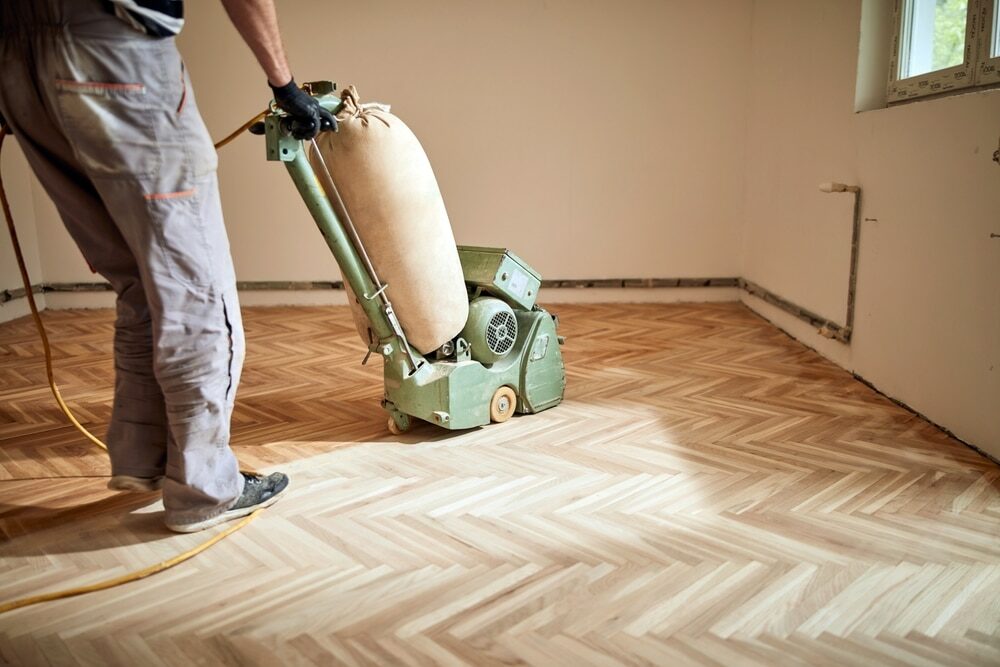
There are several sanding techniques that cater to different needs and preferences:- Drum sanding is a powerful technique that uses a drum sander for rapid material removal, making it ideal for large areas or severely damaged floors.
- Orbital sanding: A more gentle technique that uses an orbital sander for a smoother, swirl-free finish, suitable for less damaged floors or areas requiring a finer finish.
- Hand sanding is a manual technique that involves sanding by hand. It is ideal for small or delicate areas where precision is required.
Sanding Stages
The sanding process typically involves three stages:- Rough sanding: This method removes the majority of the old finish and levels the floor using coarse-grit sandpaper.
- Medium sanding: This technique smoothes the surface and refines the wood grain using medium-grit sandpaper.
- Fine sanding: Achieves a smooth, even finish using fine-grit sandpaper.
2. Selecting the Right Tools and Materials
A positive sanding experience relies heavily on the choice of tools and materials. The appropriate equipment will make the process more efficient and less labour-intensive, while high-quality materials will produce better results.Tools
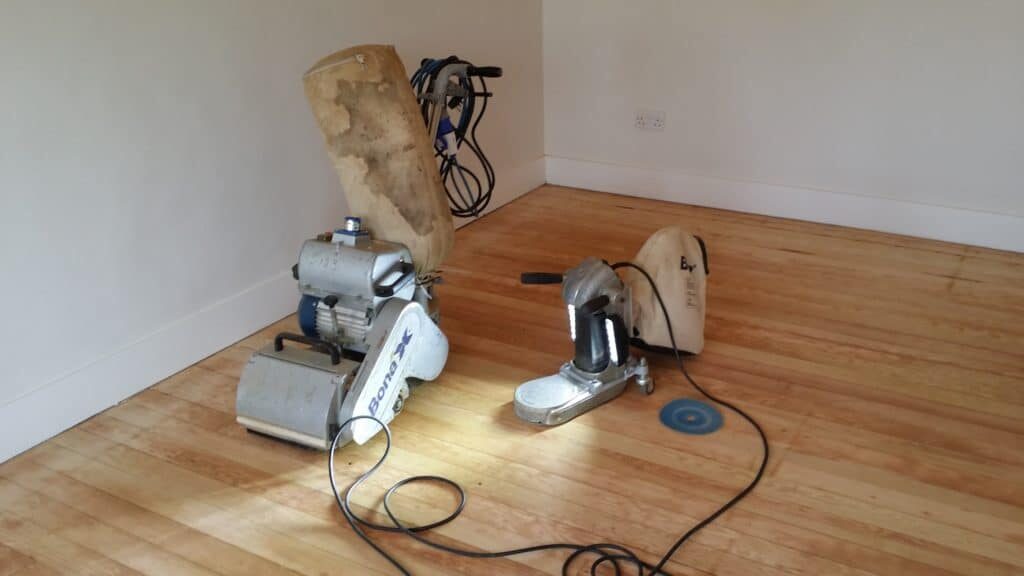
Some essential tools for a successful sanding project include:- Sanders: drum, orbital, or hand sanders, depending on the technique you choose.
- Edgers: For sanding edges and corners that are difficult to reach with larger sanders.
- Vacuum cleaner: a high-quality vacuum with a HEPA filter to remove dust and debris.
- Protective gear: dust masks or respirators, safety goggles, and gloves to ensure your safety
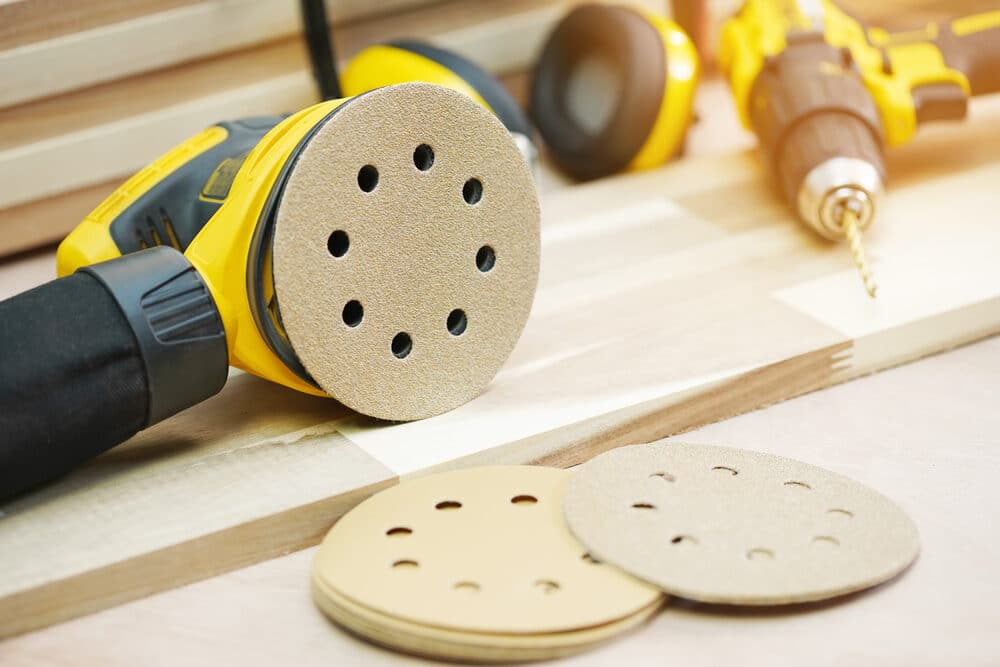
Materials
Selecting the right sandpaper and other materials is critical for achieving the desired finish.- Sandpaper: Choose the appropriate grit for each stage of the sanding process (coarse, medium, and fine).
- Finishes: Select a suitable finish, such as varnish, oil, or stain, based on your desired look and the wood’s characteristics.
- Applicators: brushes, rollers, or rags for applying the finish evenly and without streaks.
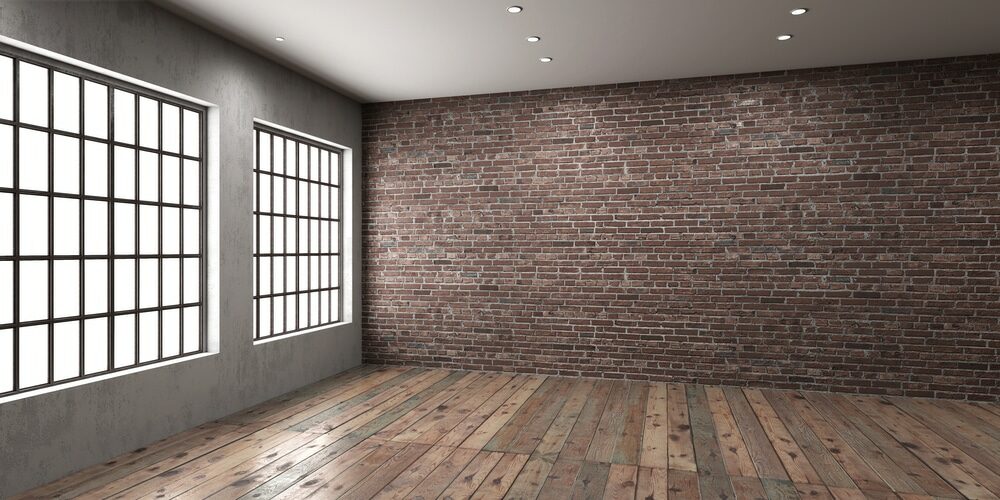
3. Preparing the Space
Proper preparation is crucial for a successful sanding project and a positive experience. This includes:- Clearing the room: Remove all furniture, decorations, and other items from the room to provide a clean and unobstructed workspace.
- Protecting fixtures: Cover any
- fixed or immovable items, such as built-in cabinets, baseboards, and doorframes, with plastic sheeting, masking tape, or painter’s tape to prevent damage during the sanding process.
- Inspecting the floor: thoroughly examine the floor for any loose nails, screws, or other debris that could damage the sanding equipment or cause an uneven finish. Repair any damaged or loose boards before sanding.
- Ventilation: Ensure adequate ventilation in the room by opening windows and doors. Proper airflow helps disperse dust and fumes, creating a healthier work environment.
4. Maintaining a Clean Work Environment
A clean and well-organised work environment is essential for a positive sanding experience. By managing dust and debris effectively, you can minimise health risks and protect your home from potential damage.Dust Management
Sanding generates a significant amount of dust, which can pose health risks and create a mess in your living space. Implement the following dust management strategies to maintain a clean work environment:- Use sanding equipment with built-in dust collection systems or attach a vacuum cleaner to the sander to capture dust directly at the source.
- Regularly clean the work area by vacuuming with a HEPA-filtered vacuum cleaner to remove dust and debris.
- Wear appropriate protective gear, such as dust masks or respirators, safety goggles, and gloves, to minimise the risk of inhaling dust or getting it in your eyes.
- Seal off air vents, HVAC systems, and doorways with plastic sheeting or drop cloths to prevent dust from spreading to other parts of your home.
Debris Disposal
Proper disposal of debris and waste materials is essential for maintaining a clean and safe work environment. Follow these guidelines for efficient debris disposal:- Collect debris, such as old sandpaper, dust, and wood shavings, in a designated waste container or heavy-duty trash bags.
- dispose of waste materials according to local regulations and guidelines to minimise environmental impact.
- Regularly empty the dust collection bag or vacuum cleaner to prevent overflow and maintain optimal performance.
5. Adopting a methodical approach
A methodical approach to the sanding process ensures that you achieve a consistent and high-quality finish while minimizing the risk of mistakes or damage to the floor.Plan your route
Before starting the sanding process, plan your route through the room. This will help you maintain a consistent pace and direction, preventing over- or under-sanding of certain areas.- Start sanding in the farthest corner of the room and work towards the doorway.
- Follow a consistent pattern, such as a back-and-forth or side-to-side motion, to ensure that you cover the entire floor surface evenly.
- Be mindful of your sanding speed and pressure, as moving too quickly or applying excessive pressure can result in an uneven finish or damage to the floor.
Monitor Your Progress
Regularly check your progress to ensure that you are achieving the desired result.- Inspect the floor after each sanding stage to verify that the old finish has been removed and the surface is level and smooth.
- Make any necessary adjustments to your sanding technique, equipment, or materials based on your observations.
- Finishing Touches
- Clean the floor thoroughly to remove any remaining dust and debris.
- Apply your chosen finish, sealer, or stain according to the manufacturer’s instructions, using the appropriate applicators.
- Allow the finish to dry completely before moving furniture back into the room or walking on the floor.
Some Useful Links:
- Stairs Sanding & Refinishing
- Wooden Floor Sealing & Varnishing
- Wood Floor Buffing
- Dust Free Floor Sanding Services
- Stairs Sanding & Refinishing
- School Floor Sanding Contractors
Conclusion
By understanding the sanding process, selecting the right tools and materials, preparing the space, maintaining a clean work environment, adopting a methodical approach, and applying the finishing touches, you can transform every sanding project into a positive experience. This comprehensive guide offers insights and practical tips to help you tackle any sanding project with confidence and ease. By following these steps and focusing on safety, cleanliness, and attention to detail, you will not only achieve professional-quality results but also enjoy a sense of accomplishment and satisfaction in restoring the beauty and durability of your wooden floors. Embrace the sanding process as an opportunity for growth and learning, and revel in the timeless elegance of your revitalised floors for years to come.

Sanding
We provide virtually dust-free sanding with our continuous belt machinery with mobile extraction units, giving you a safer environment for your family.
Oiling
This organic finish not only adds beauty to your home but also has exceptional water-repellent characteristics, making it easier to clean and maintain.
Waxing
This natural floor finish offers the softest and most mellow appearance – and leaves your floor able to breath.
Buffing
Using soft buffing machines (and hand-polishing where required) will bring a wonderful sheen to your newly-finished floor.
Repairs
We offer a full assessment of your wooden floors to determine what repairs are needed to provide the perfect working surface for the later stages of sanding, staining and sealing.
Restoration
We offer a comprehensive restoration process designed to address floors that are improperly fitted or damaged over time through wear and tear.
Request a fixed price quote for your wood floor restoration now
Simply enter your postcode below to get started.
Services
Wood Floor Sanding Wood Floor Restoration Wood Floor Scratch Repair Squeaky Wood Floor Repair Parquet Floor Sanding Parquet Floor Restoration Commercial Floor Sanding Church Floor Sanding Community Centre Floor Sanding School Floor Sanding Gap Filling Gap Filling with ResinCopyright © Mr Sander®
Privacy & Cookies Terms & Conditions Complaints Procedure Cancellation Rights Sitemap

Get An Instant Price Estimate Before You Go…
Simply enter the rooms you need sanded and we’ll provide you with a price estimate instantly! Try our price calculator now.
Get a Price Estimate NowLocal Floor Sanding Experts
Over 500 5-Star Reviews
Safe, Dust Free Sanding
Operating Since 1994