London:
Nationwide:
25,000+
Floors Restored
27 Years Experience
Wood Flooring Association Certified
Mastering Hardwood Floor Sanding: Wood Mr Sander® London
Posted on May 29, 2023
Blog
The Ultimate Guide to Hardwood Floor Sanding
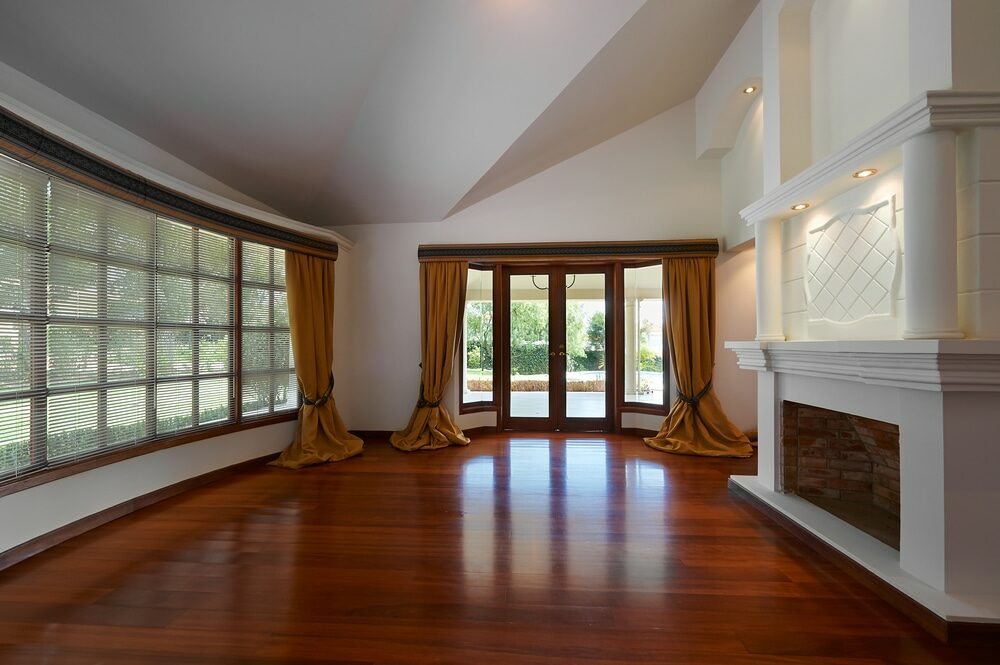
If you have hardwood floors in your home, you’re aware of their natural beauty, warmth, and timeless appeal. They add a touch of elegance to any room and can last for generations when properly maintained. One crucial maintenance task is sanding, a procedure that restores old and worn-out hardwood floors to their former glory. In this comprehensive 4000-word blog post, we’ll delve into the world of hardwood floor sanding, guiding you through the process, offering tips, and explaining the vital tools needed.
What is hardwood floor sanding?
Hardwood floor sanding is the process of removing the top surface of a wooden floor using abrasive materials. Over time, hardwood floors lose their shine due to wear and tear from foot traffic, furniture movement, and minor accidents like spills or scratches. The sanding process gets rid of these imperfections, revealing a fresh layer of wood underneath. This newly exposed layer can then be refinished or re-stained to look brand new, extending the life of your floors.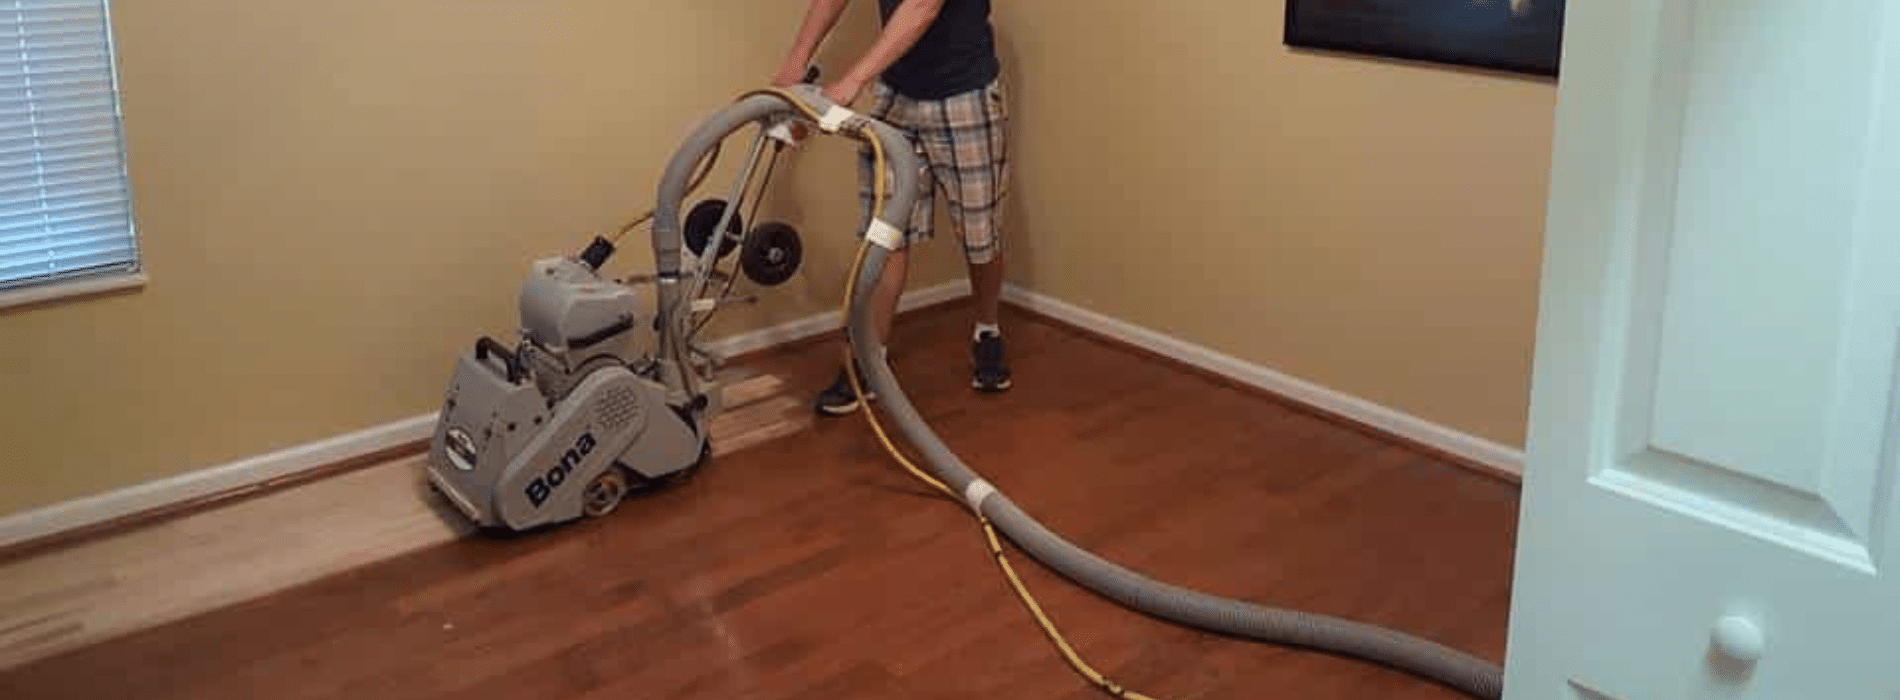
Why should you consider floor sanding?
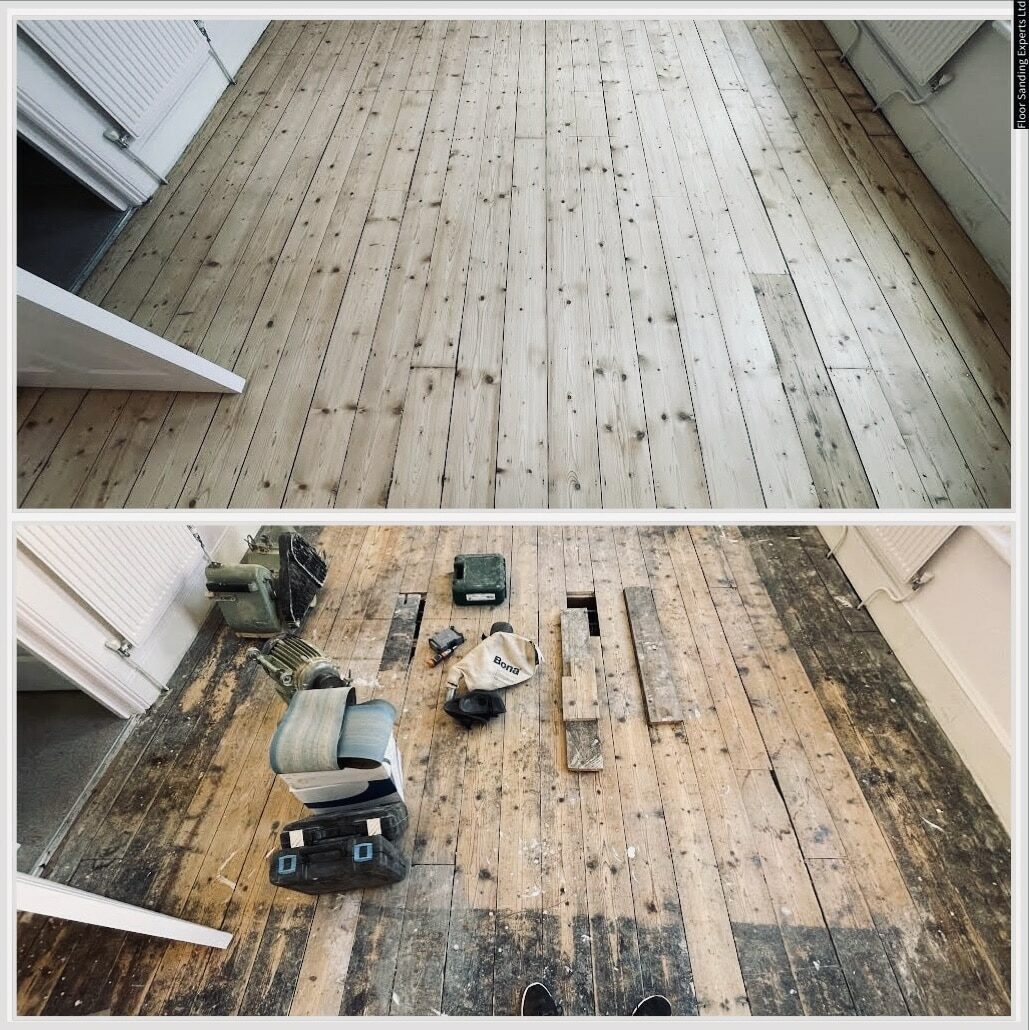
There are several reasons why you might need to sand your hardwood floors. They include:- Restoring Aged and Worn-Out Floors: This is the most common reason homeowners decide to sand their floors. Sanding removes the old finish and the top layer of the wood, revealing a fresh surface beneath.
- Eliminating Deep Scratches and Stains: These are often too embedded to be removed by regular cleaning. Sanding can take off enough wood to eliminate these blemishes completely.
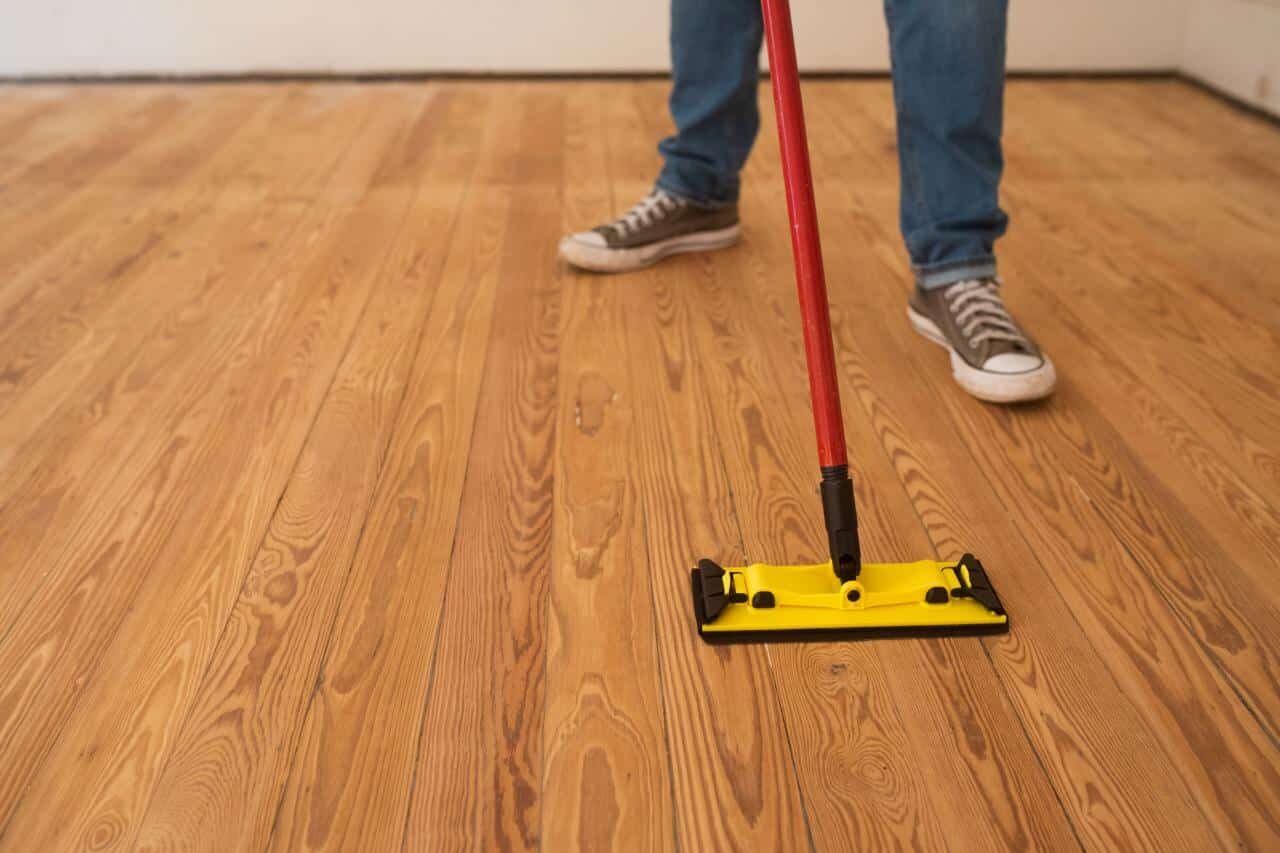
- Preparing for Refinishing: If you’re planning on refinishing or re-staining your hardwood floor, sanding is a prerequisite. It provides a clean, smooth surface for the new finish to adhere to.
- Levelling the Floor: Over time, some boards may rise or sink, creating an uneven surface. Sanding can help level out these boards, providing a flat, even surface.
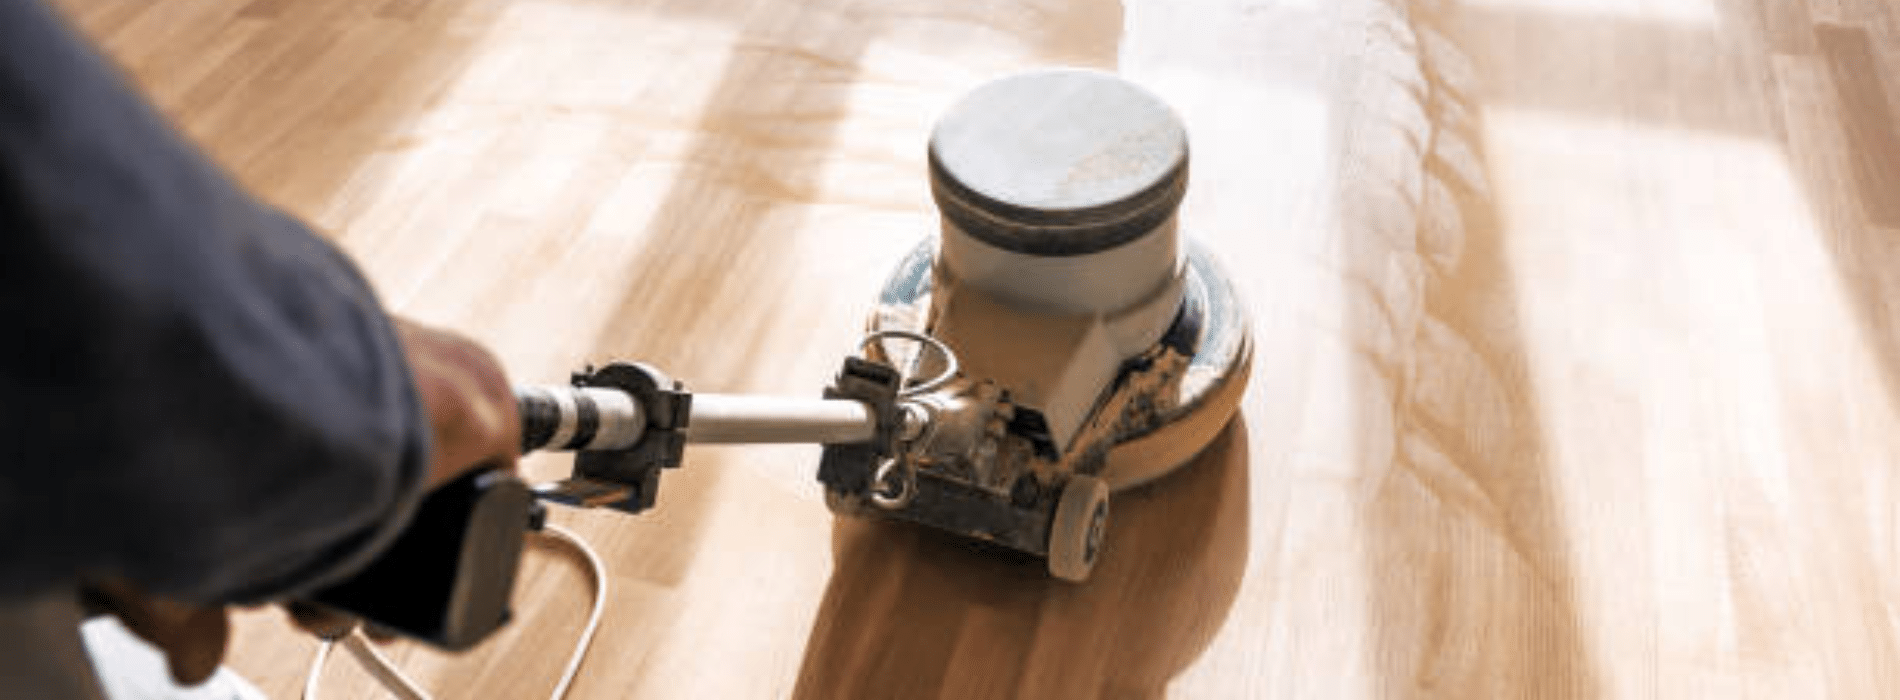
The process of hardwood floor sanding
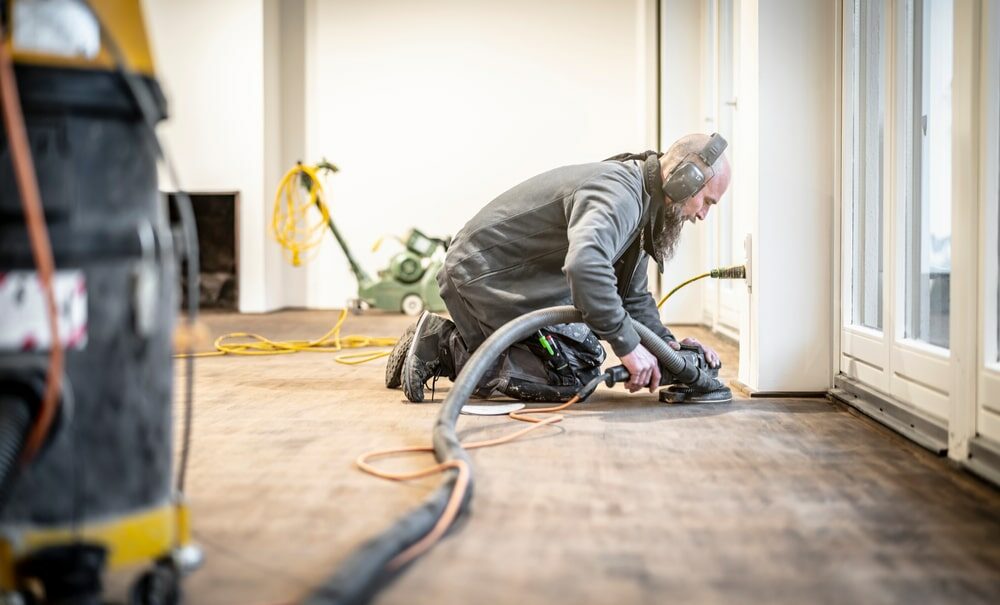
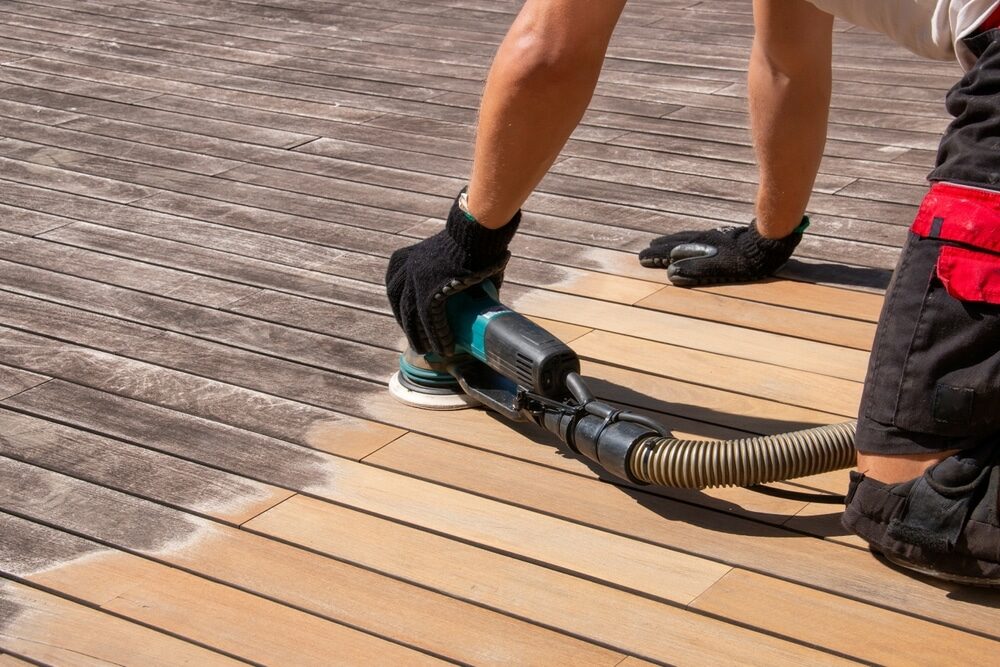
Hardwood floor sanding can be broken down into a series of steps, each of which plays a critical role in achieving a smooth, beautiful floor. Let’s take a closer look at each step.- Preparation: Before you start sanding, it’s essential to prepare the room and the floor. Remove all furniture and any other items from the room. You should also look for any protruding nails in the floorboards and either remove them or hammer them below the surface. Make sure to clean the floor thoroughly to remove dust and debris.
- Choosing the Right Sander: There are various types of floor sanders available, including drum sanders, orbital sanders, and edging sanders. Each has its strengths and is suited to different parts of the sanding process. The drum sander is powerful and efficient for sanding large areas; the orbital sander is great for finer sanding and smoothing; and the edging sander is perfect for getting into corners and along edges.
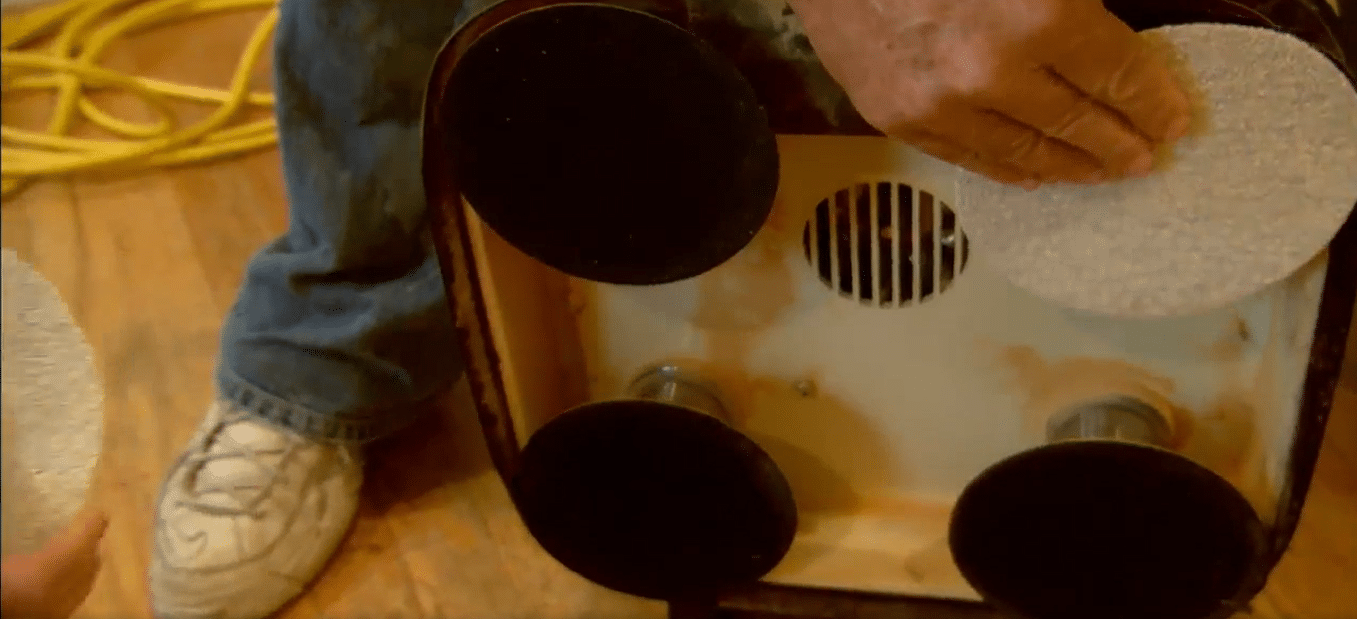
- Starting with Coarse-Grit Sandpaper: The first sanding pass should be done with coarse-grit sandpaper. This will remove the old finish and any significant damage or imperfections.
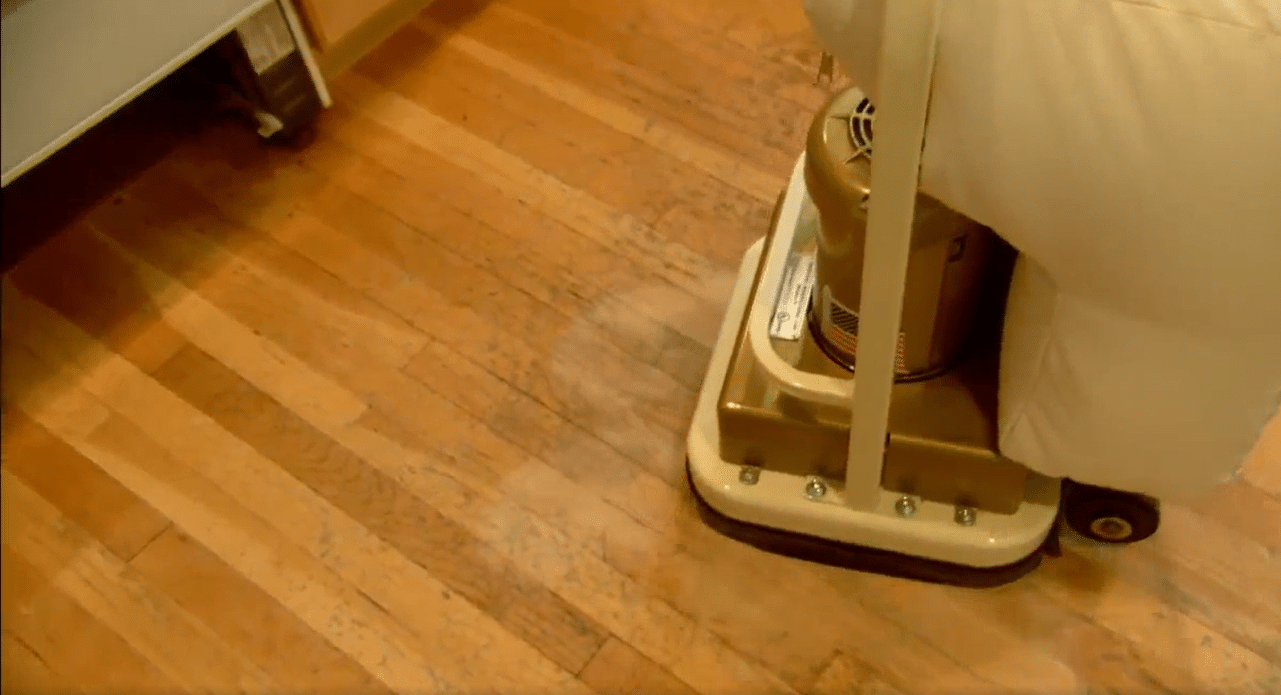
- Medium and Fine-Grit Sandpaper: After the initial pass, you’ll switch to medium-grit sandpaper to remove any scratches caused by the coarse grit. Finally, you’ll use fine-grit sandpaper to smooth the floor and prepare it for the finish.
- Sanding the Edges: Using the edging sander, go around the room and sand any areas that the drum sander couldn’t reach.
- Final Inspection and Touch-Ups: After completing the main sanding process, carefully inspect the entire floor for any missed spots or imperfections. Touch up these areas as needed, ensuring a smooth, even surface throughout.
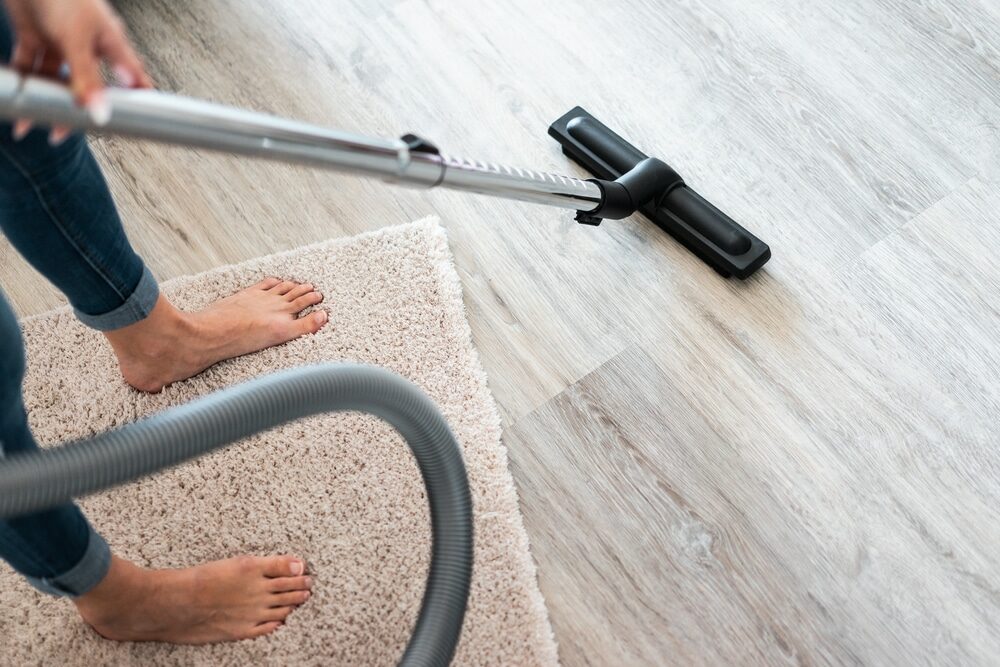
- Cleaning: Once you’re satisfied with your sanding job, it’s time to clean again. It’s critical to remove all the dust and debris from sanding before you move on to refinishing.

Tips and Tricks for Effective Sanding
Sanding hardwood floors isn’t a small job, and it comes with its share of challenges. Here are some tips and tricks to make the process more manageable and efficient:- Work in the direction of the wood grain. This helps to avoid scratches and allows for a smoother finish.
- Keep the sander moving: Keeping the sander in one place for too long can result in uneven surfaces and deep gouges.
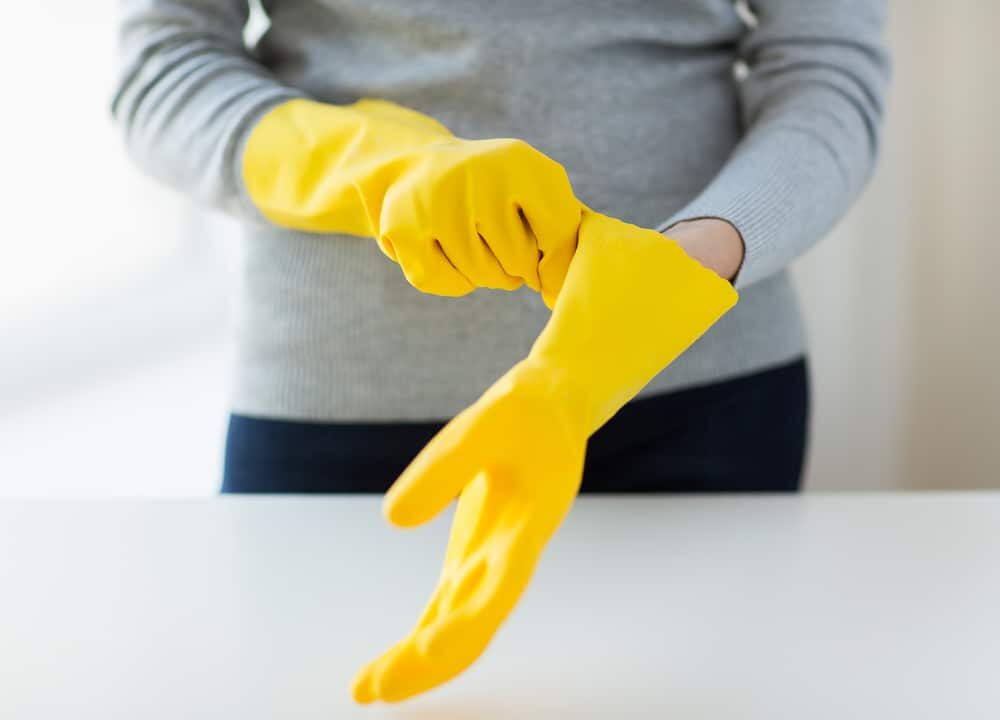
- Wear protective gear. Sanding can kick up a lot of dust, which can be harmful if inhaled. Always wear a dust mask and safety glasses when sanding.
- Patience is key. Don’t rush the process. It’s better to go slowly and make multiple light passes than to try to remove too much at once.
The Tools of the Trade
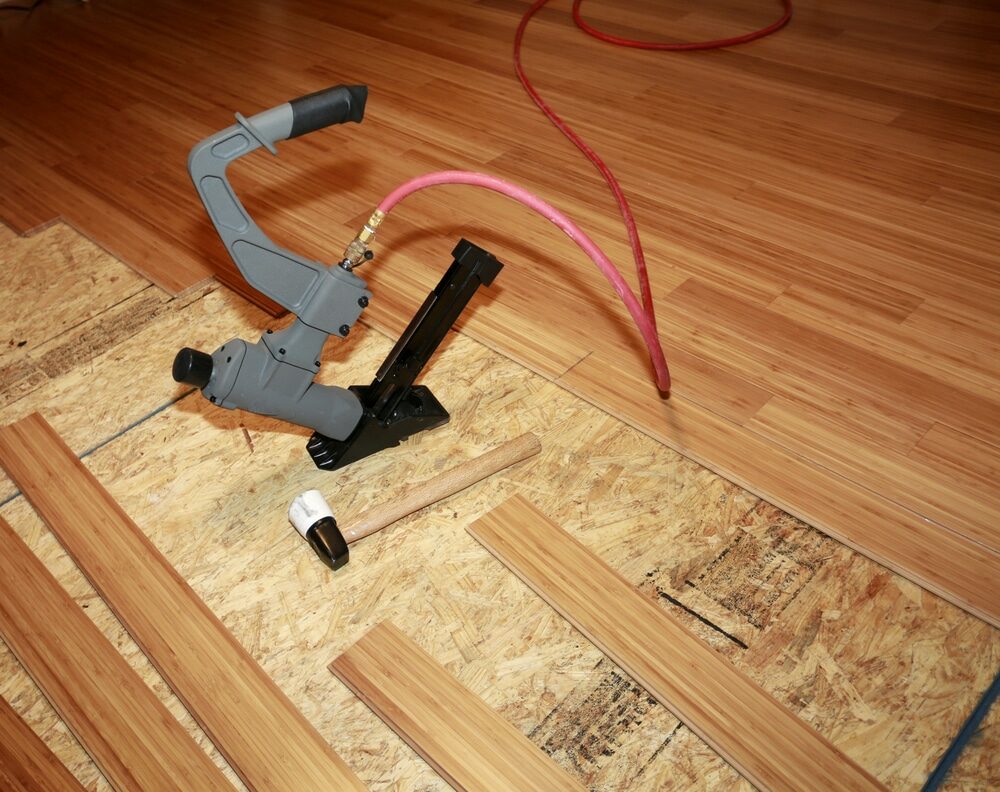
Understanding the tools involved in floor sanding will help ensure a smooth process. The essential tools and materials include:- Floor Sander: This is the workhorse of the process. As mentioned before, there are different types for different stages of the process and parts of the room.
- Sandpaper: It comes in various grits, from coarse to fine. You’ll need a range of sandpaper grits to smoothly transition through the sanding stages.
- Hammer and Nail Set: These are used to deal with any protruding nails in the floorboards.
- Ear Protection, Dust Masks, and Safety Goggles: These provide necessary protection from noise and dust.
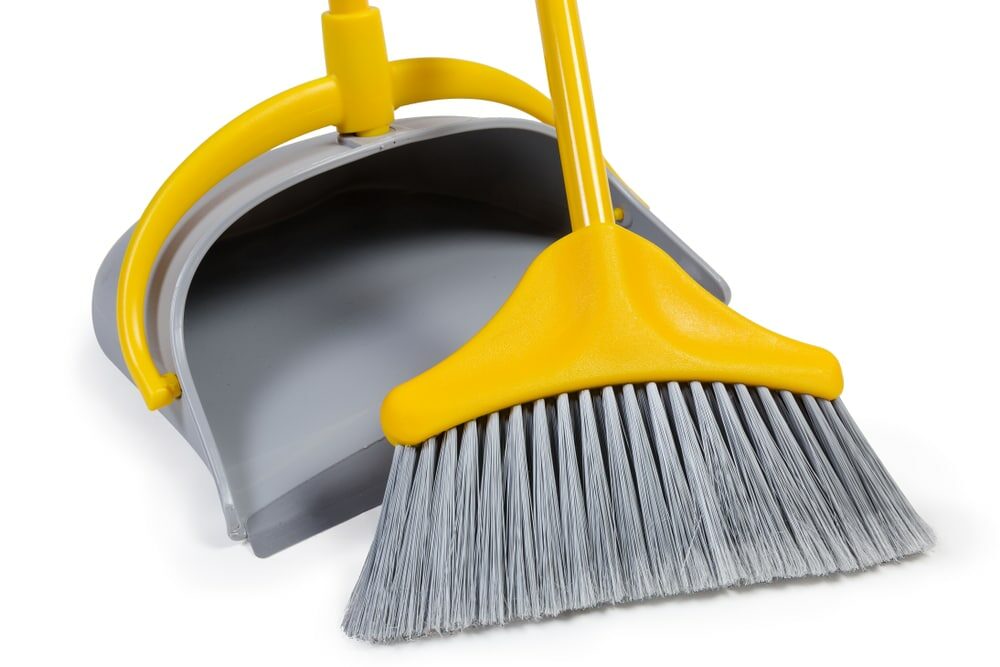
- Vacuum cleaner or broom: essential for cleaning up dust and debris after sanding.
- Knee Pads: Since much of the work involves being on your knees, these can provide much-needed comfort.

Should you DIY or hire a professional?
Whether to sand your floors yourself or hire a professional depends on several factors. If you’re comfortable handling power tools, have the time, and are up for some hard work, then a DIY project could be a rewarding one. It’s also generally cheaper than hiring professionals. However, if you’re not confident in your ability to do the job or if your floors have significant damage, it might be better to hire a professional. Professionals have the experience and know-how to handle unexpected problems, and they’ll likely get the job done more quickly and efficiently than you could on your own.
Conclusion
In the grand scheme of home improvement, hardwood floor sanding is a process that can completely transform the look of your living space. It breathes new life into worn-out hardwood floors, revealing their underlying beauty and adding value to your home. Whether you decide to take the DIY route or hire a professional, understanding the process and the tools involved is crucial to a successful project. In the end, the satisfaction of stepping onto a beautifully restored hardwood floor is well worth the effort.Some Useful Links:
- Floor Sanding Services
- School Floor Sanding
- Wood Floor Restorations
- Wood Floor Repairs
- Wood Floor Polishing
More from our Blog:
Restore Your Hardwood Floor with a Floor Sanding Expert Company in London Protect your Hardwood Flooring with Mr Sander® Restore and Refinish Parquet Flooring: Revive Your Old Charm With Mr Sander® Unveiling the Beauty of Your Wood Floor in Your London Home | Mr Sander® Winter Care for Wood Flooring: Top DIY Scratch & Scrape Solutions Repair Solid Wood Flooring: DIY Guide for Success | Mr Sander®
Sanding
We provide virtually dust-free sanding with our continuous belt machinery with mobile extraction units, giving you a safer environment for your family.
Oiling
This organic finish not only adds beauty to your home but also has exceptional water-repellent characteristics, making it easier to clean and maintain.
Waxing
This natural floor finish offers the softest and most mellow appearance – and leaves your floor able to breath.
Buffing
Using soft buffing machines (and hand-polishing where required) will bring a wonderful sheen to your newly-finished floor.
Repairs
We offer a full assessment of your wooden floors to determine what repairs are needed to provide the perfect working surface for the later stages of sanding, staining and sealing.
Restoration
We offer a comprehensive restoration process designed to address floors that are improperly fitted or damaged over time through wear and tear.
Request a fixed price quote for your wood floor restoration now
Simply enter your postcode below to get started.
Services
Wood Floor Sanding Wood Floor Restoration Wood Floor Scratch Repair Squeaky Wood Floor Repair Parquet Floor Sanding Parquet Floor Restoration Commercial Floor Sanding Church Floor Sanding Community Centre Floor Sanding School Floor Sanding Gap Filling Gap Filling with ResinCopyright © Mr Sander®
Privacy & Cookies Terms & Conditions Complaints Procedure Cancellation Rights Sitemap

Get An Instant Price Estimate Before You Go…
Simply enter the rooms you need sanded and we’ll provide you with a price estimate instantly! Try our price calculator now.
Get a Price Estimate NowLocal Floor Sanding Experts
Over 500 5-Star Reviews
Safe, Dust Free Sanding
Operating Since 1994