London:
Nationwide:
25,000+
Floors Restored
27 Years Experience
Wood Flooring Association Certified
The Art of Sanding Floorboards in London: Top Rules & Expert Tips
Posted on April 26, 2023
Blog
Master the Art of Sanding Floorboards in London: Top Rules and Expert Tips
London is a city with a rich architectural heritage, and many of its homes feature stunning wooden floorboards. Sanding these floorboards can breathe new life into a tired room, but it’s crucial to follow the proper guidelines to achieve the best results. In this 3000-word blog post, we’ll discuss the top rules to consider when sanding floorboards in London, including proper techniques, essential tools, and safety precautions.
-
Assess the condition of your floorboards.
Before you start sanding your floorboards, it’s essential to assess their condition. Check for signs of rot, insect infestations, or significant damage. You may need to repair or replace damaged boards before you can begin sanding. If you’re unsure about the condition of your floorboards, it’s wise to consult a professional for advice.
-
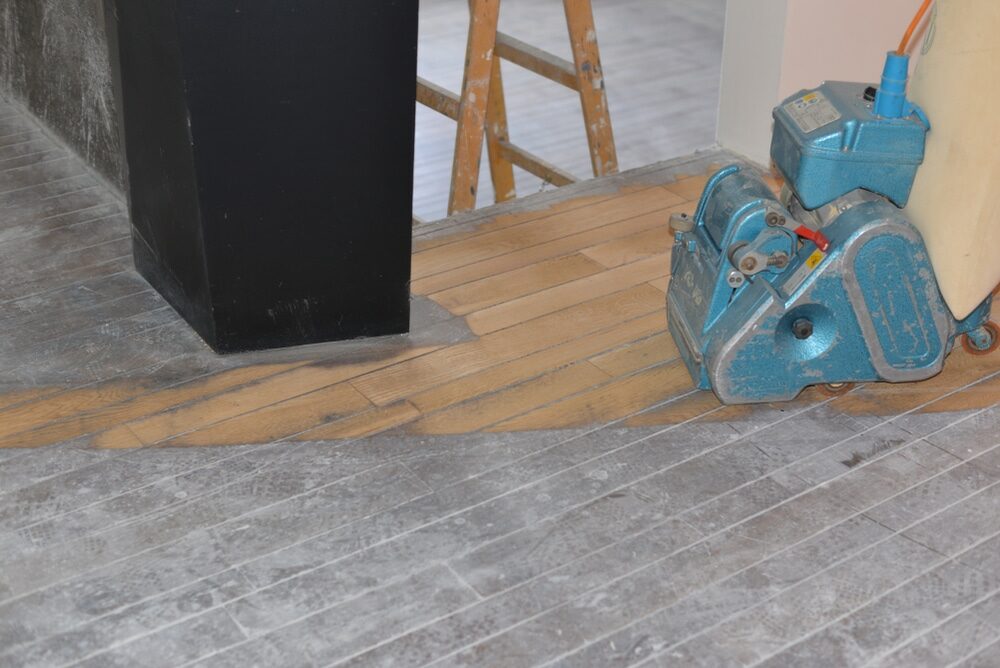
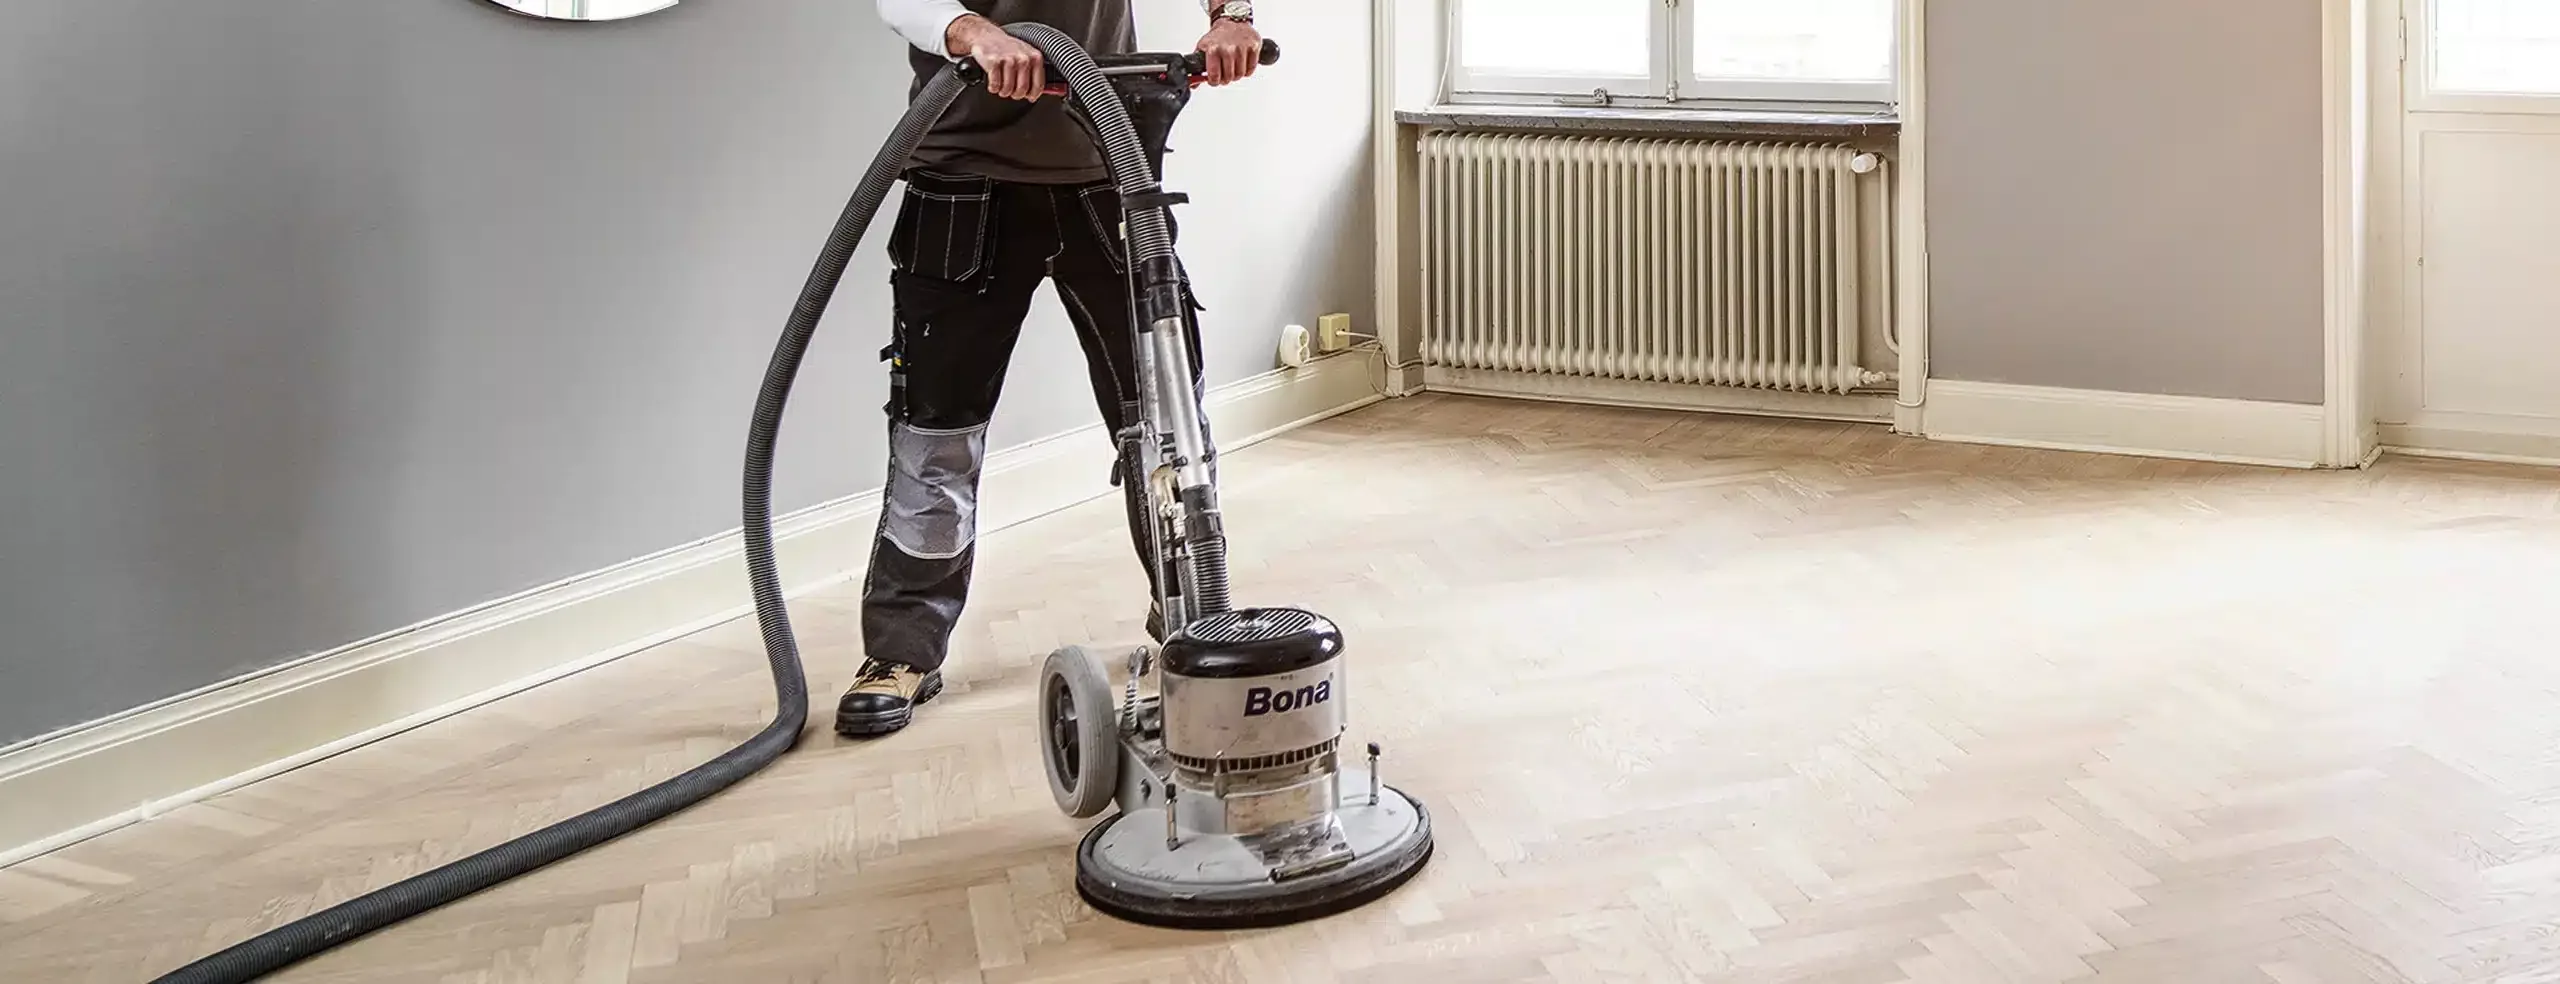
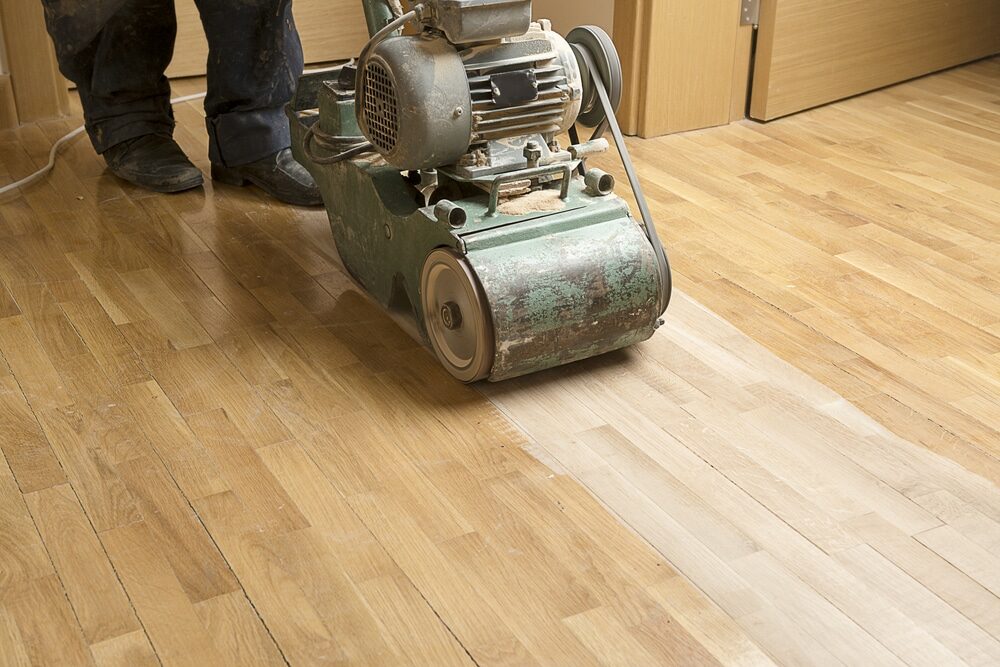
Choose the right sanding equipment.
Choosing the right sanding equipment is crucial to achieving a smooth and consistent finish. For most floorboards, a drum sander is the best choice. This powerful machine can quickly remove old finishes and level out uneven surfaces. However, if you’re working with delicate or parquet floors, an orbital sander is a better option, as it’s less aggressive and reduces the risk of damage.

-
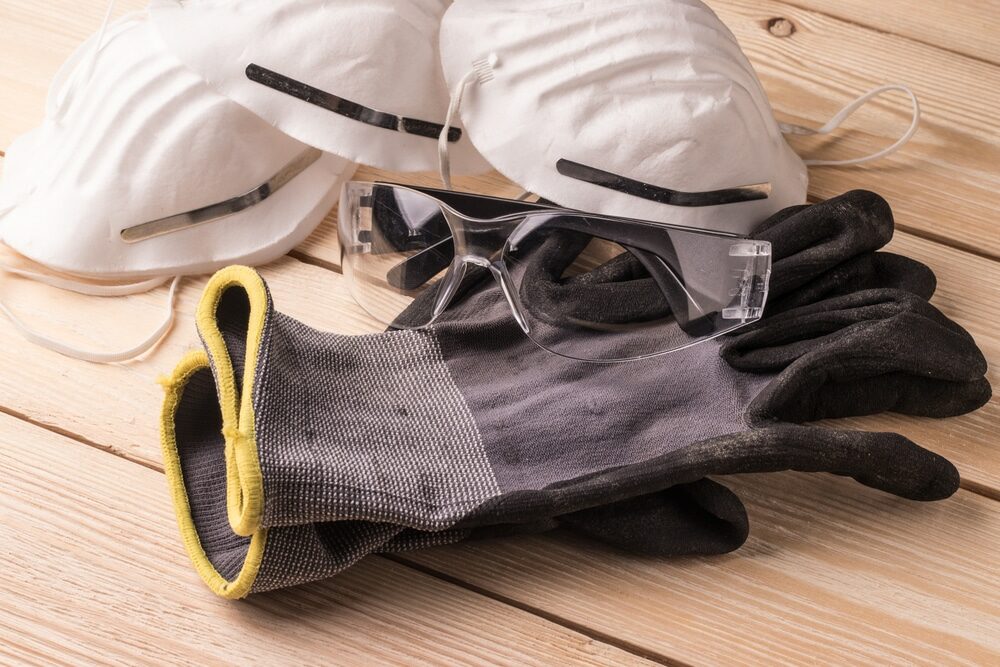
Prepare the room and protect yourself.
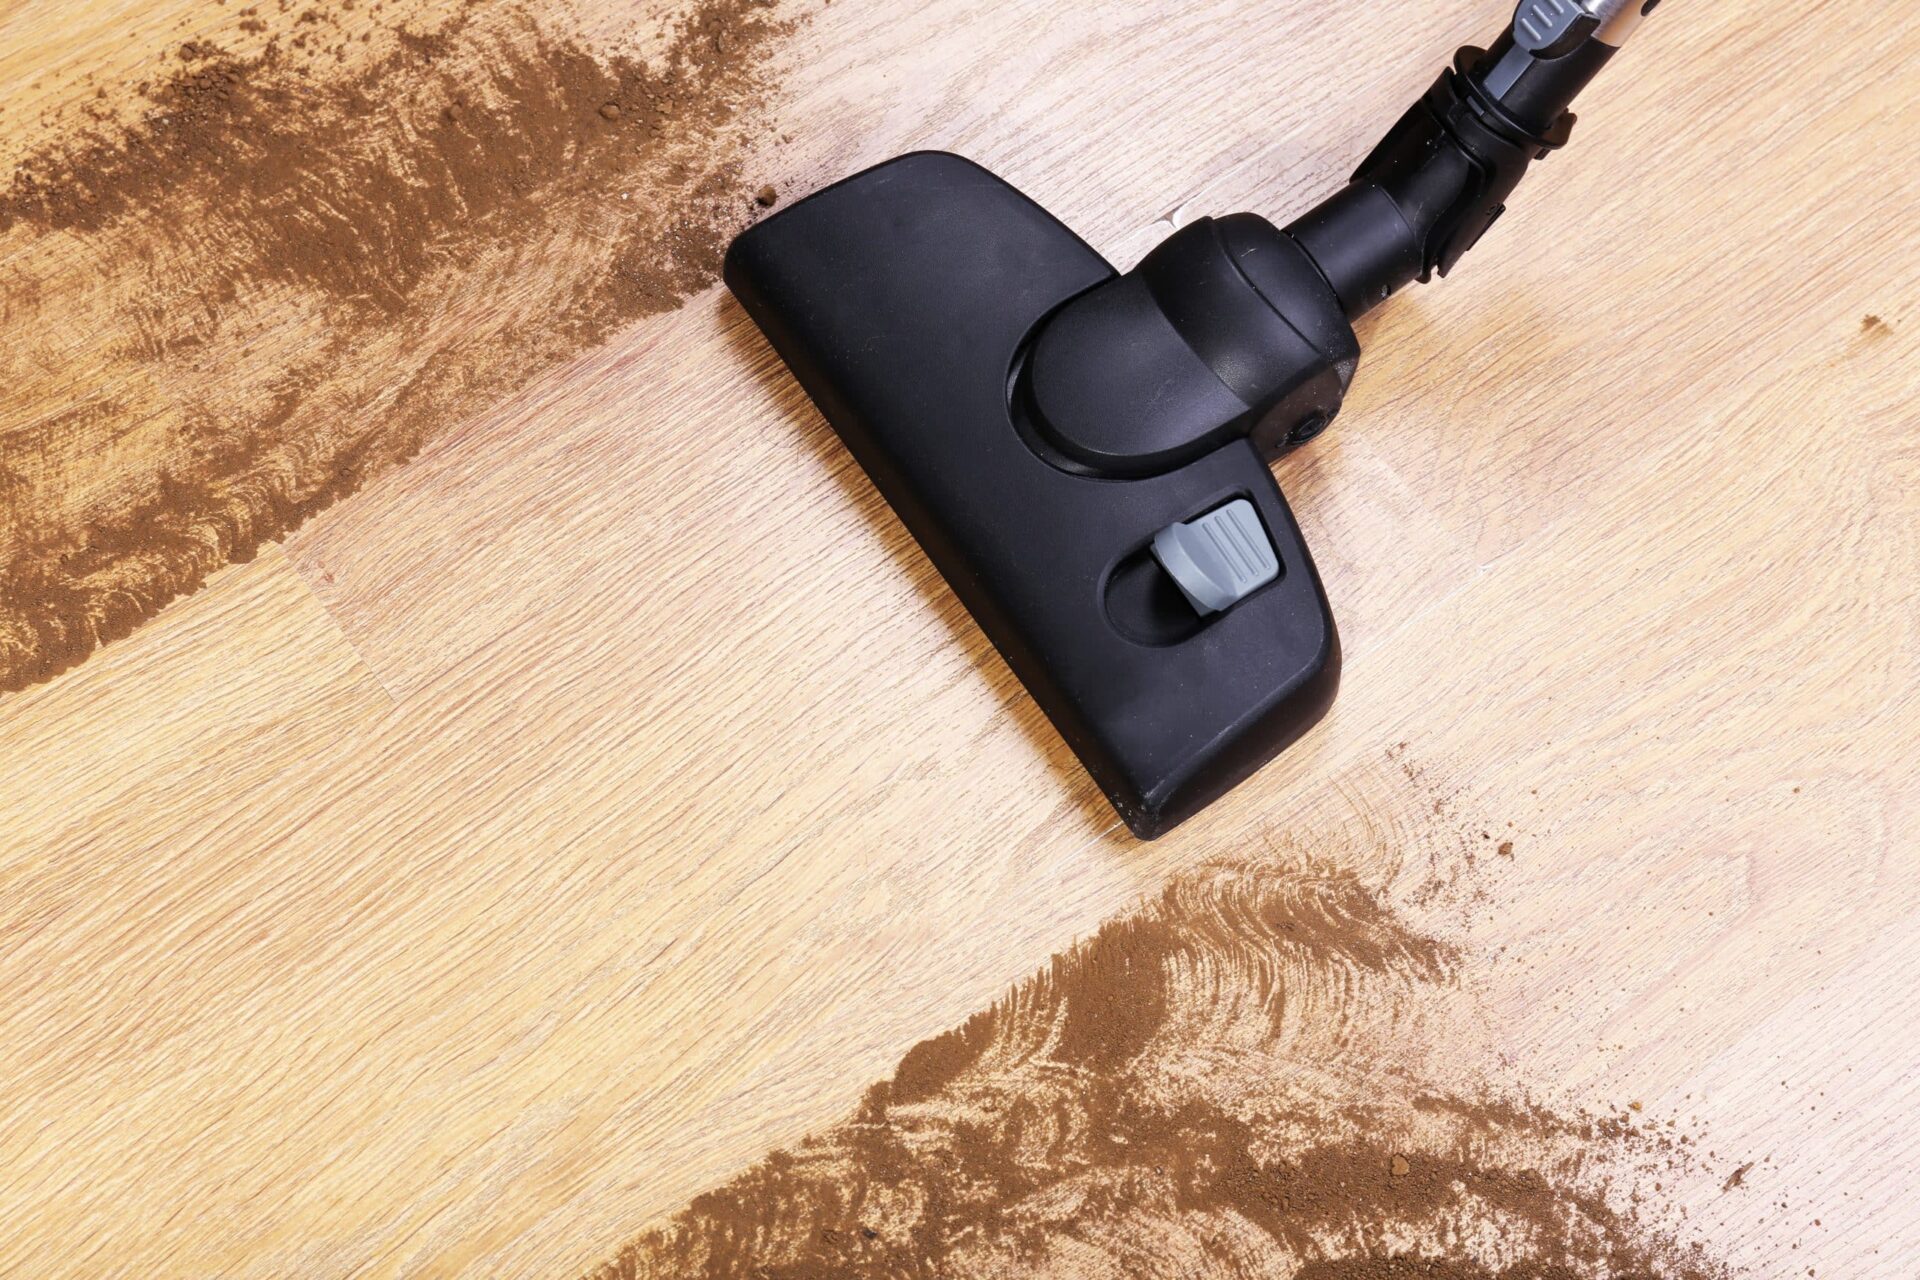
Proper preparation is key to achieving professional results. Remove all furniture and cover any vents or electrical outlets with masking tape to prevent dust from entering. Sweep and vacuum the floor thoroughly to remove any debris that could scratch the surface during sanding.
Additionally, protect yourself by wearing appropriate safety gear, including a dust mask, safety goggles, ear protection, and work gloves.
-
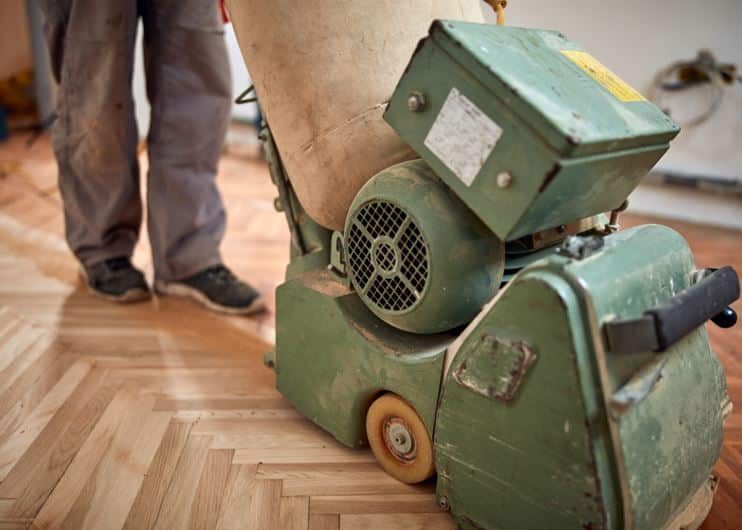
Start with coarse grit and work your way up.
Begin sanding with a coarse grit (around 36 or 40 grit) to remove old finishes and level the floor. Move the sander in the direction of the wood grain and keep it moving at all times to prevent gouging. After you’ve covered the entire surface, switch to a medium grit (around 60 to 80 grit) to refine the surface further. Finally, use a fine grit (100 to 120 grit) to achieve a smooth, even finish.
-
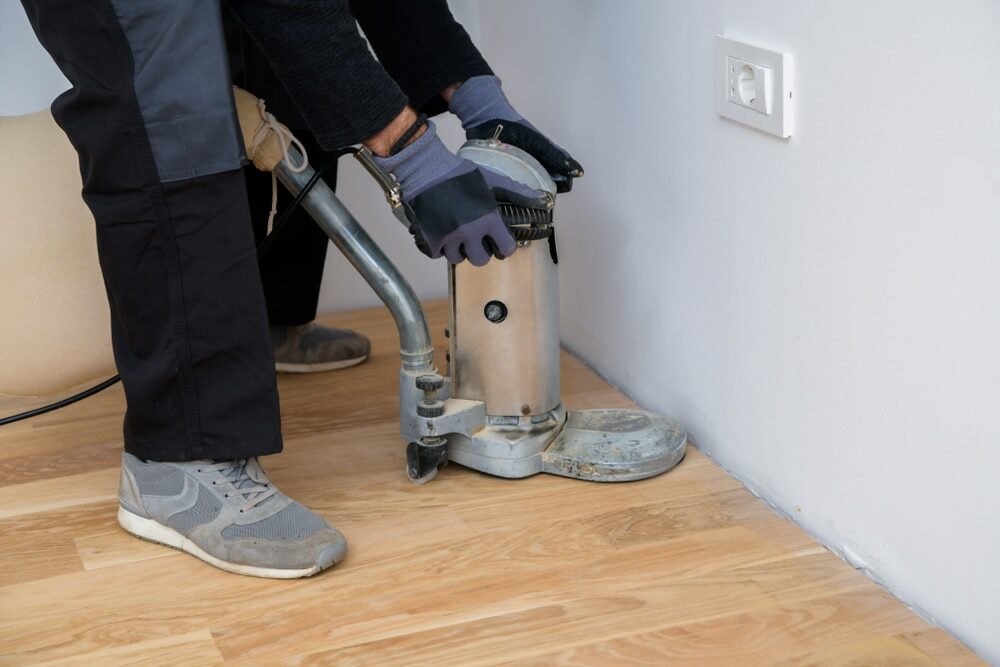
Edge sanding and detail work
After you’ve sanded the main floor area, you’ll need to tackle the edges and corners using an edging sander or a palm sander. These smaller, handheld sanders are perfect for getting into tight spaces and ensuring a consistent finish across the entire floor.
-
Vacuum and clean the floor between sanding stages.
It’s essential to vacuum and clean the floor thoroughly between each sanding stage to remove any dust and debris. This will prevent scratches and ensure a smooth finish in the final stages of sanding.
-
Apply wood filler if necessary.
If your floor has gaps or cracks, you may need to apply a wood filler after the initial sanding. Choose a filler that matches the colour of your floorboards and follow the manufacturer’s instructions for application. Allow the filler to dry before proceeding with the finer grits of sandpaper.
-
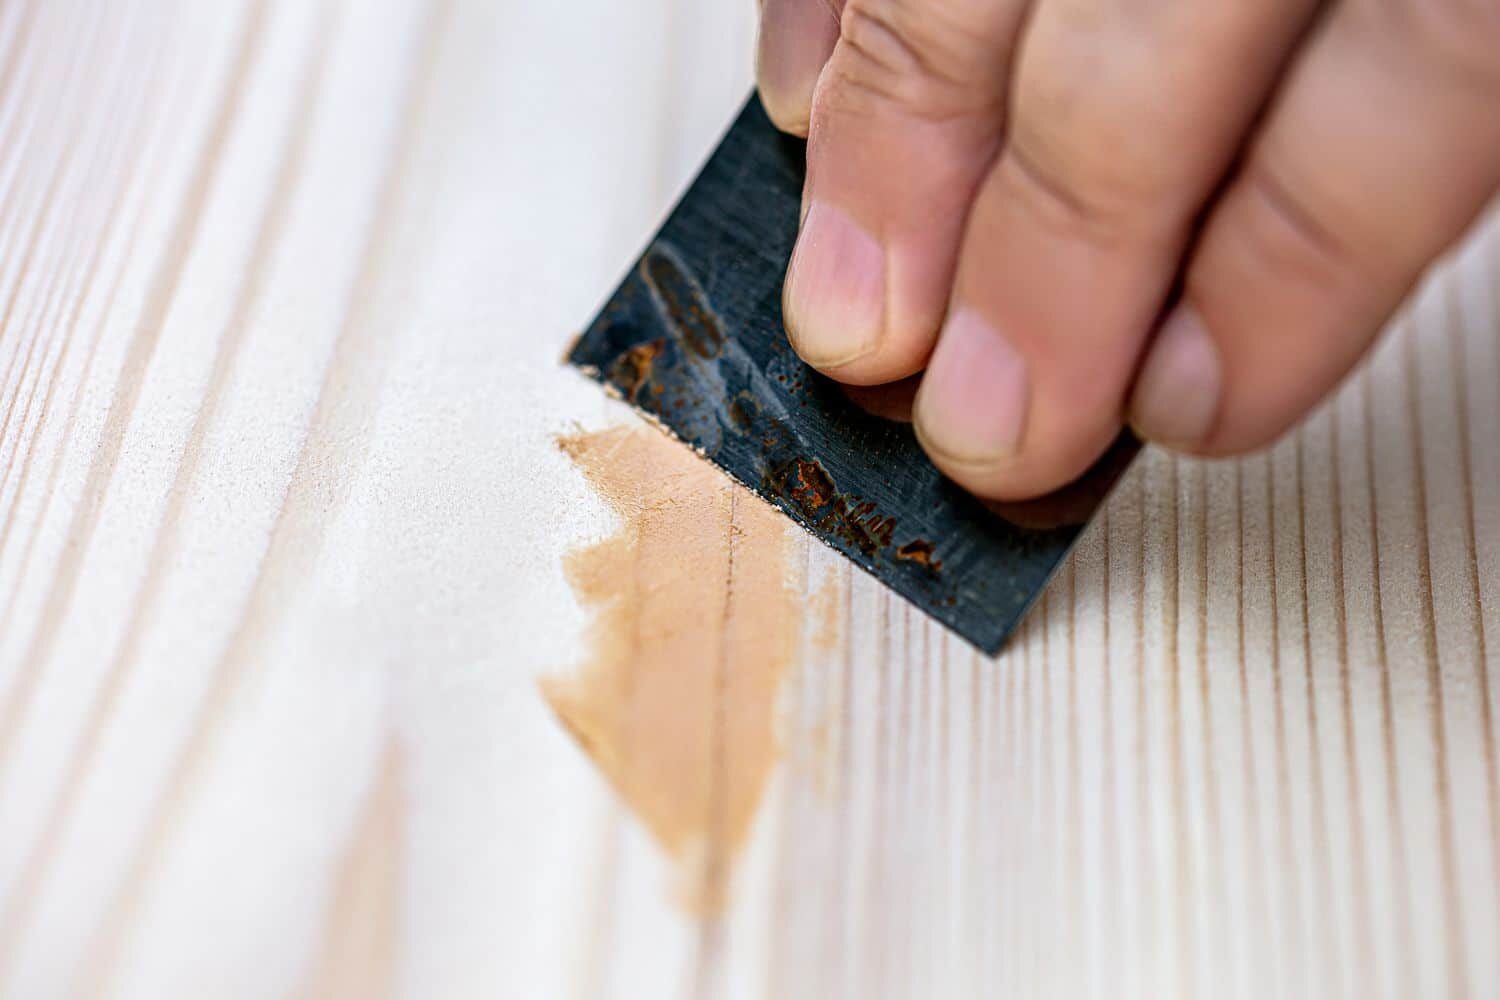
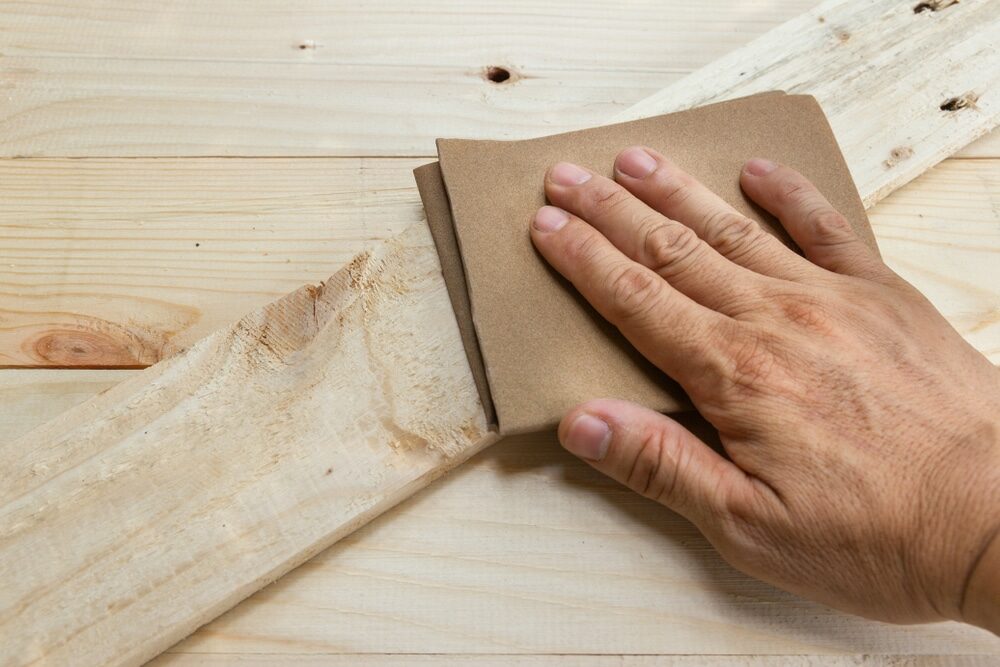
Sand the floor by hand if required.
In some cases, you may need to sand the floor by hand to reach areas the machines cannot access, such as tight corners or intricate details. Use a sanding block or a piece of sandpaper wrapped around a flat block of wood. Remember to sand in the direction of the wood grain and use the same grit progression as you did with the machines.
-
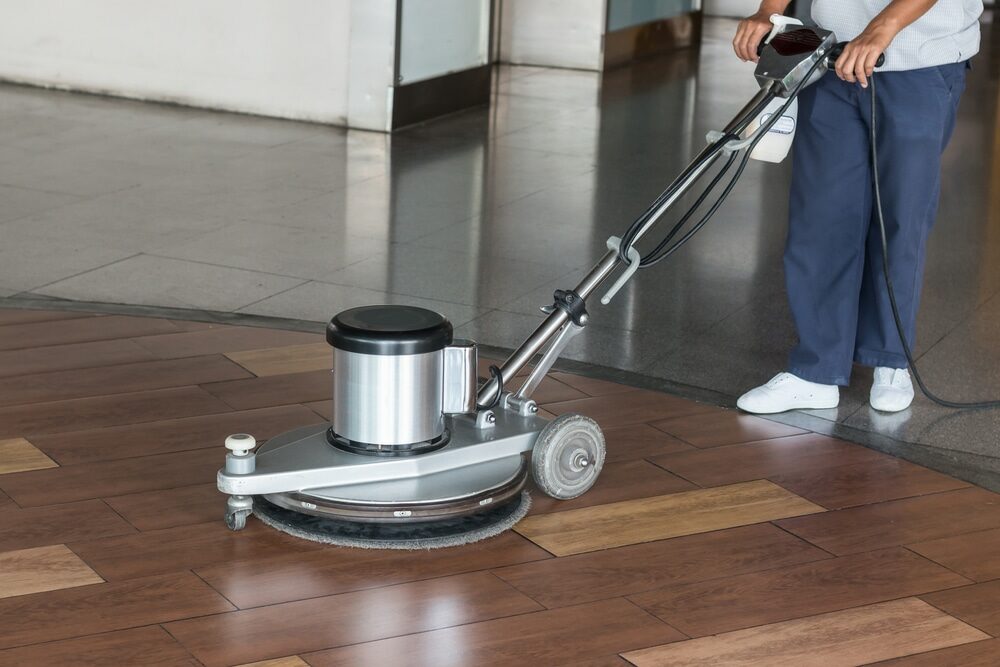
Buff the floor for a flawless finish.
After completing the sanding process, use a buffing machine with a fine abrasive pad to polish the floor. This will remove any remaining scratches and create a smooth, even surface ready for staining or sealing. Buffing is an essential step in achieving a professional, high-quality finish on your floorboards.
-
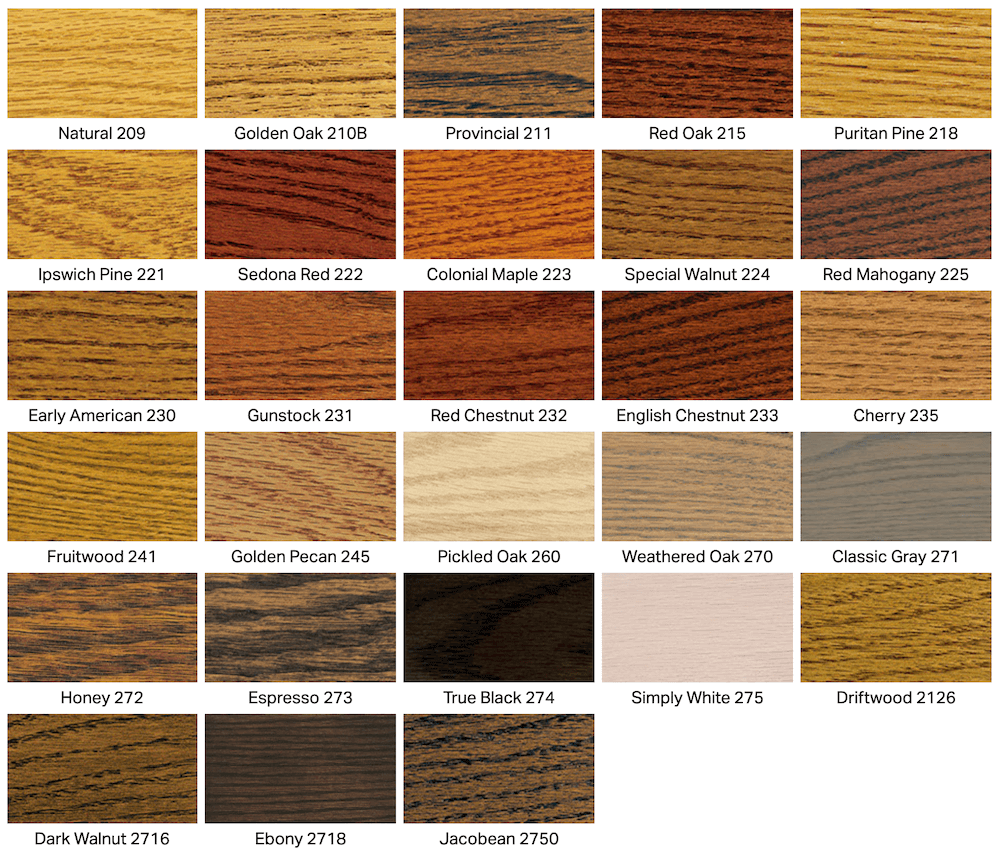
Choose the right finish for your floor.
There are several finishes available for wooden floorboards, including stains, oils, and varnishes. Consider the look you want to achieve as well as the level of maintenance required for each finish. Stains can help enhance the natural beauty of the wood, while oils provide a more rustic appearance. Varnishes offer a durable, protective coating that’s ideal for high-traffic areas. It’s essential to choose a finish that complements your home’s style and meets your specific needs.
-
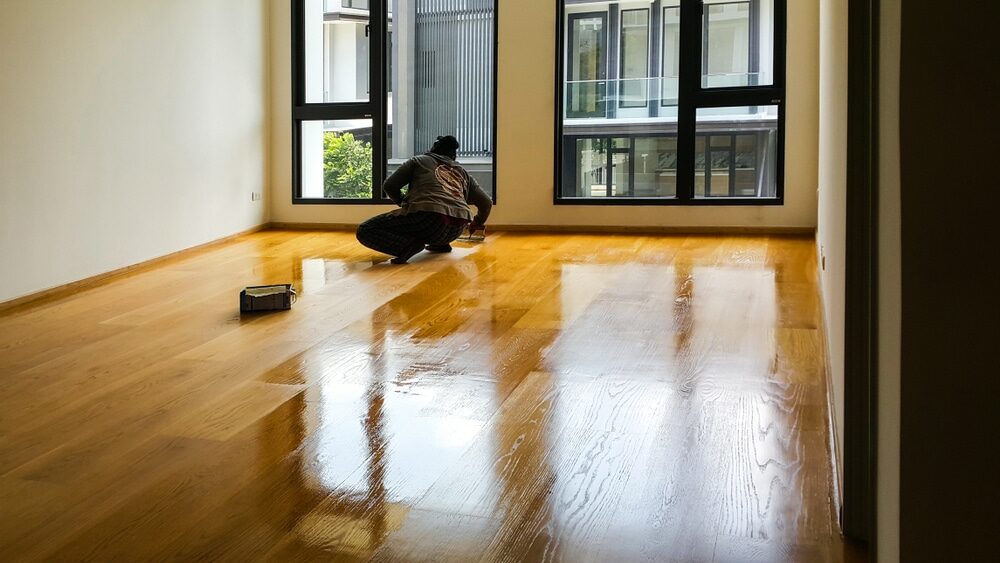
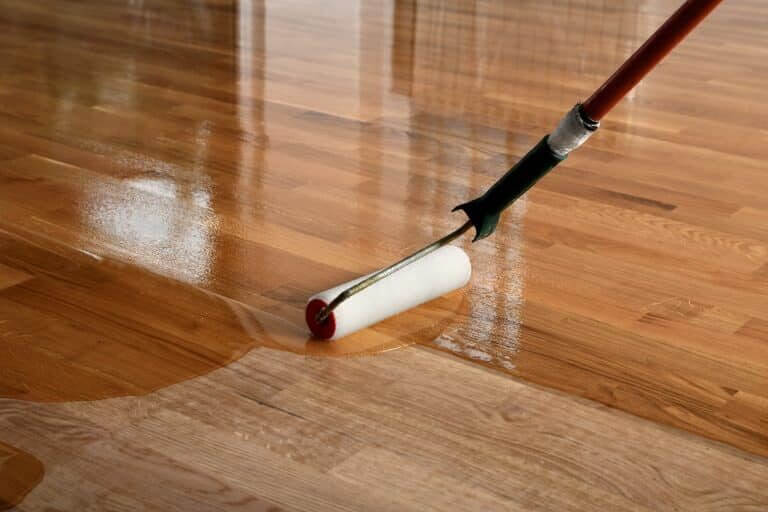
Follow the manufacturer’s instructions for applying the finish.
Once you’ve chosen the right finish for your floor, carefully follow the manufacturer’s instructions for application. Most finishes require multiple coats and adequate drying time between each application. Ensure you work in a well-ventilated area and use appropriate safety gear, such as gloves and a mask.
-
Allow the finish to cure.
After you’ve applied the final coat of your chosen finish, it’s essential to allow it to cure fully before using the room. This process can take anywhere from a few days to several weeks, depending on the finish and environmental conditions. Avoid walking on the floor or placing furniture during this time, as it can damage the finish and lead to an uneven appearance.
-
Maintain your floor for lasting beauty.
Proper maintenance is key to keeping your newly sanded floorboards looking their best. Sweep or vacuum the floor regularly to remove dirt and debris, and clean spills promptly to prevent stains. Use furniture pads to protect the floor from scratches and dents, and consider using area rugs in high-traffic areas to reduce wear.

-
Know when to call in the professionals.
While many homeowners can successfully sand and refinish their floorboards, some situations may require the expertise of a professional. If you’re unsure about any aspect of the process or if your floor requires extensive repairs, it’s best to consult an expert. A professional floor sander can ensure the job is done correctly and efficiently, providing you with a beautiful, long-lasting result.

Some Useful Links:
Conclusion
Sanding and refinishing your floorboards can be a transformative experience for your London home, enhancing its beauty and value. By following these top rules, you can achieve professional results and enjoy the timeless elegance of beautifully restored wooden floors. Just remember to be patient and take the time to complete each step with care, and you’ll be rewarded with a stunning floor that will last for years to come.
More from our Blog:
4 General Floor Sanding & Polishing Questions: You Need to Know Wooden Flooring: The Best Choice for Pet Loving home Owners How You Can Prepare Home for the Wood Floor Sanding Project? Top 10 tips for choosing Good Wood Floorboard Sanding CompanyGet more floor restoration advice…
Sanding
We provide virtually dust-free sanding with our continuous belt machinery with mobile extraction units, giving you a safer environment for your family.
Oiling
This organic finish not only adds beauty to your home but also has exceptional water-repellent characteristics, making it easier to clean and maintain.
Waxing
This natural floor finish offers the softest and most mellow appearance – and leaves your floor able to breath.
Buffing
Using soft buffing machines (and hand-polishing where required) will bring a wonderful sheen to your newly-finished floor.
Repairs
We offer a full assessment of your wooden floors to determine what repairs are needed to provide the perfect working surface for the later stages of sanding, staining and sealing.
Restoration
We offer a comprehensive restoration process designed to address floors that are improperly fitted or damaged over time through wear and tear.
Request a fixed price quote for your wood floor restoration now
Simply enter your postcode below to get started.
Services
Wood Floor Sanding Wood Floor Restoration Wood Floor Scratch Repair Squeaky Wood Floor Repair Parquet Floor Sanding Parquet Floor Restoration Commercial Floor Sanding Church Floor Sanding Community Centre Floor Sanding School Floor Sanding Gap Filling Gap Filling with ResinCopyright © Mr Sander®
Privacy & Cookies Terms & Conditions Complaints Procedure Cancellation Rights Sitemap

Get An Instant Price Estimate Before You Go…
Simply enter the rooms you need sanded and we’ll provide you with a price estimate instantly! Try our price calculator now.
Get a Price Estimate NowLocal Floor Sanding Experts
Over 500 5-Star Reviews
Safe, Dust Free Sanding
Operating Since 1994