London:
Nationwide:
25,000+
Floors Restored
27 Years Experience
Wood Flooring Association Certified
Actions to Protect Your Restored Wood Floor from Water Damage
Posted on April 18, 2023
Blog
Quick Actions to Prevent Water Damage and Salvage Your Wooden Floor
Wood flooring is a beautiful and timeless investment that can add warmth and elegance to your home. However, like any home investment, it requires proper care and maintenance to ensure its longevity. Water damage is a common issue that can threaten the beauty and structural integrity of your restored wood floor. In this blog post, we will discuss the steps you should take if you encounter a water leak that threatens your beautiful new floor and how to minimize the damage.
- Stop the source of the leak.
- Dry out the floor
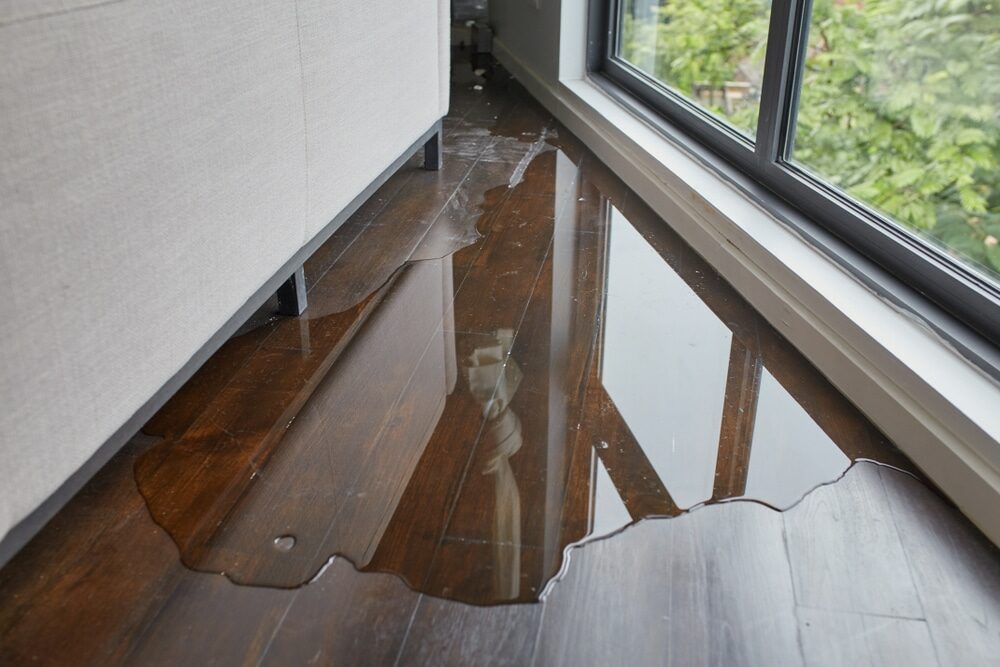
The moment you notice a water leak on your wood floor, it’s essential to act fast. Locate the source of the leak, which could be from a plumbing issue like a burst pipe, a malfunctioning appliance, or even a leaky roof. If the leak is from a tank or radiator, be sure to turn off the water supply to the affected area immediately. Familiarise your family members with the location of the stopcocks in your home so they can also take action in case of a leak. Once you’ve stopped the water source, your next priority is to dry out the affected area. Remove any wet or damaged boards to expose the concrete base beneath the floor. This will allow the water trapped underneath to evaporate and prevent further damage. Use mops, towels, or a wet/dry vacuum to soak up as much water as possible. You can also use fans and dehumidifiers to speed up the drying process.

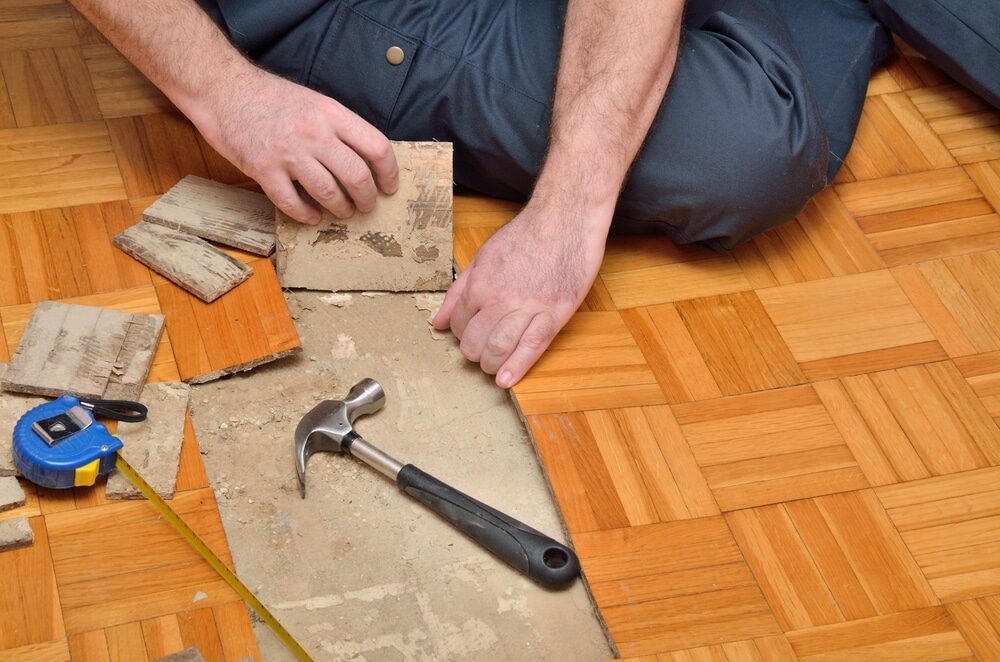
- Don’t be afraid to remove damaged boards or parquet blocks.
In the process of drying your floor, you may be tempted to try and salvage water-damaged boards or parquet blocks. However, some boards may be beyond repair, and it’s better to remove them entirely than to leave water underneath. Oak boards, in particular, can become so stained that even floor sanding won’t restore their appearance. Keep in mind that the removal of damaged boards is necessary for preventing further damage to adjacent boards or the subfloor.
- Document the damage for insurance purposes.
- Plan for repairs or replacement
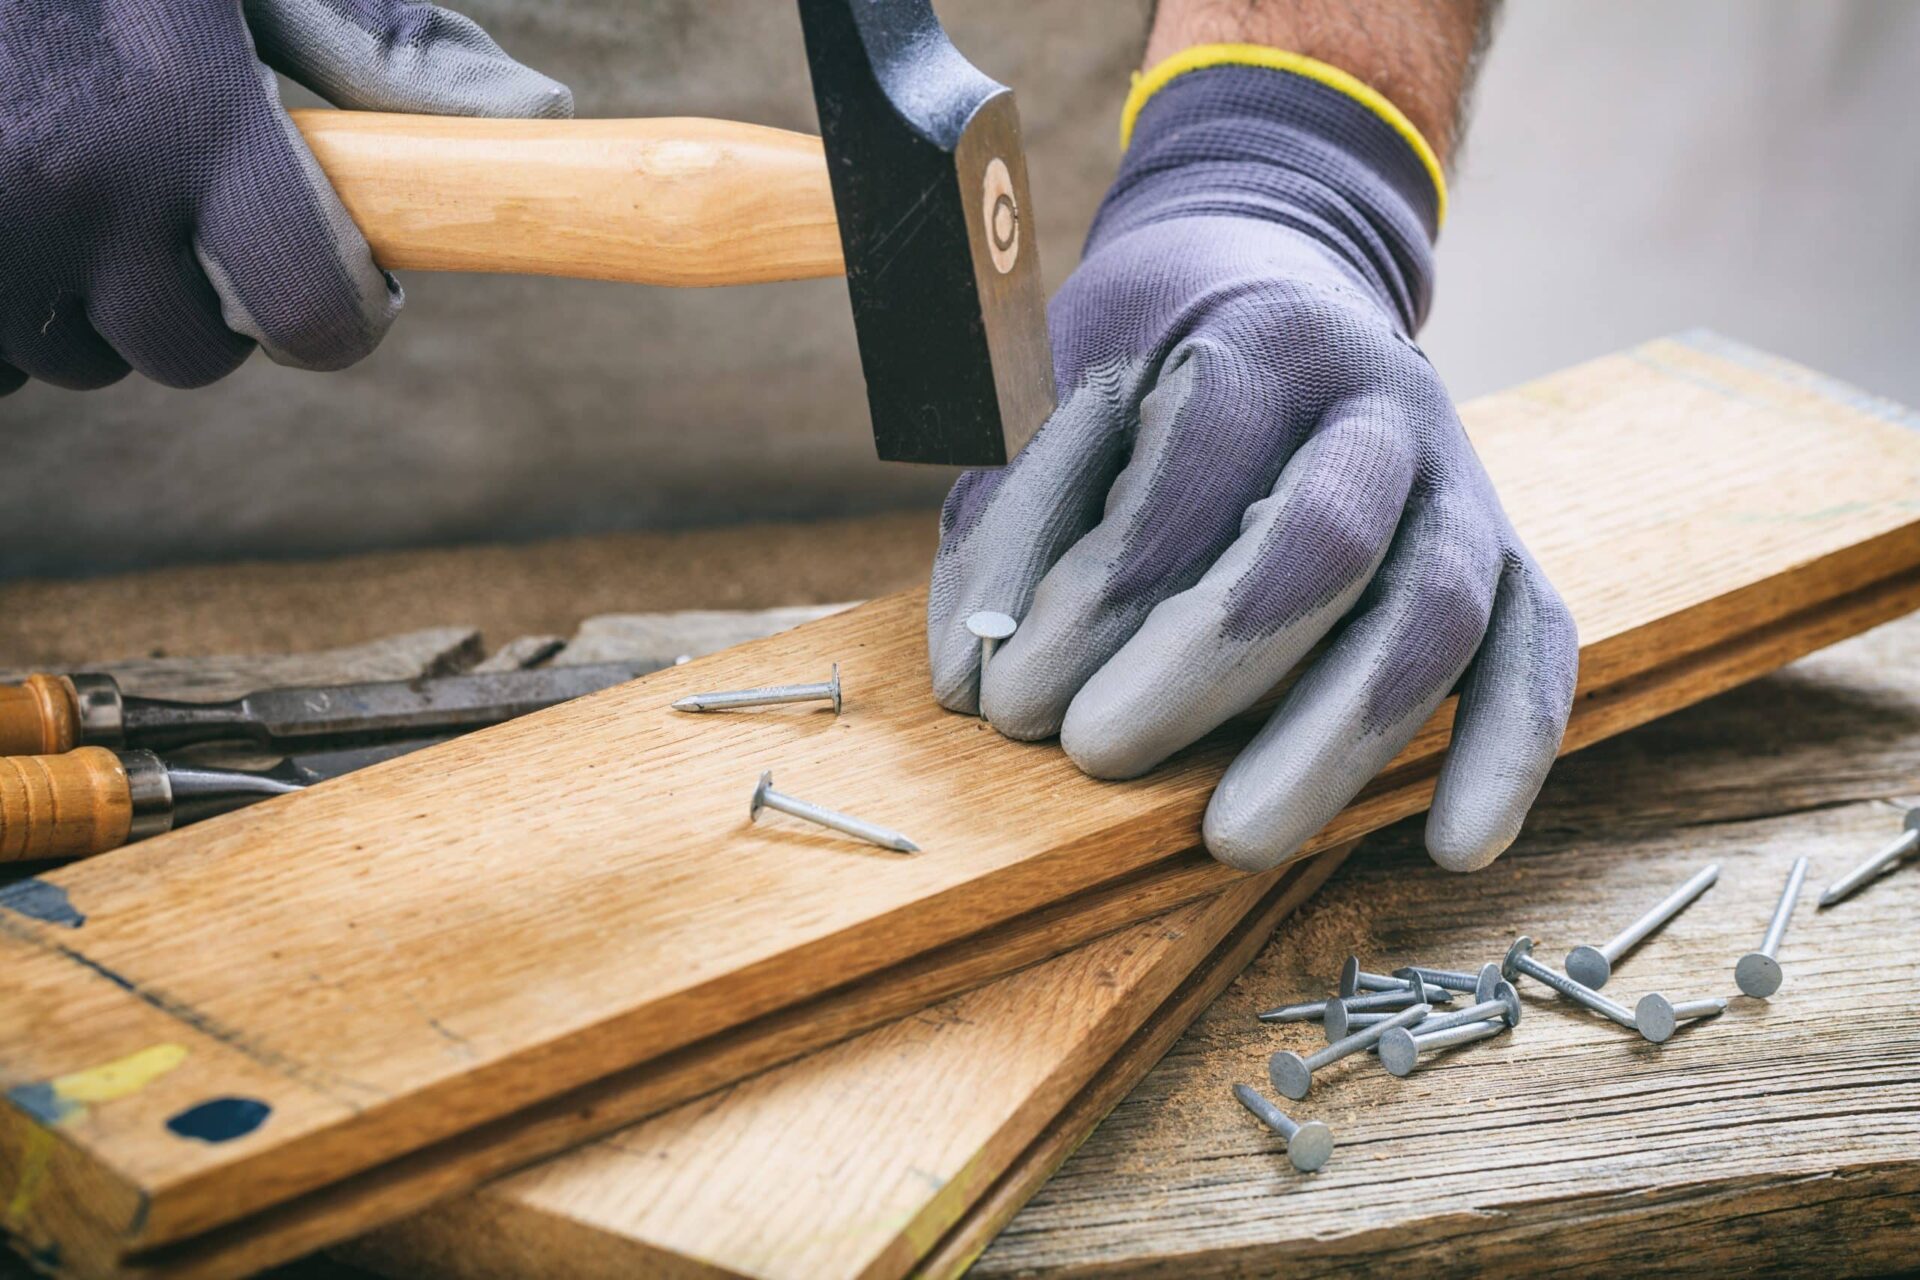
When dealing with water damage, it’s essential to take photos of the affected area before and after removing the damaged boards. This will provide evidence for any insurance claims you may need to make. Contact your insurance company as soon as possible to discuss your coverage and the steps required to file a claim. Be sure to keep all receipts and documentation related to the water damage, as these may be required for your claim. After the drying process is complete, you may find that some boards have buckled or warped, making them unsuitable for reuse. In such cases, these boards will need to be replaced. Matching new boards to your existing floor can be challenging, but an experienced flooring professional can help you find the best possible match. In some cases, if the damage is extensive or if matching the boards proves too difficult, you may need to consider installing a completely new floor.
- Prevent future water damage
To protect your restored wood floor from future water damage, take the necessary precautions to prevent leaks and spills. Regularly inspect your home’s plumbing, appliances, and roof for signs of potential issues. Additionally, place water-absorbent mats or rugs in areas prone to spills or moisture, such as entryways or kitchens. Be sure to clean up spills promptly and avoid using excessive water when cleaning your wood floor.

- Regular maintenance and inspection
- Properly Seal Your Floor
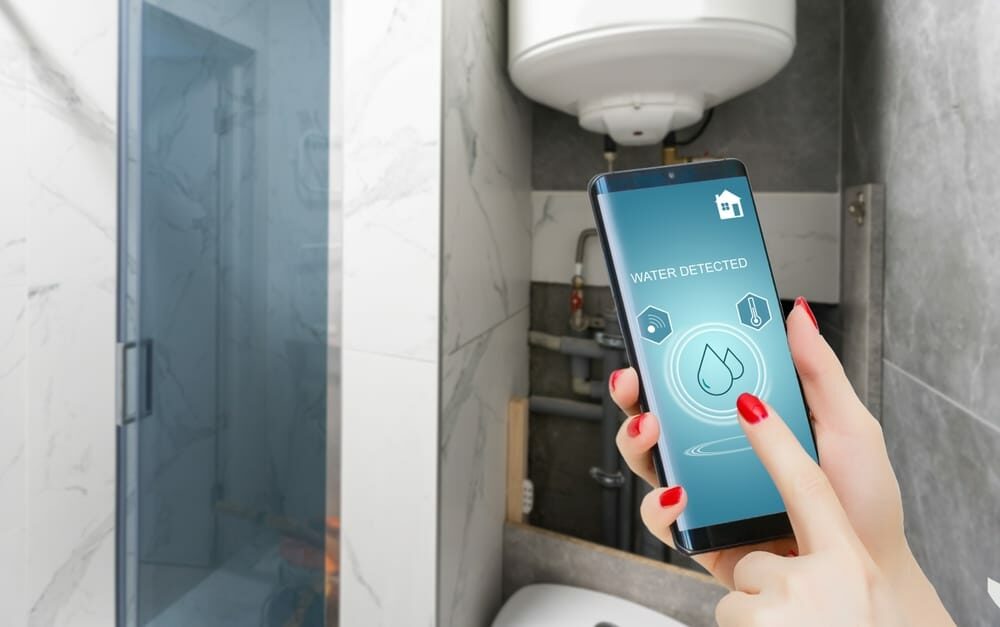
- Install water detection devices.
- Educate family members on wood floor care.
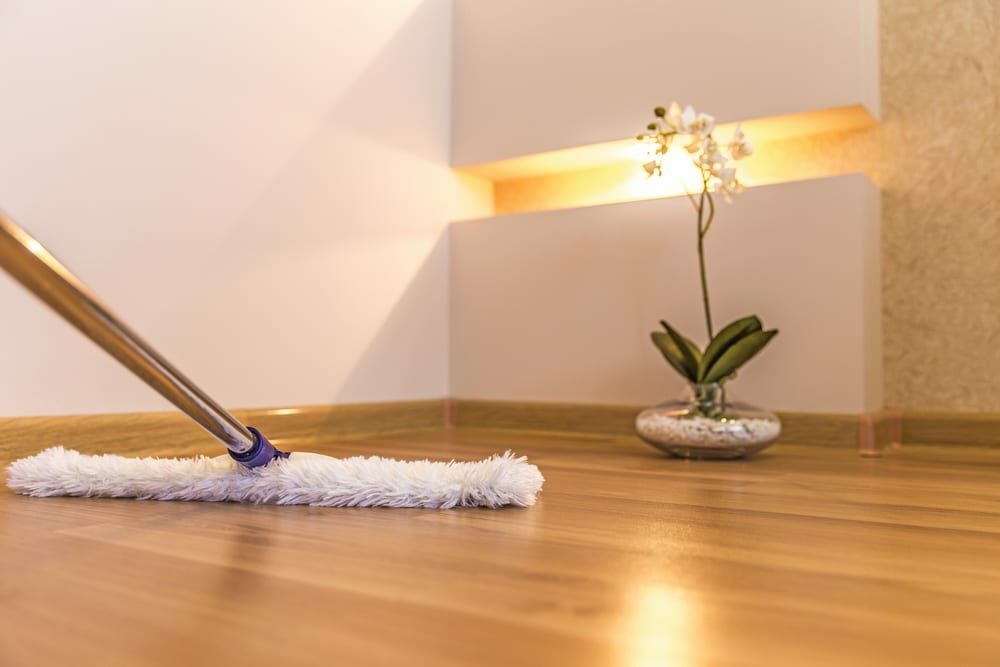
To ensure the long-lasting beauty of your wood floor, establish a regular maintenance and inspection routine. Sweep or vacuum the floor regularly to remove dirt, dust, and debris that can cause scratches. Schedule periodic professional cleanings and inspections to identify any potential issues early on, including potential sources of water damage. By staying proactive with maintenance, you can prolong the life of your wood floor and preserve its appearance. Sealing your wood floor with a high-quality finish can provide an additional layer of protection against water damage. A good sealant can help prevent water from seeping into the wood and causing permanent damage. Consult with a flooring professional to determine the best type of sealant for your specific wood floor and follow the manufacturer’s instructions for application and reapplication as needed. Consider installing water detection devices, such as water alarms or sensors, in areas where water leaks may occur. These devices can alert you to the presence of water before significant damage occurs, allowing you to take swift action to address the issue. Place these sensors near appliances, plumbing fixtures, and other areas that may be prone to leaks, and ensure that they are functioning properly by testing them regularly. Educate your family members on the importance of proper wood floor care and how to prevent water damage. This includes teaching them how to clean up spills promptly, avoiding dragging heavy or sharp objects across the floor, and monitoring indoor humidity levels to prevent warping and buckling. By fostering a shared understanding of wood floor care, you can ensure that your entire household contributes to maintaining the beauty and durability of your investment.
Some Useful Links:
Conclusion
Dealing with water damage on your restored wood floor can be a frustrating and costly experience. However, by taking prompt action and following the steps outlined in this post, you can minimise the damage and protect your investment. Remember to stop the water source, dry the floor thoroughly, remove damaged boards, document the damage for insurance purposes, and plan for necessary repairs or replacements. Don’t forget to implement preventive measures to safeguard your wood floor from future water damage. With proper care and maintenance, your beautiful wood floor can continue to be a stunning and enduring feature of your home for many years to come.
More from our Blog:
Discover the Art of Wood floor restoration |
A matter of tasteSanding Wooden Floors is Very Easy | Step-by-Step Guide
The Easy Process of Sanding a Floor: A Comprehensive Guide