London:
Nationwide:
25,000+
Floors Restored
27 Years Experience
Wood Flooring Association Certified
Ultimate Guide to Hardwood Floor Restoration | Complete Hardwood Floor Renewal
Posted on May 15, 2023
News
The Complete Guide to Restoring Your Hardwood Floors
Nothing compares to the elegance and warmth that hardwood floors can bring to any room. However, as durable as they are, hardwood floors are not immune to the effects of time, wear, and tear. The good news is that they can be restored to their former glory, and this comprehensive guide will walk you through the process of hardwood floor restoration.
Understanding Your Hardwood Floors
Before embarking on the journey of hardwood floor restoration, it’s essential to understand your floor. Hardwood floors come in a variety of wood species, finishes, and installation methods, each requiring a unique approach to restoration.
You may have solid hardwood flooring, which is made of a single piece of wood, or engineered hardwood, which is composed of multiple layers of wood. Solid hardwood can be sanded down and refinished multiple times, while engineered hardwood may only withstand a few restorations due to the thin top layer.
Assessing the Damage
The next step is to assess the level of damage. The type of restoration needed will depend on the extent of wear and tear.
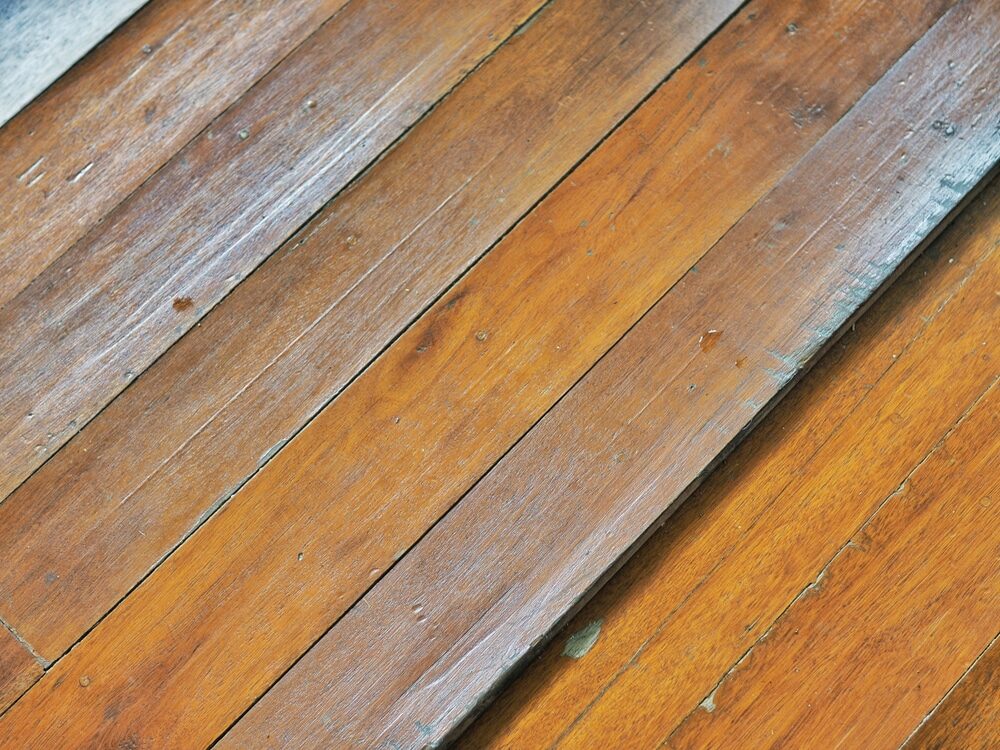
Light damage, such as minor scratches or a dull finish, may only require a screen and recoat, which involves lightly sanding (screening) the floor and applying a new coat of finish.
More severe damage, like deep scratches, dents, or warping, will likely require a more intensive restoration process called refinishing. This involves sanding down to the bare wood and applying new stain and finish.
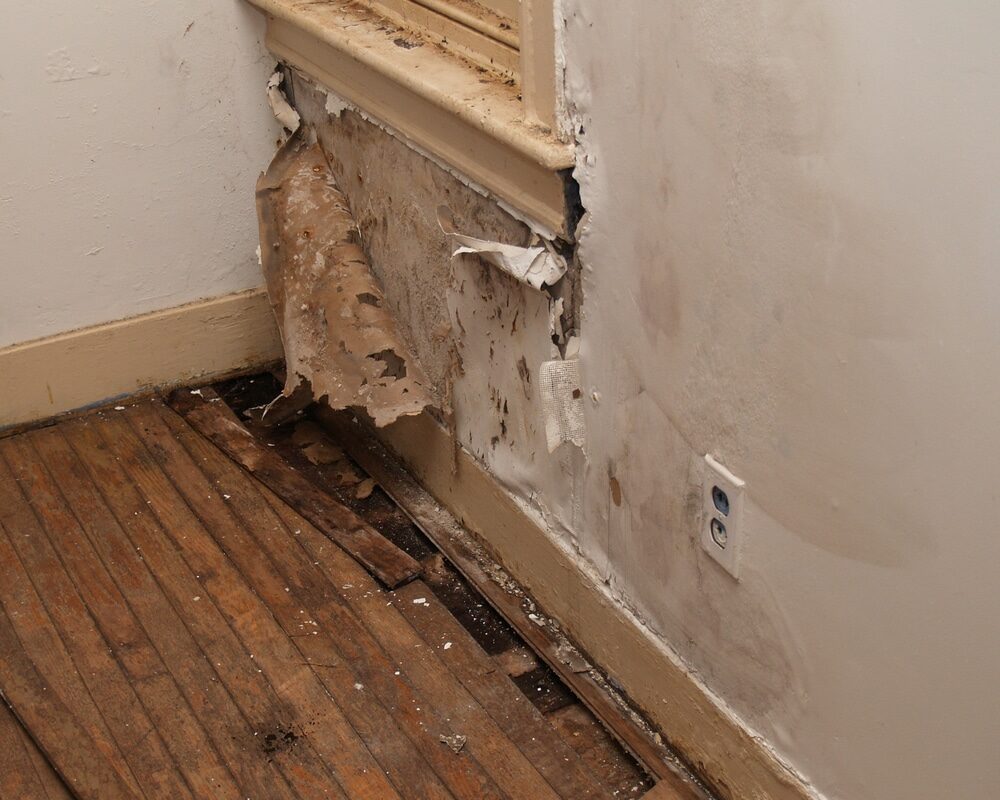
Water damage or structural damage may necessitate the replacement of some boards or even the entire floor.
Gathering Necessary Tools and Materials
Once you have determined the level of restoration needed, it’s time to gather the necessary tools and materials. These may include:
- For screening and recoating: buffer or orbital sander, sanding screens, vacuum, mop, finish applicator, and finish.
- For refinishing: drum sander, edger, sandpaper of various grits, vacuum, mop, wood filler, stain, finish applicator, and finish.
The Restoration Process
Here’s a step-by-step guide to restoring your hardwood floors:
Screening and recoating:
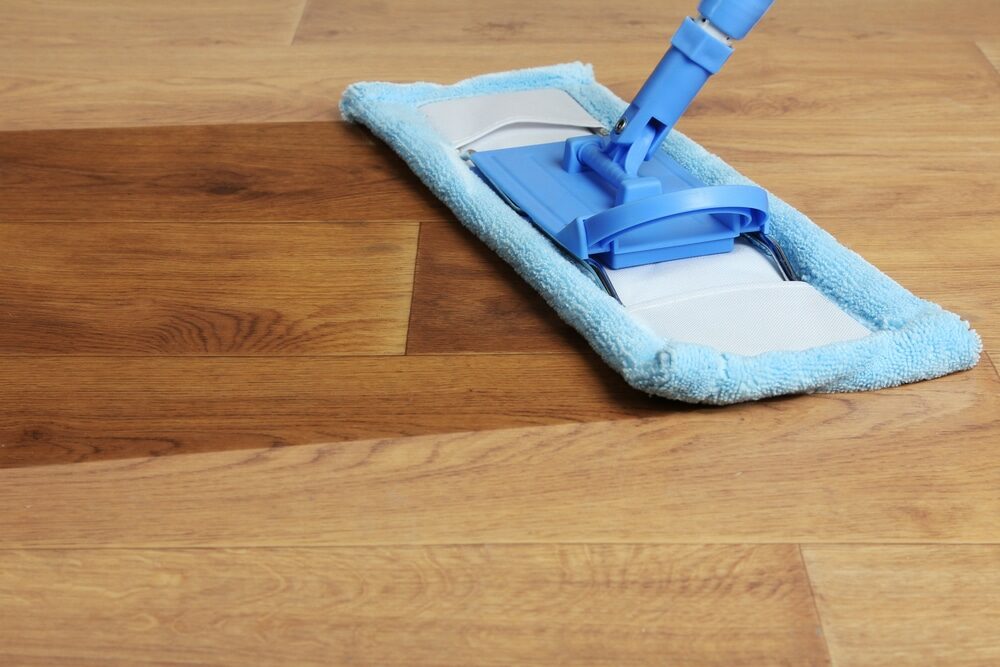
- Clean: Thoroughly clean your floor to remove any dust, dirt, or grime.
- Screen: Using a buffer or orbital sander fitted with a sanding screen, lightly scuff the surface of your floor. This creates a rough surface for the new finish to adhere to.
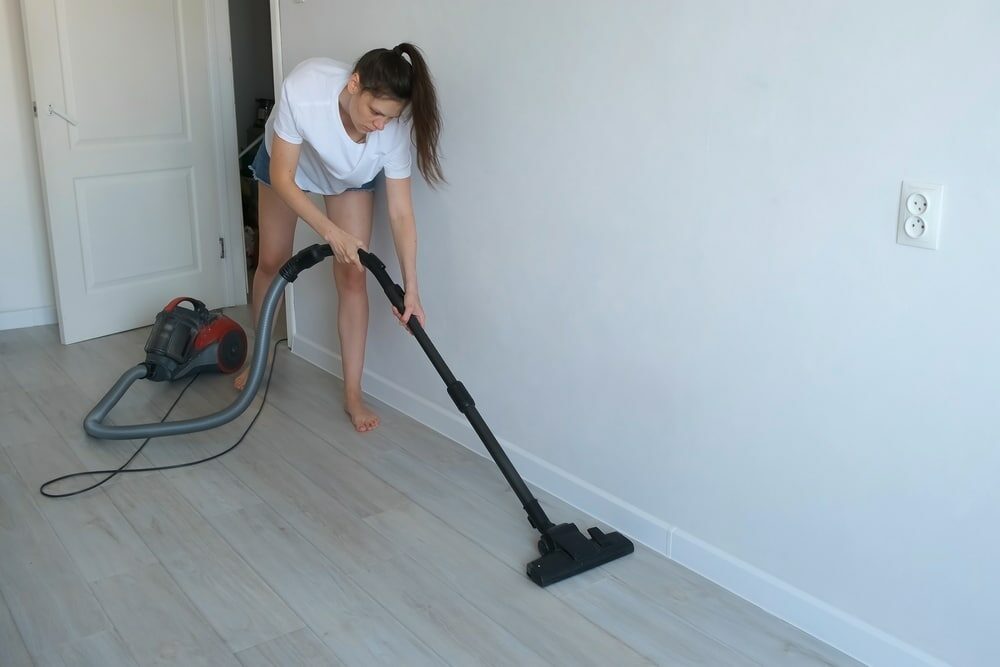
- Vacuum: Remove all the dust created during screening with a vacuum. Follow this up with a damp mop.
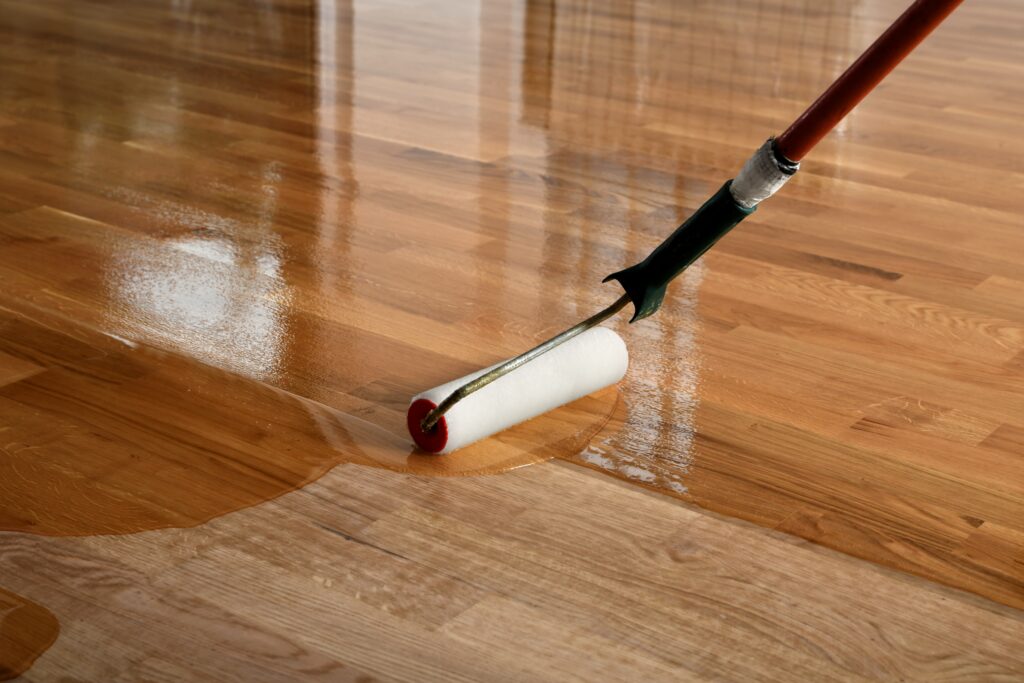
- Recoat: Apply a new coat of finish using a finish applicator. Allow the finish to dry for the recommended time before walking on the floor.
Refinishing:
- Prep: Remove any furniture, rugs, and other items from the room. Cover all vents, doors, and windows to contain dust.
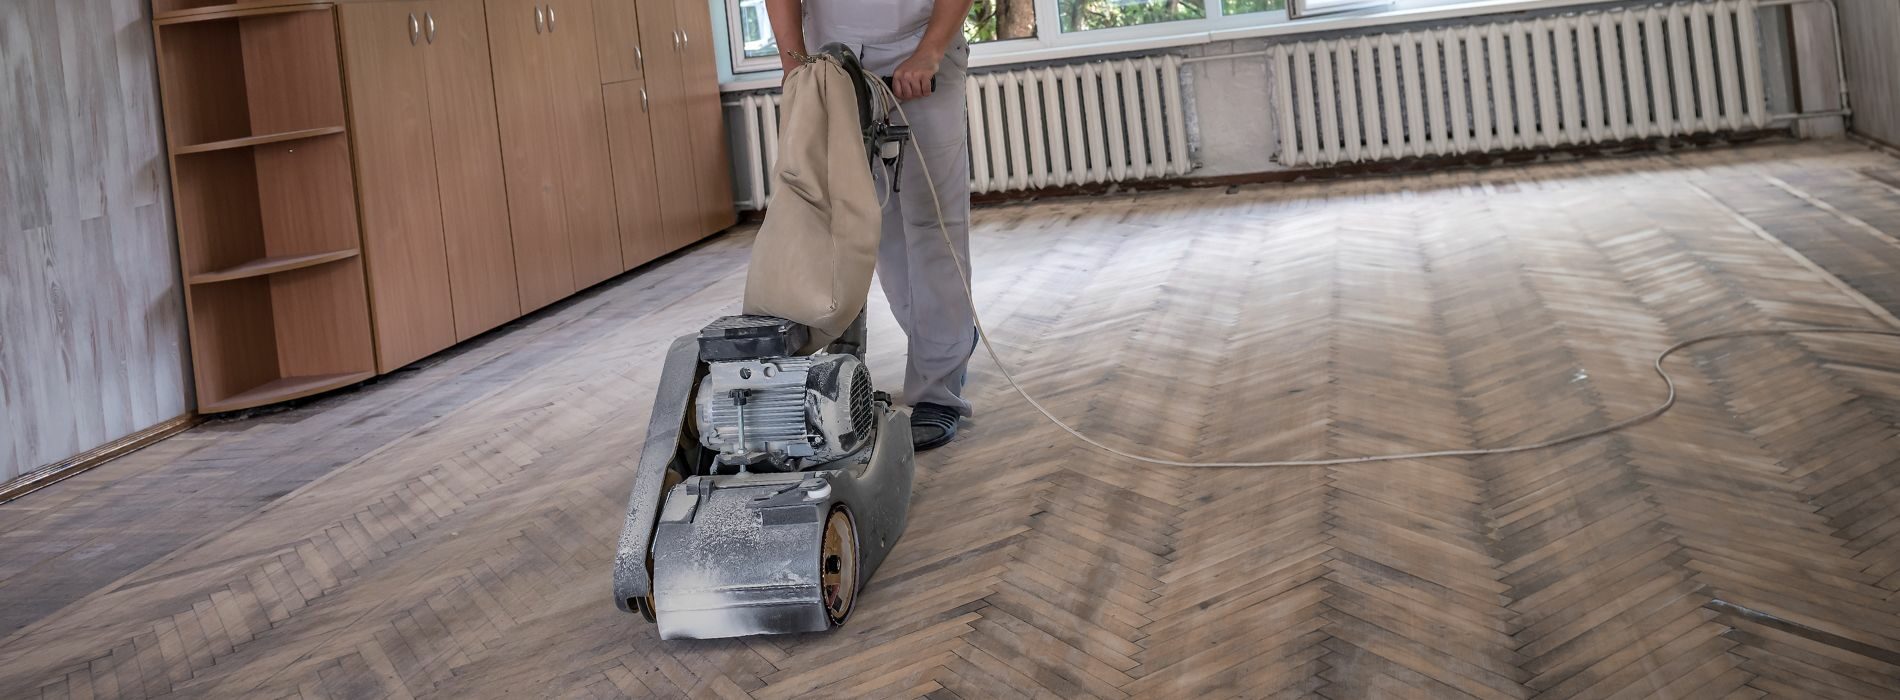
- Sand: Begin sanding the floor with a drum sander and a coarse-grit sandpaper. This will remove the old finish and any superficial damage. After the main part of the floor is sanded, use an edger to sand the areas near the walls.
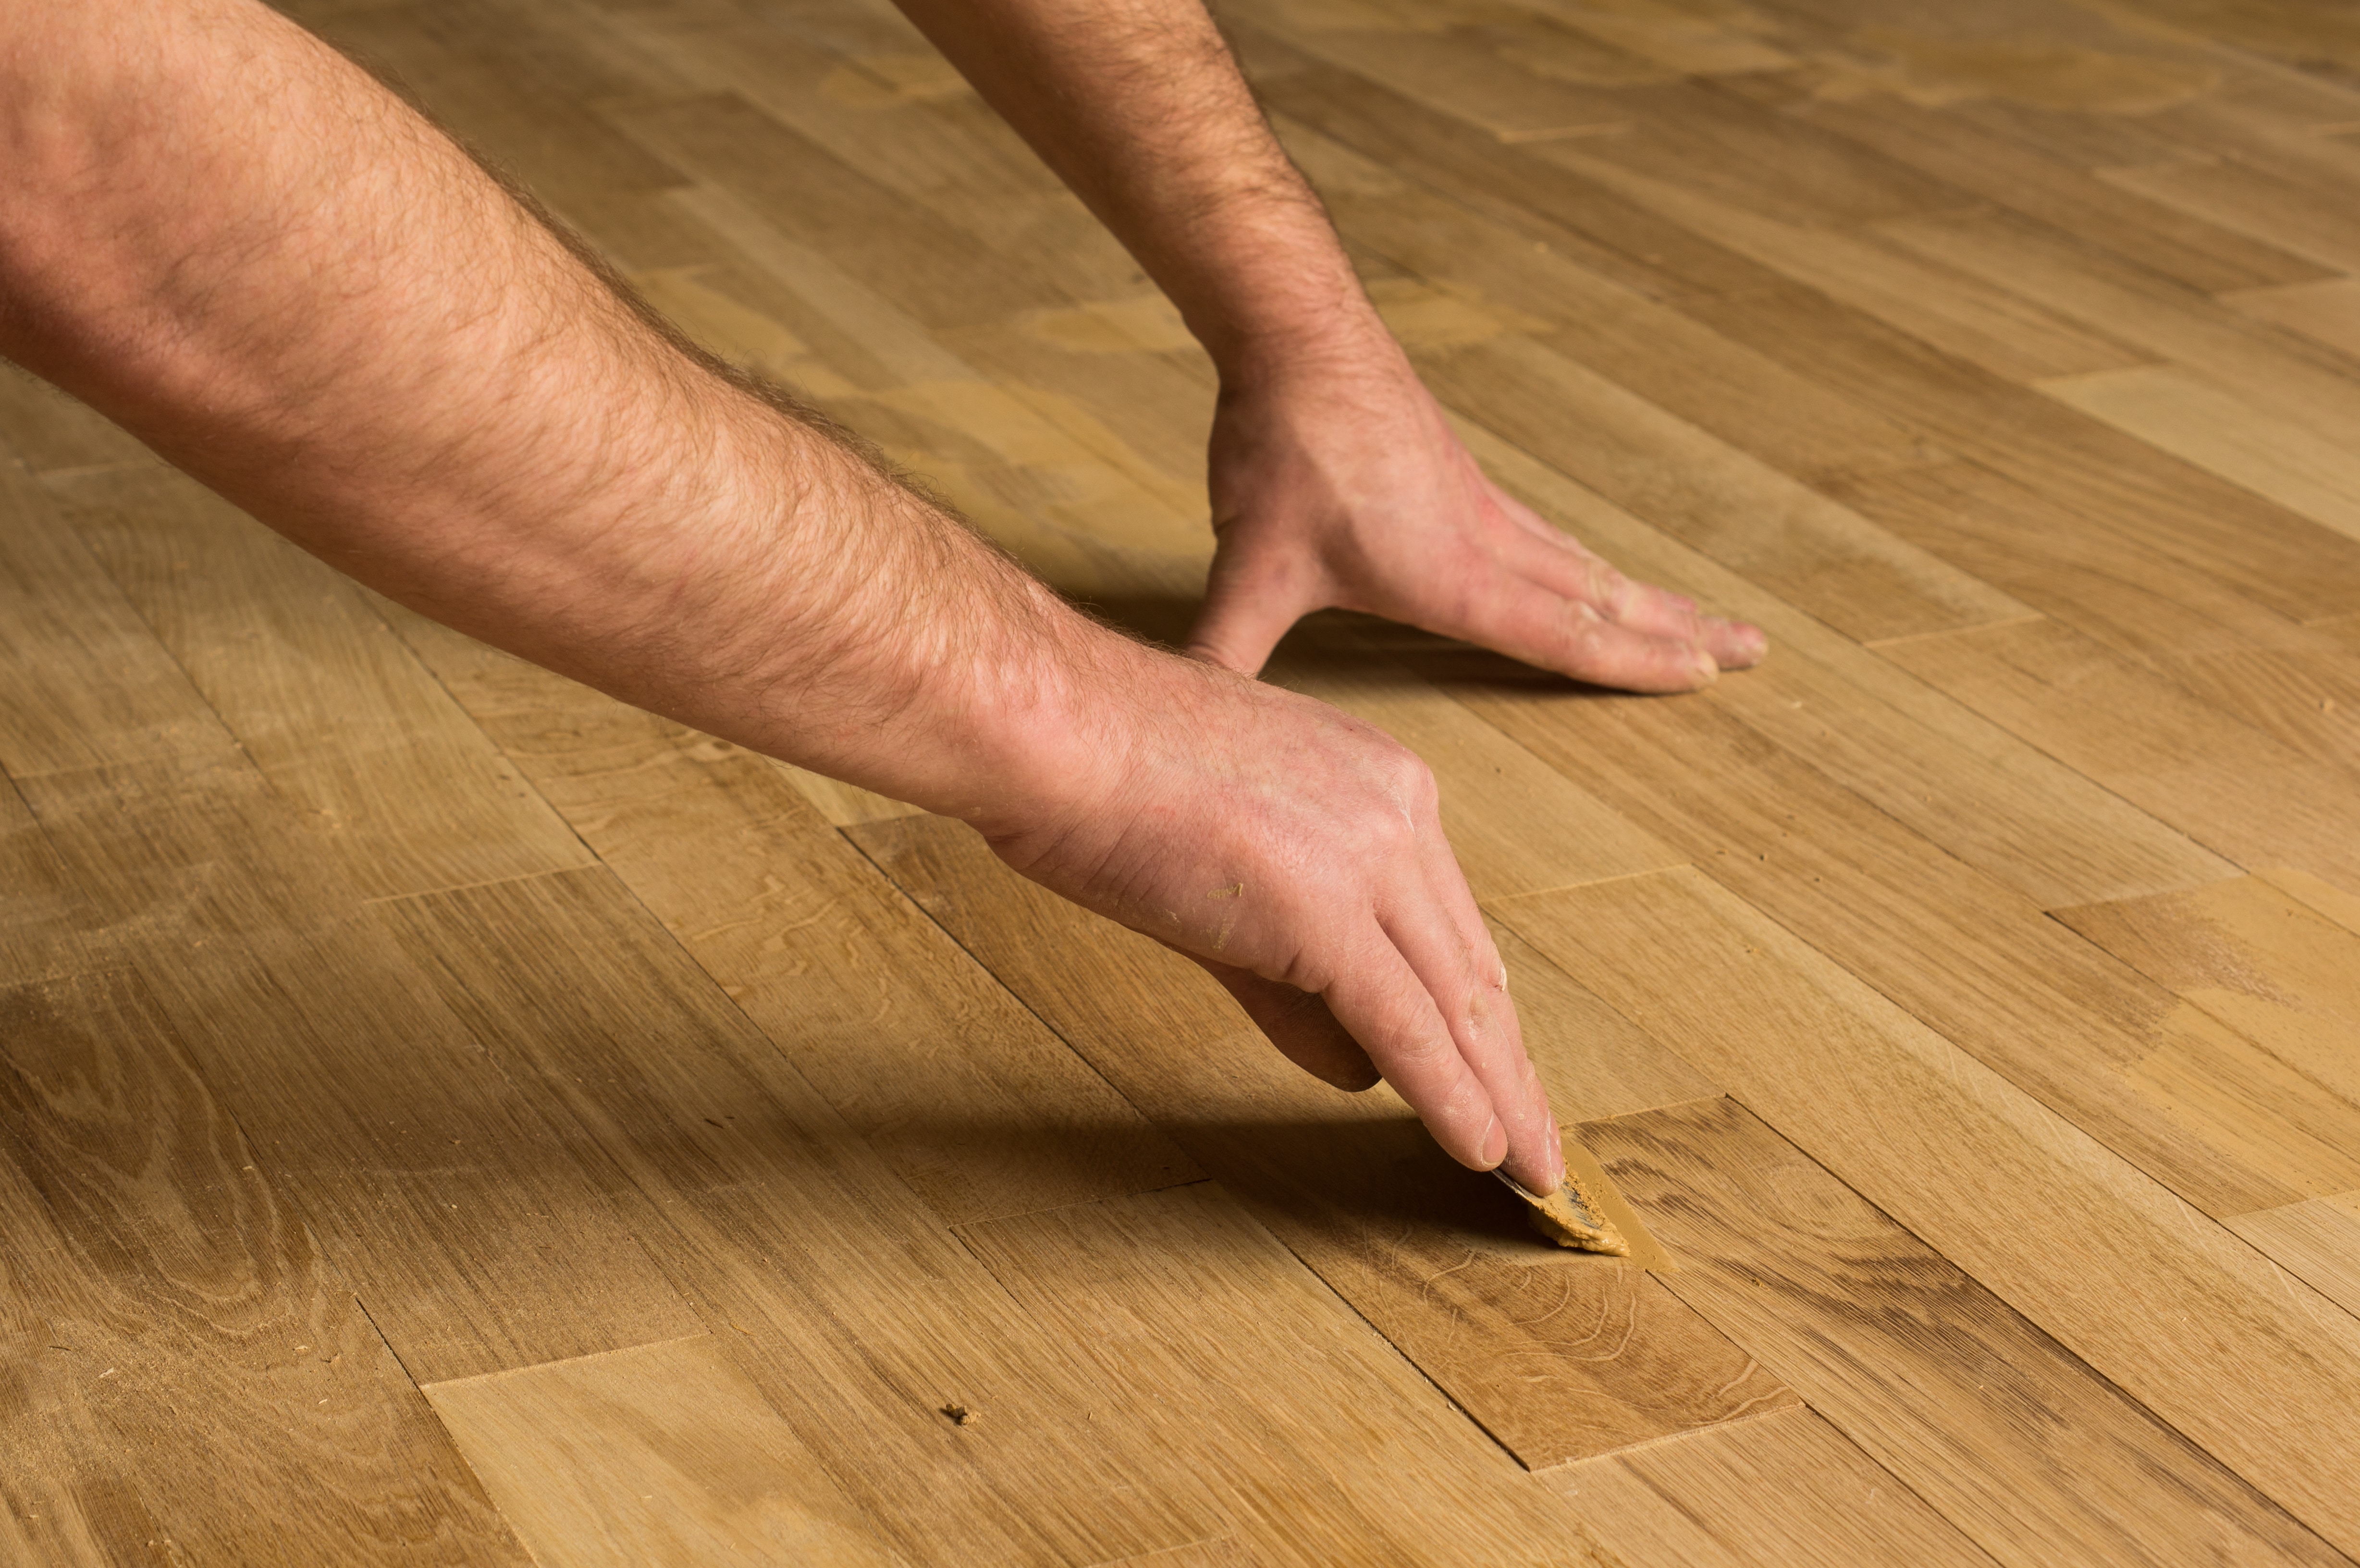
- Wood Filler: Fill any deep scratches or dents with wood filler.
- Sand Again: Sand the floor again using medium-grit sandpaper, and then again with fine-grit sandpaper. This will smooth out the wood and prepare it for staining.
- Vacuum: Clean up the dust with a vacuum, followed by a damp mop.
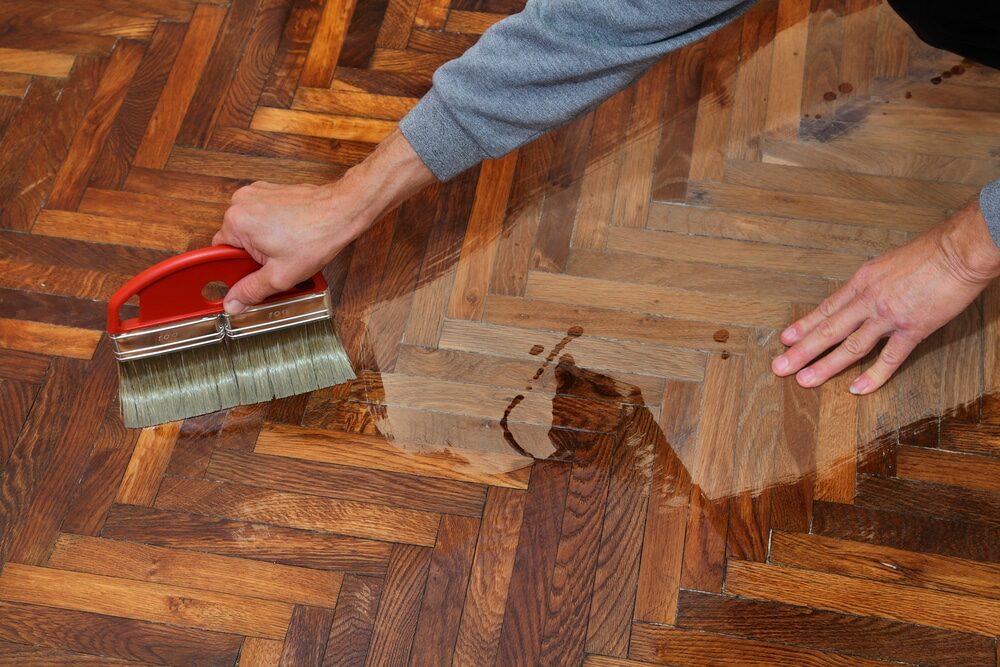
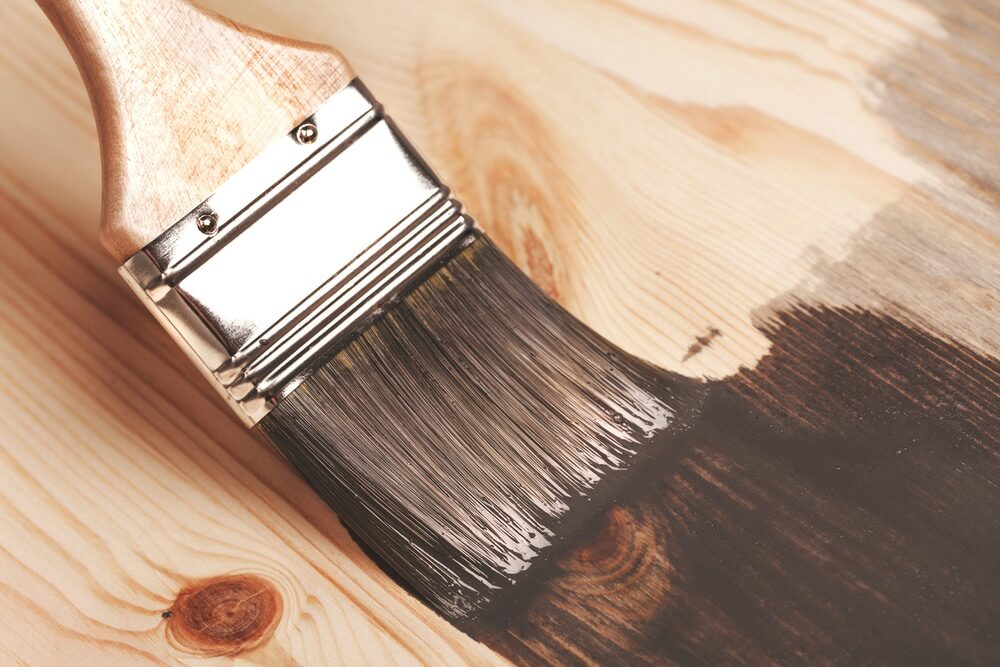
- Stain: Apply your chosen stain, if desired, following the manufacturer’s instructions.
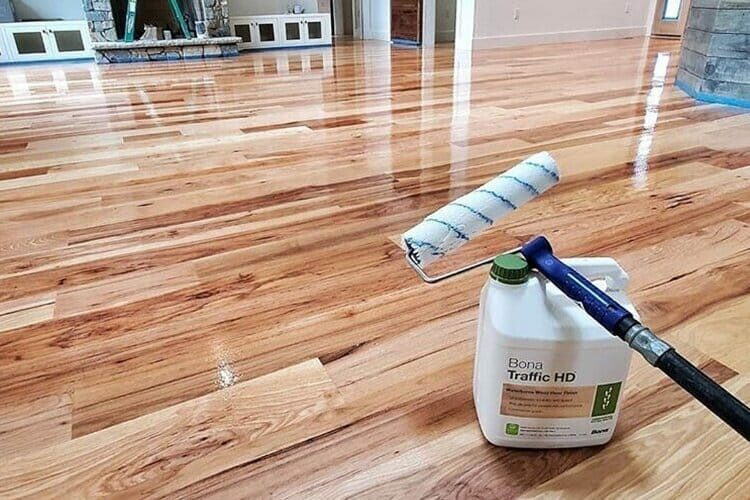
- Apply Finish: After the stain has dried completely, apply the first coat of finish. Allow it to dry for the recommended time before lightly sanding it with a fine-grit sandpaper. This helps the next layer of finish to adhere better. Vacuum up the dust and apply the second coat. Repeat the process for any additional coats.
- Cure: Let the finish cure for several days before moving furniture back into the room. The floor may feel dry to the touch sooner, but it needs time to fully harden.


Preventing Future Damage
Now that your hardwood floors have been restored, it’s important to take steps to prevent future damage.
- Routine Cleaning: Regularly sweep or vacuum your floors to prevent scratches from dirt and grit. Wipe up spills immediately to prevent water damage.
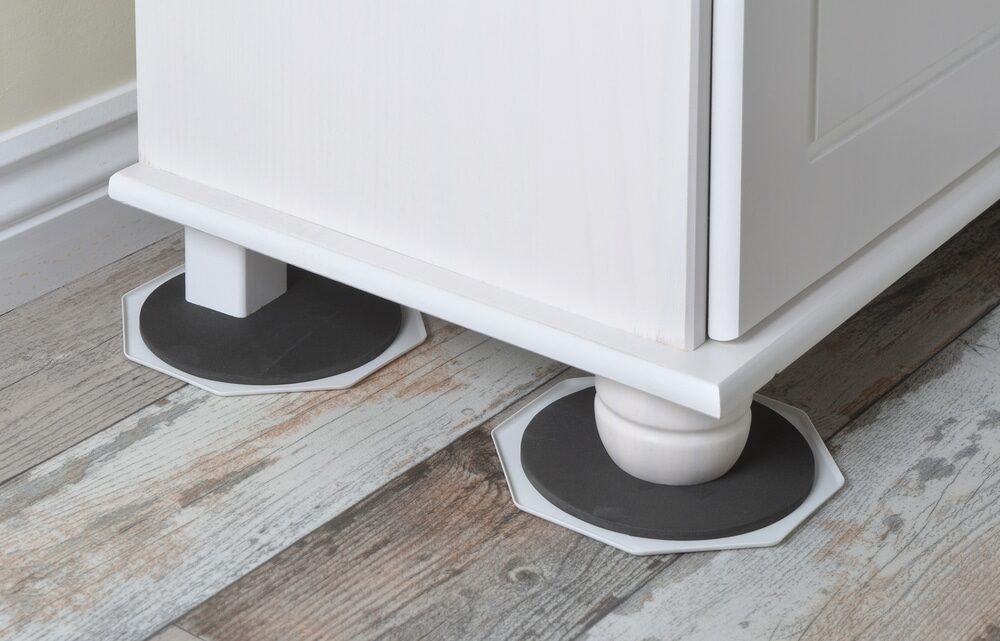
- Use protective pads: Attach felt or rubber pads to the bottoms of furniture legs to prevent scratches when furniture is moved.
- Rugs and runners: Use rugs and runners in high-traffic areas to reduce wear and tear.
- Refinishing Schedule: Consider a screen and recoat every few years to keep your floors looking their best.
When to Call a Professional
While hardwood floor restoration can be a DIY project, it can also be labour-intensive and require a certain level of skill and knowledge. Mistakes can lead to further damage and more costly repairs down the line. If you’re unsure about any part of the process, it might be best to call a professional.
Professionals have the experience and tools to efficiently restore your floors to their former glory, and they can often provide a guarantee for their work. It’s also a great option if you simply don’t have the time to do the job yourself.
Conclusion
Restoring your hardwood floors can breathe new life into them and bring back their original lustre and beauty. Whether you’re dealing with minor scratches or more severe damage, restoration can often be a more cost-effective solution than replacing your floors.
With a bit of time and effort—or the help of a professional—you can enjoy the warmth and elegance of your hardwood floors for many years to come. Remember, the key to keeping your floors in good condition is regular care and maintenance.
In this guide, we have walked you through everything you need to know about hardwood floor restoration, from understanding your floors and assessing the damage to the restoration process and preventing future damage.
Restoring your hardwood floors is not only an investment in your home but also a commitment to preserving the charm and character that only hardwood floors can provide. Happy restoring!


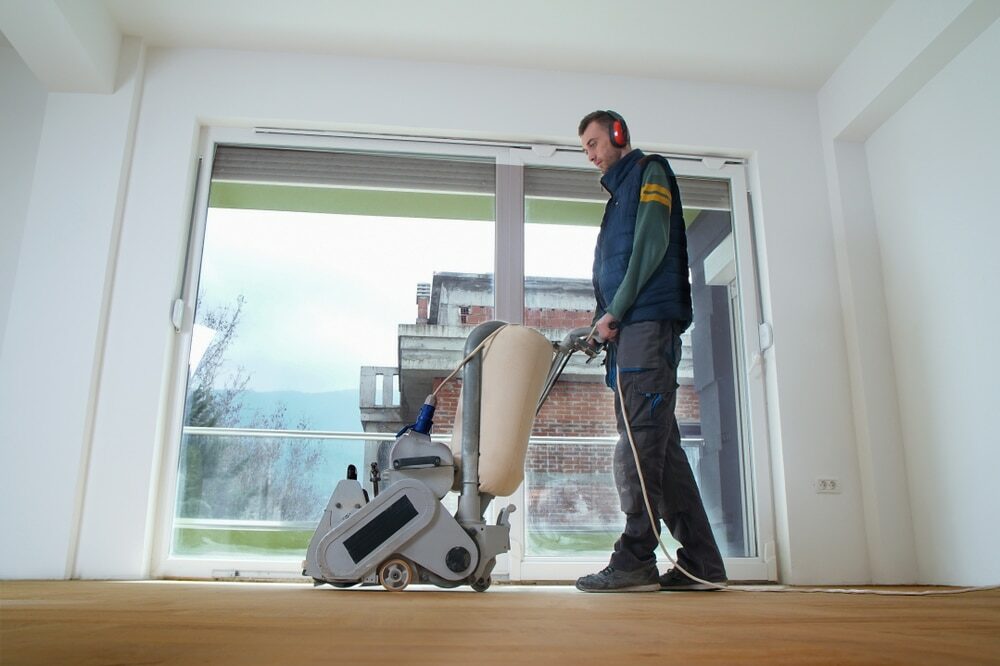
Sanding
We provide virtually dust-free sanding with our continuous belt machinery with mobile extraction units, giving you a safer environment for your family.
Oiling
This organic finish not only adds beauty to your home but also has exceptional water-repellent characteristics, making it easier to clean and maintain.
Waxing
This natural floor finish offers the softest and most mellow appearance – and leaves your floor able to breath.
Buffing
Using soft buffing machines (and hand-polishing where required) will bring a wonderful sheen to your newly-finished floor.
Repairs
We offer a full assessment of your wooden floors to determine what repairs are needed to provide the perfect working surface for the later stages of sanding, staining and sealing.
Restoration
We offer a comprehensive restoration process designed to address floors that are improperly fitted or damaged over time through wear and tear.
Request a fixed price quote for your wood floor restoration now
Simply enter your postcode below to get started.
Services
Wood Floor Sanding Wood Floor Restoration Wood Floor Scratch Repair Squeaky Wood Floor Repair Parquet Floor Sanding Parquet Floor Restoration Commercial Floor Sanding Church Floor Sanding Community Centre Floor Sanding School Floor Sanding Gap Filling Gap Filling with ResinCopyright © Mr Sander®
Privacy & Cookies Terms & Conditions Complaints Procedure Cancellation Rights Sitemap

Get An Instant Price Estimate Before You Go…
Simply enter the rooms you need sanded and we’ll provide you with a price estimate instantly! Try our price calculator now.
Get a Price Estimate NowLocal Floor Sanding Experts
Over 500 5-Star Reviews
Safe, Dust Free Sanding
Operating Since 1994