London:
Nationwide:
25,000+
Floors Restored
27 Years Experience
Wood Flooring Association Certified
The Ultimate Guide to Parquet Wood Floor Restoration
Posted on May 18, 2023
Hardwood Floors Sanding News
Mastering Parquet Wood Floor Restoration: Your Comprehensive Guide
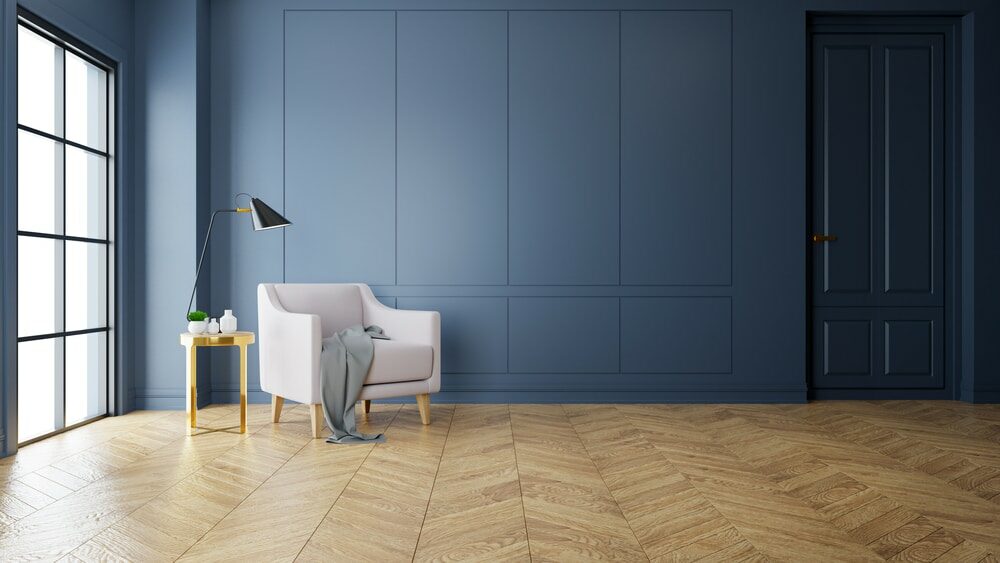
Parquet floors are a timeless addition to any home, adding a sense of charm and elegance with their unique geometric patterns. However, over time, they may lose their sparkle due to everyday wear and tear. But don’t worry; parquet flooring is resilient. With the right approach, you can restore its original beauty. This comprehensive guide will take you through the process of parquet wood floor restoration, ensuring you achieve the perfect finish.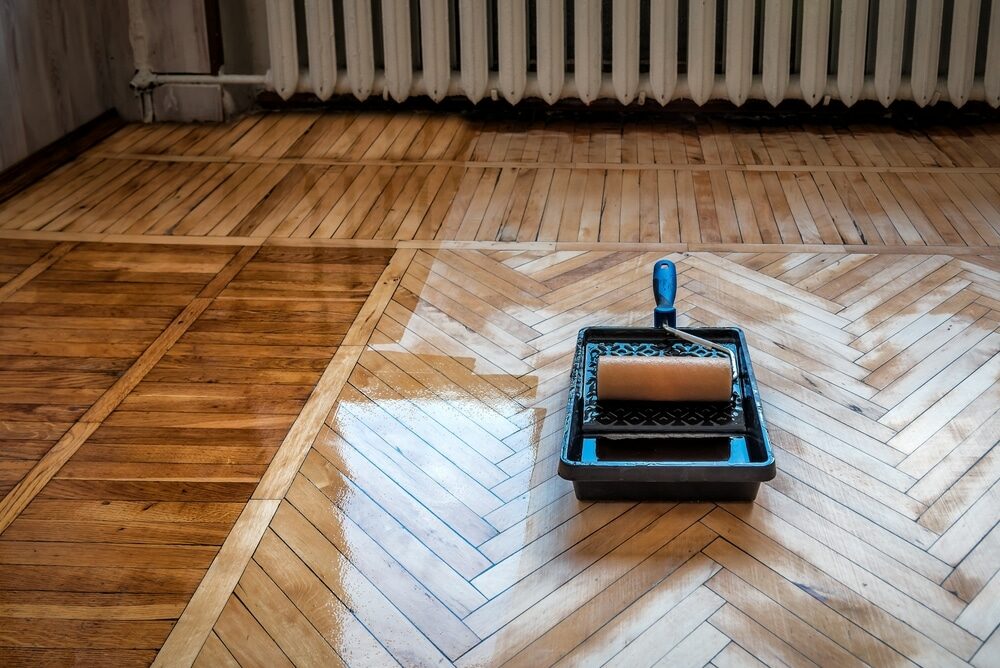
Understanding Parquet Flooring
Parquet flooring is a type of wood flooring made from small blocks or strips of wood laid in a geometric pattern. These designs can be simple, like herringbone or basket weave, or more complex, involving multiple shapes and patterns. While beautiful, parquet flooring can show signs of wear over time, including scratches, stains, or dullness. That’s where restoration comes in.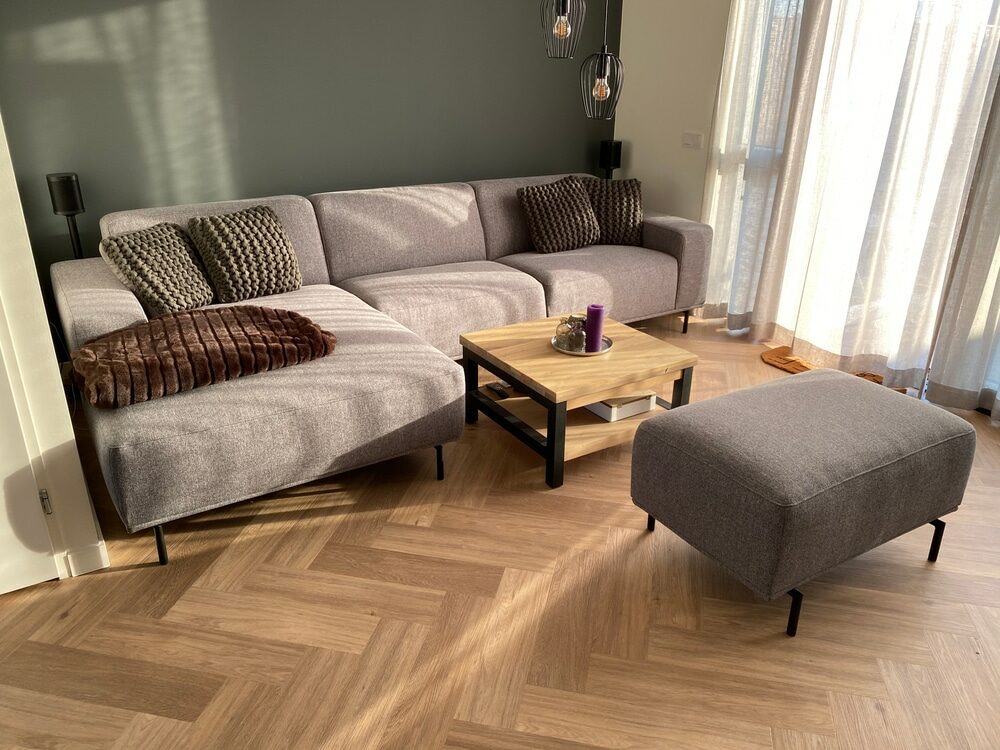
The Importance of Parquet Floor Restoration
Parquet floor restoration can bring back the floor’s original lustre, reveal the beauty of the wood grain, and enhance the intricate geometric patterns. It also adds longevity to your flooring, protects it from future damage, and can even increase the overall value of your home.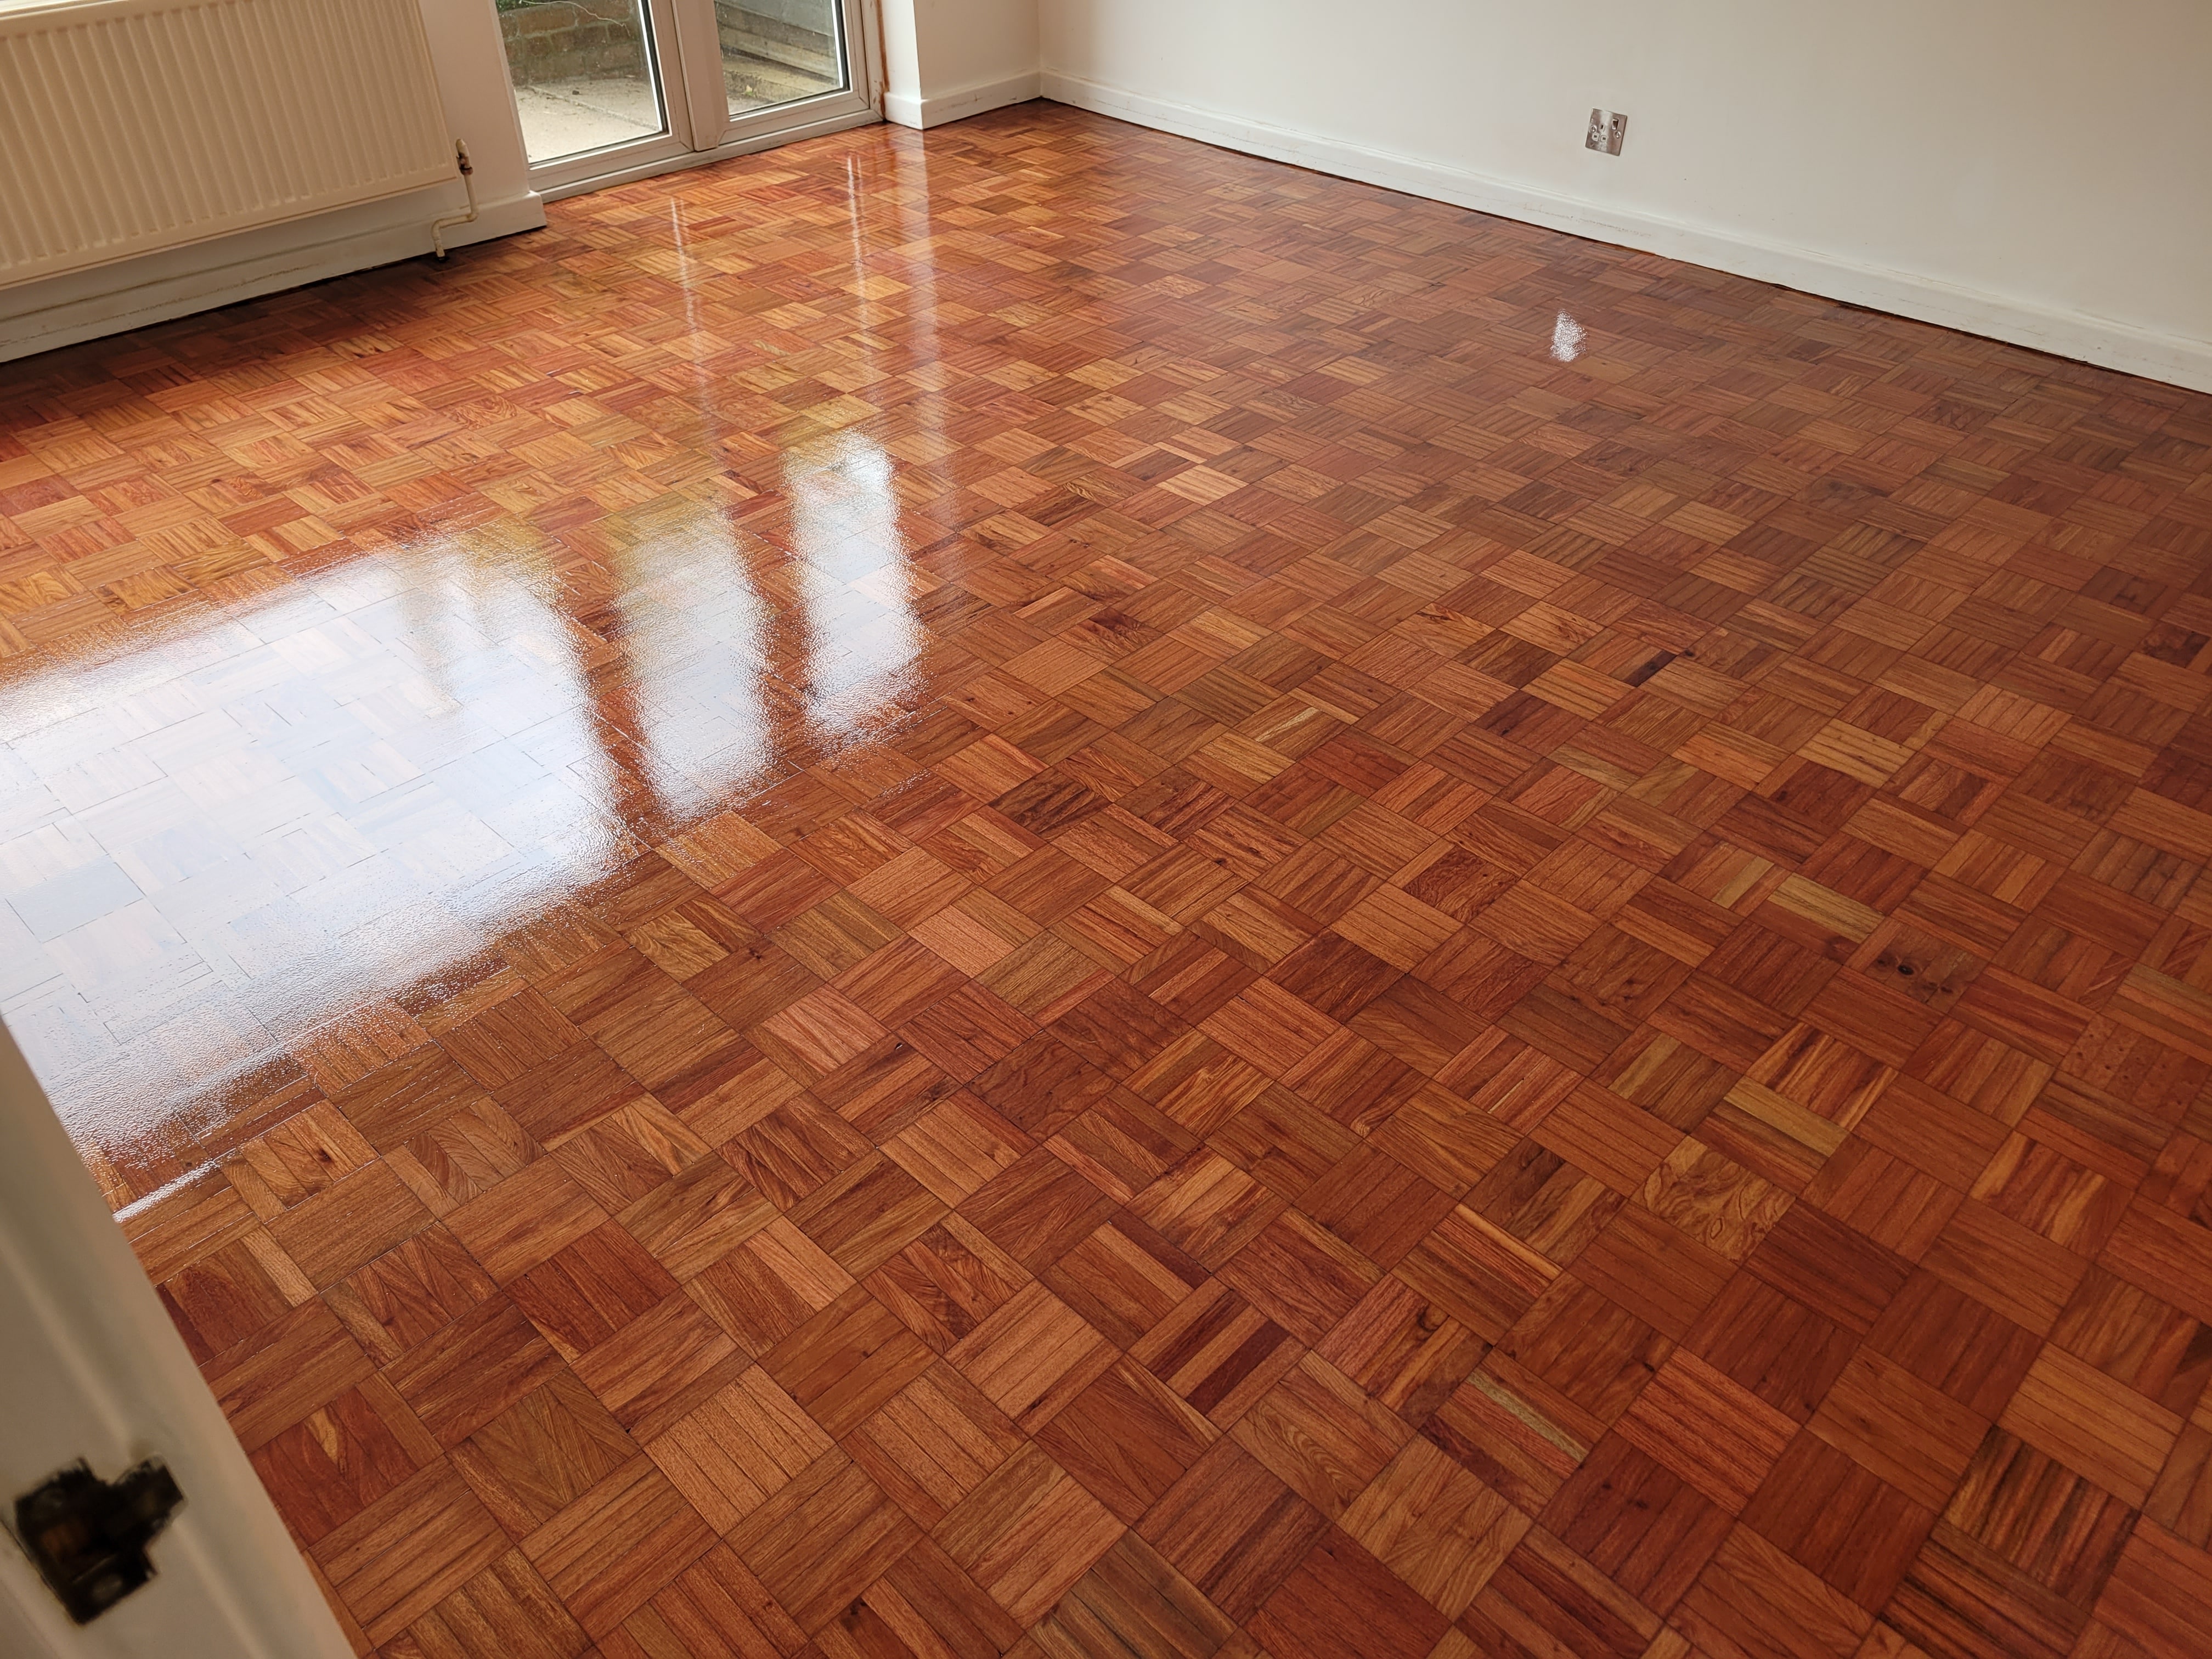
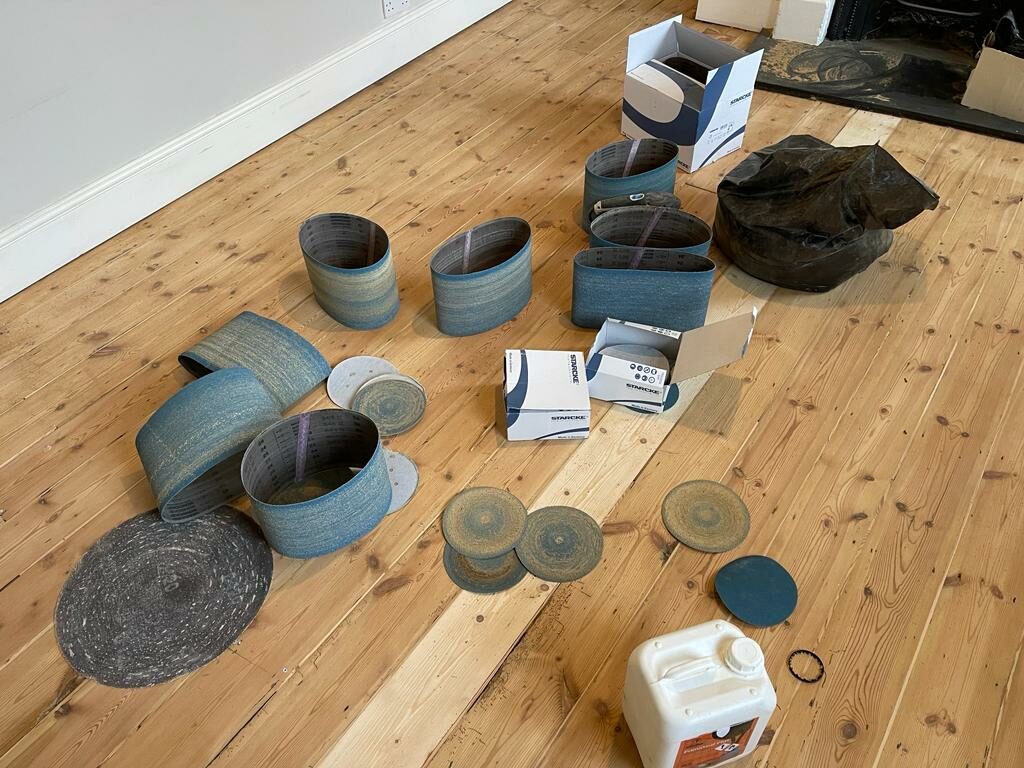
Necessary tools and materials
Restoring parquet flooring involves a similar process to other wood floor restorations, but its unique pattern requires some additional care. Here are the necessary tools and materials:- Drum or orbital sander: for sanding the main floor area. An orbital sander is often a safer choice for parquet, as it’s less likely to damage the wood.
- Edging Sander: For sanding along the edges of the room.
- Detail Sander: For intricate areas that other sanders can’t reach.
- Sandpaper: different grits ranging from coarse (36 or 40 grit) to fine (100–120 grit).
- Wood filler: to fill in any gaps or cracks.
- Wood stain: If you want to change the colour of the wood,
- Polyurethane Sealer: To protect the wood after sanding and staining.
- Brushes or rollers: for applying stain and sealer
- Vacuum cleaner and damp cloth: for cleaning up dust
- Safety Gear: including safety goggles, ear protection, and a dust mask
A Step-by-Step Guide to Parquet Floor Restoration
The process of restoring parquet flooring involves several steps, each contributing to the final result. Patience, careful preparation, and attention to detail are key.Step 1: Room Preparation
Remove all furniture from the room. Cover any vents, windows, and doors with plastic sheeting to prevent dust from spreading.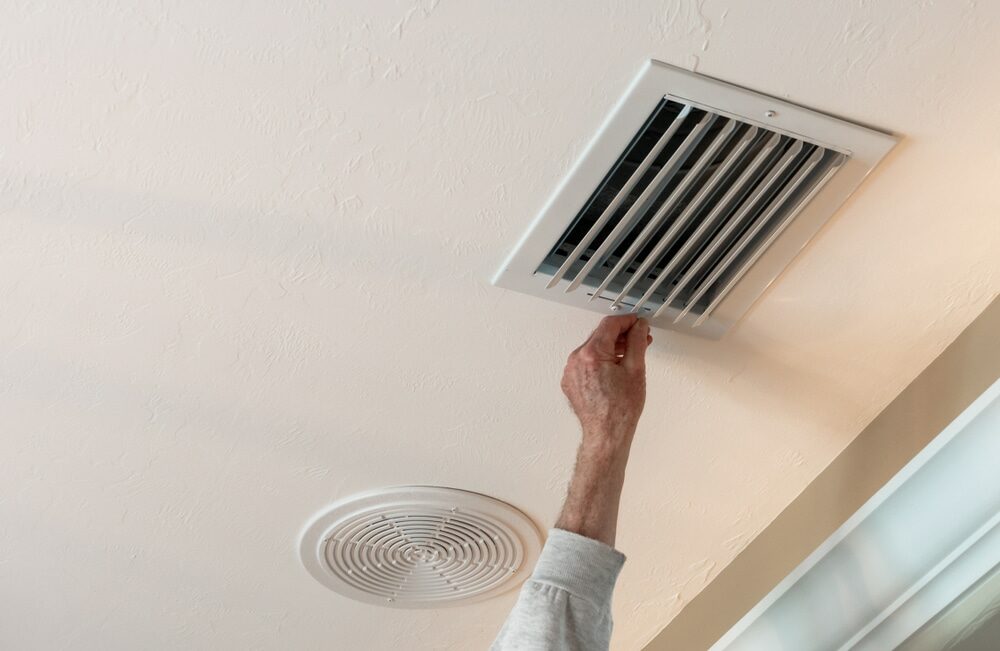
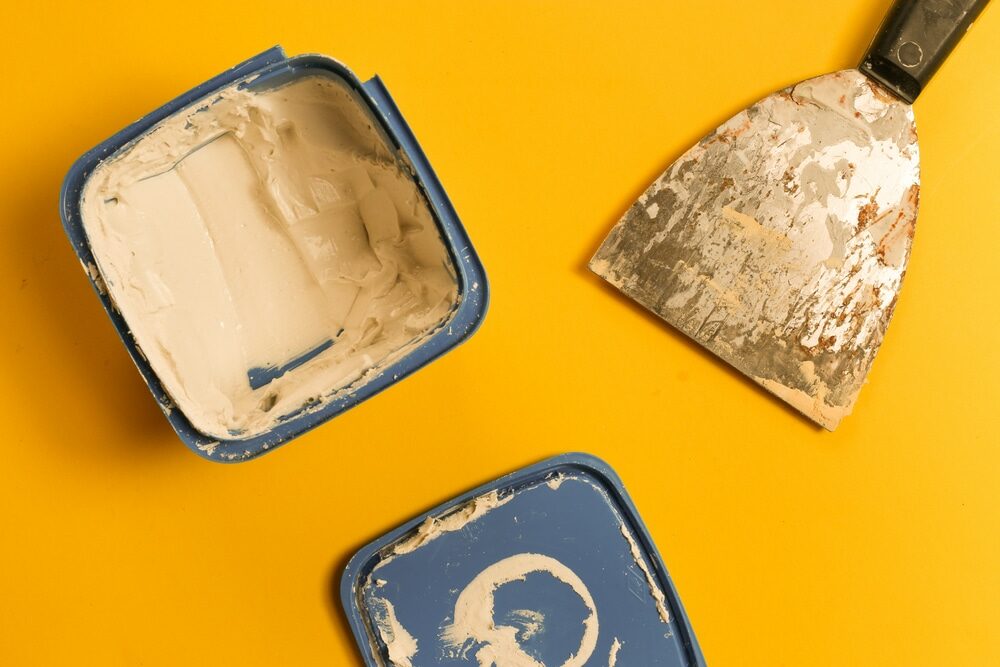
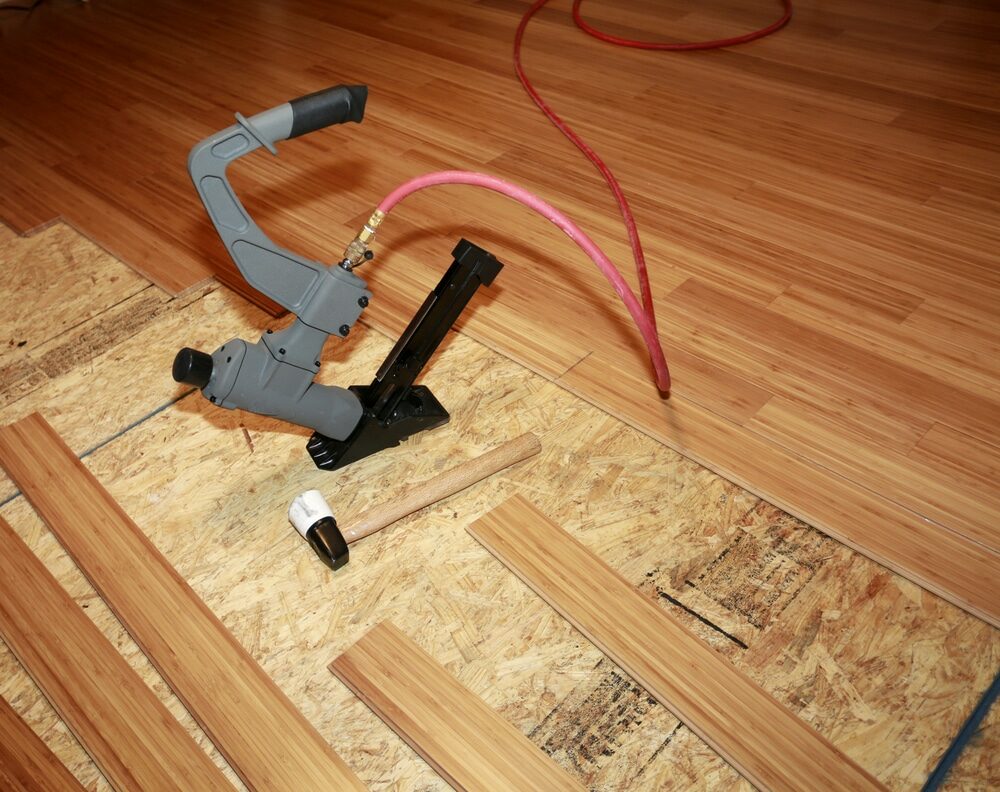
Step 2: Inspect and Prepare the Floor
Inspect the floor for any loose blocks, cracks, or protruding nails. Secure any loose blocks, fill any cracks with wood filler, and hammer down any nails.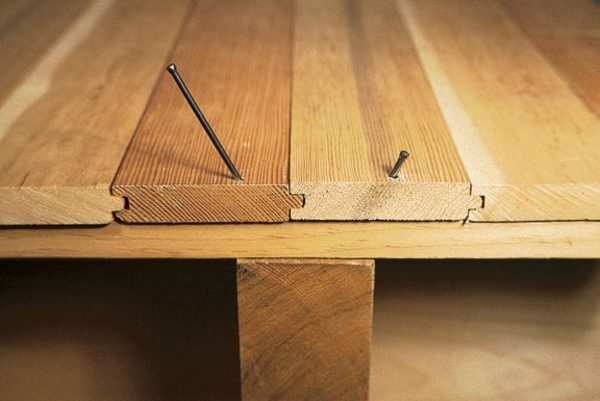
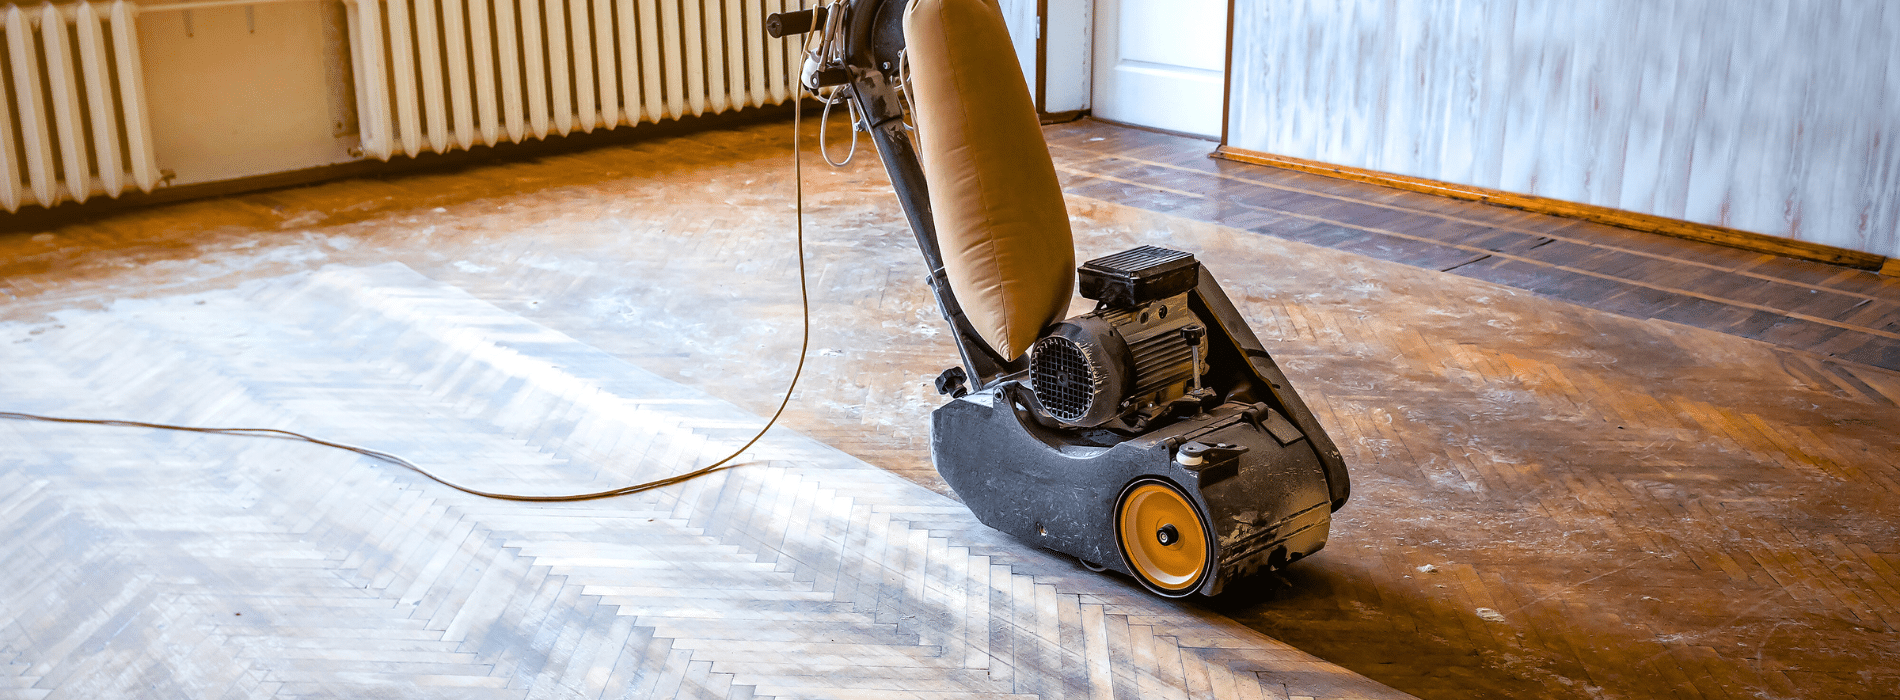
Step 3: Sanding
Sanding parquet floors can be tricky due to the direction of the wood grain. Using an orbital sander, start with coarse-grit sandpaper to remove the old finish and any surface imperfections. Sand diagonally against the grain, first in one direction and then in the other. This cross-grain sanding helps to avoid damage. Use an edge sander for the room’s edges and a detail sander for corners or other hard-to-reach areas. Repeat the sanding process with medium-grit and then fine-grit sandpaper, vacuuming between each sanding to remove dust.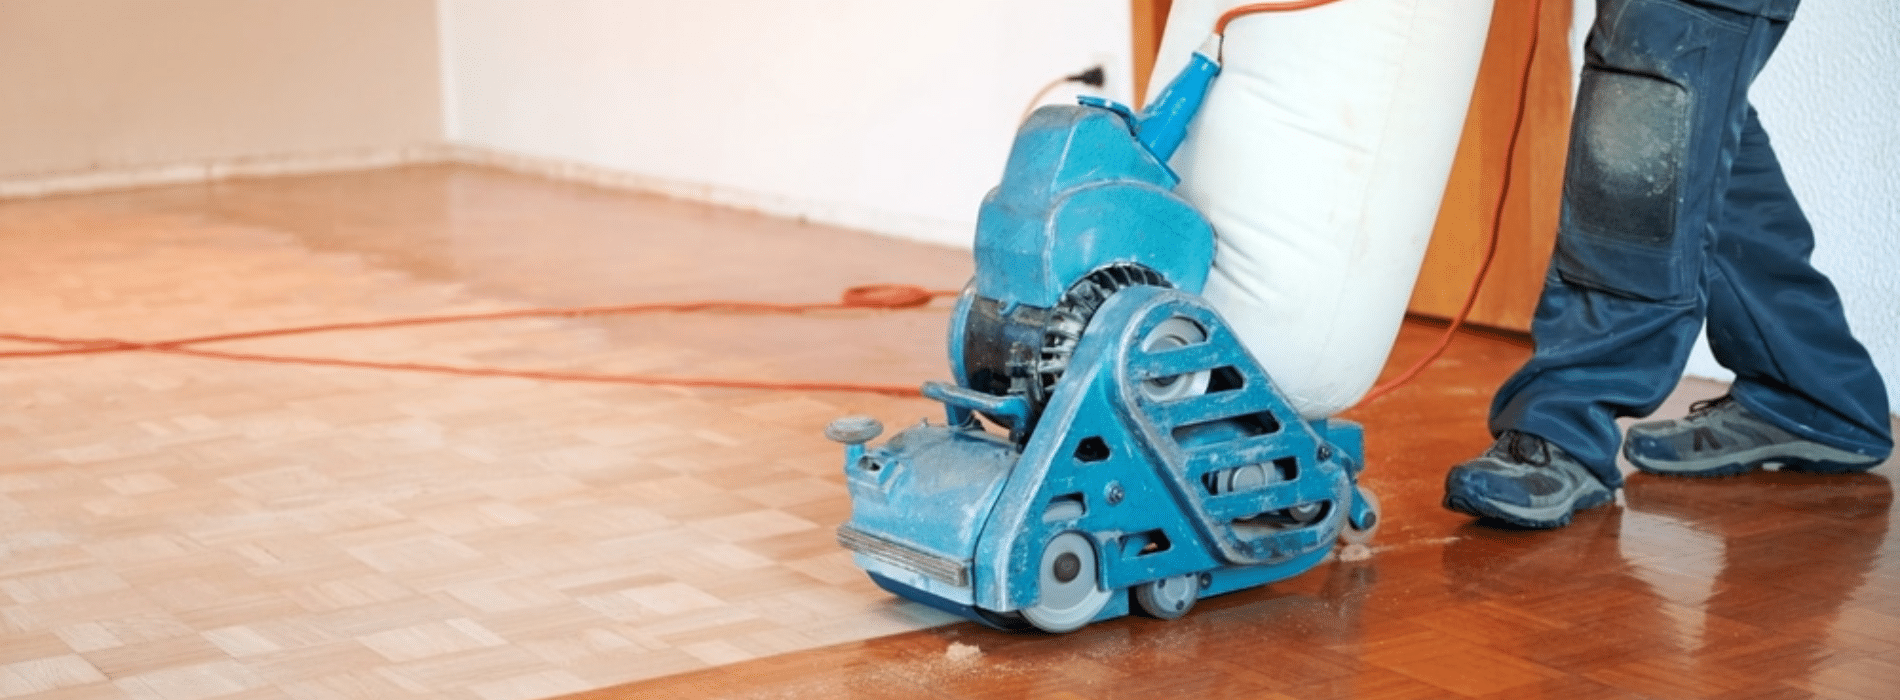
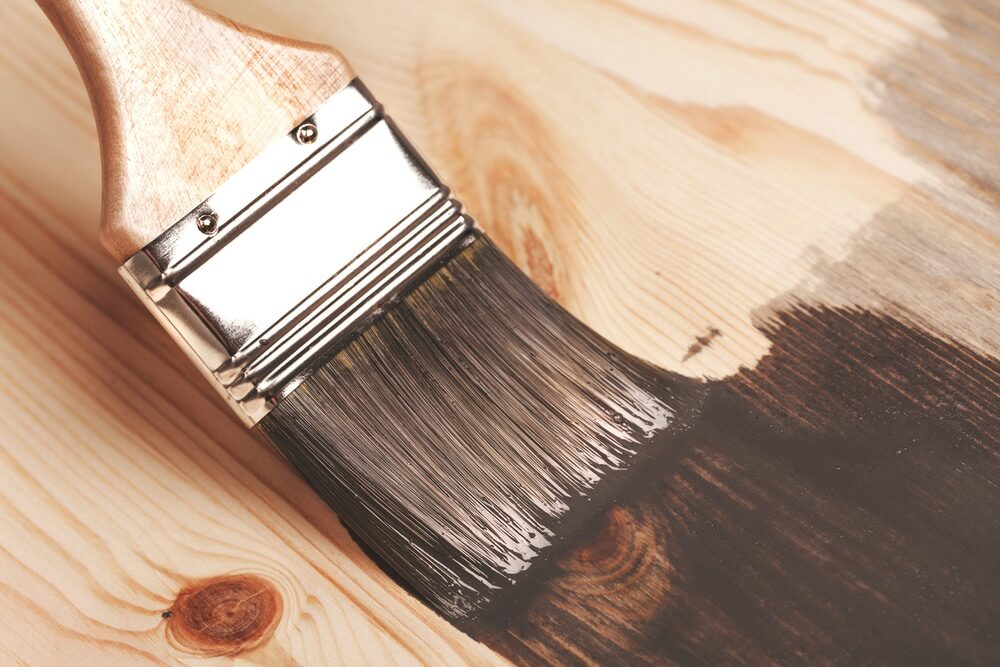
Step 4: Staining
Once the floor is sanded and clean, you may choose to apply a wood stain. This step is optional and depends on your personal preference. If you want to alter the colour of the parquet floor, use a brush or a rag to apply the stain, working in manageable sections and always going along the grain. Wipe off the excess stain with a clean rag and allow it to dry completely before proceeding. It’s important to note that the stain should be applied evenly to avoid blotchy areas.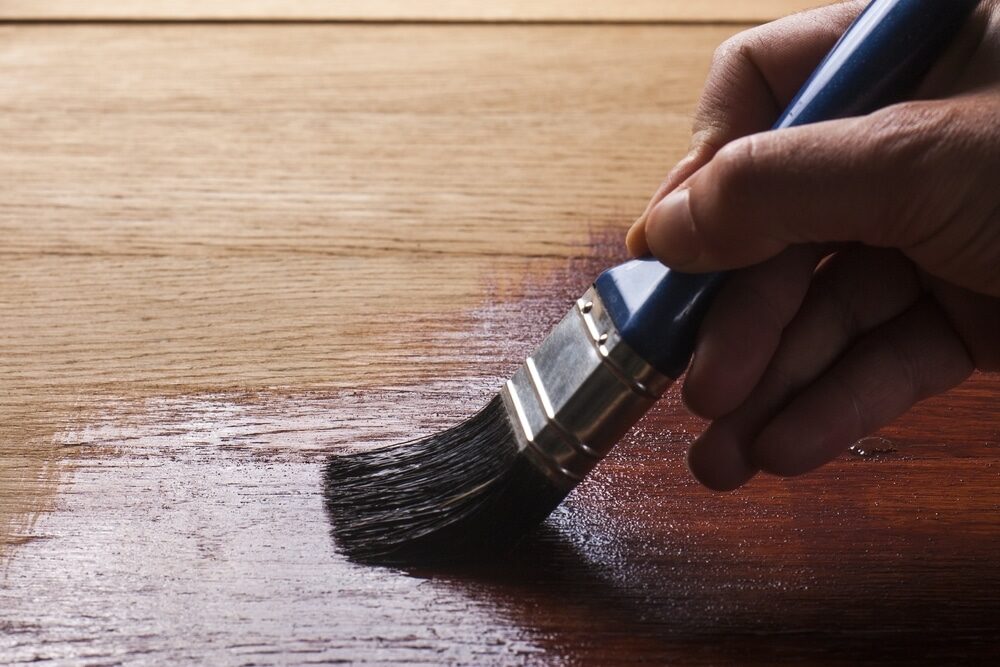
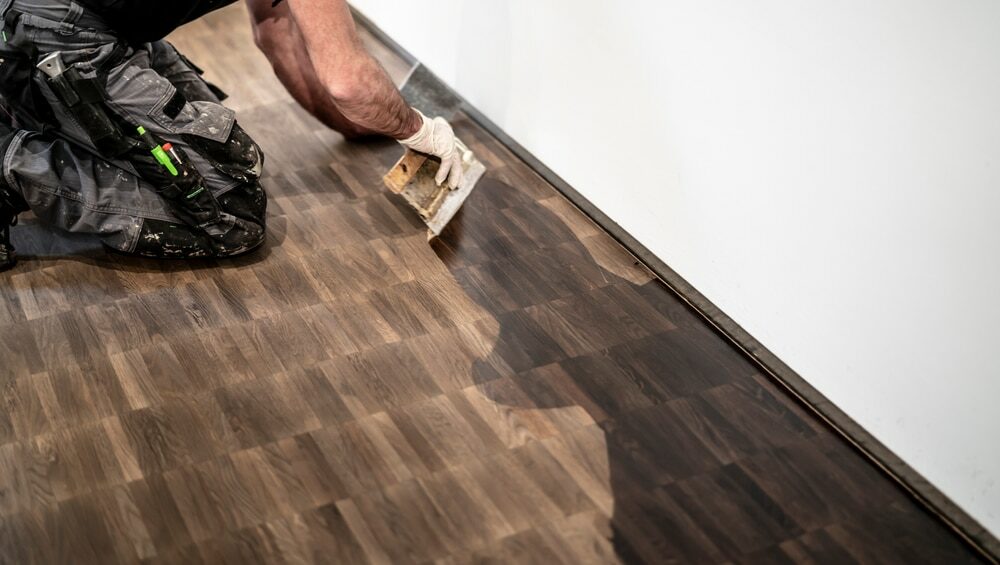
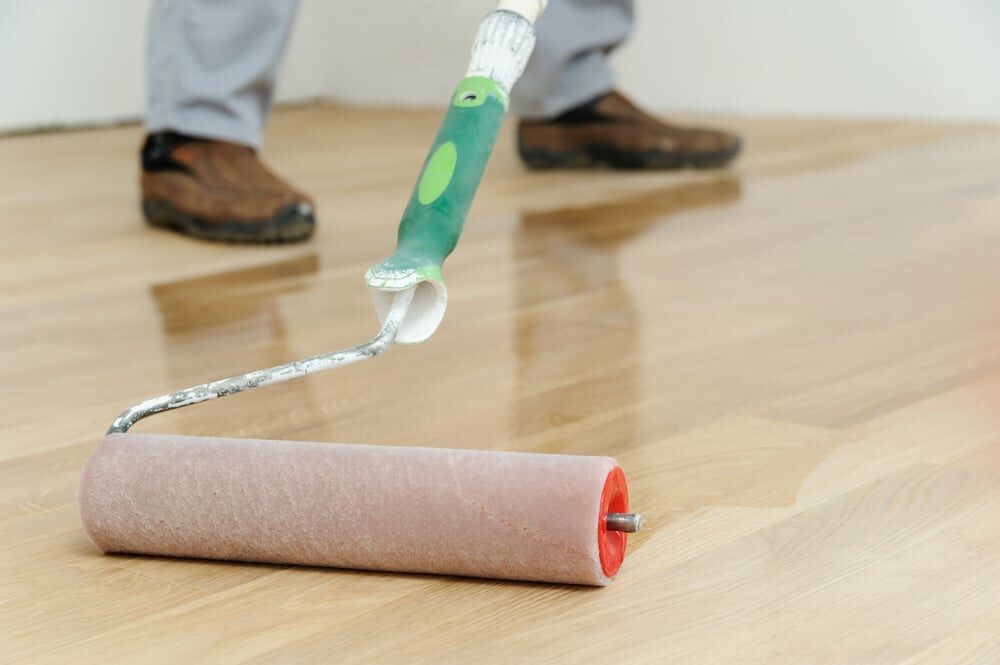
Step 5: Sealing
After the stain has dried, apply a polyurethane sealer to protect the wood and enhance its beauty. Use a brush or a roller to apply the sealer, starting at the farthest corner of the room and working towards the door. Apply it evenly and thinly, and allow it to dry completely. Most floors will benefit from at least two coats of sealer, but ensure each coat is dry before applying the next.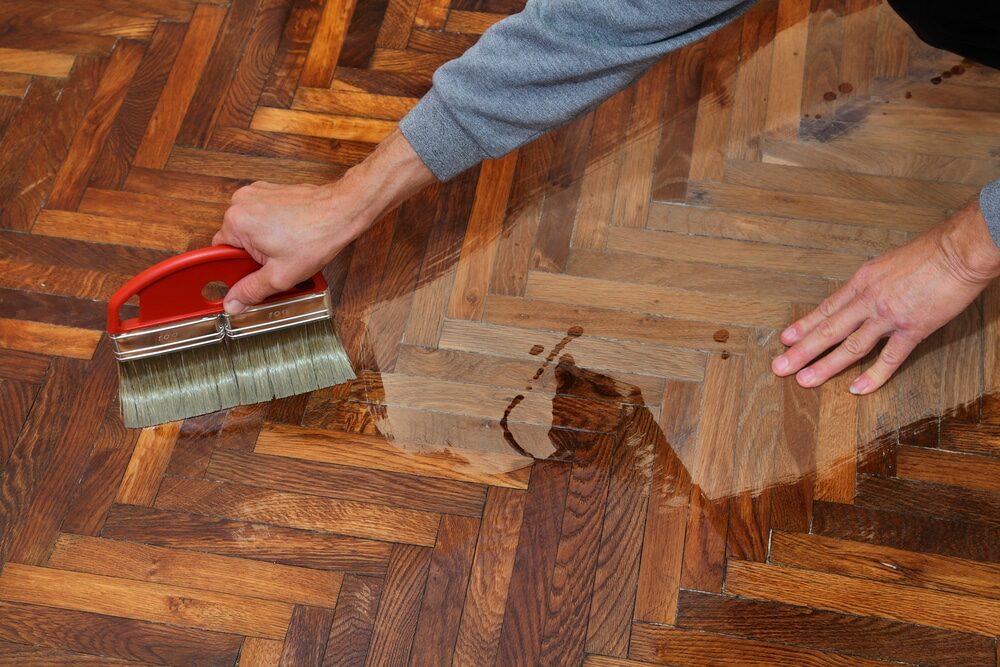
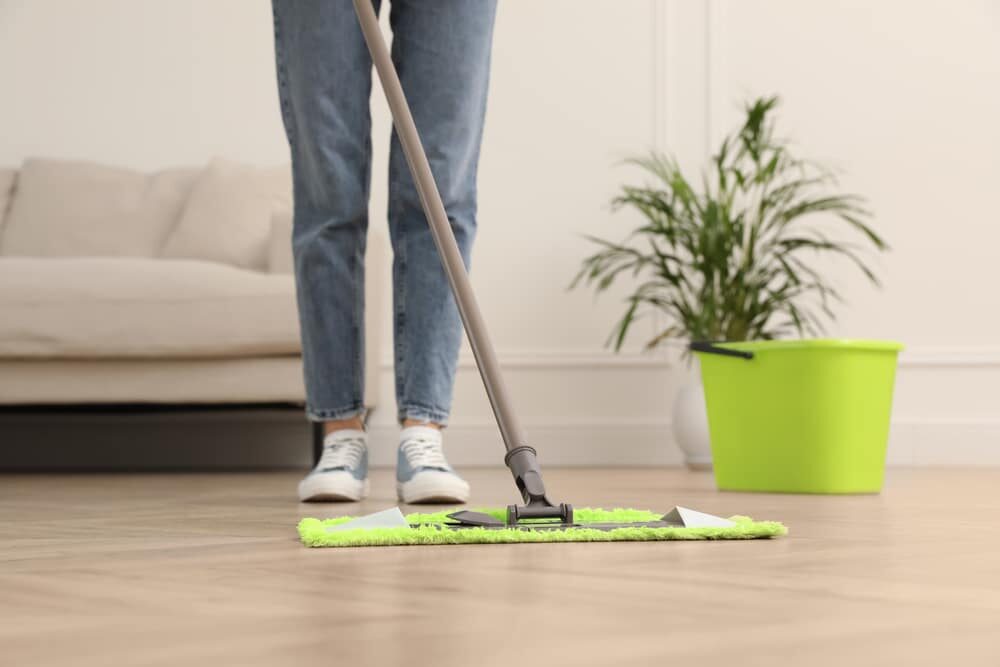
Step 6: Final Touches
After the final coat of sealer has dried, your parquet floor should be gleaming again. Replace the furniture carefully to avoid scratching your newly restored floor, and consider using felt pads under the furniture legs for additional protection.Tips for a Perfect Parquet Wood Floor Restoration
Here are some tips to ensure your parquet floor restoration goes smoothly:Grain Direction:
Always remember that the grain direction of parquet flooring can vary due to the pattern. This can make sanding more challenging. Always sand diagonally to the grain to avoid damaging the wood.Take your time:
Don’t rush the process. Good restoration takes time, and you should allow adequate time for each stage, especially drying times for stains and sealers.Safety Measures:
Always use safety gear when restoring your floors. This includes eye and hearing protection and a dust mask to prevent inhalation of wood dust.Test Stains and Sealers:
Before applying stains or sealers to your entire floor, test them on a small, inconspicuous area to ensure you’re happy with the colour and finish.Hire Professionals for Complex Cases:
If your parquet floor is severely damaged or you’re unsure about any step in the process, consider hiring a professional. Parquet floor restoration can be a complex task, and a professional will have the necessary tools and experience.Conclusion
Restoring a parquet floor can be a rewarding project that significantly enhances the appeal of your home. While it does require time, patience, and a bit of hard work, the result is a beautifully restored floor that will continue to charm and impress for many years to come. Keep in mind the unique nature of parquet flooring and adjust your approach accordingly for the best results. Whether you choose to do it yourself or hire a professional, a well-restored parquet floor is sure to be a stunning centrepiece in your home.Some Useful Links:
- Floor Sanding Services
- School Floor Sanding
- Wood Floor Restorations
- Wood Floor Repairs
- Wood Floor Polishing
More from our Blog:
Key Rules for Preparing Your Wood Floor for SandingFloor Sanding Services in London: Choosing Experts for Your Wooden Floors
Wood Floor Filling Tips: A Comprehensive Guide to Flawless Flooring
Answering Your Questions about Dustless Floor Sanding in 2023
Best Floor Sanding Company: A Guide to Choosing Right Company


Sanding
We provide virtually dust-free sanding with our continuous belt machinery with mobile extraction units, giving you a safer environment for your family.
Oiling
This organic finish not only adds beauty to your home but also has exceptional water-repellent characteristics, making it easier to clean and maintain.
Waxing
This natural floor finish offers the softest and most mellow appearance – and leaves your floor able to breath.
Buffing
Using soft buffing machines (and hand-polishing where required) will bring a wonderful sheen to your newly-finished floor.
Repairs
We offer a full assessment of your wooden floors to determine what repairs are needed to provide the perfect working surface for the later stages of sanding, staining and sealing.
Restoration
We offer a comprehensive restoration process designed to address floors that are improperly fitted or damaged over time through wear and tear.
Request a fixed price quote for your wood floor restoration now
Simply enter your postcode below to get started.
Services
Wood Floor Sanding Wood Floor Restoration Wood Floor Scratch Repair Squeaky Wood Floor Repair Parquet Floor Sanding Parquet Floor Restoration Commercial Floor Sanding Church Floor Sanding Community Centre Floor Sanding School Floor Sanding Gap Filling Gap Filling with ResinCopyright © Mr Sander®
Privacy & Cookies Terms & Conditions Complaints Procedure Cancellation Rights Sitemap

Get An Instant Price Estimate Before You Go…
Simply enter the rooms you need sanded and we’ll provide you with a price estimate instantly! Try our price calculator now.
Get a Price Estimate NowLocal Floor Sanding Experts
Over 500 5-Star Reviews
Safe, Dust Free Sanding
Operating Since 1994