London:
Nationwide:
25,000+
Floors Restored
27 Years Experience
Wood Flooring Association Certified
How to Use a Drum Sander – Hints and Tips
Posted on June 14, 2023
Floor Sanding News
Mastering the Drum Sander: A Comprehensive DIY Guide | Floor Sanding Tips
The drum sander is an intimidating beast of a machine, yet a game-changer for floor sanding projects. It can handle large surface areas, remove old finishes, and smooth out unevenness with relative ease. However, using a drum sander effectively does require a bit of know-how. This comprehensive guide will provide you with all the knowledge, hints, and tips you need to tackle your floor sanding project with confidence using a drum sander.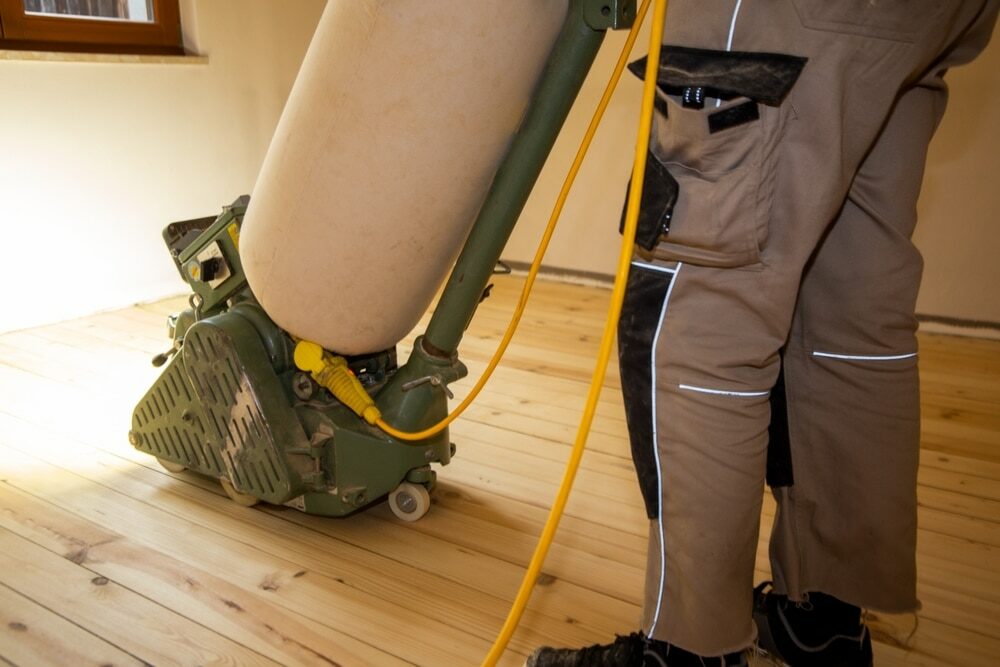
Understanding the drum sander
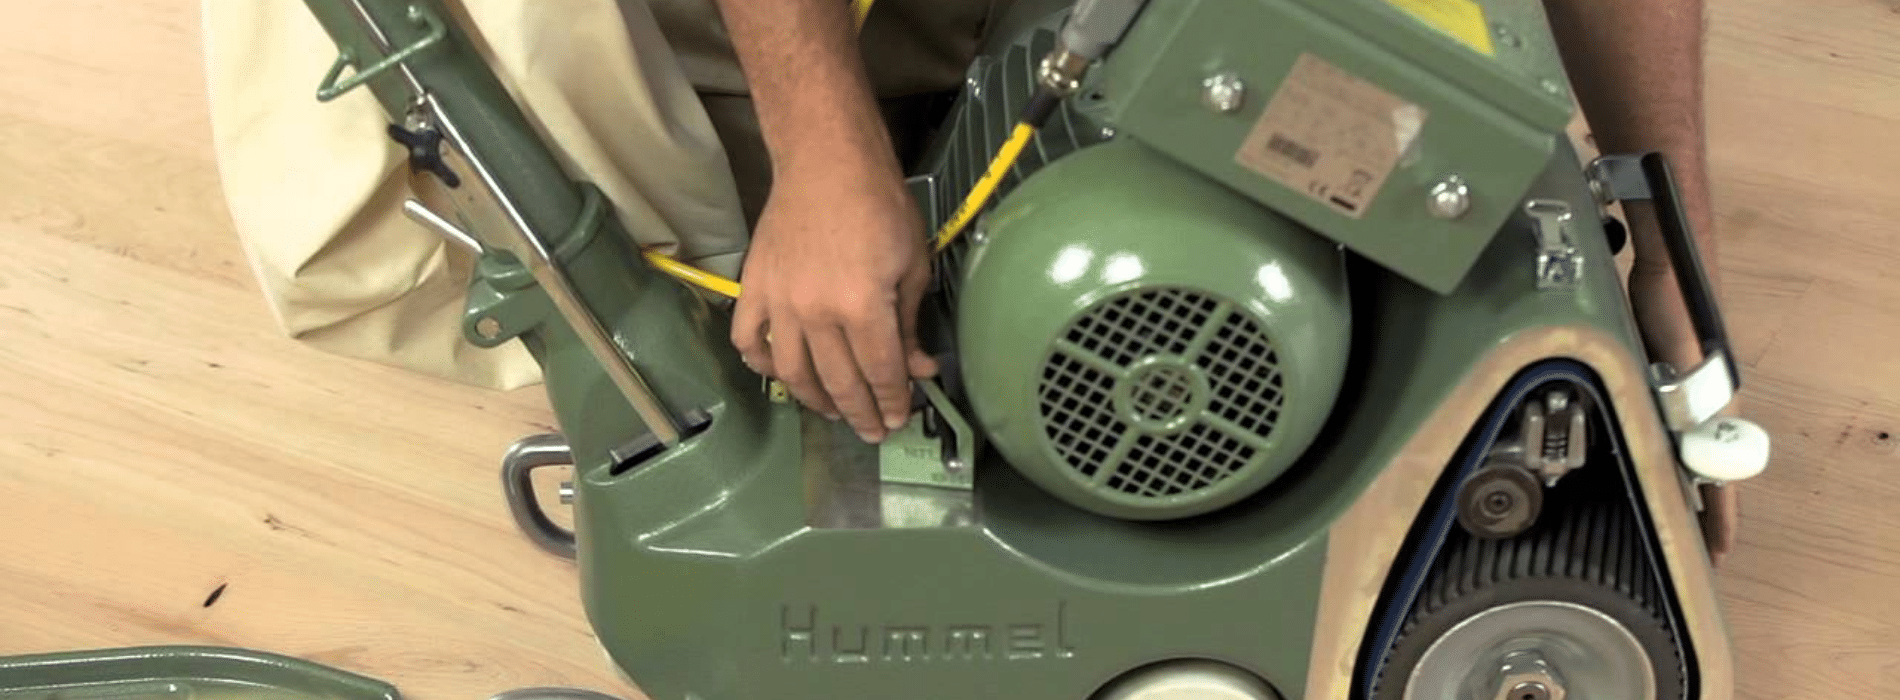
What is a drum sander?
A drum sander is a large, heavy-duty power tool used for sanding wood flooring and decking. It consists of a rotating cylindrical drum wrapped with sandpaper, hence the name ‘drum’ sander. This tool is designed to be pushed or pulled across the floor to shave off the top layer of wood.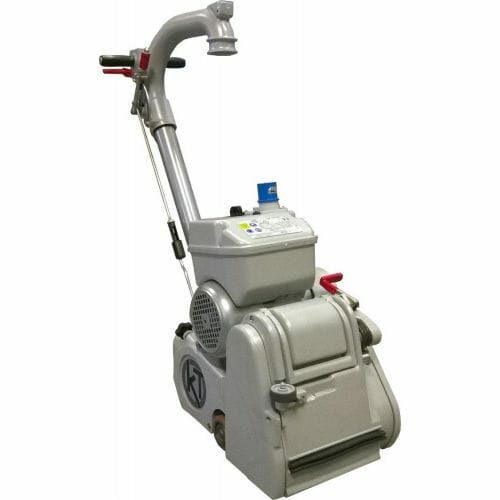
When to Use a Drum Sander
A drum sander is ideal when you need to:- Strip Old Finishes: Drum sanders are excellent for removing old paint, varnish, or discolorations from your wooden floors.
- Level Floors: If your floorboards are uneven, a drum sander can help smooth and level them.
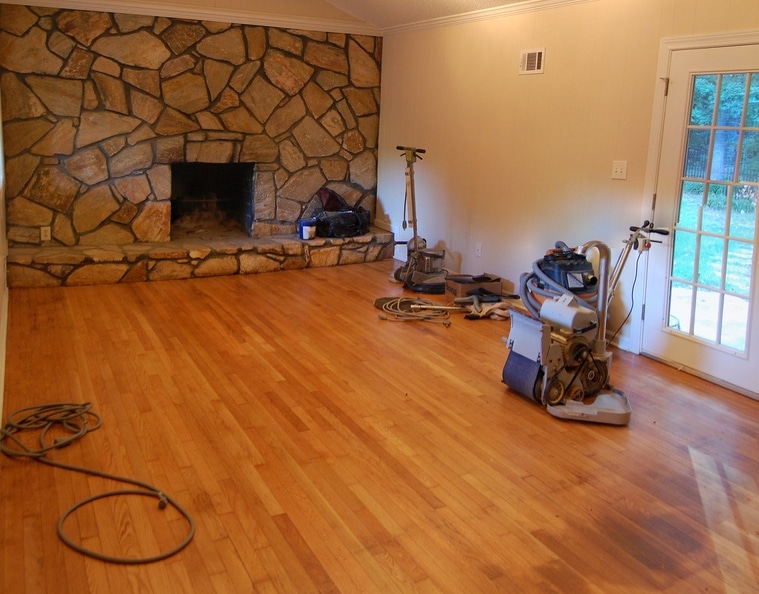
- Refinish Large Areas: Drum sanders are perfect for large surface areas due to their power and size.
Getting Started: The Essentials
Before you begin, ensure you have the necessary equipment:- Drum Sander
- Sandpaper of varying grits (24, 36, 60, and 100 are typically used)
- Safety gear: dust mask, ear protection, safety goggles
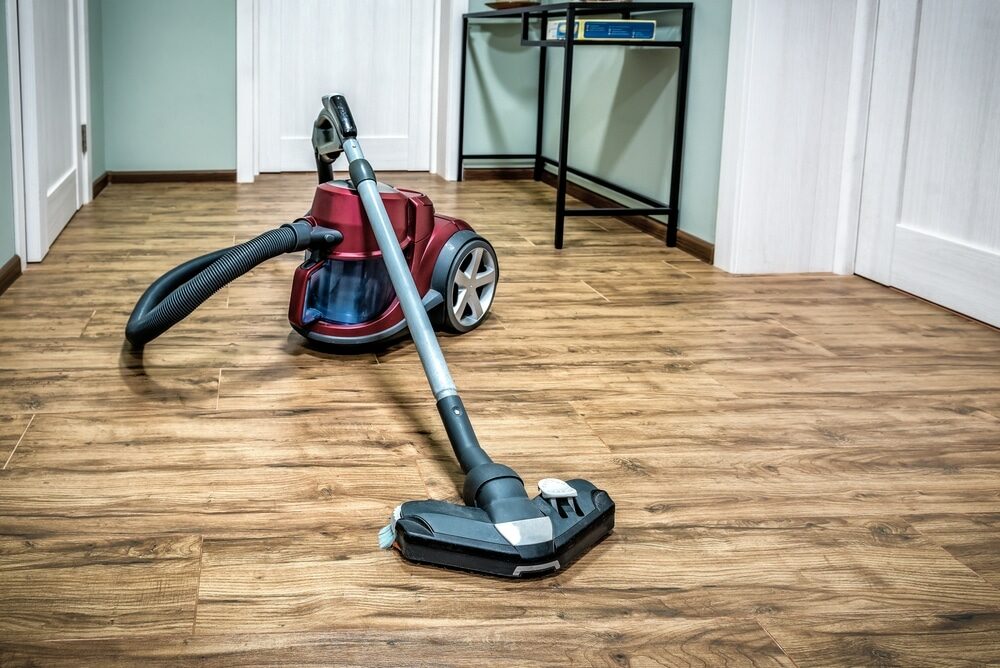
- Broom or vacuum cleaner
- High-density foam roller
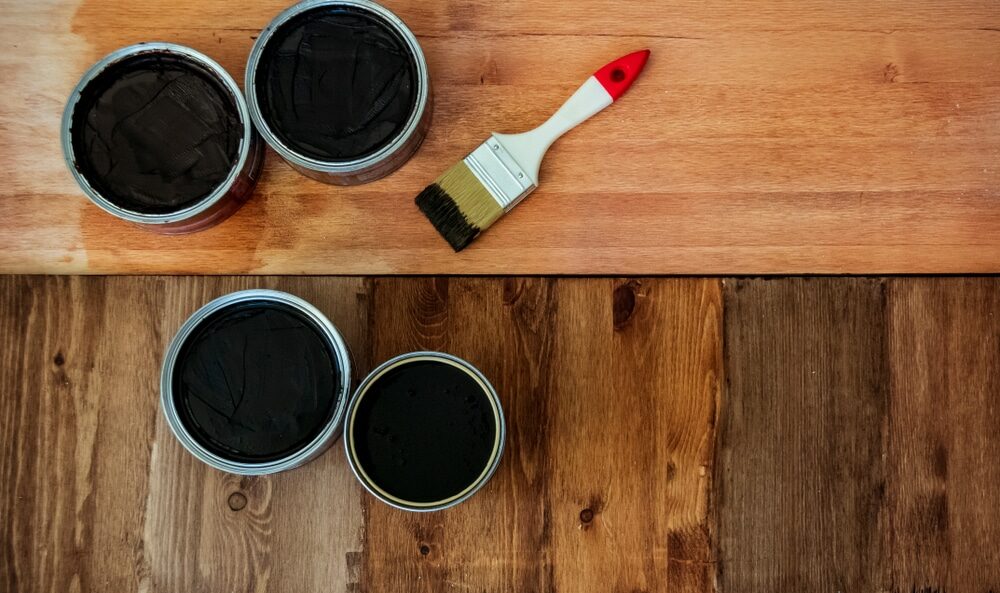
- Wood stain or finish
- A notepad and pencil

Step 1: Safety first
Always start with safety. Put on your dust mask, safety goggles, and ear protection. These tools are essential to protect you from dust and the noise of the sander. It’s also a good idea to wear old clothes and closed-toe shoes.Step 2: Know Your Drum Sander
Familiarise yourself with the drum sander. Typically, there’s a handle at the back that allows you to raise and lower the drum. The drum should be raised while the machine is stationary and only lowered once the machine is moving. Make sure you know how to switch it on and off quickly and safely.Step 3: Load the sandpaper
Choose the right grit of sandpaper. Start with a lower number, like 24 or 36 grit, for initial sanding. The lower the number, the coarser the sandpaper. Attach the sandpaper to the drum using the clamp mechanism.Step 4: Start sanding
Start in a corner of the room and work your way towards the exit so that you’re not walking over the freshly sanded floor. Turn on the sander and begin moving before lowering the drum to the floor.Step 5: Keep it moving
It’s crucial to keep the drum sander moving. If left in one spot for too long, it can create dips in the floor. Always sand in the direction of the wood grain and overlap your sanding passes by about one-third of the sander’s width.Step 6: Sanding Passes and Grit Progression
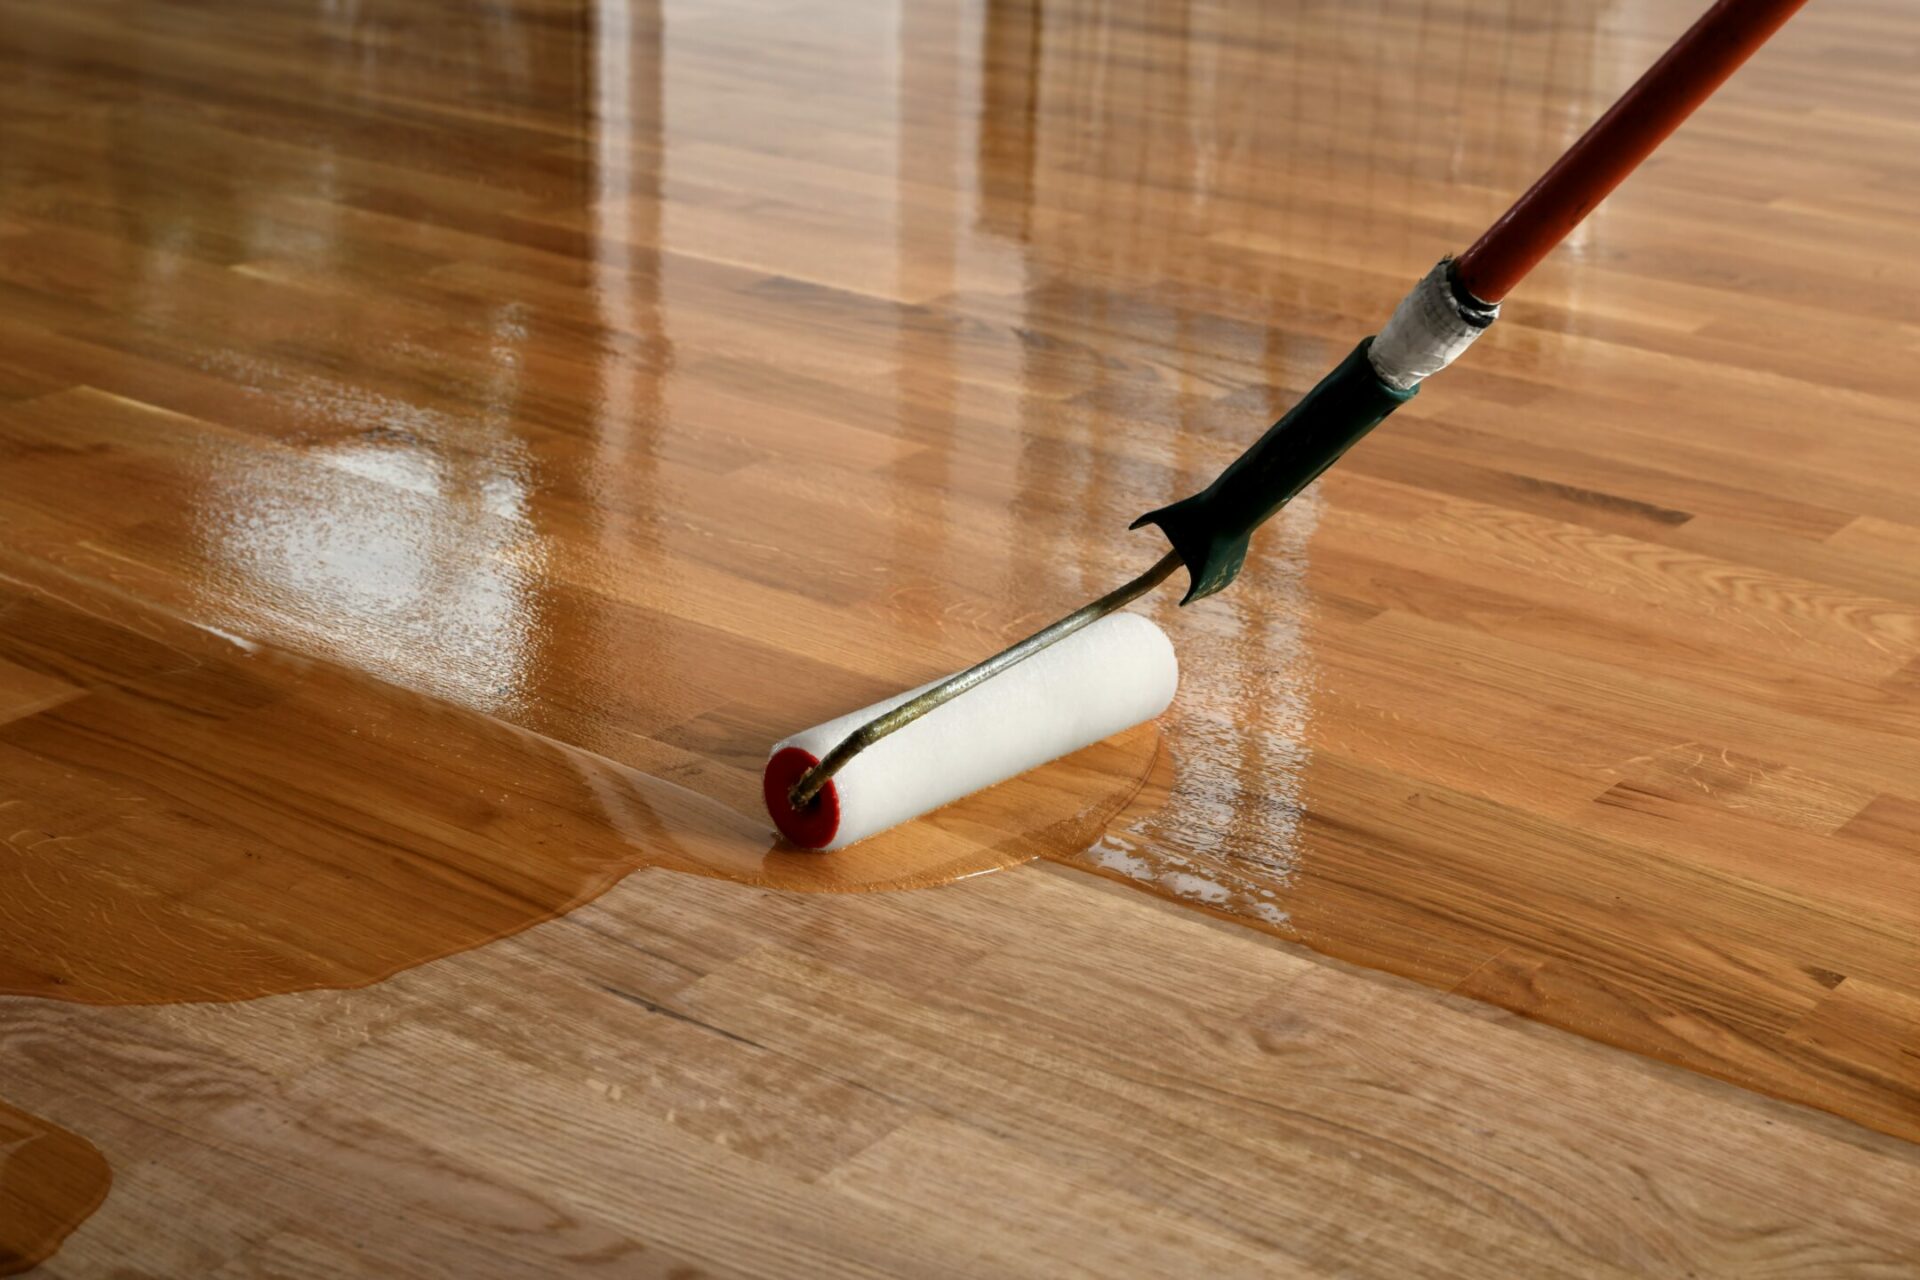
After the initial pass, vacuum or sweep up the dust. Repeat the process with medium-grit (60-grit) sandpaper. Finish off with a fine (100-grit) sandpaper. Remember to vacuum or sweep between each pass.Step 7: Apply Your Finish
Once you’re satisfied with your sanding, it’s time to apply your chosen finish or stain. Use a high-density foam roller for an even application.Conclusion
With practise, patience, and the right knowledge, you’ll master using a drum sander to breathe new life into your wooden floors. Remember, safety should be your priority, and don’t rush the process. Enjoy the transformative power of this mighty machine and be proud of your DIY accomplishments.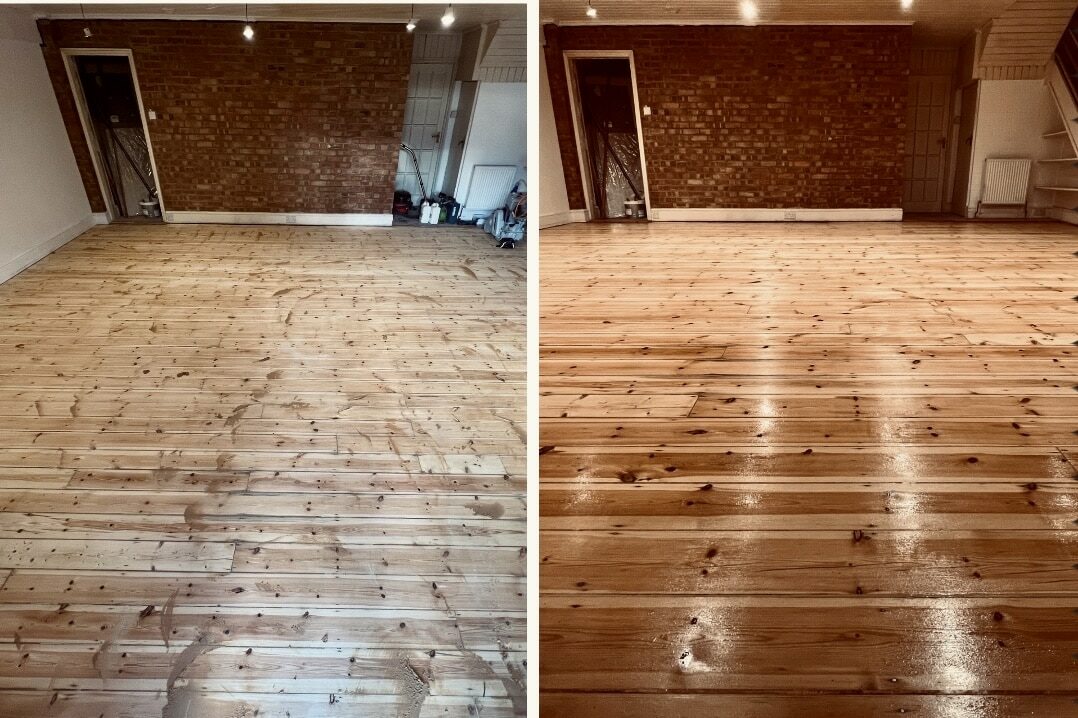
Pro Tips
- Test Run: Practise using the drum sander on a hidden area or a piece of scrap wood before starting on your main floor.
- Keep a Record: Note down your observations, particularly the number of sanding passes and the effect of different sandpaper grits. This will be helpful for future projects.
- Patience is key. The drum sander is powerful. Resist the temptation to push it too hard. Let it do its work at its own pace for the best results.
Some Useful Links:
- Floor Sanding Services
- School Floor Sanding
- Wood Floor Restorations
- Wood Floor Repairs
- Wood Floor Polishing
More from our Blog:
Sanding Wooden Floors – A Comprehensive DIY Guide for Beginners Unveiling the Secrets of Successful Floor Sanding Avoid Common Mistakes When Sanding Hardwood Floors Using a Drum Floor Sander – Why and How? | Mr Sander®
Sanding
We provide virtually dust-free sanding with our continuous belt machinery with mobile extraction units, giving you a safer environment for your family.
Oiling
This organic finish not only adds beauty to your home but also has exceptional water-repellent characteristics, making it easier to clean and maintain.
Waxing
This natural floor finish offers the softest and most mellow appearance – and leaves your floor able to breath.
Buffing
Using soft buffing machines (and hand-polishing where required) will bring a wonderful sheen to your newly-finished floor.
Repairs
We offer a full assessment of your wooden floors to determine what repairs are needed to provide the perfect working surface for the later stages of sanding, staining and sealing.
Restoration
We offer a comprehensive restoration process designed to address floors that are improperly fitted or damaged over time through wear and tear.
Request a fixed price quote for your wood floor restoration now
Simply enter your postcode below to get started.
Services
Wood Floor Sanding Wood Floor Restoration Wood Floor Scratch Repair Squeaky Wood Floor Repair Parquet Floor Sanding Parquet Floor Restoration Commercial Floor Sanding Church Floor Sanding Community Centre Floor Sanding School Floor Sanding Gap Filling Gap Filling with ResinCopyright © Mr Sander®
Privacy & Cookies Terms & Conditions Complaints Procedure Cancellation Rights Sitemap

Get An Instant Price Estimate Before You Go…
Simply enter the rooms you need sanded and we’ll provide you with a price estimate instantly! Try our price calculator now.
Get a Price Estimate NowLocal Floor Sanding Experts
Over 500 5-Star Reviews
Safe, Dust Free Sanding
Operating Since 1994