London:
Nationwide:
25,000+
Floors Restored
27 Years Experience
Wood Flooring Association Certified
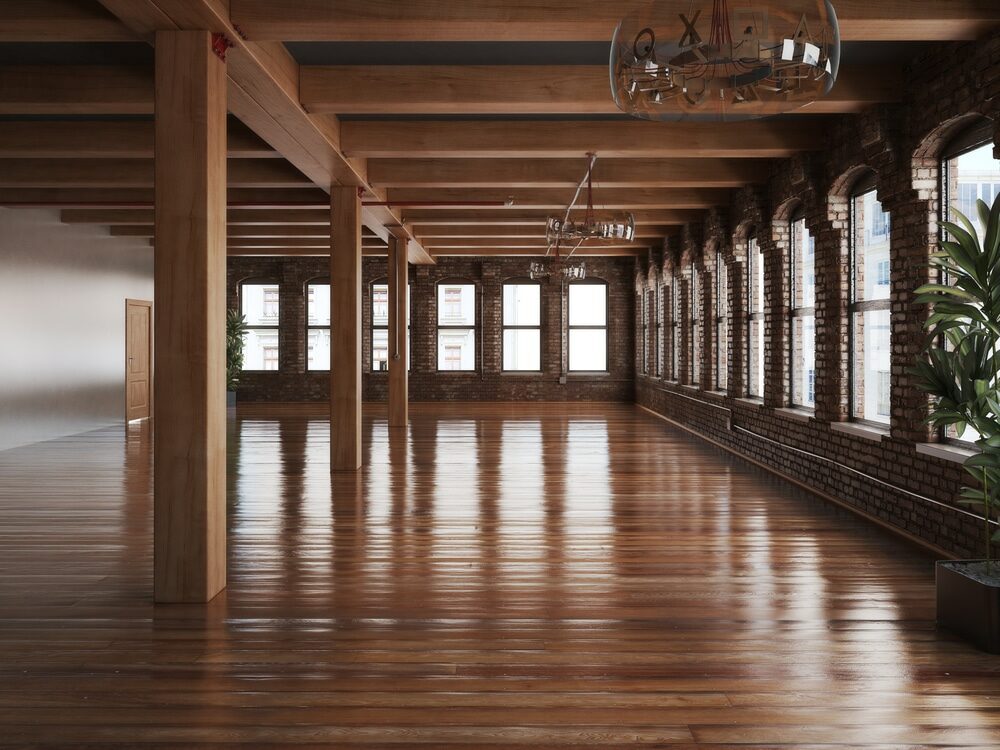
Repair Your Damage Wood Floor with Mr Sander® Company
Posted on June 18, 2023
News
Comprehensive Guide to Wood Floor Renovations: Steps for Lasting Beauty
Introduction
The well-known adage, “If a job’s worth doing, then it’s worth doing well,’ perfectly encapsulates the essence of wood floor renovations. Each stage of the process needs to be carried out meticulously, without omissions or shortcuts. The reward for this hard work is a beautiful and elegant floor that could last for a decade if properly maintained.The Basics of Wood Floor Renovations
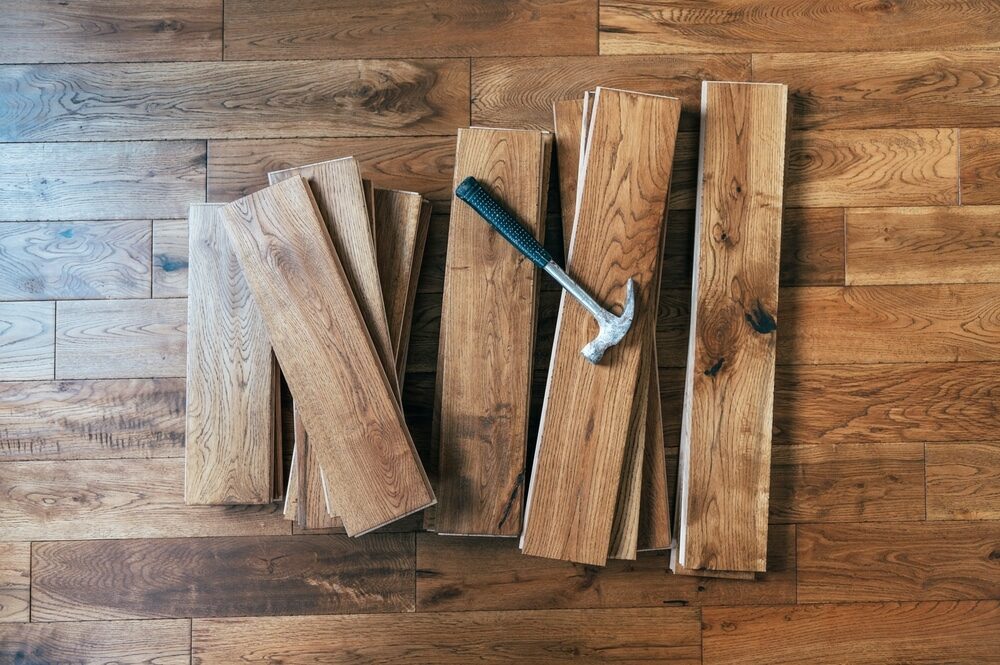
Repair
The repair phase involves addressing any damage to the wooden planks, such as cracks, splits, rotted areas, or gaps. This stage requires a keen eye for detail and patience, as skipping this step could impact the overall quality of the renovation.Remove
The ‘remove’ stage involves stripping off the existing veneer through sanding. This step eliminates any superficial damage, revealing the raw beauty of the wood beneath the surface.Refinish
The ‘refinish’ phase involves applying a fresh layer of finish, which not only enhances the wood’s appearance but also serves as a protective barrier against spills, scratches, and scrapes.Step 1: Detailed Assessment and Repair
Before you embark on any renovation project, assessing the current state of the floor is crucial. This will help you determine the extent of the repair work required.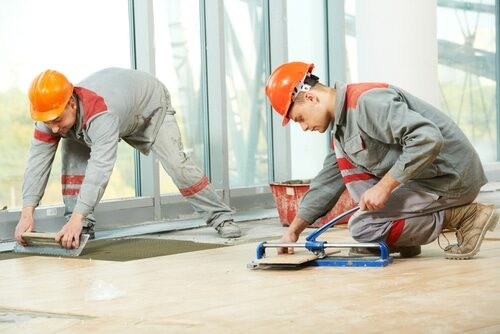
Inspecting the Floor
Start by examining the floor thoroughly. Don’t shy away from getting on your hands and knees with a magnifying glass if necessary! Be on the lookout for splits, damaged edging, rotted areas, missing planks, and gaps between the boards.Addressing Repairs
Once you’ve identified the problem areas, it’s time to address them. Repair, replace, and refit planks as necessary. If certain repairs seem too complex, don’t hesitate to seek professional assistance.Handling Parquet Blocks
If you’re dealing with a parquet floor, remember that replacing one damaged tile might mean replacing a block of four or six tiles. Even if this seems tedious, it’s worth the effort.Dealing with wood rot
If you come across musty, dry, or wet patches, it could indicate wood rot. In such cases, seek expert advice before proceeding.Step 2: Removal through Sanding
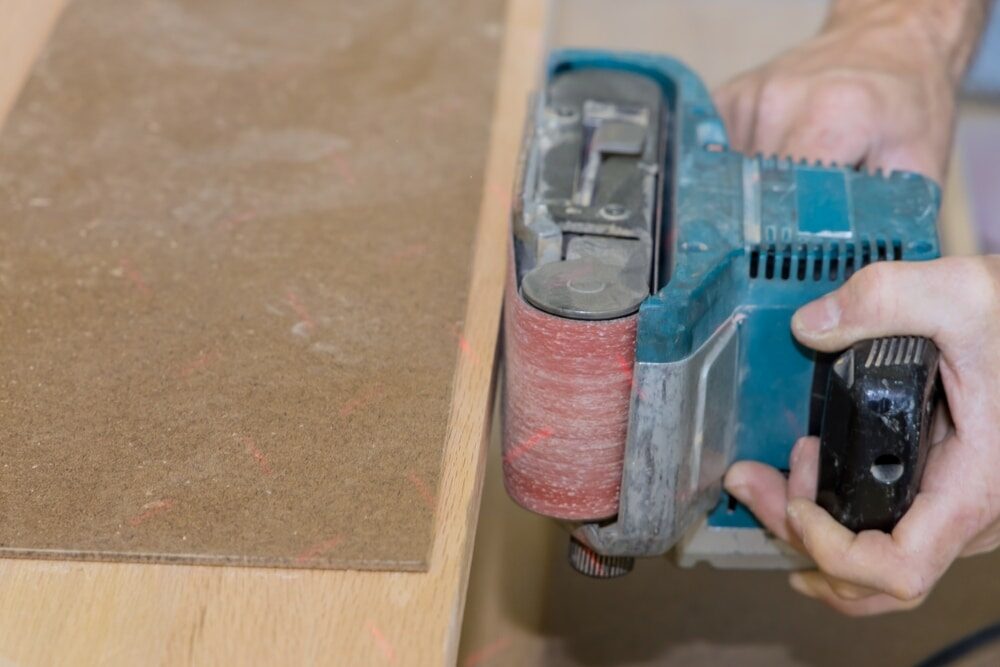
Once the repair work is complete, it’s time to strip off the existing veneer. This is achieved through a process known as sanding.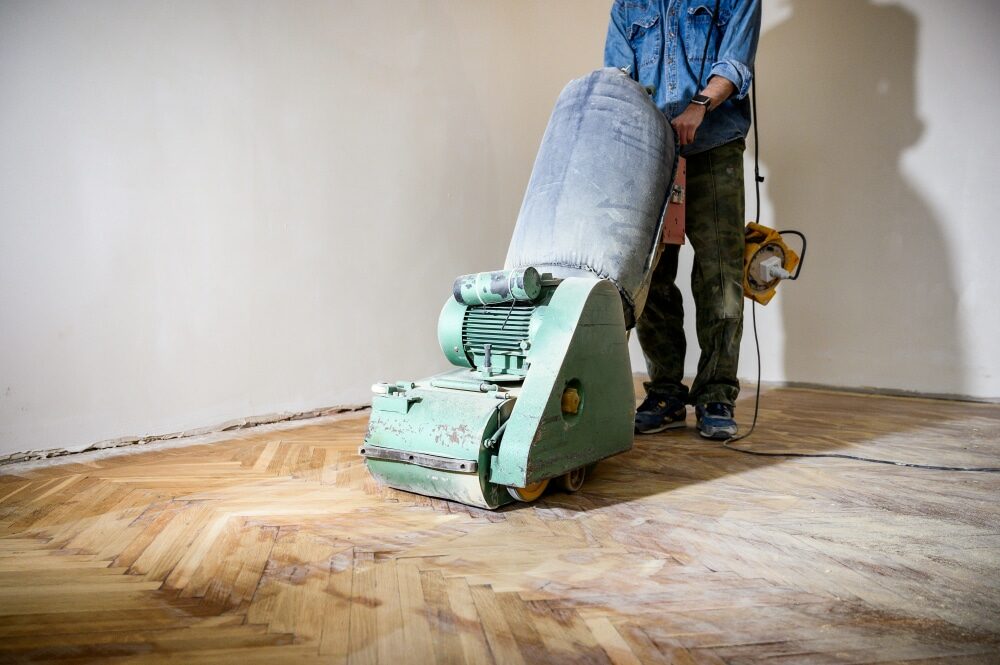
Choosing the right equipment
For the best results, use a walk-through industrial sanding machine. These units, operated either by a belt or drum, are designed to sand your floor as you walk across it. They’re quite efficient but can be noisy, so consider informing your neighbours before you start.Multiple rounds of sanding
A single round of sanding is often not sufficient. Most floors require three rounds of sanding. Remember to refine your sandpaper before each round to bring out the wood’s delicate beauty.Preparing for the Next Stage
When your floor feels smooth and appears blanched, it’s time to vacuum it and prepare for the final stage of the renovation process.Step 3: Refinishing for Elegance and Protection
The final stage of your wood floor renovation is the application of a fresh finish. This not only beautifies your floor but also serves as a protective barrier.Choosing the right finish
With numerous products on the market, the choice of finish boils down to personal preference. Consider a wax finish for a matte look, varnish for a high-gloss sheen, or lacquer for shine and sparkle. If you want a complete colour transformation, wood paint is the way to go.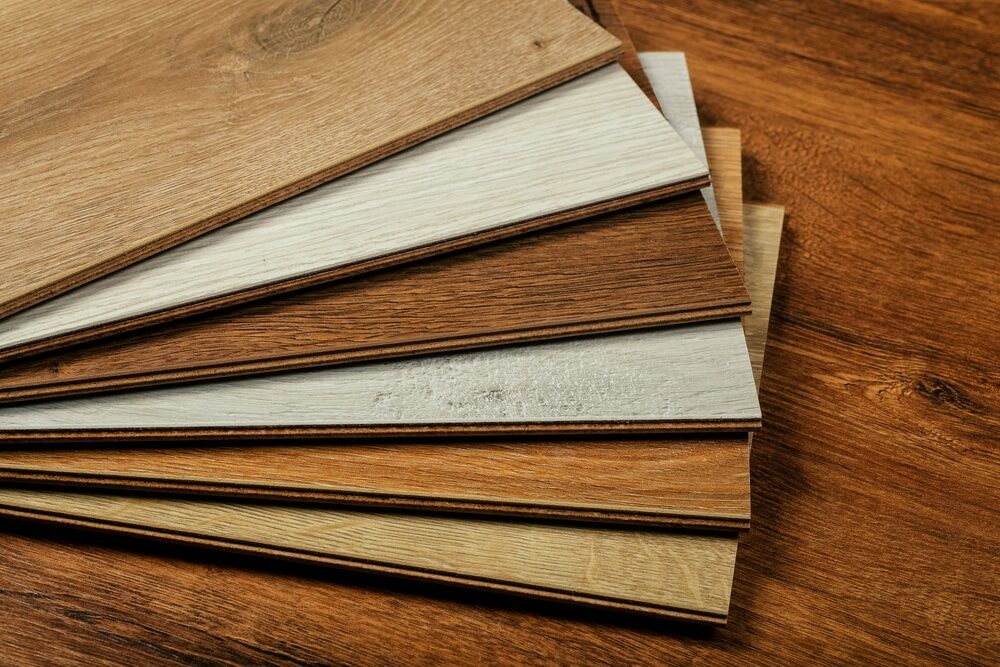
Allowing time to dry
Once applied, allow at least 48 hours for the finish to dry. After that, wait an additional 24 hours before moving furniture back into the room. During this time, keep the room well-ventilated and restrict access to pets and children.Maintaining your renovated wood floor
A successfully renovated wood floor is easy to maintain. Regular vacuuming, minimal mopping with plain water, and a lightly moistened mop head are usually enough. Promptly wipe off any spills to prevent water damage and staining.Conclusion
A classic wood floor restoration, when done correctly, can be the number one choice for homeowners and commercial businesses wishing to maintain the beauty and elegance of their floors. While technology and innovative techniques may evolve, the essence of the process—repair, remove, and refinish—remains the same. So roll up your sleeves and get ready to give your wood floor the care and attention it deserves. You’ll be rewarded with a stunning floor that’s as good as new!Some Useful Links:
- Floor Sanding Services
- School Floor Sanding
- Wood Floor Restorations
- Wood Floor Repairs
- Wood Floor Polishing
More from our Blog:
Restore Your Wood Flooring with Mr Sander® Company Hardwood Flooring: Enhancing Small Home Trends Achieving the Classic Waxed Look for Your Hardwood Floors Parquet Flooring Installation: Essential Steps and Tips Hardwood Flooring: The Key to Easy Maintenance and Durability

Sanding
We provide virtually dust-free sanding with our continuous belt machinery with mobile extraction units, giving you a safer environment for your family.
Oiling
This organic finish not only adds beauty to your home but also has exceptional water-repellent characteristics, making it easier to clean and maintain.
Waxing
This natural floor finish offers the softest and most mellow appearance – and leaves your floor able to breath.
Buffing
Using soft buffing machines (and hand-polishing where required) will bring a wonderful sheen to your newly-finished floor.
Repairs
We offer a full assessment of your wooden floors to determine what repairs are needed to provide the perfect working surface for the later stages of sanding, staining and sealing.
Restoration
We offer a comprehensive restoration process designed to address floors that are improperly fitted or damaged over time through wear and tear.
Request a fixed price quote for your wood floor restoration now
Simply enter your postcode below to get started.
Services
Wood Floor Sanding Wood Floor Restoration Wood Floor Scratch Repair Squeaky Wood Floor Repair Parquet Floor Sanding Parquet Floor Restoration Commercial Floor Sanding Church Floor Sanding Community Centre Floor Sanding School Floor Sanding Gap Filling Gap Filling with ResinCopyright © Mr Sander®
Privacy & Cookies Terms & Conditions Complaints Procedure Cancellation Rights Sitemap

Get An Instant Price Estimate Before You Go…
Simply enter the rooms you need sanded and we’ll provide you with a price estimate instantly! Try our price calculator now.
Get a Price Estimate NowLocal Floor Sanding Experts
Over 500 5-Star Reviews
Safe, Dust Free Sanding
Operating Since 1994